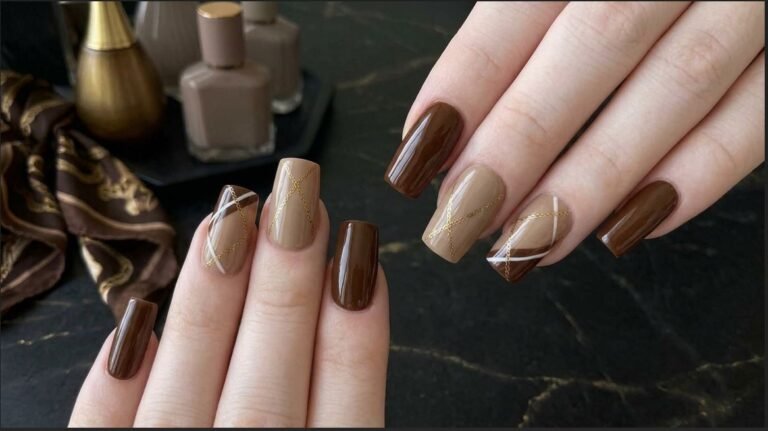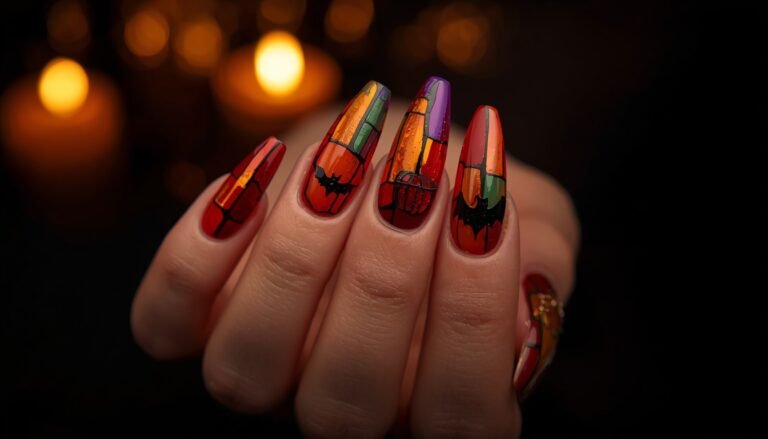
Inspired Classy Halloween Nails: Burgundy, Gold Chrome & Subtle Ghosts nails design 2026
Getting ready for Classy Halloween Nails can be tricky. You want to celebrate. But maybe you don’t want bright orange plastic nails. I completely understand. You have a meeting on Wednesday. Then a cocktail party on Saturday. You need a look that works for both. That’s where crystal classy halloween nails come in. This guide focuses on sophisticated spooky vibes. Think deep wine, gleaming gold, and a very cute ghost. I’ll show you exactly how to get this elegant, witchy look. Let’s make your nails look sophisticated, not scary.
At-a-Glance Summary
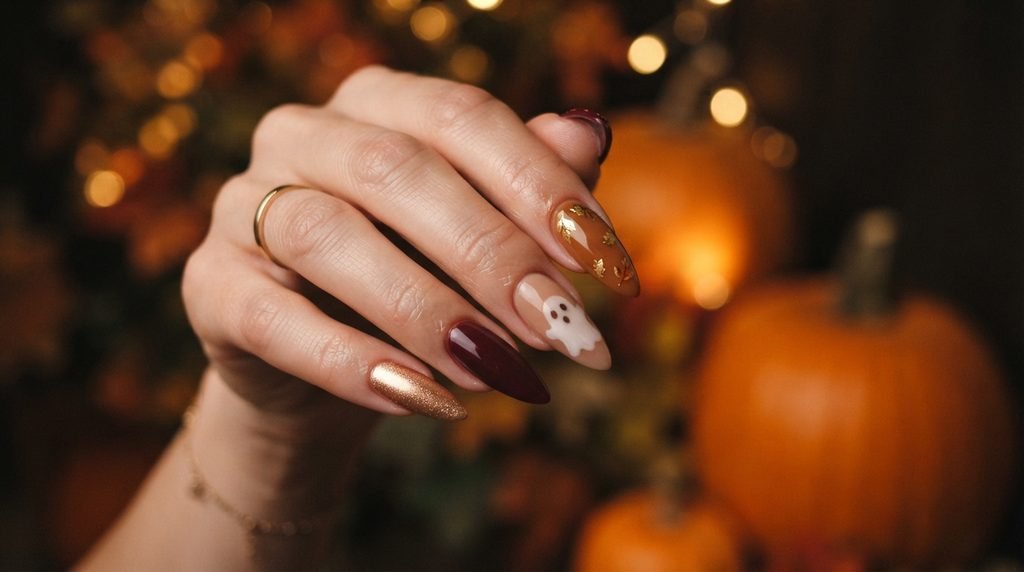
We are diving deep into the ultimate elegant classy Halloween nails. This post focuses specifically on a stunning combo: deep burgundy, rich gold chrome, and subtle ghost art. It’s “quiet luxury” meets spooky season. We will look at exactly how to adapt this design. We cover everything from short natural nails to long stiletto shapes. You will learn the specific shades to request. We will also cover how to communicate this request clearly at the salon. DIYers, don’t worry. I have application tips for you too. Forget the costume nails. Get ready for a sophisticated manicure you’ll want to wear long after October 31st.
Why Burgundy and Gold are the Ultimate Classy Duo
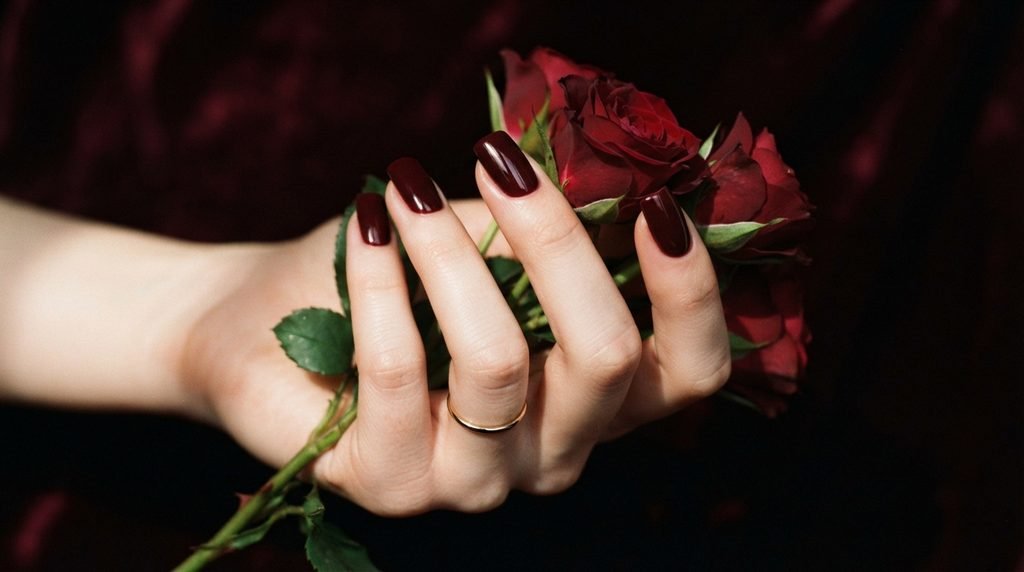
You might wonder why these specific colors. Well, burgundy is inherently elegant. It feels rich and deep, like a good wine. Gold adds immediate luxury. It elevates anything it touches. This combo isn’t traditionally “spooky.” That’s exactly why it works for classy Halloween nails. It provides a sophisticated alternative to basic black and orange. Together, they feel witchy and powerful. Think vampires in velvet, not cartoon ghosts. It’s a perfect pairing that works for the whole season. This duo guarantees your manicure won’t look like a costume accessory.
Choosing Your Ideal Burgundy Base
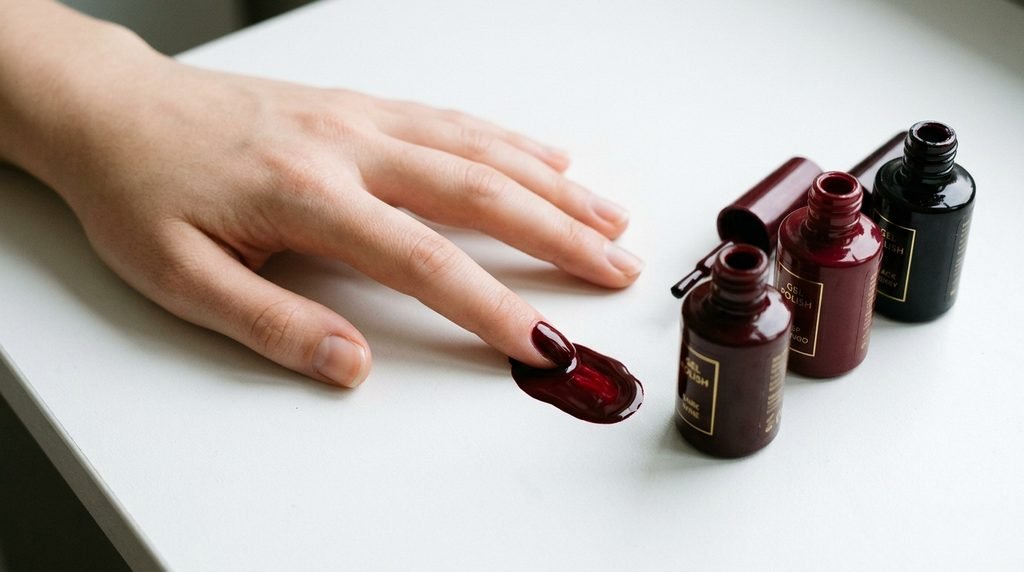
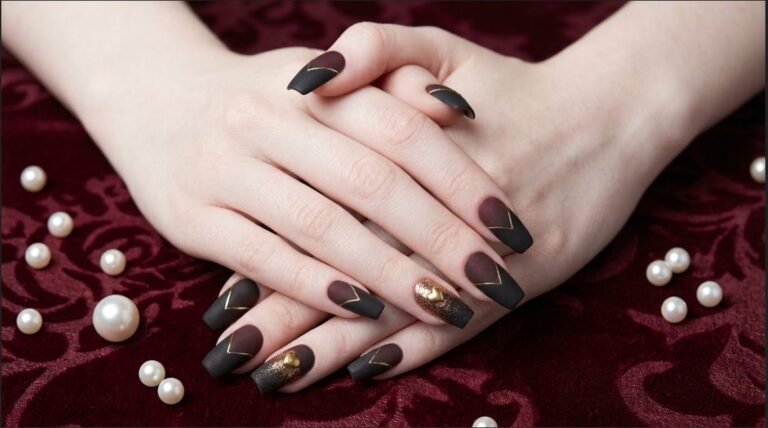
Not all burgundies are equal. For this look, aim for a deep oxblood or wine shade. Avoid anything too bright or purple. The goal is a rich, opaque depth. A cool-toned burgundy adds a classic touch. A warmer tone leans more “witchy wine.” When you’re at the salon, ask to see a few swatches. Look for a full-coverage cream finish first. This will be the base for your design. I love “Malaga Wine” by OPI for this, as it is a classic choice.
Mastering the Gold Chrome Application
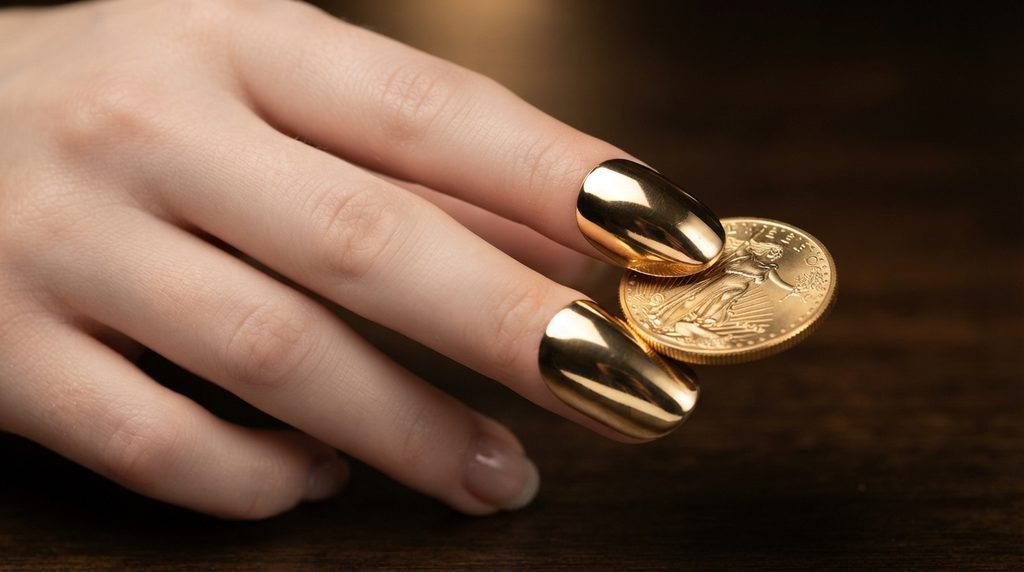
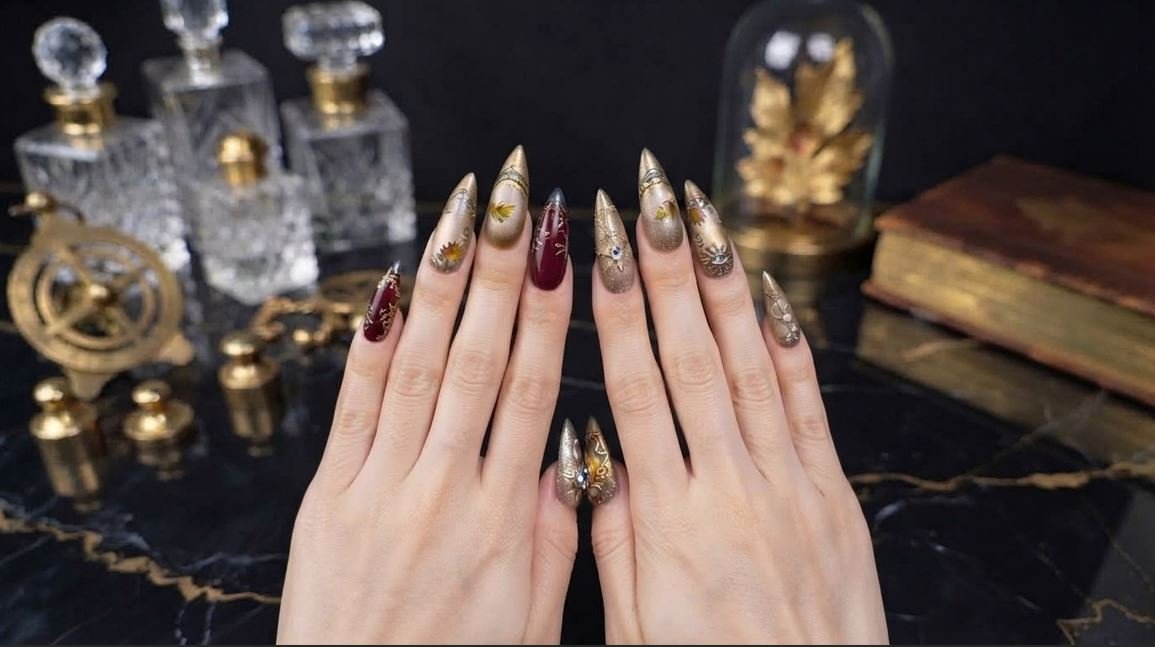
Gold chrome is pure magic. It’s not just gold polish; it’s a mirror-like finish. At the salon, your tech will apply a non-wipe top coat. Then, they buffer a special pigment powder onto the nail. Finally, another top coat seals it. For DIYers, chrome powder sets are widely available online. It requires practice, but the result is stunning. A warm, yellow gold chrome gives the most luxurious feel. This finish makes your elegant nails truly pop. It is much brighter and more reflective than traditional glitter.
The Art of the Subtle Ghost Design
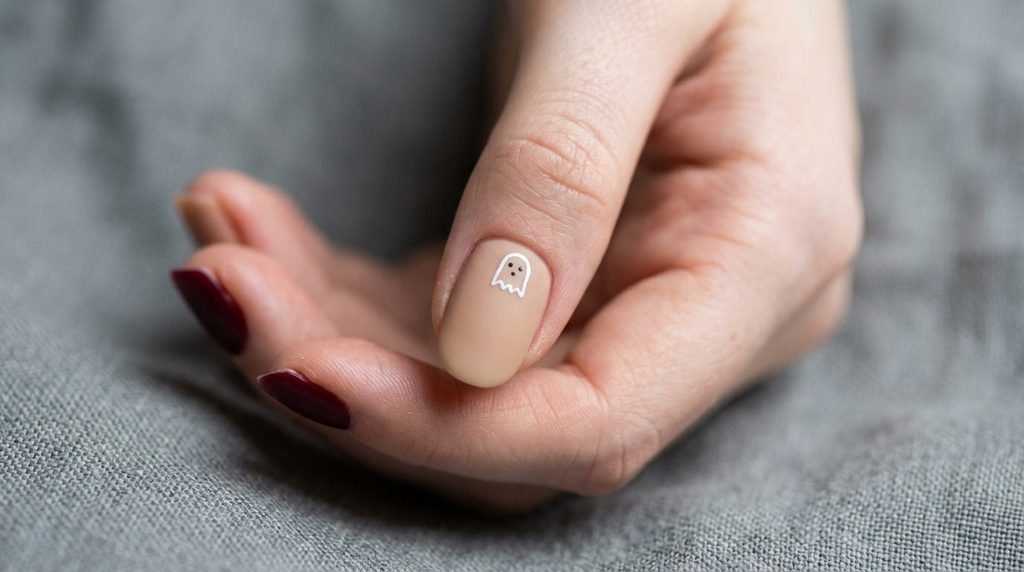
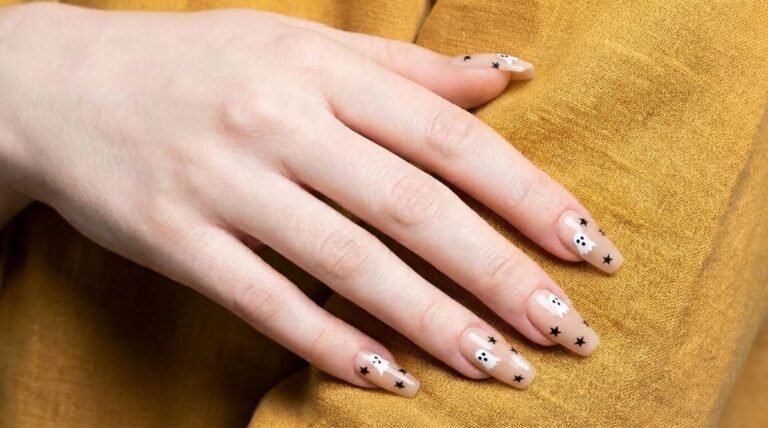
The ghost is the star of this spooky show. But we want a subtle ghost nail art moment, not a sticker look. This means your ghost should be delicate. Maybe it’s just an outline on one accent nail. Or a tiny, minimal shape floating near the cuticle. I recommend a soft, slightly translucent white for this. We aren’t doing jagged, “scream” style ghosts here. We are doing charming, friendly apparitions. A matte finish on this specific nail helps it blend and feel more artistic.
Shape and Length: Choosing What’s Right For You
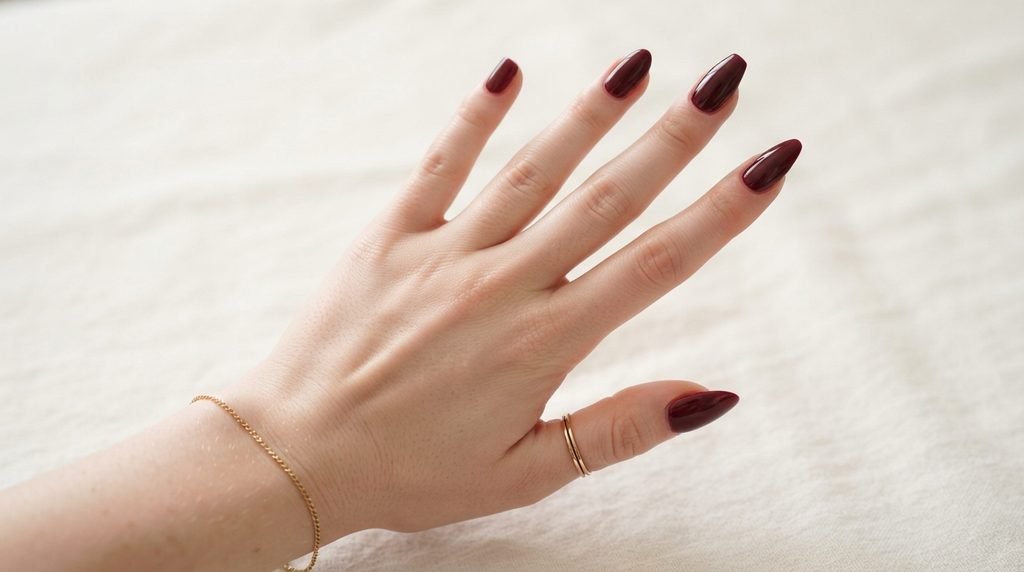
This design works for almost any shape. But your choice can change the mood. Short, squoval nails are very wearable and modern. Medium almond is classic and chic. [Internal link opportunity: → The Ultimate Guide to Finding Your Perfect Nail Shape] Long stiletto or coffin nails make a major statement. They really highlight that witchy vibe. Choose a length that fits your daily life and personal style. My advice? An almond shape is usually the most universally flattering and elegant option for this design.
How to Get the Classy Halloween Look in a Salon
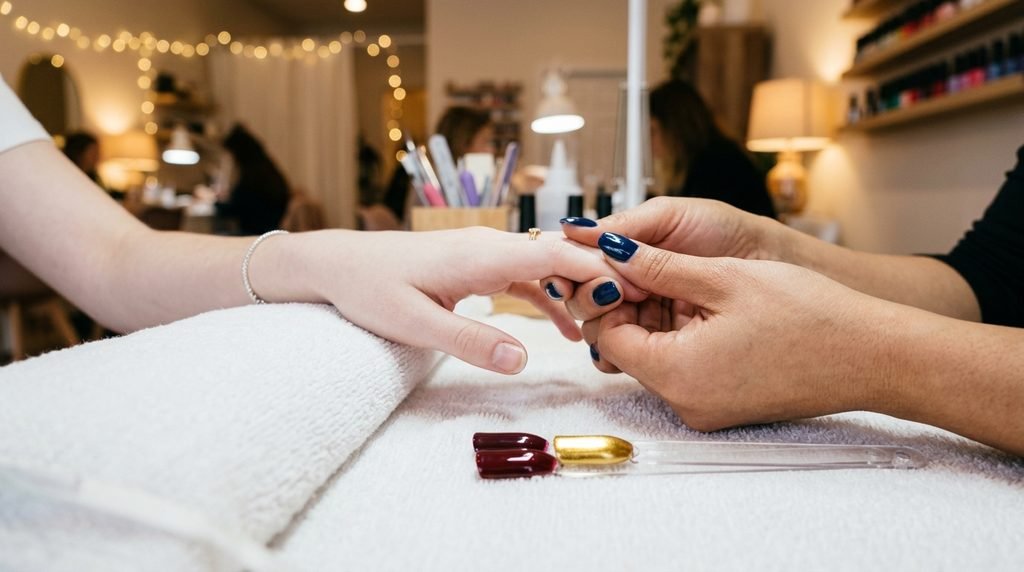
Communicating clearly is key. Bring a photo of what you want. Don’t just say “classy Halloween nails.” Start by specifying your desired base color: a deep, rich burgundy. Then, mention the gold chrome finish, not just gold glitter. Ask for a subtle, minimal ghost design on one or two fingers. Specifically request “subtle, hand-painted art” to avoid a bulky decal look. Your tech will appreciate the specific directions. It guarantees you both are on the same page.
The 5-Finger Plan: No Nail Left Empty
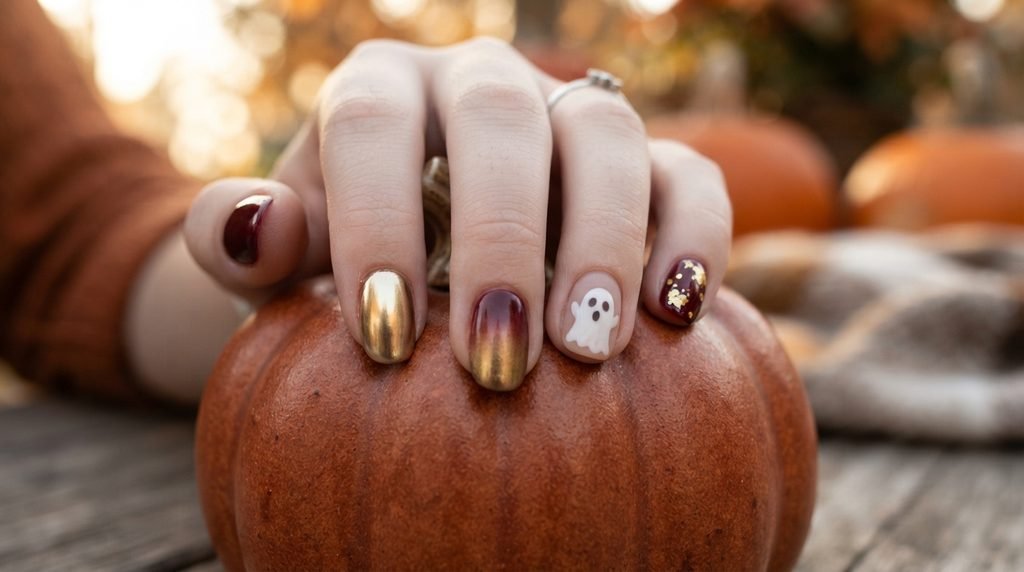
For a complete look, every nail needs attention. Here is one stunning way to layout your classy Halloween nails:
- Thumb: Solid deep burgundy with a high-gloss finish.
- Index: Full warm gold chrome metallic mirror finish.
- Middle: A smooth gradient from gold chrome (base) to burgundy (tip).
- Ring (Accent): Matte nude base with one tiny, delicate hand-painted ghost.
- Pinky: Solid deep burgundy with subtle gold leaf flake accents.
This plan offers balance and variety. No single finger is boring. It ensures the design feels fully realized across your entire hand.
Making a Gradient with Burgundy and Gold
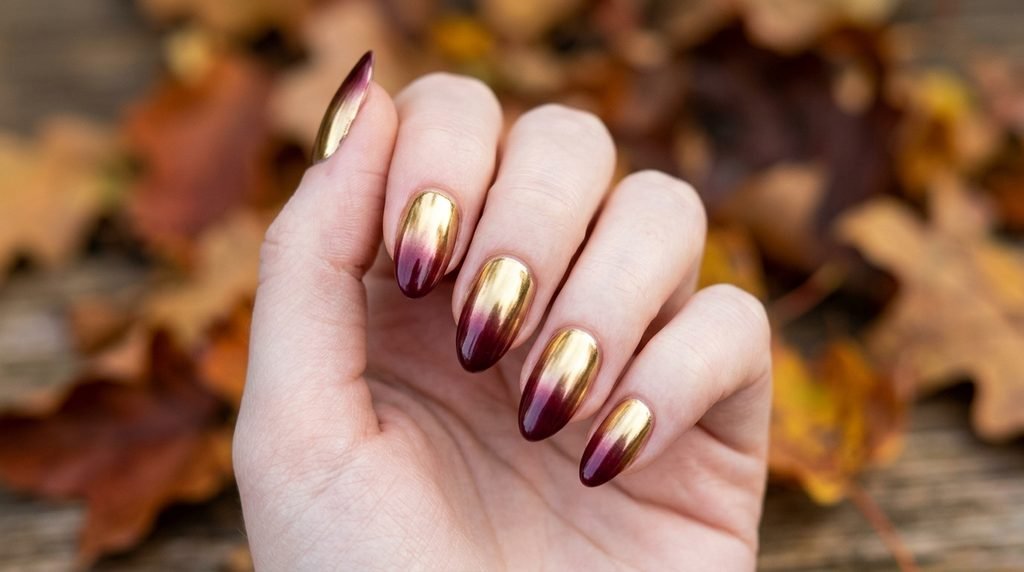
A gradient is a beautiful, advanced option. It creates a stunning ombré effect. This technique makes the transition from gold to burgundy look organic. At the salon, this is done using an airbrush or a makeup sponge. For a DIY look, a wedge sponge works well with multiple thin layers. The vertical ombre (side-to-side) is unique. But the horizontal ombre (base-to-tip) is the classic choice. This specific color blend looks like a rich, molten sunset. It is an ideal way to merge the two dominant colors.
Budget and Technique Comparison
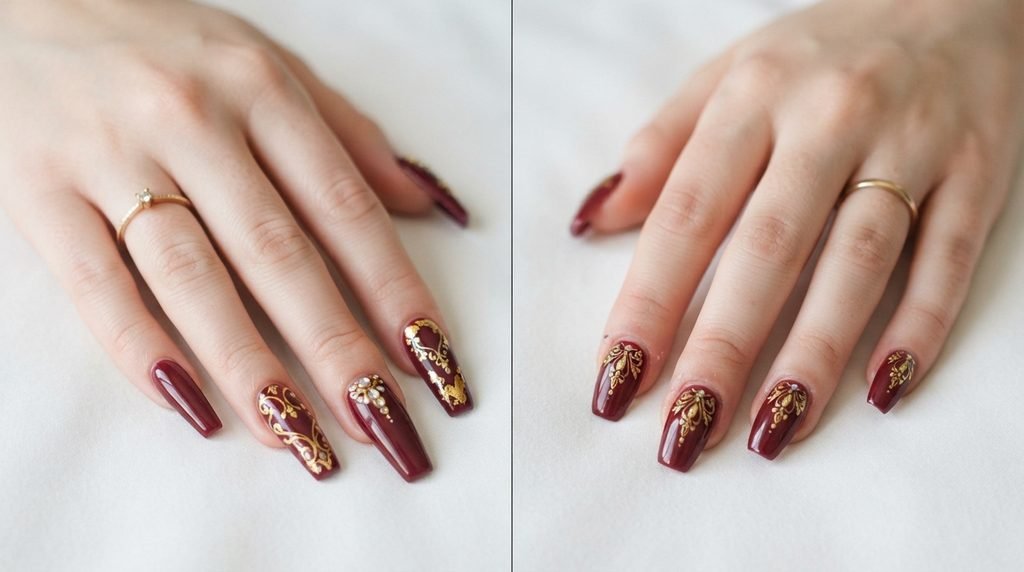
You have a few paths to achieve this look. Here is a quick comparison:
| Feature | Salon Gel Manicure | High-Quality Press-Ons | DIY Gel Polish Kit |
| Cost | High | Medium | Medium |
| Durability | Long (3-4 weeks) | Short to Medium (1-2 weeks) | Medium (1.5-3 weeks) |
| Customization | Excellent (full control) | Good (depends on brand/design) | Fair to Good (skill dependent) |
| Time Investment | 1.5 – 2.5 hours | 15 – 30 minutes | 1 – 2 hours (plus learning curve) |
| Best For | Perfect finish, special events | Fast solution, temporary wear | Long-term budget control, creative freedom |
DIY: Prepping Your Nails Like a Pro
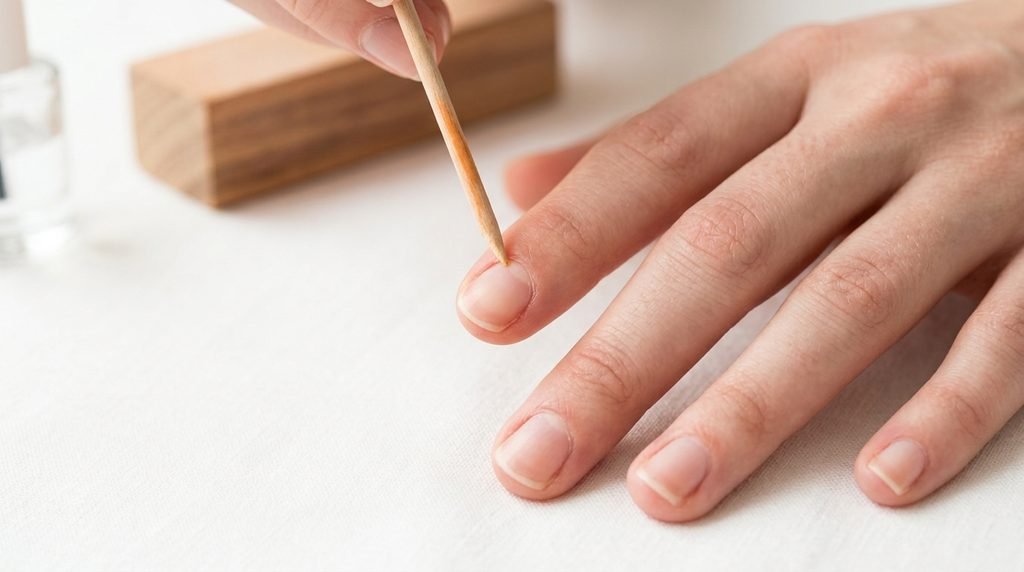
If you are going the DIY route, prep is non-negotiable. Clean nails are essential for longevity. Start by shaping your nails to your desired style. Gently push back your cuticles (don’t cut them). Buff the surface to remove any shine. This gives the base coat something to grip. Use an alcohol wipe to remove any dust or oils. This step prevents lifting. Skipping proper prep is the #1 reason why a manicure fails early. Take your time here for salon-quality results.
Creating the Delicate Ghost: At-Home Tutorial
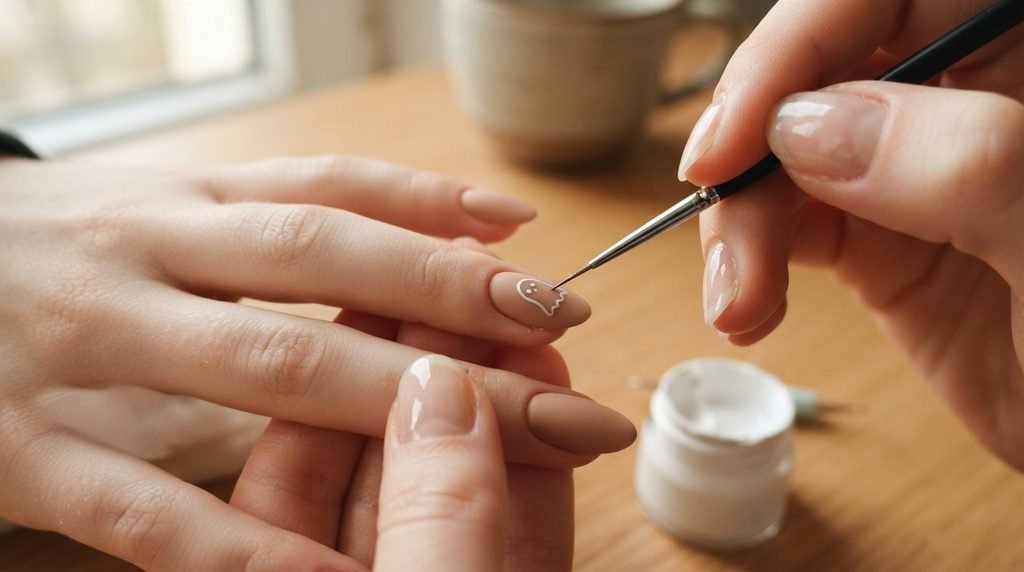
You don’t need art school to paint this. Grab a very thin detailing brush or a dotting tool. Start with a light nude or translucent white base. Dip your brush in a soft white polish. Draw a small, simple teardrop or ‘U’ shape for the ghost’s body. Let it cure (if using gel) or dry. For eyes, add two tiny black dots with a dotting tool. You can even add a small, oval mouth for expression. Keep it minimal. The smaller and simpler the ghost, the cuter it looks.
Adapting for Short, Elegant Nails
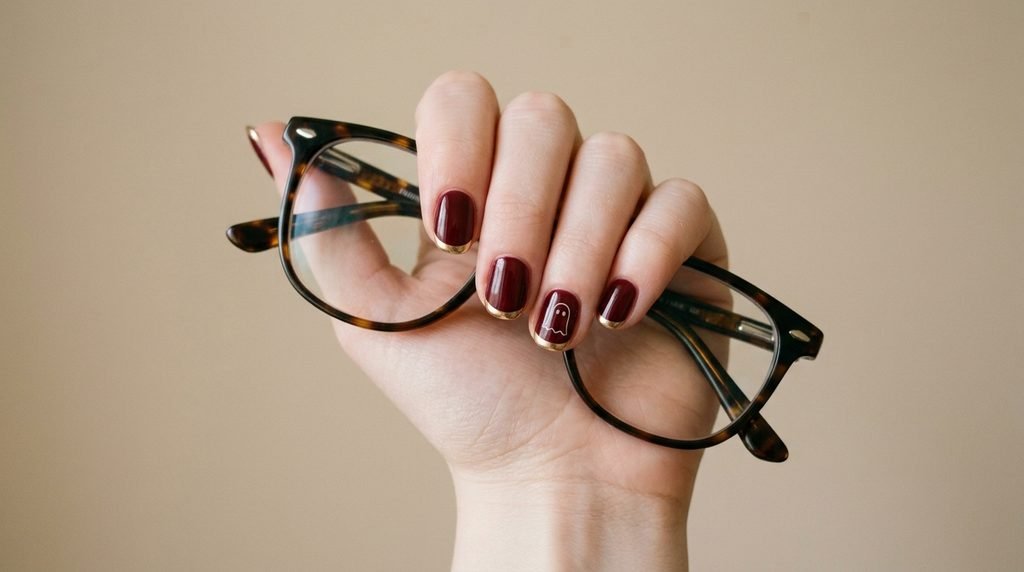
You can absolutely rock this on short nails. In fact, deep burgundy looks incredible on a short, tidy length. For short nails, simplify the design slightly. Instead of a full gradient, perhaps do an solid burgundy base. Then, add a subtle gold chrome French tip on every nail. This adds the sparkle without overpowering the small surface area. You can still do the tiny accent ghost on one ring finger. The key is to keep proportions balanced.
High-Contrast Options with Different Bases
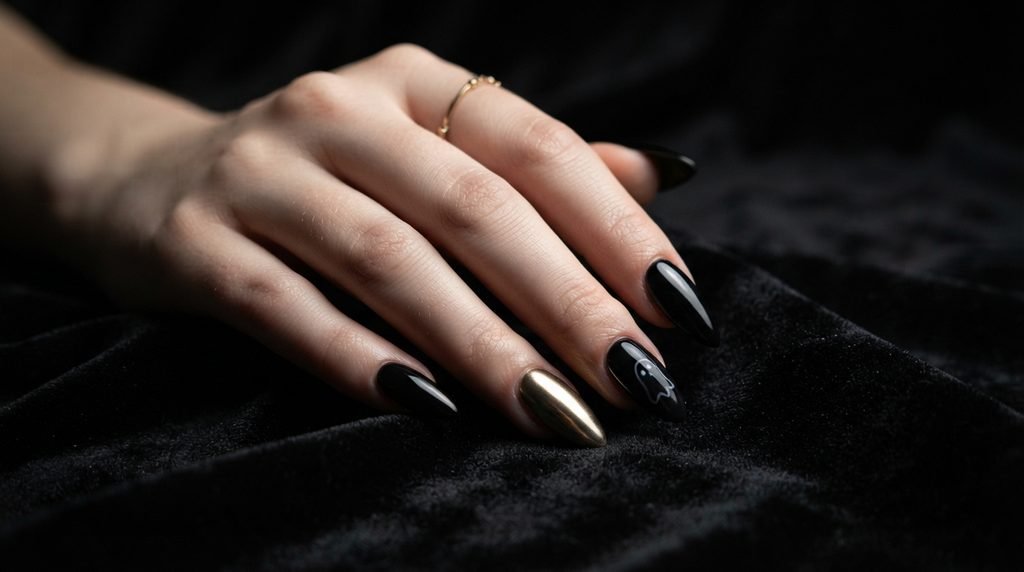
Want a bolder variation? A classic alternative base color is an excellent idea. Swap the burgundy base for a deep, true black. Then, follow the rest of the plan: gold chrome accents and a subtle ghost. Black creates an even stronger “witchy” feel. It also makes the gold chrome look insanely reflective. This high-contrast pairing is perfect for anyone wanting a moodier, more traditional Halloween aesthetic.
Essential Tech: Avoiding Common Mistakes
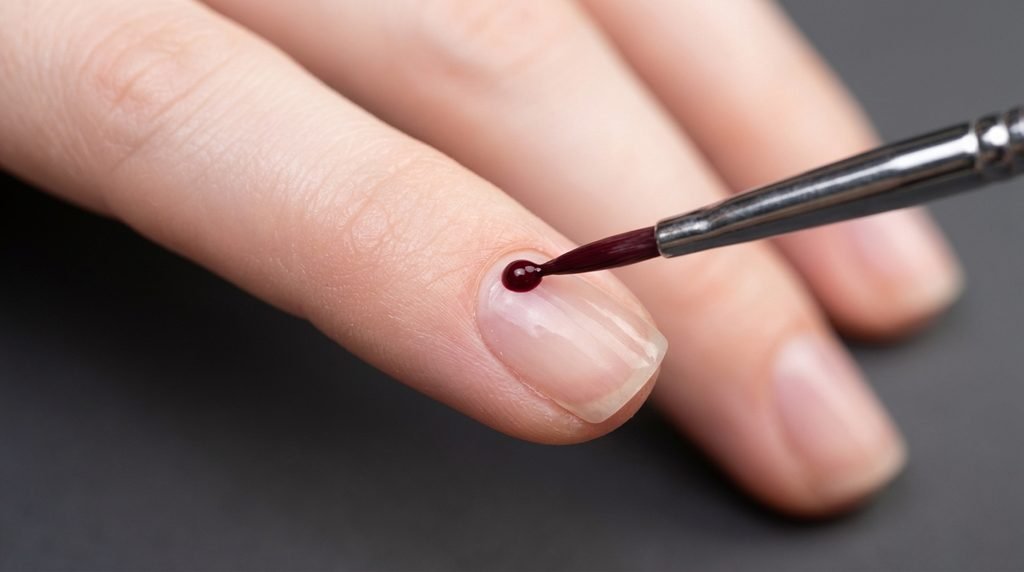
Technique is everything. Avoid “cuticle flooding,” which happens when polish pools in your cuticle. This mistake looks messy and causes peeling. To prevent this, don’t load your brush. Wipe one side clean before applying. Leave a tiny gap between the polish and your skin. Manage your gel layers: applied thin and evenly is better than one thick coat. A thick coat won’t cure properly. Master these techniques for a flawless finish.
The Final Step: Sealing Your Manicure
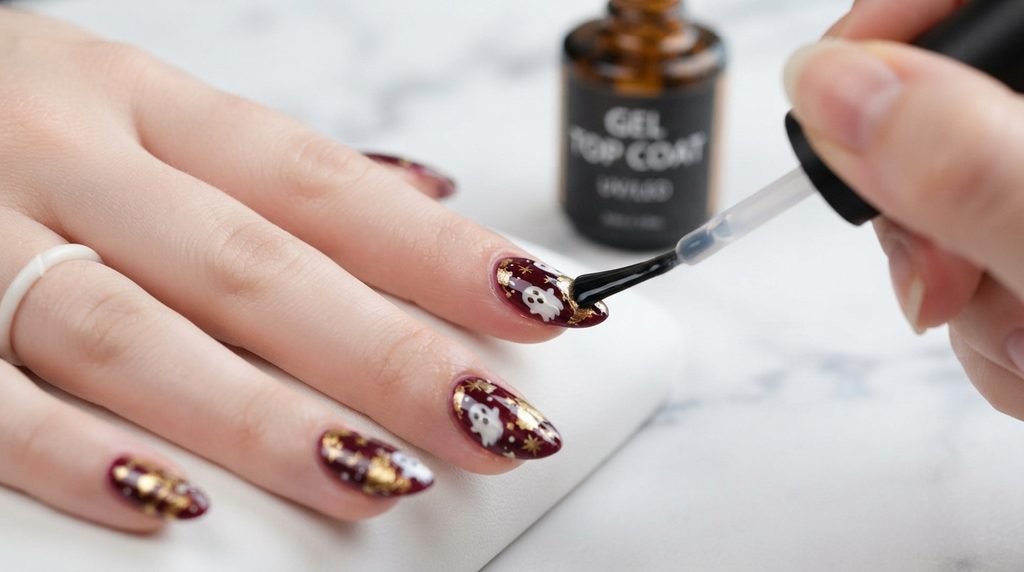
A great top coat is your manicure’s bodyguard. It adds shine and prevents chipping. For this look, a durable, non-wipe high-gloss top coat is best. It will preserve that mirror-like chrome shine. When applying, don’t forget to “cap the free edge.” This means swiping the top coat along the very front edge of your nail. This small detail prevents water from getting underneath and causing your gel to lift.
Salon Communication Cheat Sheet
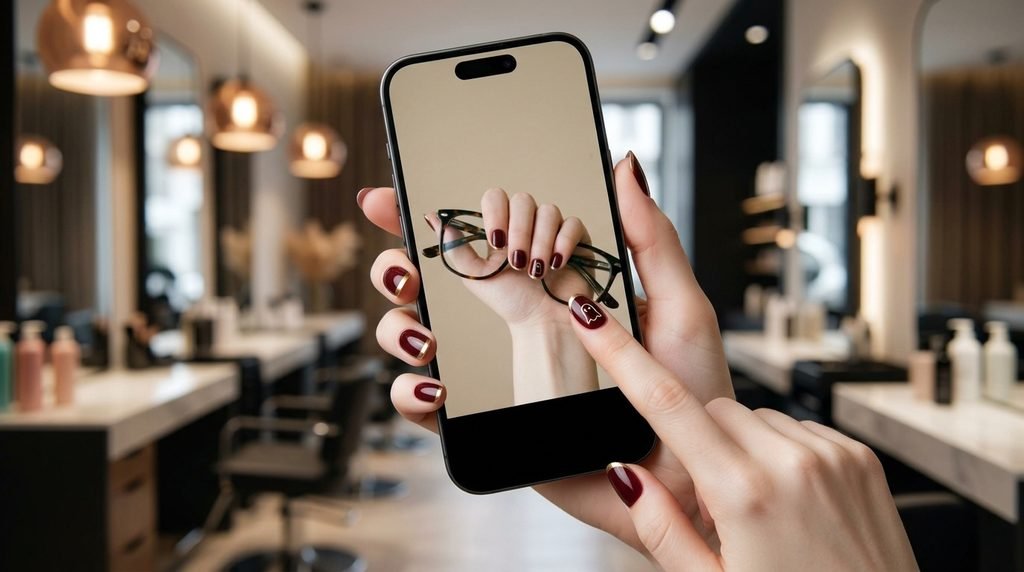
Here is exactly what to say for the best results:
- Base: “I’d like a deep, rich burgundy, similar to OPI Malaga Wine, with a high-gloss finish.”
- Finish: “Can we do gold chrome (not just glitter) on two nails per hand?”
- Art: “On the ring fingers, could you paint a very tiny, minimal ghost in soft white? Subtle, not cartoonish.”
- Shape: “I’d like to keep it an elegant medium almond shape.”
Budget-Friendly Options: The Press-On Alternative
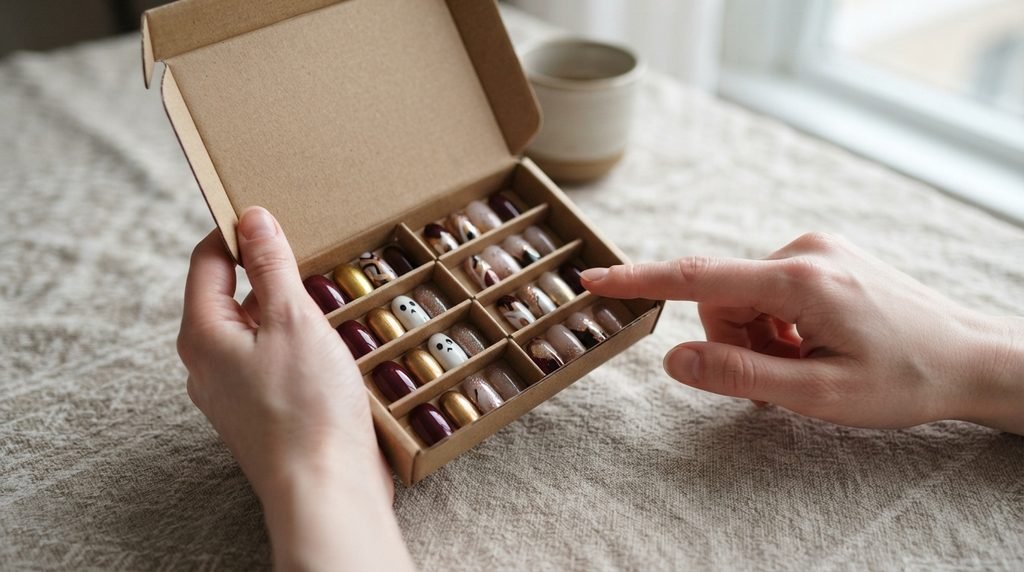
Custom press-on nails are another excellent path. Many small artists on platforms like Etsy create stunning custom designs. This is a great way to support an artist. It’s often cheaper than a high-end salon trip. You get a perfect, reusable manicure in a fraction of the time. Look for sets described as “luxury press-ons” or “hand-painted.” Ensure you measure your nails accurately for the best, most natural fit.
Occasion and Styling Pairings
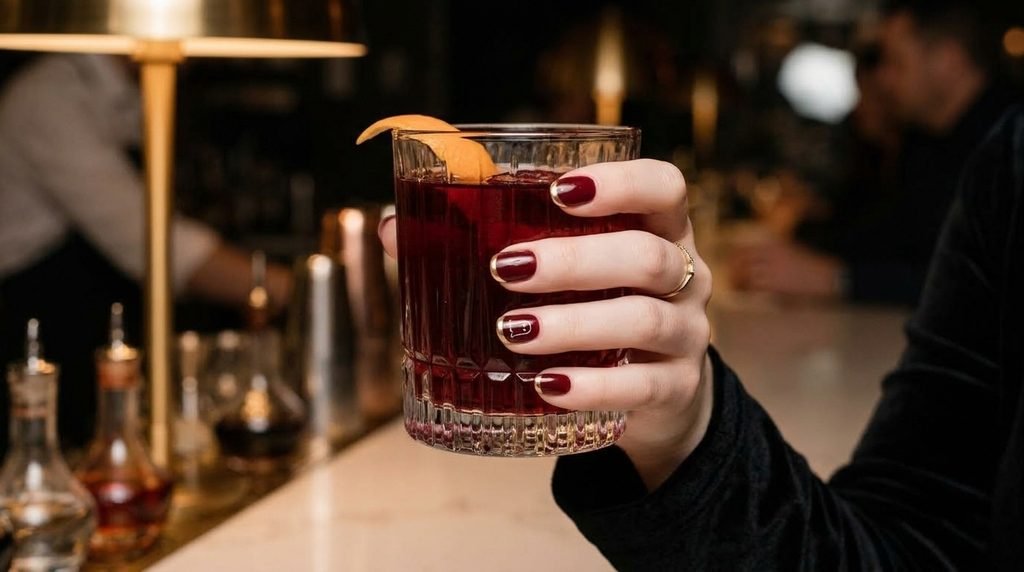
This manicure doesn’t exist in a vacuum. It is perfect for a sophisticated Halloween party. It also works for dinners or any autumn event. This specific “witchy wine and gold” combo pairs beautifully with a chic black dress or a rich velvet blazer. It elevates a simple outfit immediately. It makes a statement without being distracting. Your nails are the ultimate accessory for the moment.
Transitioning Your Nails into November
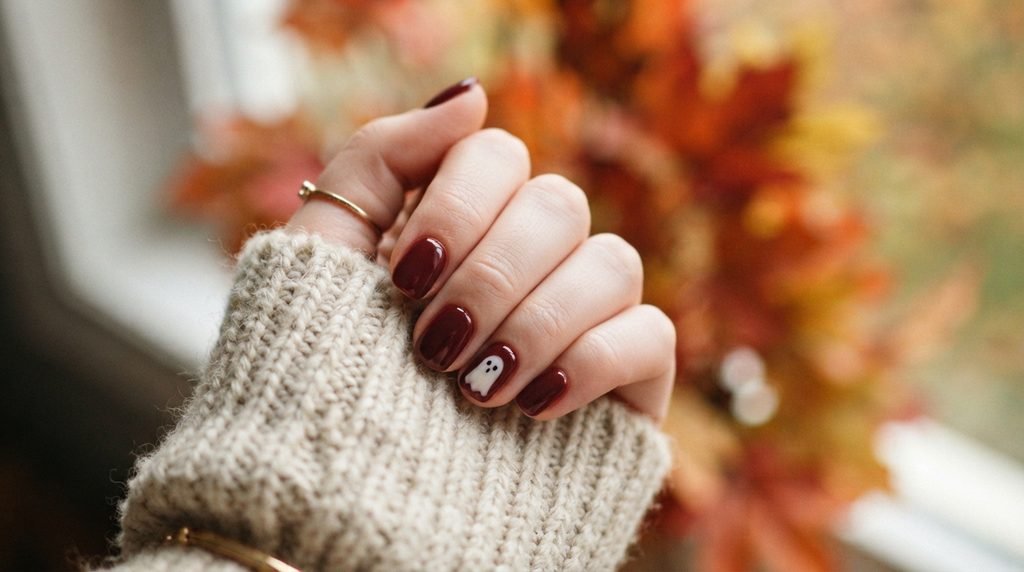
You want a design with longevity. This one delivers. Since the ghost is so minimal, you can wear this through Halloween. When November 1st rolls around, your nails will still feel seasonally appropriate. The rich burgundy and gold combo is a classic for all of autumn. This look doesn’t expire when the pumpkins get packed away. It transitions flawlessly into the cozy, early winter months.
FAQs: Your Classy Halloween Nail Questions Answered
Here are the answers to some of the most common questions about elegant spooky nails:
How do I make Halloween nails sophisticated?
Focus on deep, classic colors. Burgundy, navy, and deep forest green are great choices. Add high-quality finishes like chrome or gold leaf. Keep your ghost nail art minimal and hand-painted. Avoid large, bulky decals or cartoonish bright colors. The key is subtlety.
Can burgundy nails work for Halloween and autumn?
Absolutely. Burgundy is a versatile fall classic. It feels inherently elegant and powerful. For Halloween, you can add that subtle spooky touch with a tiny ghost or witchy accents. When the holiday passes, the core burgundy color still looks chic.
What is the difference between spooky and classy Halloween nails?
“Spooky” nails often embrace costumes and themes directly. They use bright oranges, fake blood, and extensive, detailed designs like whole haunted houses. “Classy” nails are inspired by the mood. They are elegant first, spooky second. They use luxurious finishes and minimal art.
How do you paint a subtle ghost for nail art?
Use a very thin detailing brush. Paint a minimal shape, not a full character. Start with a tiny loop or ‘U’ shape. Less is more. A soft white on a matte base makes the ghost look like a charming, minimal detail.
Conclusion
I hope this detailed guide inspires your next autumn nail transformation. Whether you book a session with your favorite technician or try this set at home, focus on precise prep and smooth finishes. Save this post to your favorite Pinterest board so you have it ready for your appointment. Which detail will you try first—the gold chrome or the subtle ghost?

Mia founded Daily Nail Idea after a decade in beauty editorial, tired of watching great nail art disappear into the scroll. She now leads the team’s editorial direction — deciding what’s worth featuring and what’s just noise — and still paints her own nails every Sunday night, no exceptions.