Easy Halloween Nails: Simple Ghost & Spooky Designs for Every Nail Shape
So, you saved ten spooky nail designs on Pinterest, but your salon appointment is in an hour. Or maybe you are sitting at your desk right now trying to DIY a manicure before a party tonight. You want something super cute, but you are not sure what works for your length. Don’t worry! Getting easy halloween nails doesn’t mean you need complex art or hours of free time. Whether you love short natural nails, long acrylic coffin tips, or sleek almond shapes, spooky art works on everything. Today, we will walk through simple, stress-free ways to make your nails look ready for spooky season.
At-a-Glance Section
Here is a quick look at what is ahead! First, we will tackle the classic ghost design that anyone can do at home with basic tools. Next, we will explore versatile styles like micro spiderwebs, tiny pumpkin accents, and minimal blood drips across different lengths. After that, we will break down simple color choices, easy dotting techniques, and quick press-on alternatives. Finally, we will answer all your top questions so you can walk into your salon—or sit down with your polish—with total confidence.
The Ultimate Beginner Ghost Accent Design
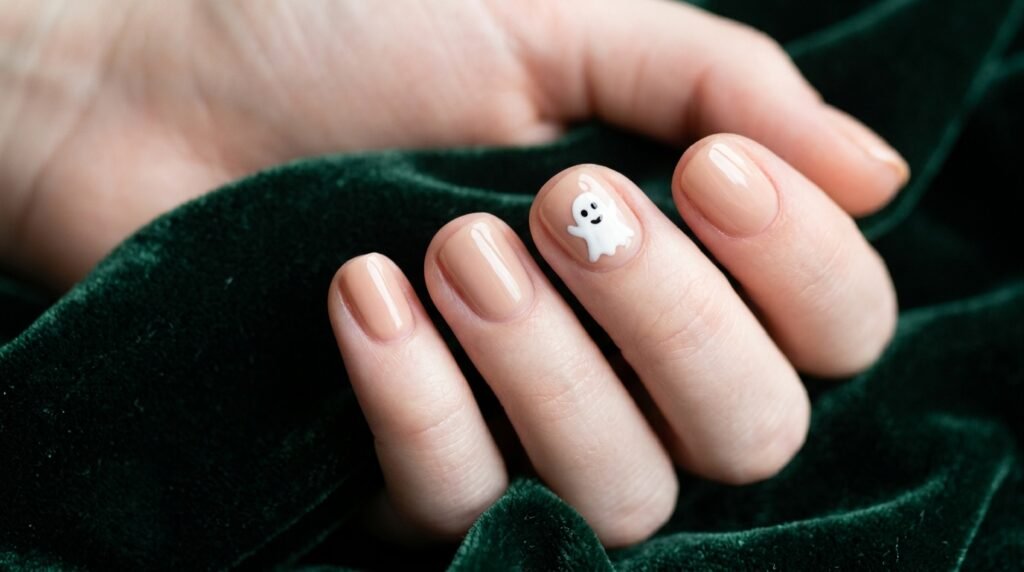
If you want something fast, a black and white ghost accent nail is your absolute best choice. First, paint four of your nails a sheer pink or nude base. Next, use a dotting tool or a bobby pin to place a white dot on your ring finger. Drag that dot down slightly to make a simple body shape. After it dries, add two tiny black dots for eyes. This look requires zero artistic skill, yet it instantly gives off cute, spooky vibes.
Step-by-Step DIY Ghost Faces
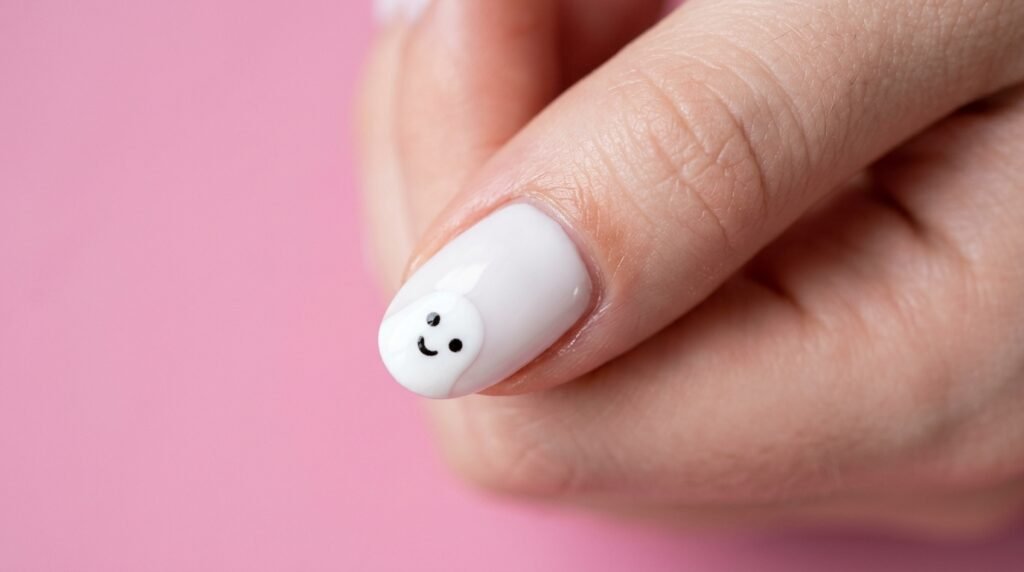
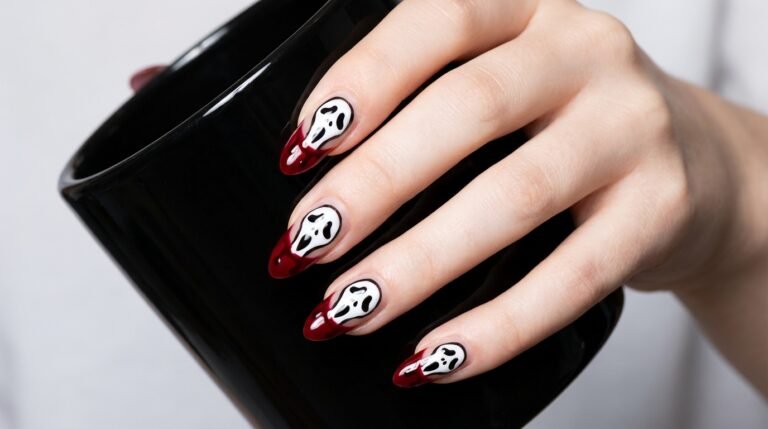
Painting a ghost face is much easier than it looks! Start by creating an oval white shape at the tip of your nail. Make it look like the ghost is peeking up. Next, let the white polish dry completely so the black polish won’t bleed. Then, dip a toothpick into black polish and press down gently for eyes and a mouth. Because ghosts are naturally wobbly, your lines do not need to be perfect at all!
Chic Micro Halloween Art for Short Nails
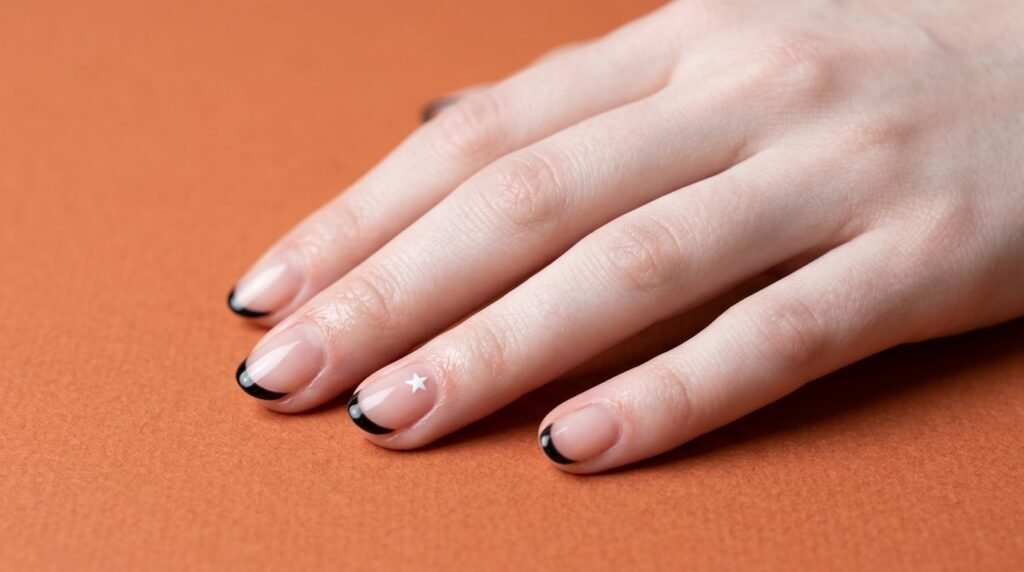
Short nails look incredible with negative space art and micro patterns. Instead of covering the whole nail, try micro French tips in solid black or deep purple. Alternatively, you can add one tiny star or a mini bat sticker near your cuticle. Because short nails have less surface area, keeping the background clean prevents the design from feeling messy.
Elegant Long Coffin and Almond Spooky Shapes
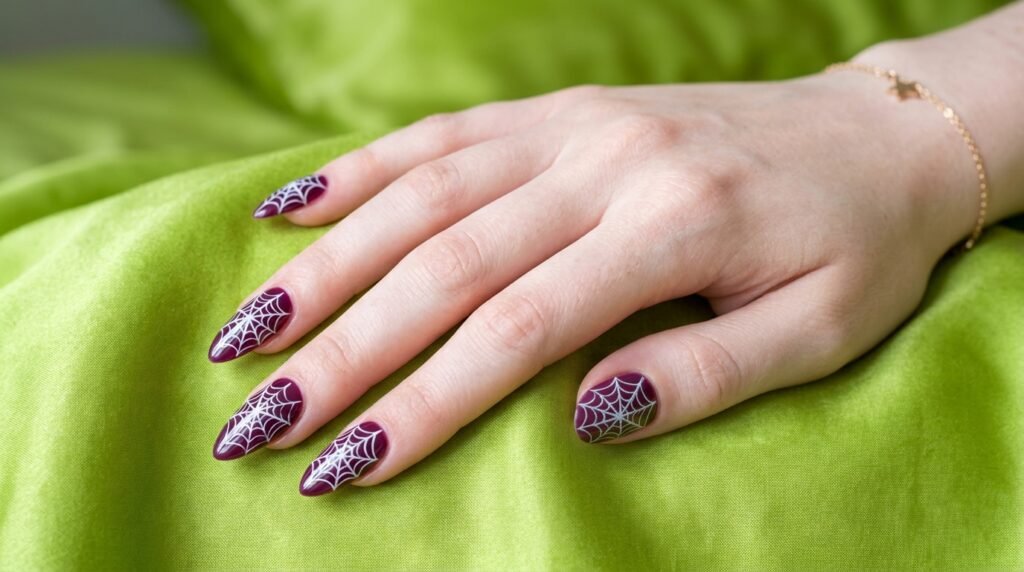
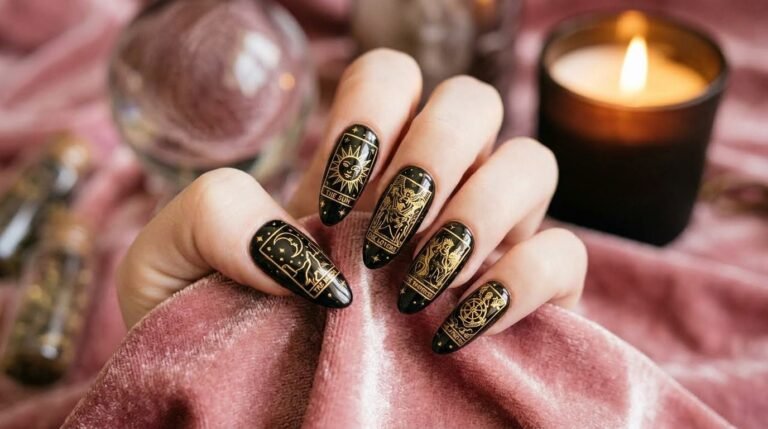
Longer nail shapes give you extra canvas for dramatic seasonal art. Tapered almond and coffin shapes look stunning with full-length spiderweb line work or gradient ombre smoke effects. First, apply a dark base color like deep plum or jet black. Next, paint delicate white accents along the extended free edge. This draws attention to your length while maintaining an elegant, lengthen-up silhouette.
Trending Color Palettes for October 2026
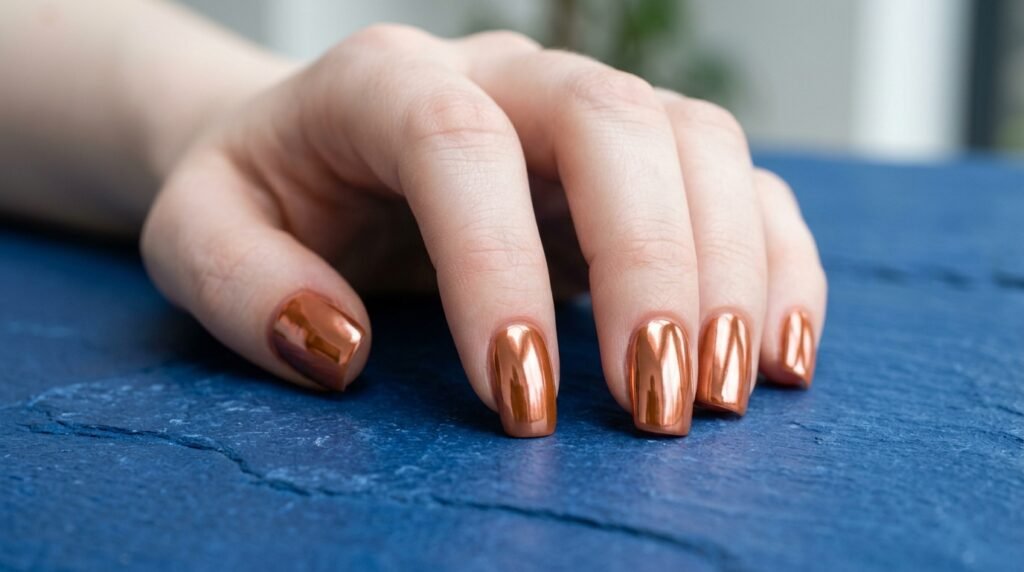
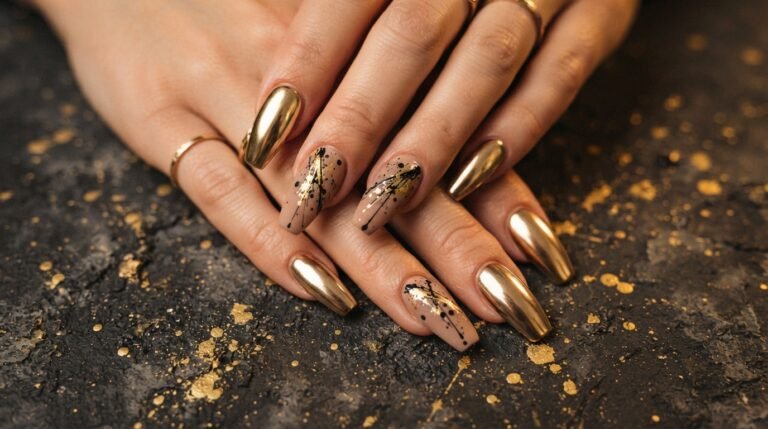
Classic black and orange will always be in style, but muted tones are taking over this year. Think creamy oat milk nudes, dusty pumpkin shades, and deep glossy forest greens. Additionally, chrome finishes over black polish are huge right now because they give a cool witchy shimmer. If you prefer subtle vibes, try a sheer jelly black polish for a smokey glass effect.
DIY Methods Versus Salon Acrylic Extensions
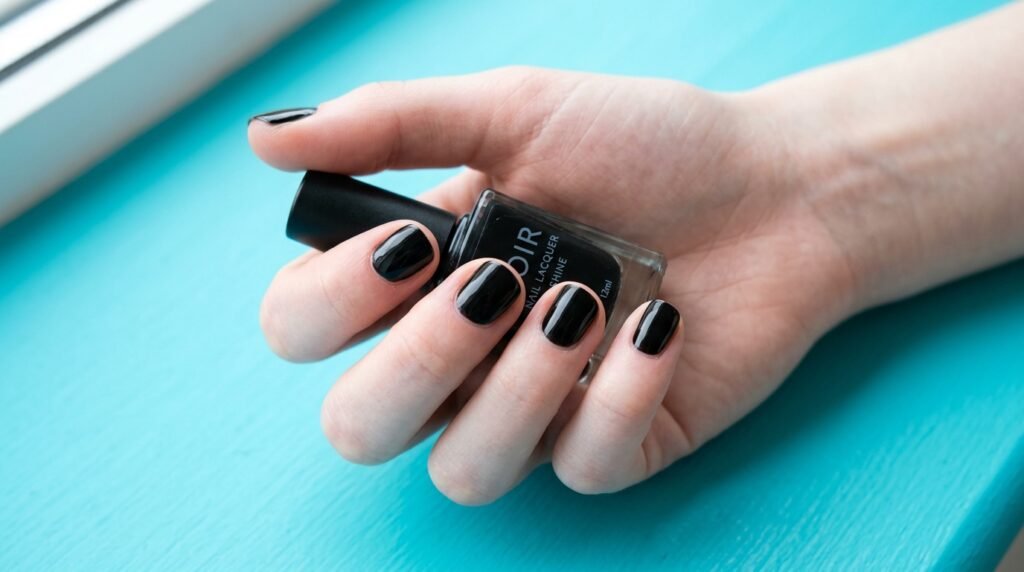
You definitely do not need expensive acrylic extensions to celebrate spooky season! Natural nails are much easier to work with, especially if you are doing your own art at home. All you need is a good base coat, a black polish, a white polish, and a glossy top coat. [Affiliate opportunity: fast-drying glossy top coat] With simple press-ons or natural polish, you can get salon-quality results anywhere.
Quick and Simple Spiderweb Art Hacks
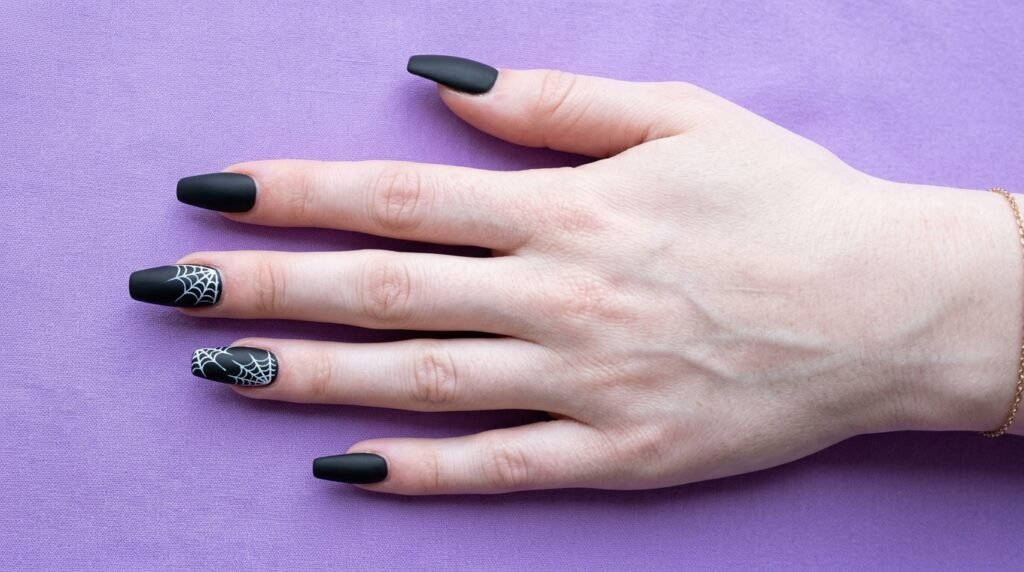
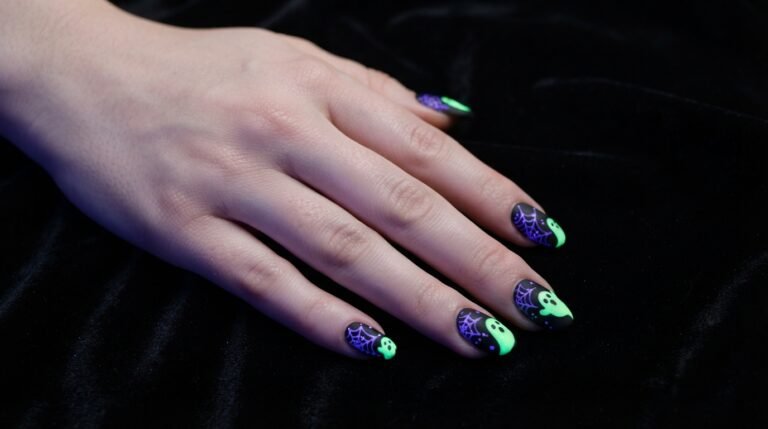
Spiderwebs look tricky, but a thin striping brush makes them super simple. First, paint your nail a solid color like matte black or vibrant orange. Next, place a small dot in one corner of your nail using white polish. Draw three or four straight lines radiating outward from that corner. Finally, connect those lines with tiny curved swoops to complete the web.
Ten-Minute Manicure Ideas for Busy Schedules
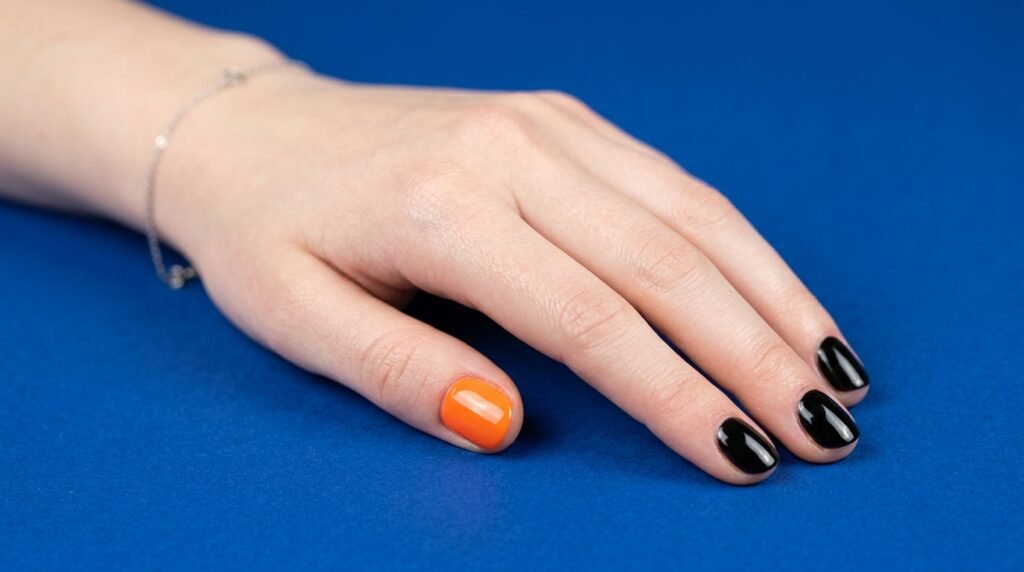
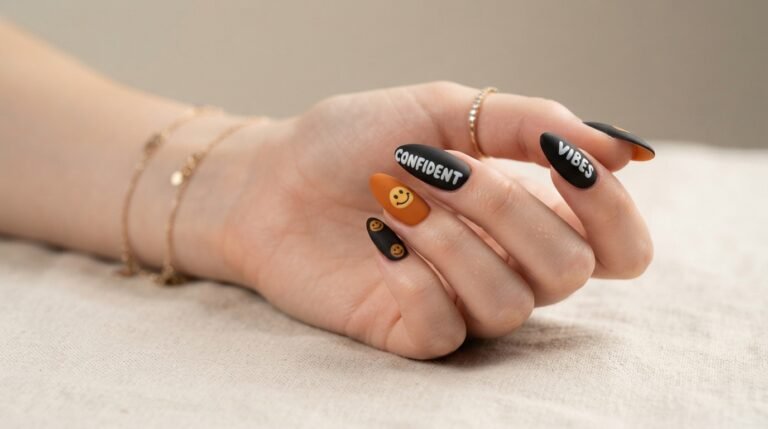
When you are short on time, the “candy corn accent” or “speckled matte” look is a lifesaver. Simply paint your nails a crisp glossy black, but leave one accent finger for a bright pumpkin orange. If you want a bit more flair, apply a matte top coat over the black nails. This contrast looks intentionally chic and takes under ten minutes to finish!
Visual Tricks to Lengthen Natural Nails
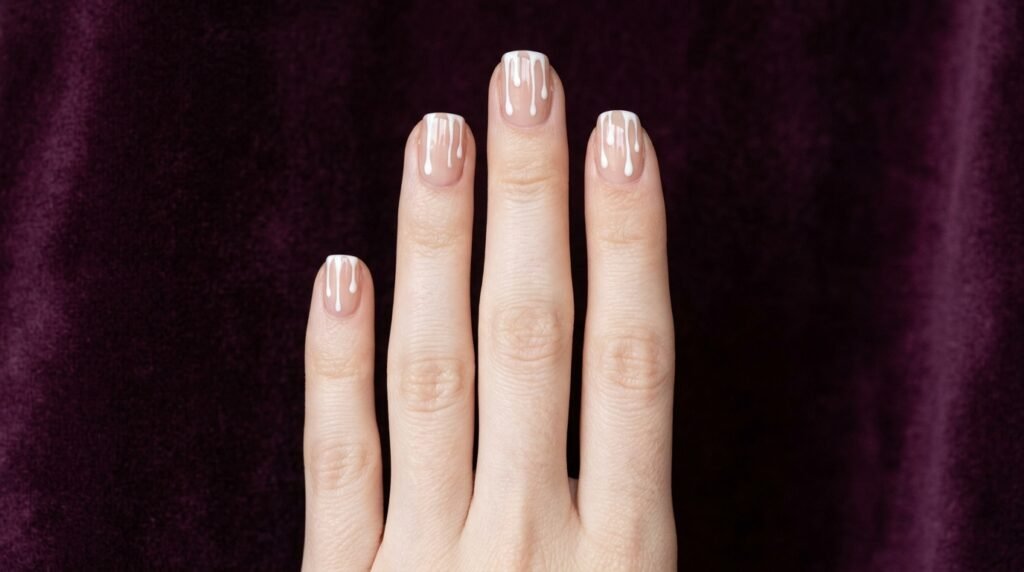
Vertical placement is the secret trick for lengthening the appearance of your nail bed! For example, paint vertical dripping blood lines from your cuticle downward rather than across the nail. Alternatively, place small ghosts or moon crescent designs right at the very tip. This draws the eye upward and creates the illusion of a longer, sleeker shape.
Playful Soft Pastel Halloween Aesthetics
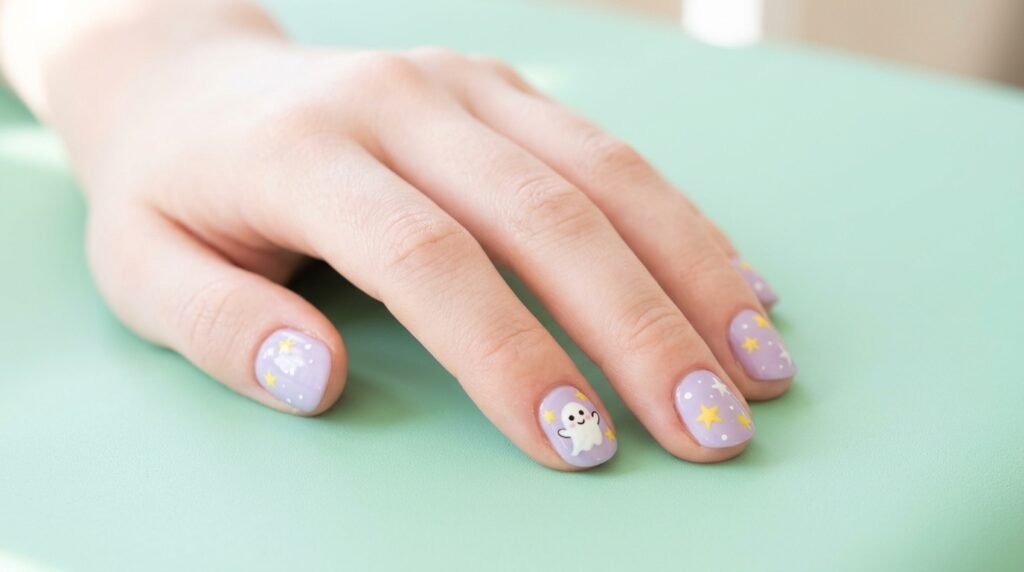
If you love sweet aesthetic styles over scary gore, try pastel spooky art! Swap out harsh black paint for soft lavender, sage green, or baby pink. Paint tiny smiling ghosts, pastel pink pumpkins, or cute little yellow stars across a nude base. This style feels festive for October, but it remains soft enough to wear everywhere.
Long-Lasting Nail Sticker Application Tips
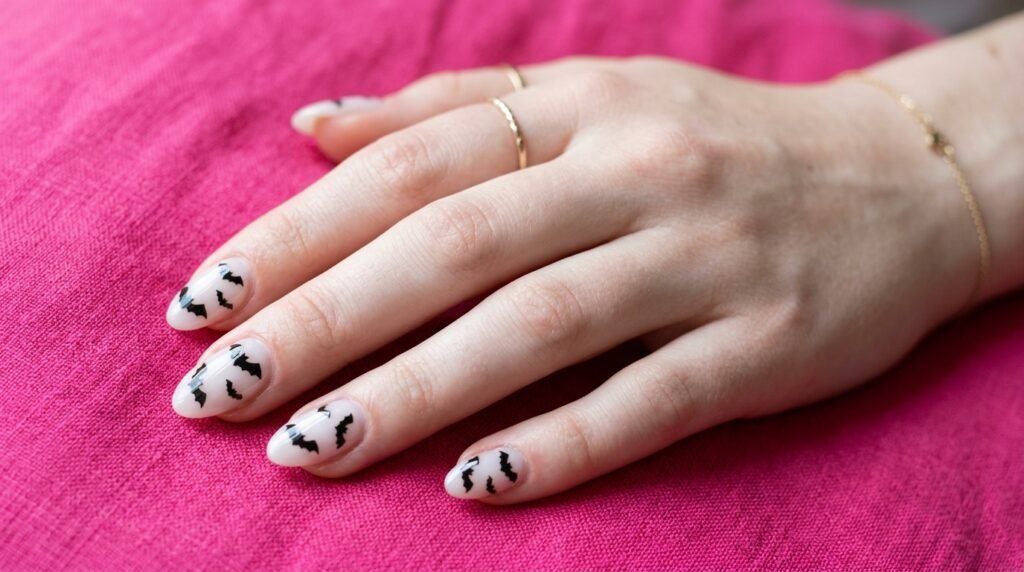
Nail stickers are the ultimate hack for instant spooky art, but they need proper prep. First, ensure your base polish is completely dry before placing the sticker with tweezers. Press the edges down firmly using a silicone pusher or your finger. Finally, seal the entire nail with a thick layer of top coat to prevent any lifting.
Essential Everyday Household Tools for Nail Art
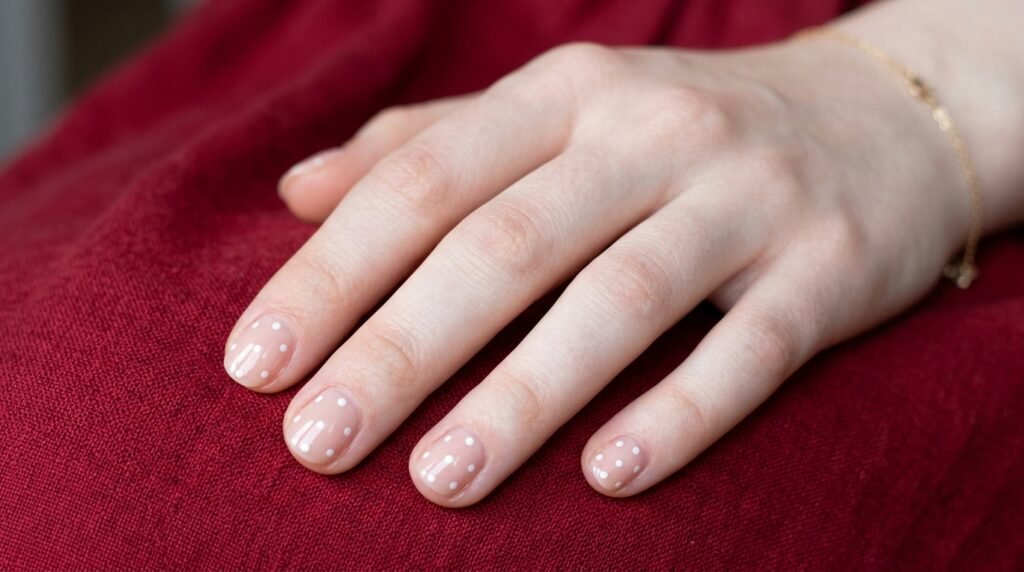
You do not need a professional kit to make great nail designs at home. A bobby pin works perfectly as a dotting tool for ghost eyes and polka dots. A trimmed fine-art paintbrush or even a wooden toothpick can handle fine lines easily. Clean up any accidental side smudges using a small makeup brush dipped in acetone.
Glossy Dripping Blood Accent Technique
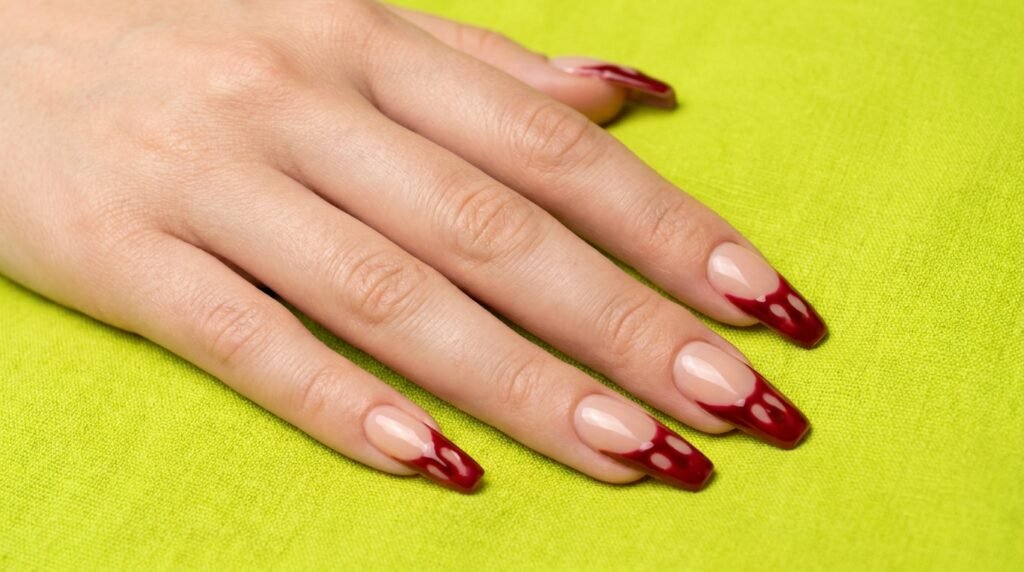
Start with a clean nude or pale pink base coat. Next, place three large dots of deep red or crimson polish near the tip of your nail. Use a toothpick to drag each dot upward toward the middle of your nail. Connect the tops of the lines along the tip to finish the drip shape. Finish with a high-shine top coat!
Modern French Tip Variations for Halloween
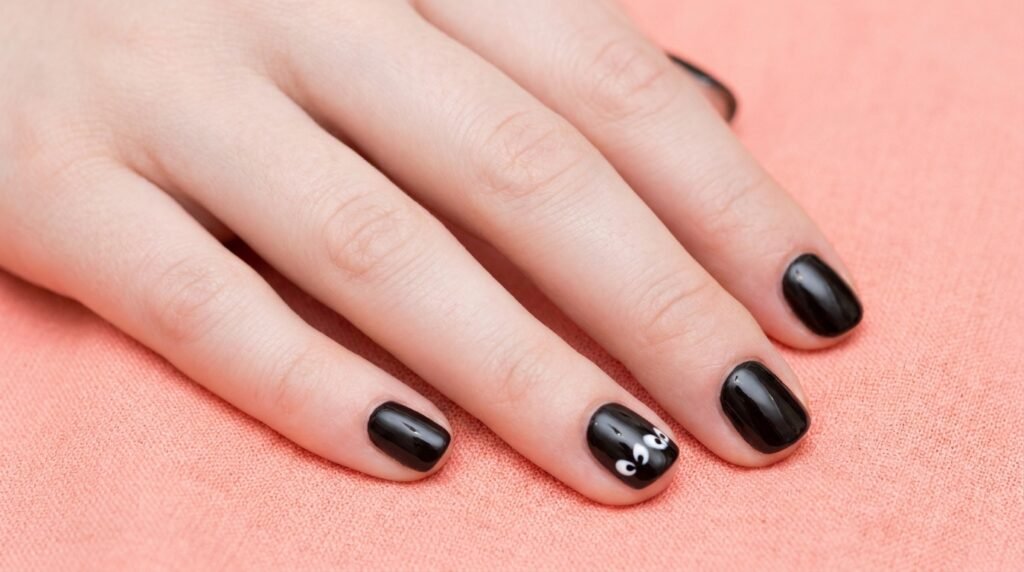
French tips look incredible with a seasonal twist on both short and long lengths! Instead of classic white, paint your tips in a glossy jet black or deep blood red. For a playful touch, turn one French tip into a curved ghost shape by adding two tiny eyes near the smile line. This keeps the look polished while adding seasonal fun.
High-End Matte and Glossy Contrast Textures
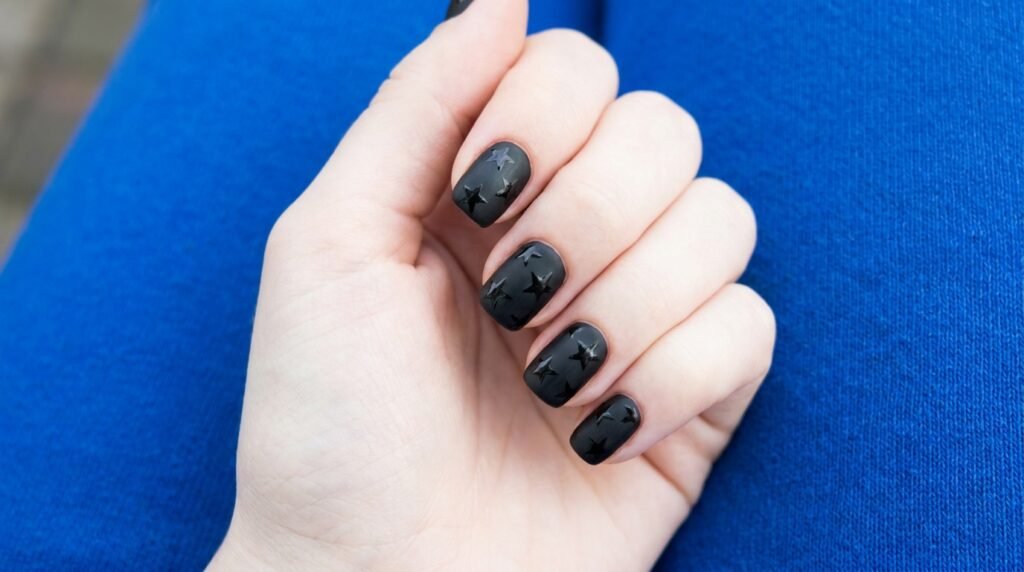
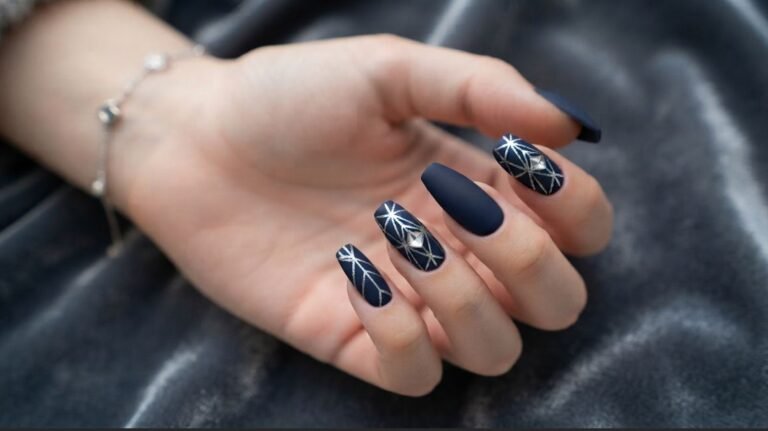
Matte black polish looks instantly sophisticated, especially on square or squoval nails. To elevate the look, mix textures by adding glossy black details over the matte base. For instance, paint your nails matte black, then use a glossy top coat to draw simple spiderwebs on top. The subtle shine shift looks expensive with minimal effort.
Subtle Professional Designs for the Workplace
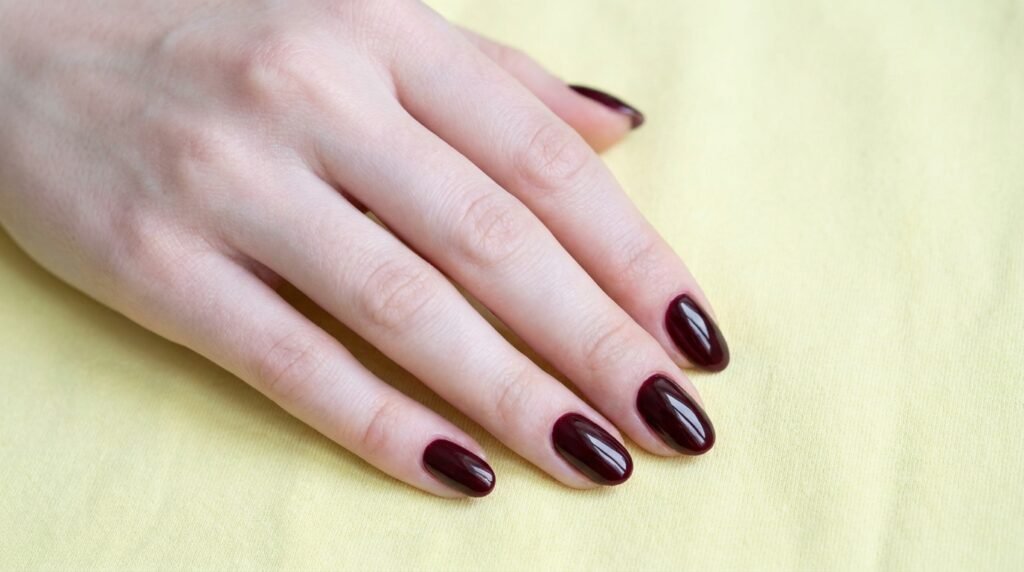
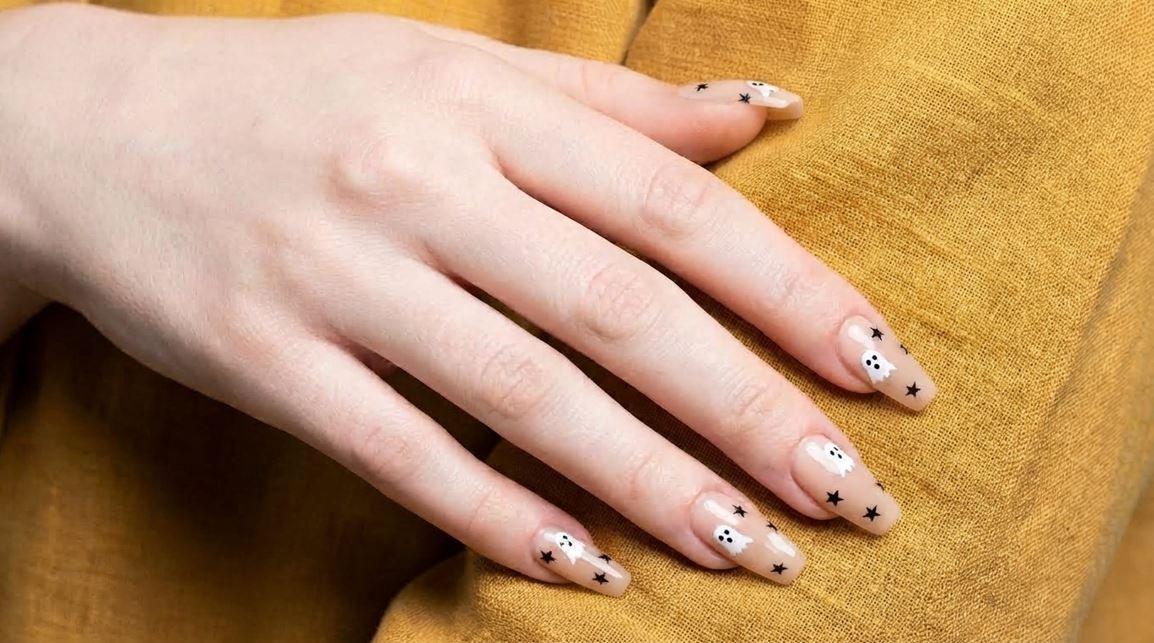
If your job requires a professional look, stick to minimal accent nails or deep seasonal colors. A rich dark burgundy or black-cherry polish feels perfectly seasonal without being loud. Alternatively, choose a sheer nude base with a single tiny black star on just your ring finger. It is subtle enough for work while keeping the spirit alive.
Salon Press-Ons Versus Hand-Painted Polish
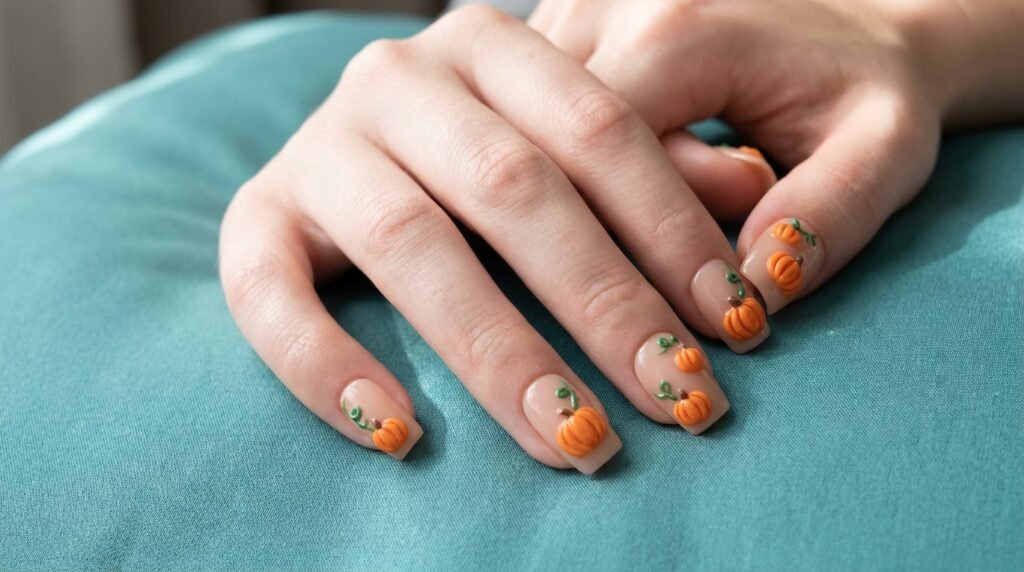
Press-ons are an amazing shortcut if you want intricate art like 3D pumpkins or detailed skeletons without salon prices. They take less than fifteen minutes to apply and last up to two weeks. However, if you prefer custom color combos or love switching your style frequently, DIY painting with natural polish gives you total creative freedom.
Tips for Opaque White Ghost Polish
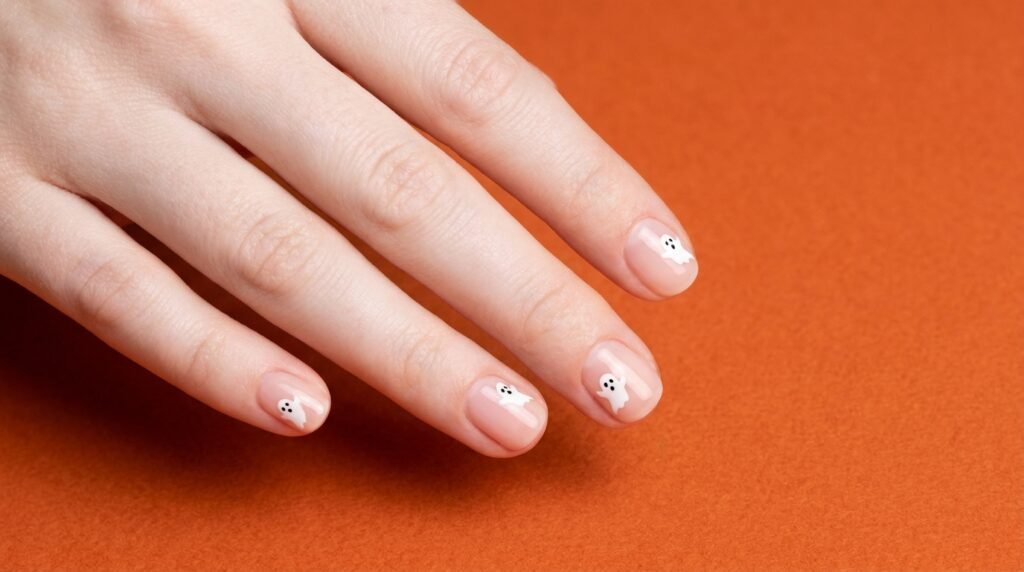
White polish can sometimes streak, which ruins the clean ghost look. To fix this, always apply two thin layers of white paint instead of one thick coat. Let the first layer dry before adding the second layer. If your white polish is still sheer, put down a layer of matte top coat first to help it grip.
Preventing Base Stains from Dark Seasonal Polishes
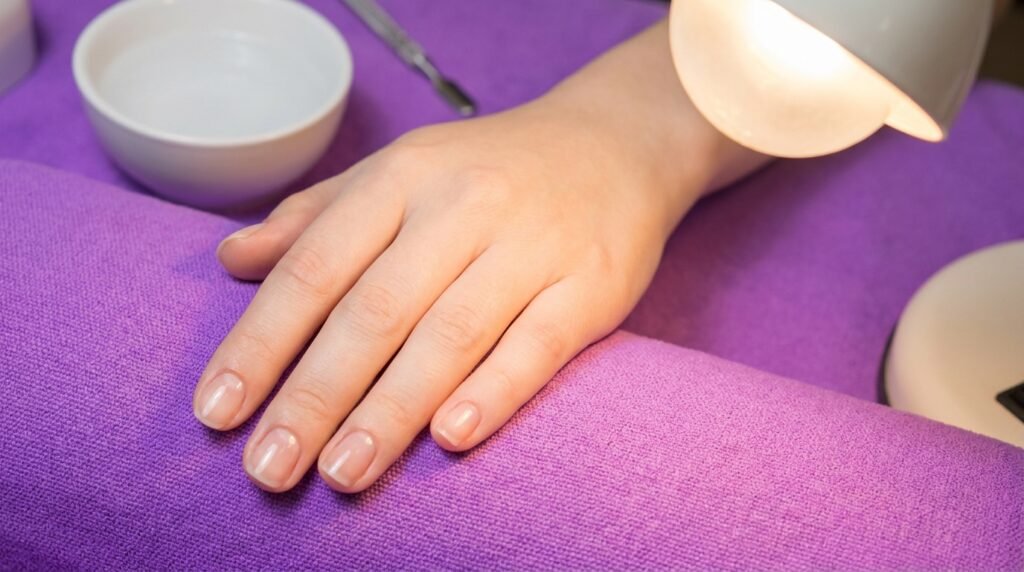
Dark shades like jet black, deep purple, and blood red love to leave yellow stains on natural nails. To protect your nails, never skip a high-quality base coat. Apply one full coat of clear base polish, paying extra attention to the tips. This creates a safe barrier so your natural nails stay clean and bright.
Frequently Asked Questions
How long does DIY Halloween nail art usually last on natural nails?
With a proper base coat and top coat, a natural nail manicure lasts about 5 to 7 days. Reapplying top coat every two days extends it to 10 days easily
What nail shape works best for spooky nail art?
Squoval and short round shapes are great for simple art, while almond and coffin offer extra space for detailed graphics.
Can I use gel polish instead of regular polish for ghost art?
Yes! Gel polish is easier for art because it won’t dry until you cure it under a lamp, letting you fix mistakes easily.
How do I remove dark black or red polish without staining my skin?
Soak a cotton pad in acetone, press it onto your nail for ten seconds, and wipe straight down toward the tip without rubbing.
Final Tips for Your Halloween Manicure
Now you have all the inspo and practical tips you need for your next spooky manicure! Whether you paint a single friendly ghost at home or show your nail tech a minimal black tip design, any nail shape can rock Halloween art. So, pick your favorite look, grab your polish, and get creative! Which design are you going to try first? Save this post for your upcoming appointment!

Mia founded Daily Nail Idea after a decade in beauty editorial, tired of watching great nail art disappear into the scroll. She now leads the team’s editorial direction — deciding what’s worth featuring and what’s just noise — and still paints her own nails every Sunday night, no exceptions.