Simple Ghost Nails: Matte Black Halloween Nail Art with Stars 2026
Are you sitting in your nail technician’s chair right now, scrolling through Pinterest, completely undecided on your next spooky set? Picking a design for October feels overwhelming when you want something seasonal yet chic. You might worry about picking an intricate look that takes hours, or ending up with a childish design that clashes with your daily outfits.
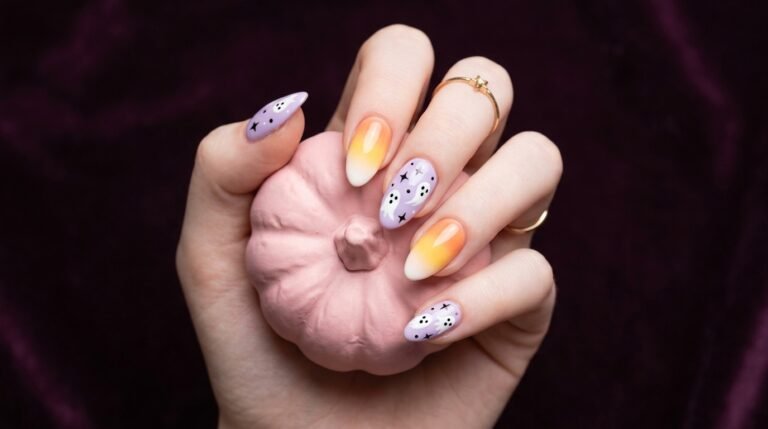
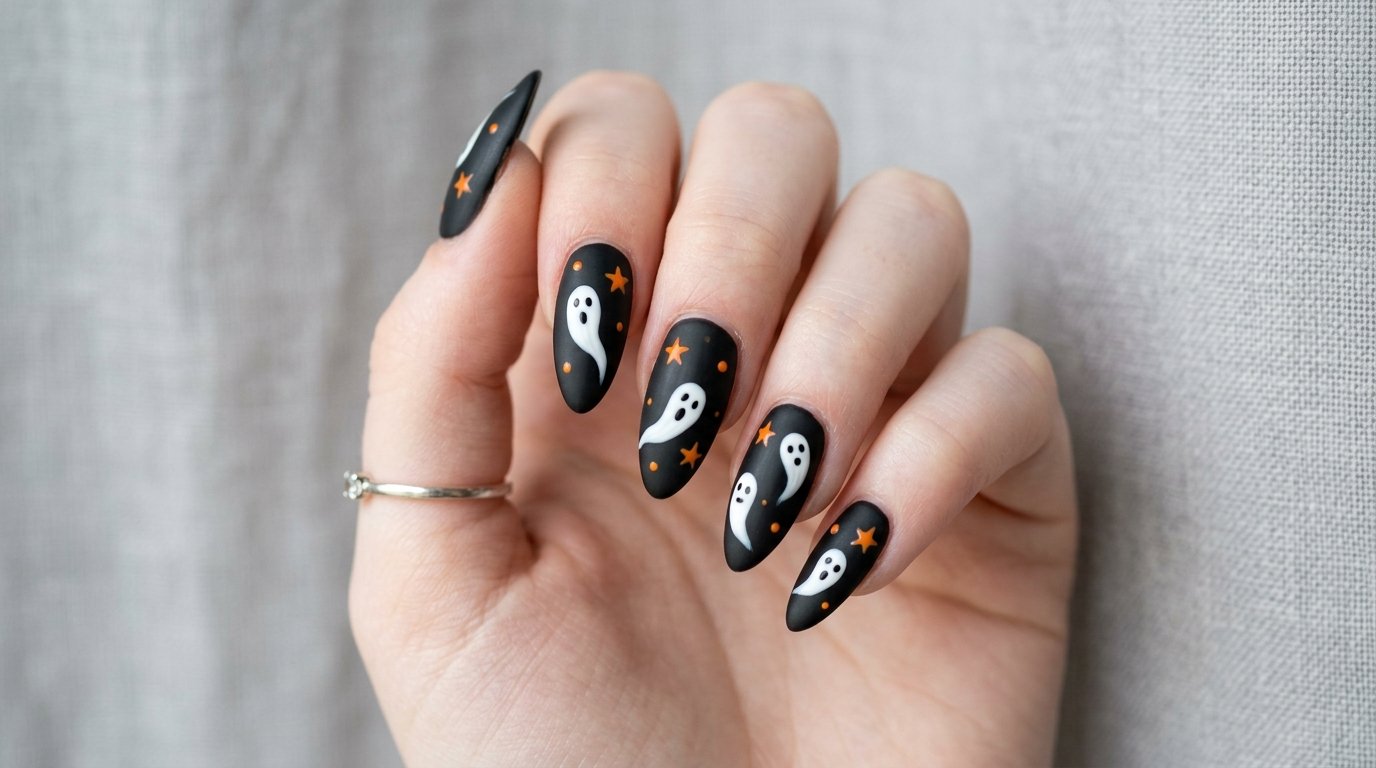
This simple ghost nails tutorial solves that exact dilemma. By pairing a deep velvet matte black base with crisp, playful white ghosts and tiny orange stars, you get a high-contrast manicure that feels polished and perfectly spooky. Whether you plan to ask your tech for this exact look or tackle a DIY session at home this evening, this step-by-step breakdown gives you all the tools, shapes, and technical secrets you need.
At-a-Glance Summary & Core Context
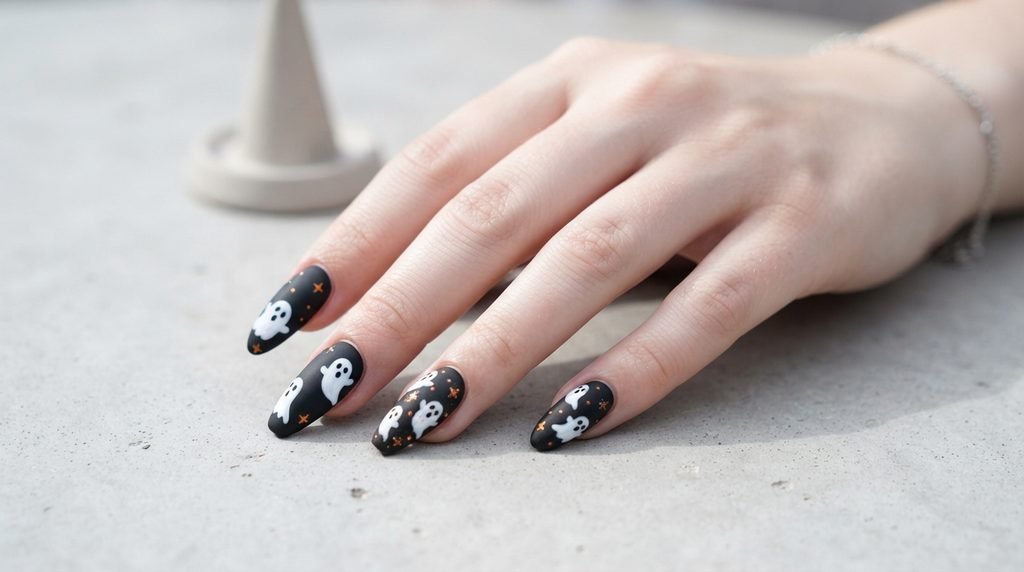
Before diving into our technical steps, let’s review the core design specs for this simple halloween nails set. This quick summary previews the foundation elements, ideal nail shapes, and expected wear longevity to help you decide if this set matches your schedule and skill level.
| Spec Attribute | Primary Recommendation | Alternative Option |
| Base Shade & Opacity | Opaque Deep Black (Matte Finish) | Sheer Nude or Dark Charcoal Grey |
| Key Accent Tech | White Pigment Paint & Dotting Tool Stars | Water Decals or Vinyl Stencils |
| Ideal Nail Shape | Medium Almond or Soft Squoval | Short Square or Coffin |
| Skill/Difficulty Level | Beginner to Intermediate | Pre-made Press-On Nails |
| Expected Wear Longevity | 2 to 3 Weeks (Gel System) | 5 to 7 Days (Standard Polish) |
| Recommended Topcoat Finish | Velvet Non-Wipe Matte Topcoat | High-Shine Glossy Topcoat |
The Core Anatomy of the Simple Ghost Nails Aesthetic
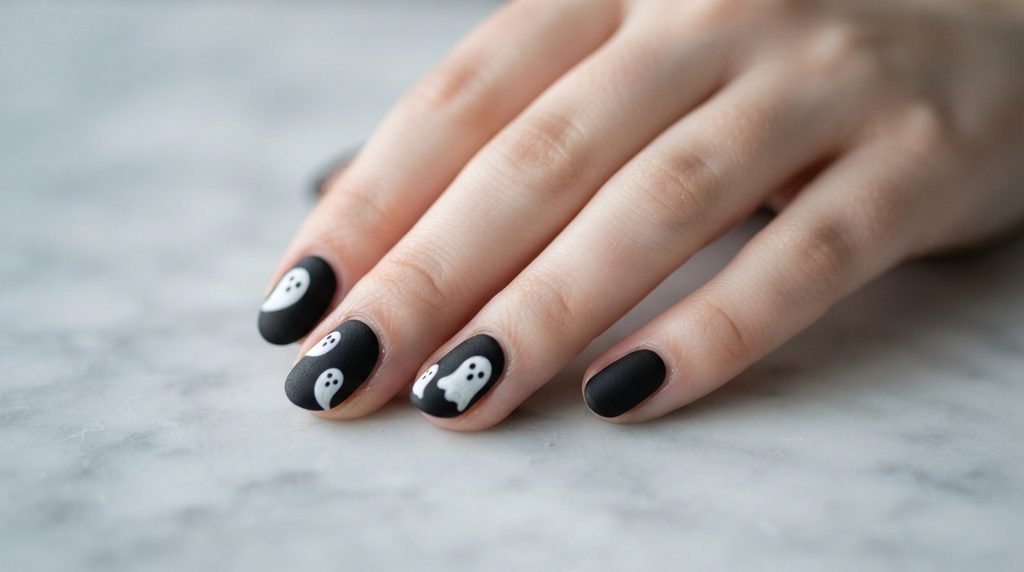
First and foremost, understanding color theory helps make this minimalist design pop. The high-contrast palette relies on extreme value difference. Pure white gel paint instantly draws the eye against an opaque black base.
Alternatively, opting for a velvet matte topcoat changes how light bounces off the nail plate. Glossy black bases reflect surrounding room lights, which can obscure small, detailed art. Conversely, a matte surface absorbs light, providing a flat canvas where crisp white cartoon ghosts and tiny orange star accents stand out cleanly.
Nail Plate Preparation for Maximum Adhesion
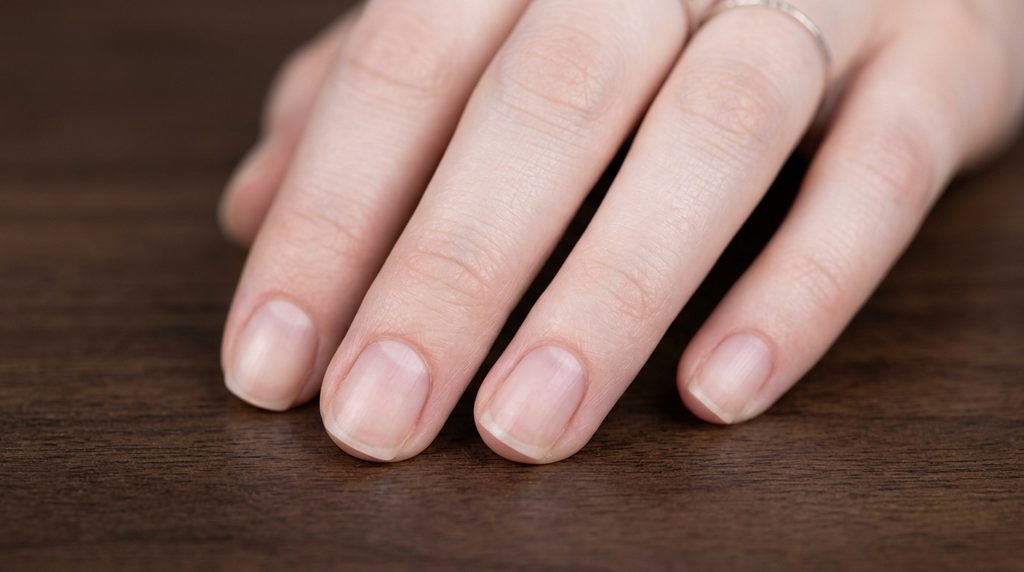
Following this, a successful long-lasting manicure requires meticulous mechanical and chemical surface preparation. Any residual cuticle tissue or natural oil left on the nail plate guarantees premature gel lifting.
[Prep Step 1: Push Cuticles] -> [Prep Step 2: Gentle Surface Buffing] -> [Prep Step 3: Alcohol Dehydration]
Begin by pushing back the eponychium with a metal cuticle pusher. Gently buff away the shine using a 240-grit buffer. Subsequently, wipe the nail plate with 99% isopropyl alcohol to dehydrate the surface before applying your pH-balancing bond primer.
Base Layer Selection: BIAB, Hard Gel, vs. Natural Base
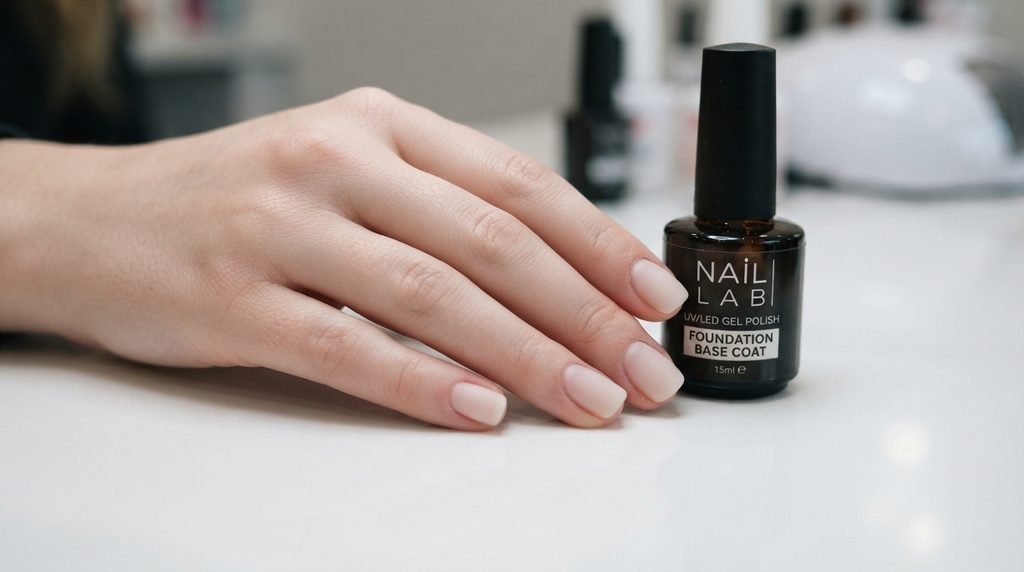
Keep in mind that choosing the correct structure coat depends on your natural nail strength and desired length. Builder in a Bottle (BIAB) offers excellent flexibility for natural nails, reinforcing thin plates so your art doesn’t crack under stress.
While traditional gel bases work well for short manicures, hard gel provides structural integrity for extended tip extensions. As a result, hard gel prevents free-edge bending, which keeps your matte topcoat from micro-crazing over time.
Applying the Base Polish Layer Without Pooling
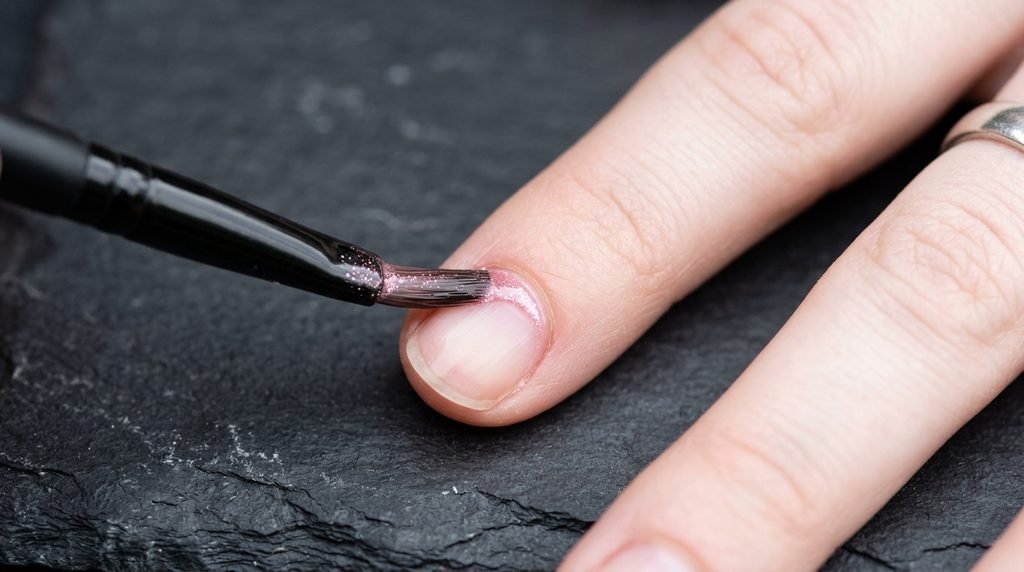
To prevent gel flooding, master your brush control during the initial black base coat application. Dip your brush into the bottle and wipe one side completely clean against the neck to control gel volume.
[Place Brush 1mm from Cuticle] -> [Push Gently Toward Line] -> [Pull Smoothly to Free Edge]
Place the brush drop approximately away from the cuticle line. Gently push toward the fold without touching skin, then pull smoothly to the free edge. Flash-cure each finger for 10 seconds if you notice the gel running into the sidewalls.
Nail Shape Adaptation: Short Natural & Squoval Beds
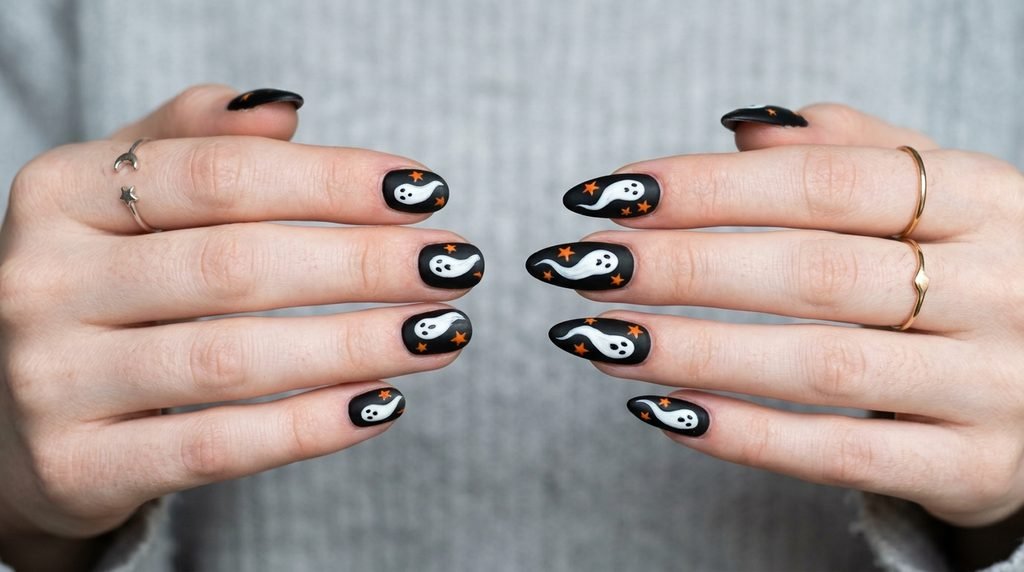
Importantly, cute halloween nails work on any length. When working on short squoval natural nails, scaling your art elements is essential to maintain visual balance.
Place a single, slightly smaller ghost accent on two focal fingers, such as the middle and ring nails. Keep the remaining nails solid matte black with just one or two scattered orange dot stars to prevent a crowded appearance.
Nail Shape Adaptation: Almond, Coffin, & Stiletto Extensions
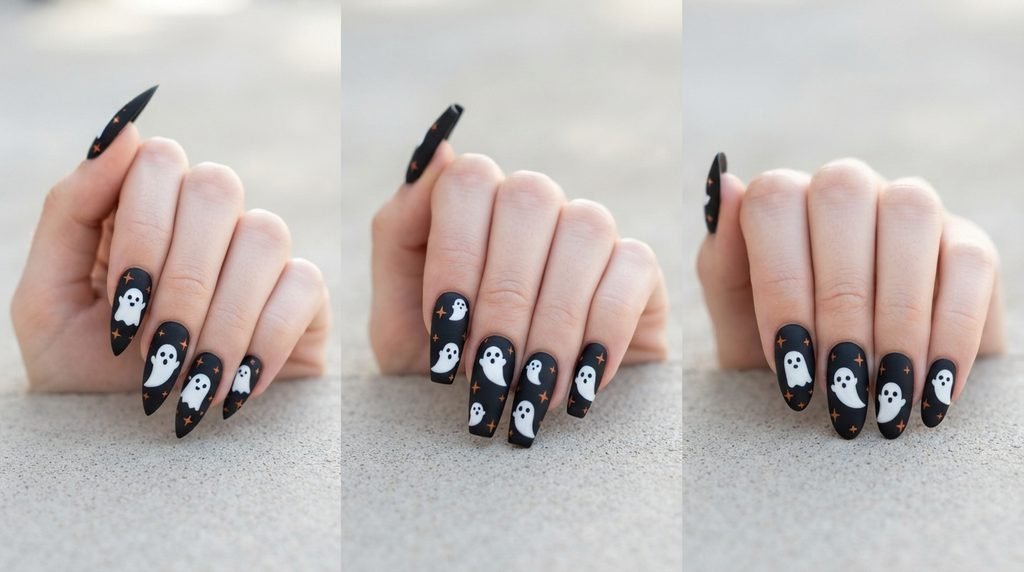
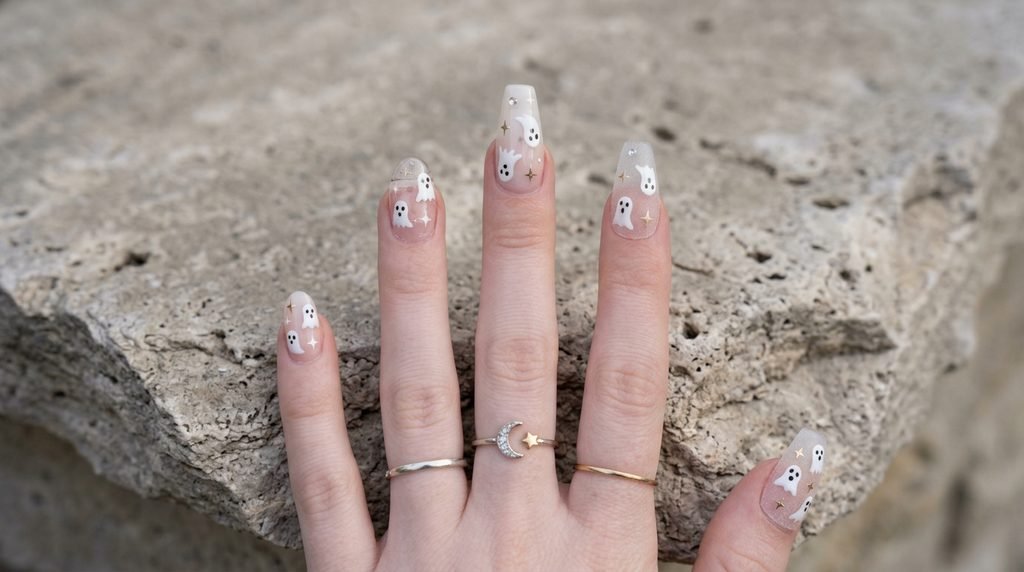
Extended canvases like almond, coffin, or stiletto extensions give you room for dynamic placement. On longer tips, you can elongate the ghost trail with flowing tail curves that follow the nail’s apex.
Alternatively, position your ghost off-center near the free edge, using the negative space near the cuticle fold for clusters of hand-painted orange stars and white dots.
Color Palette Variations & Seasonal Shifts
While our primary design uses matte black, white, and orange, you can easily adapt this color palette for different moods. Replacing the black base with a deep plum purple or midnight blue offers a softer look while keeping the spooky theme intact.
Similarly, you can swap the bright orange star accents for burnt copper, metallic gold foil, or neon green accents to match your Halloween party outfit.
Step 1: Precision Foundation & Primer Setup (DIY)
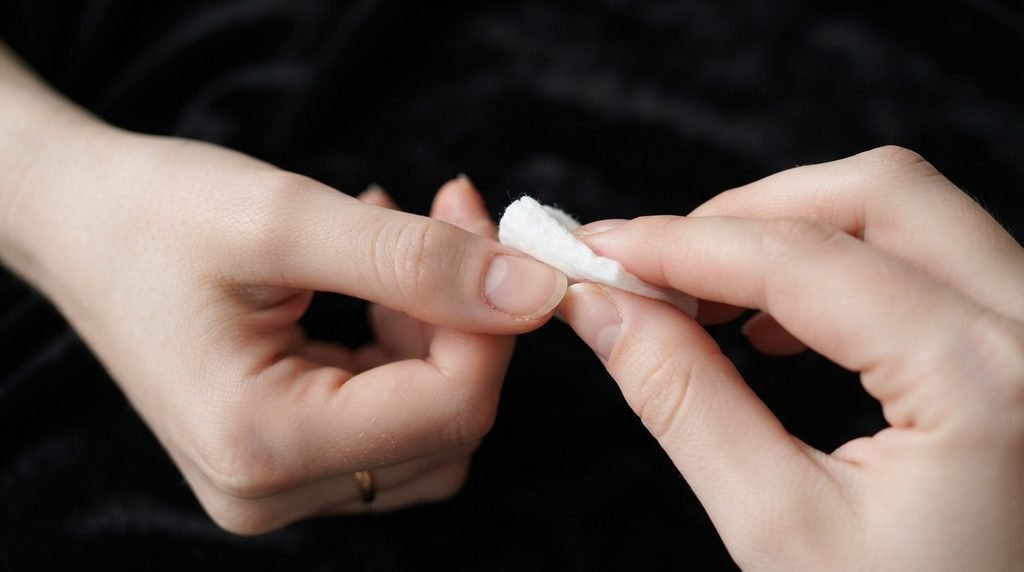
Once cured, ensure your natural prep work is complete before applying your black gel base coat. Work in thin layers; two thin coats of black gel cure far more reliably than one thick, heavy layer.
Cure each thin black layer under your LED lamp for 60 seconds. Inspect the sidewalls from the side view to ensure full opacity without dark shadows along the lateral folds.
Step 2: Drawing Core Accent Lines & Placement Framing
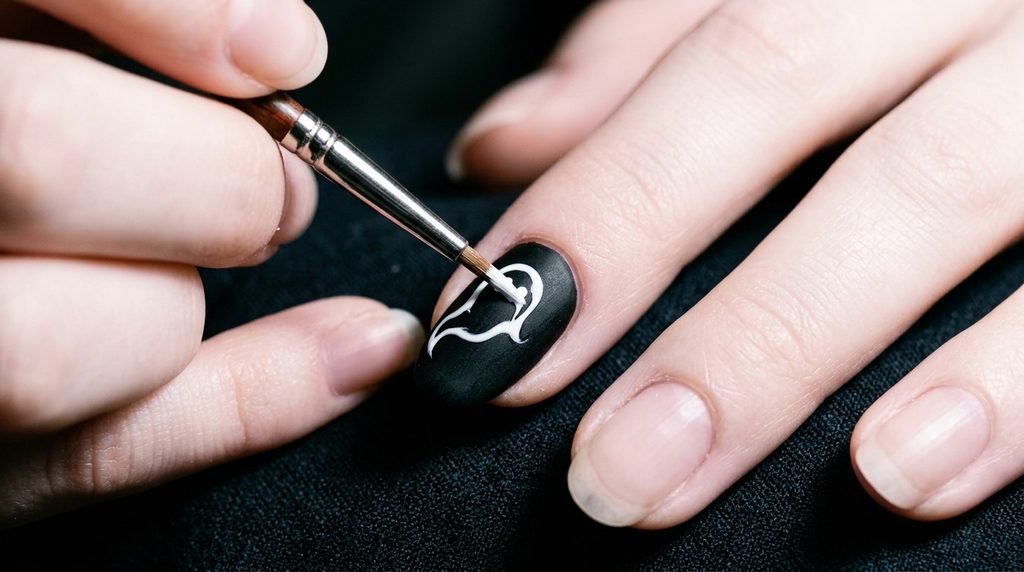
Moving to the next step, create your cute cartoon ghost shapes using a medium dotting tool and a fine liner brush. Place a large dot of white gel paint near the center of the nail to serve as the ghost’s head.
[Place White Gel Dot] -> [Drag Gel Downward with Liner Brush] -> [Create Wavy Bottom Tail]
Using your fine liner brush, gently pull the white gel downward to shape the body and soft wavy bottom tail. Cure this layer for 30 seconds to lock the ghost outline in place.
Step 3: Application of Textures, Powders, or Foils
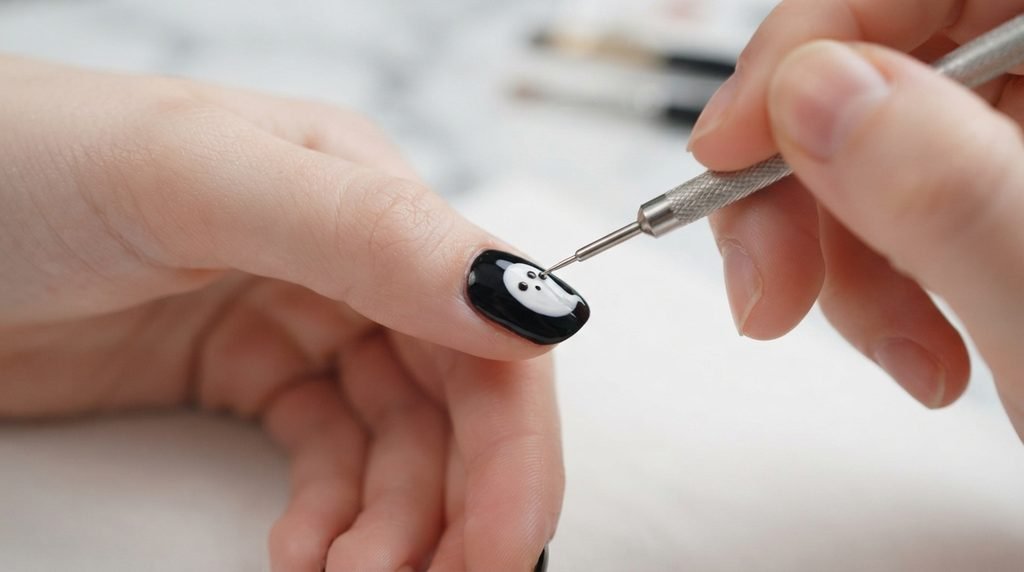
Crucially, add the face features and background stars once the white base ghost shapes are cured. Dip the tiny tip of a micro dotting tool into black gel polish, then dot two small eyes onto the ghost face.
To paint the star accents, use your liner brush to draw a small orange cross, adding diagonal ticks in the center. Add tiny white dots around the ghost using a dotting tool to simulate starry space background details.
Step 4: Capping the Free Edge & Dual Topcoat Sealing
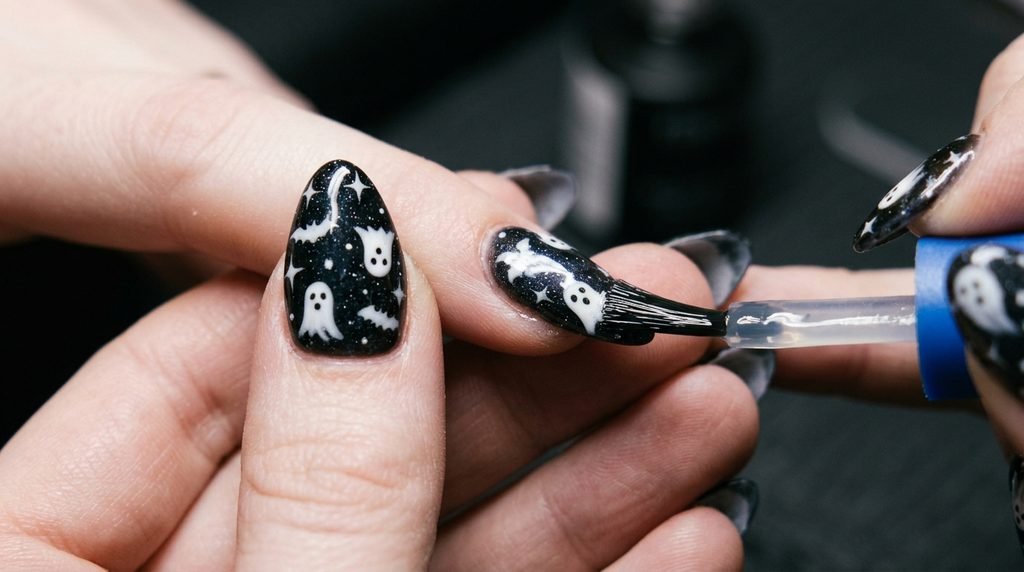
This step ensures your nail art lasts without chipping at the tips. Apply a thin layer of clear builder gel or shiny topcoat to level the accent art, capping the free edge tip securely.
Subsequently, finish the design with a velvet non-wipe matte topcoat over the entire nail plate. Cure for a full 60 to 90 seconds to lock in that plush, non-reflective finish.
Method Comparison: DIY vs. Salon vs. Press-Ons
| Method | Cost Estimate | Application Time | Longevity | Best Suited For |
| At-Home Gel System | $25–$45 (Initial Kit) | 60–90 Minutes | 2–3 Weeks | DIY Enthusiasts & Artists |
| Professional Salon Visit | $65–$100+ | 45–60 Minutes | 3+ Weeks | Flawless Shape & Speed |
| Pre-Made Press-On Nails | $15–$25 | 15 Minutes | 5–10 Days | Quick Weekend Events |
| Decal/Wrap Alternative | $10–$15 | 30 Minutes | 1–2 Weeks | Beginners Wanting Detail |
Professional Salon Communication Guide & Exact Phrasing
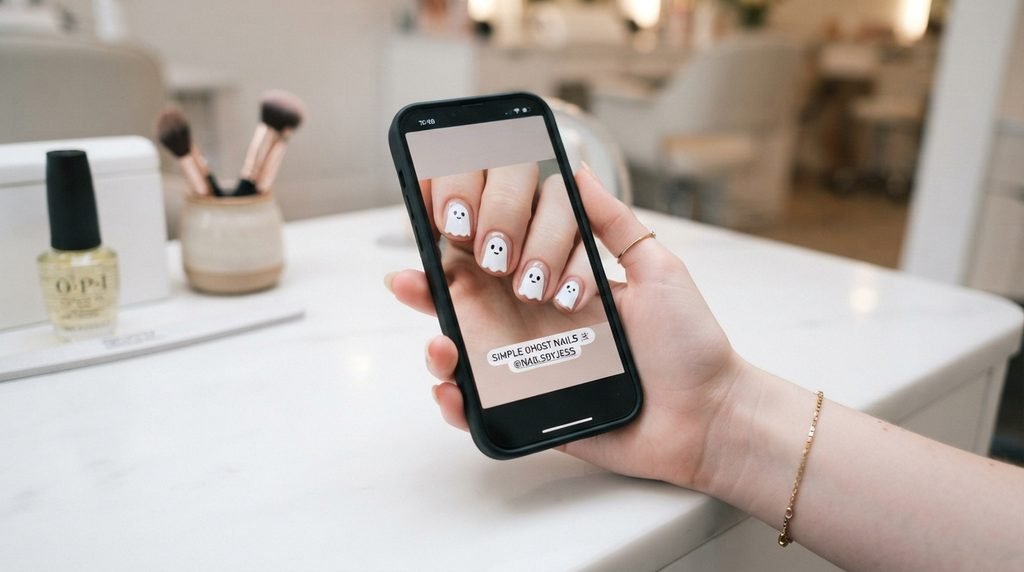
From a professional standpoint, bringing a reference photo is the best way to get exact results at your salon. However, using precise industry terminology helps your technician understand your goals clearly.
Tell your nail technician: “I would like a short almond gel manicure with an opaque matte black base coat. On two accent nails, I’d like hand-painted white cartoon ghosts with black dot eyes, surrounded by tiny orange star accents and a soft velvet matte topcoat finish.”
Time & Service Allocations to Request at the Salon
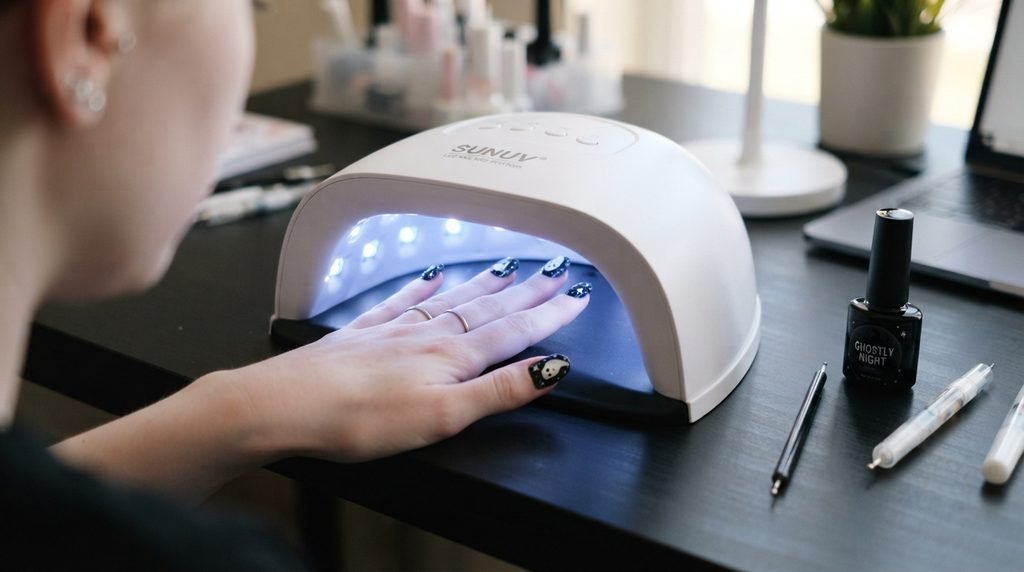
When booking your appointment online or over the phone, reserve the correct art tier so your technician isn’t rushed. Simple hand-painted line work and star accents typically fall into Tier 2 Simple Art services.
Allow an extra 15 to 20 minutes on top of your standard gel manicure time slot. This ensures enough time for hand-patience line detailing and full LED cure cycles.
Ready-Made & Press-On Alternatives for Instant Wear
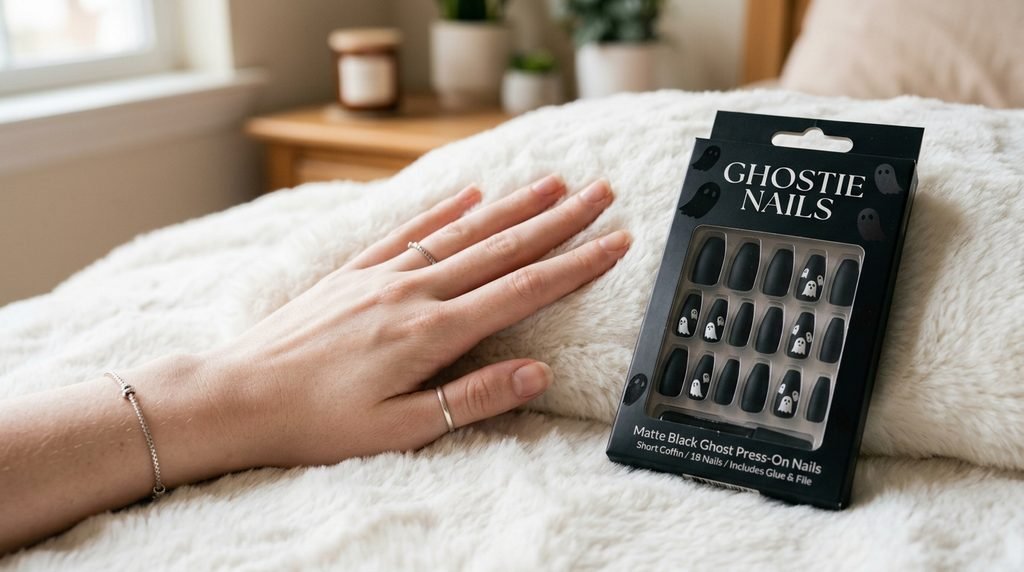
Alternatively, if you’re short on time before an event, high-quality press-on ghost nails provide a quick alternative. Select a set made from soft gel material for comfortable flexibility over your natural nail curves.
Gently etch the underside of the press-on nail and your natural nail plate using a 180-grit file. Apply professional liquid nail glue, hold firm pressure for 15 seconds, and enjoy instant spooky nails without curing time.
Troubleshooting Streakiness, Shrinking, & Uncured Layers
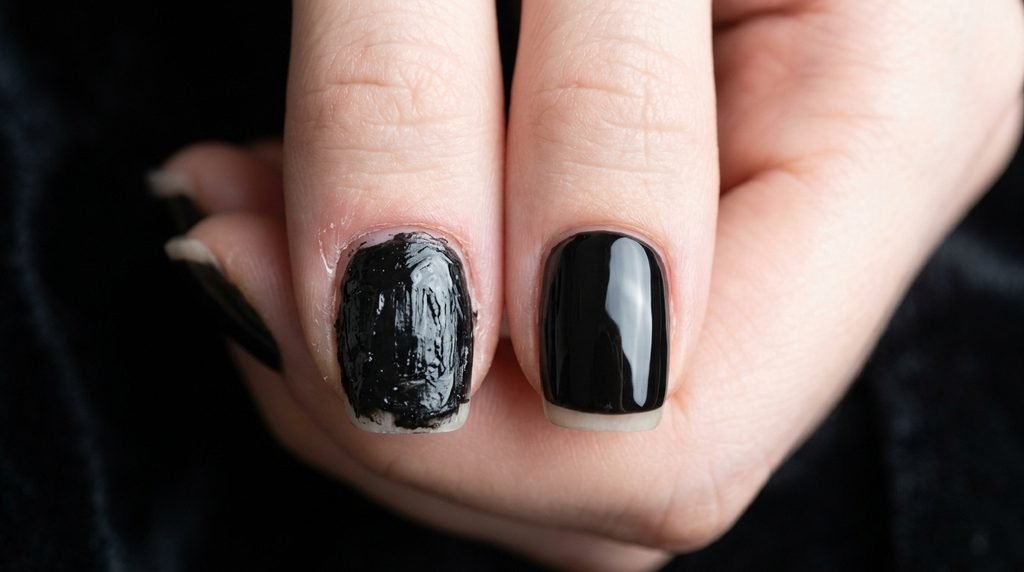
Consequently, black gel polish can sometimes wrinkle if applied too thickly. Black pigments block UV/LED light penetration, leaving uncured, runny gel trapped beneath a cured surface layer.
To prevent this issue, apply three whisper-thin coats of black gel rather than two medium coats. Furthermore, ensure your LED curing lamp operates at a minimum of 48W with proper diode placement.
Fixing Dull Finishes, Accent Chipping, & Edge Peeling
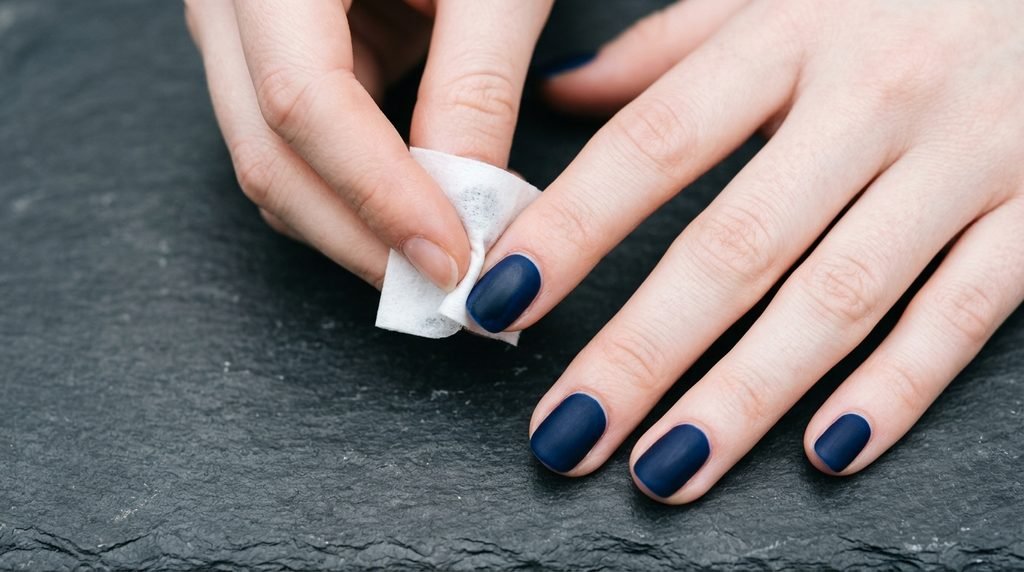
On the other hand, matte topcoats can gather dust and oil from hand creams over time, making them look dirty. Clean your matte nails using a lint-free wipe saturated with isopropyl alcohol to restore that fresh velvet finish.
If your painted star accents chip early, you likely forgot to encapsulate them. Always apply a clear leveling gel layer over your painted elements before applying your final matte topcoat.
Daily Aftercare & Cuticle Oil Maintenance Protocols
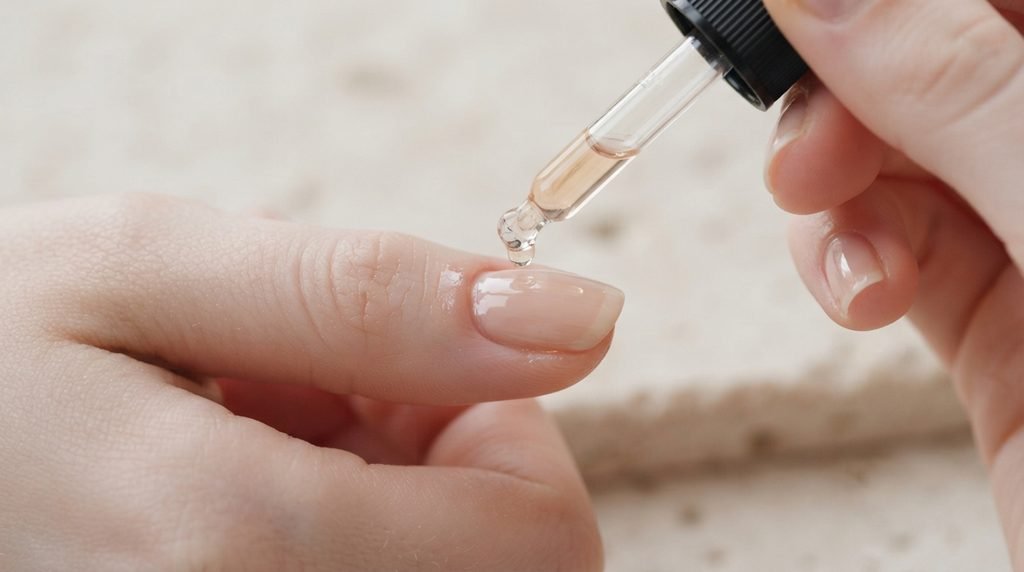
Thereby preventing side lifting, apply jojoba-based cuticle oil to the surrounding skin folds twice daily. While matte gel polish repels water, your natural nail bed underneath needs regular hydration to stay flexible.
Keep in mind that you should wear protective rubber gloves when washing dishes or using cleaning chemicals. Harsh solvents degrade topcoat seals, causing edge peeling and dullness. [Internal link opportunity: → Aesthetic & Mood-Based/Nail Care Master Guide]
Master Blueprint: Reproducing Simple Ghost Nails Step-by-Step
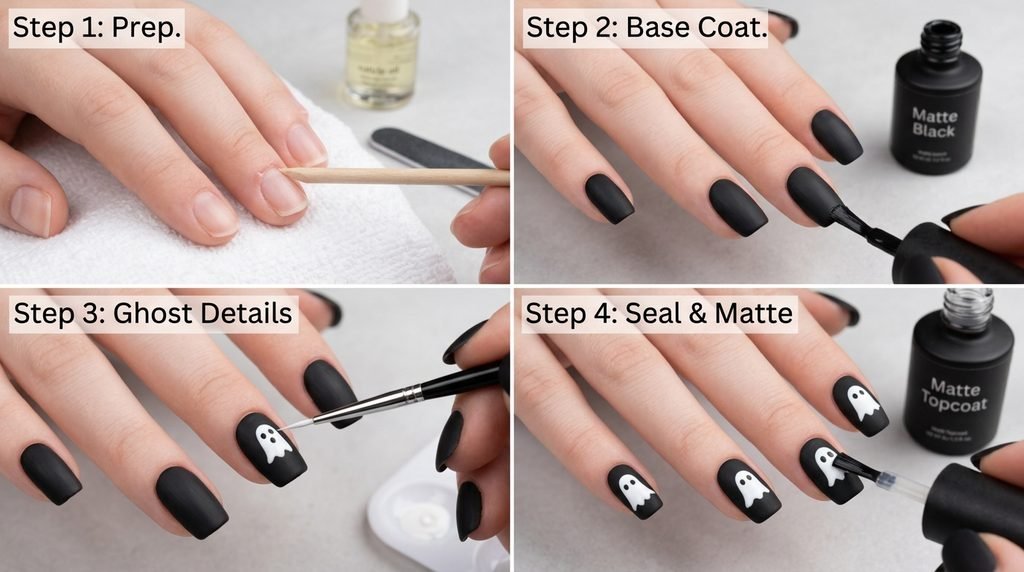
Here is your quick step-by-step summary checklist for creating this look at home:
- Dehydrate and prime prepped natural nails.
- Apply thin gel base coat; cure for 30s.
- Apply two thin coats of black gel polish; cure 60s per coat.
- Dot and drag white gel paint into ghost shapes; cure 30s.
- Add black dot eyes and hand-paint orange stars; cure 30s.
- Cap free edge with clear gel builder layer; cure 30s.
- Apply non-wipe matte topcoat; cure for a full 60s.
Complementary Accent Ideas & Matching Pedicure Styles
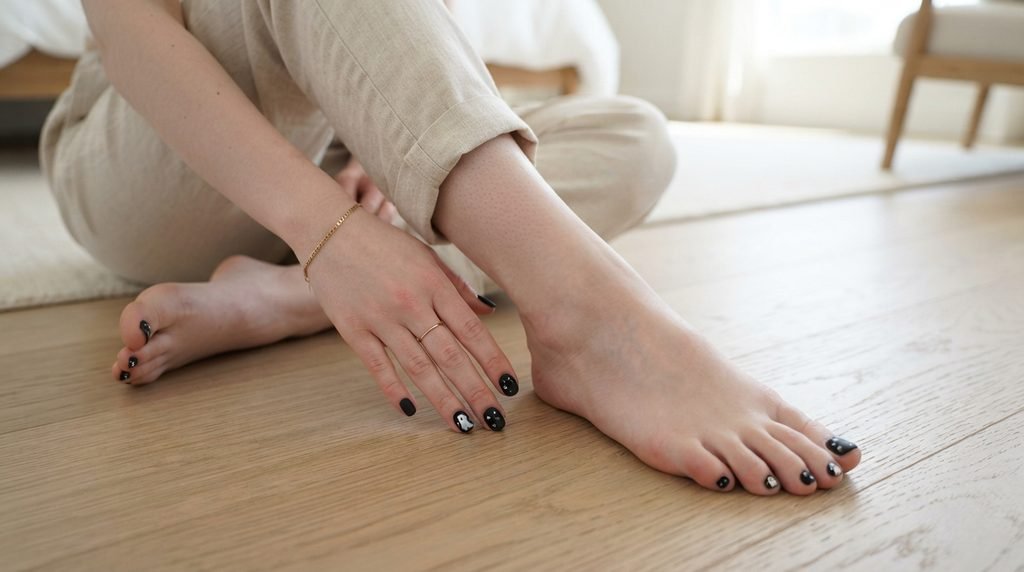
Lastly, extend your spooky style down to your toes with a matching pedicure. Paint your toes in solid opaque black, adding a single ghost accent on your big toe for a coordinated look.
Alternatively, switch up the hand accents by swapping the stars for small white crescent moons or silver chrome dots to add extra sparkle to your matte set.
Frequently Asked Questions About Simple Ghost Nails
Q1: How long does this design typically last with gel polish versus regular lacquer?
With proper nail plate prep and gel encapsulation, this matte ghost nail design lasts 2 to 3 weeks without chipping. Regular air-dry nail lacquer typically lasts 5 to 7 days before showing wear at the free edges.
Q2: Can I execute this art on natural nails without gel extensions?
Yes! You can paint this art directly on natural nails using standard nail lacquer or gel overlay systems. Simply use a fine detail brush and steady your hand on a flat table while detailing.
Q3: How do I prevent surface accents from rubbing off at the tips?
Always seal your hand-painted ghosts and stars under a clear layer of builder gel or base coat before applying your final matte topcoat. Capping the free edge tip seals the art layers securely.
Q4: What is the easiest way to remove this set without damaging the natural nail plate?
Gently file off the top matte seal layer using a 100/180 grit nail file. Wrap nails in cotton pads soaked with 100% pure acetone and secure with foil clips for 15 minutes before sliding off the softened gel gently.
Conclusion
Now that you have the complete blueprint for this matte black ghost set, you’re ready for your next manicure! Save your favorite design photo to show your nail technician at your next appointment, or gather your detail brushes for a fun DIY session tonight.
Which element will you try first—the velvet matte black finish or the cute star accents?

Mia founded Daily Nail Idea after a decade in beauty editorial, tired of watching great nail art disappear into the scroll. She now leads the team’s editorial direction — deciding what’s worth featuring and what’s just noise — and still paints her own nails every Sunday night, no exceptions.