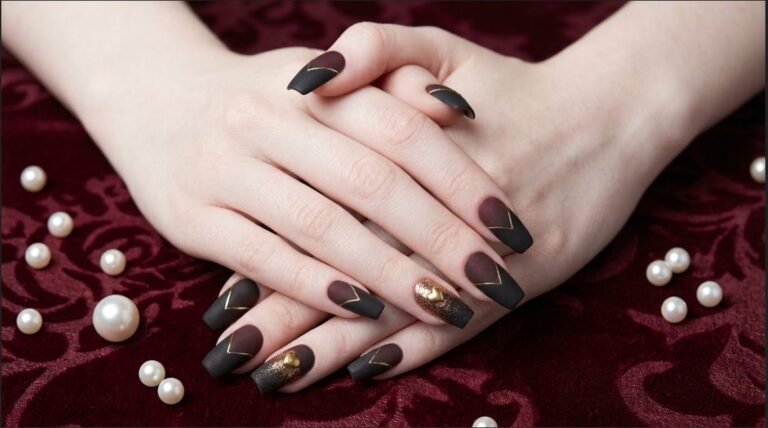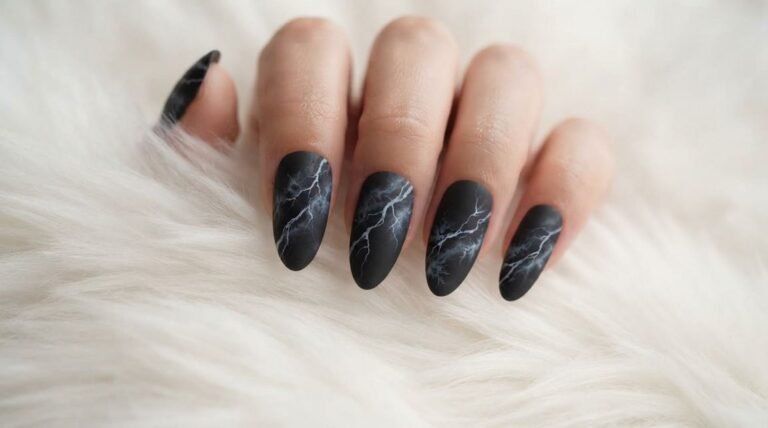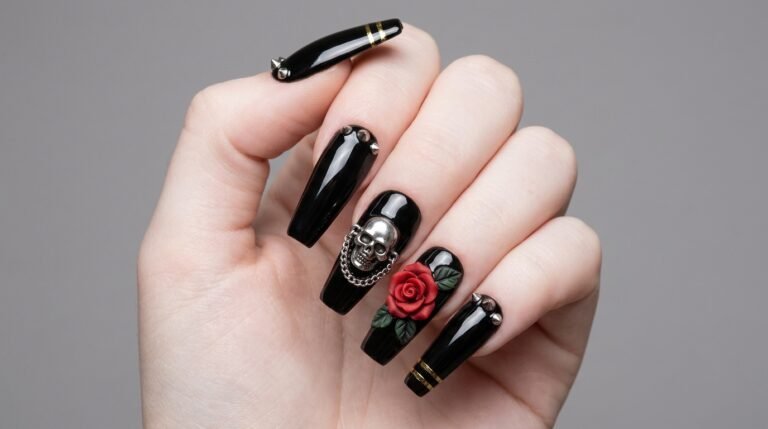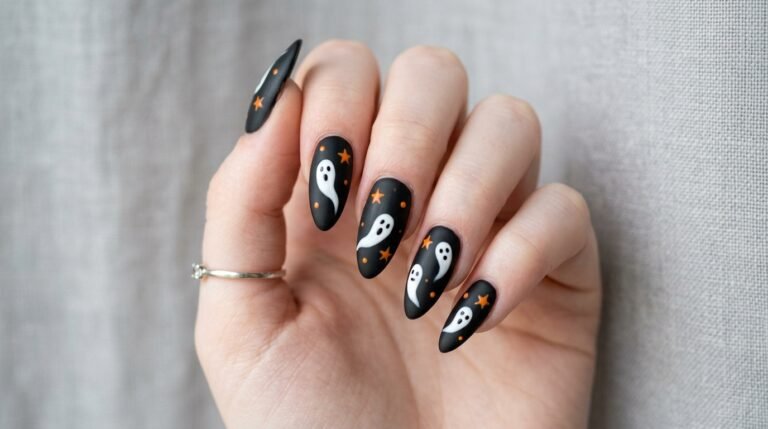
Cute Black Cat Nails: Matte Butter Yellow Halloween Design 2026
Sitting in the salon chair and staring at a blank color ring is exhausting. You want a spooky look, but you do not want dark, heavy tones all month long.
If you saved a cute cat nail photo online, you are in the right spot. I am sharing my exact salon-tested formula for black cat nails that feel cozy, bright, and perfectly spooky.
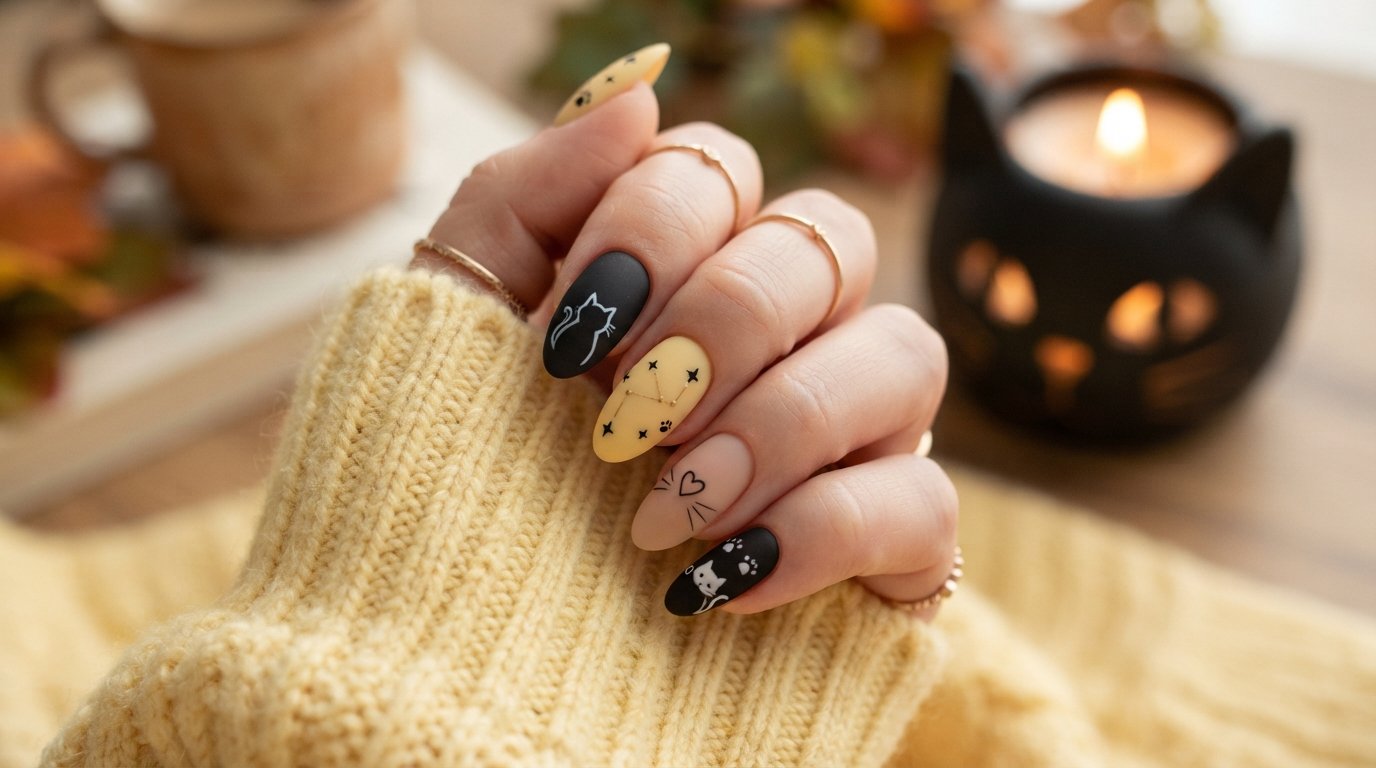
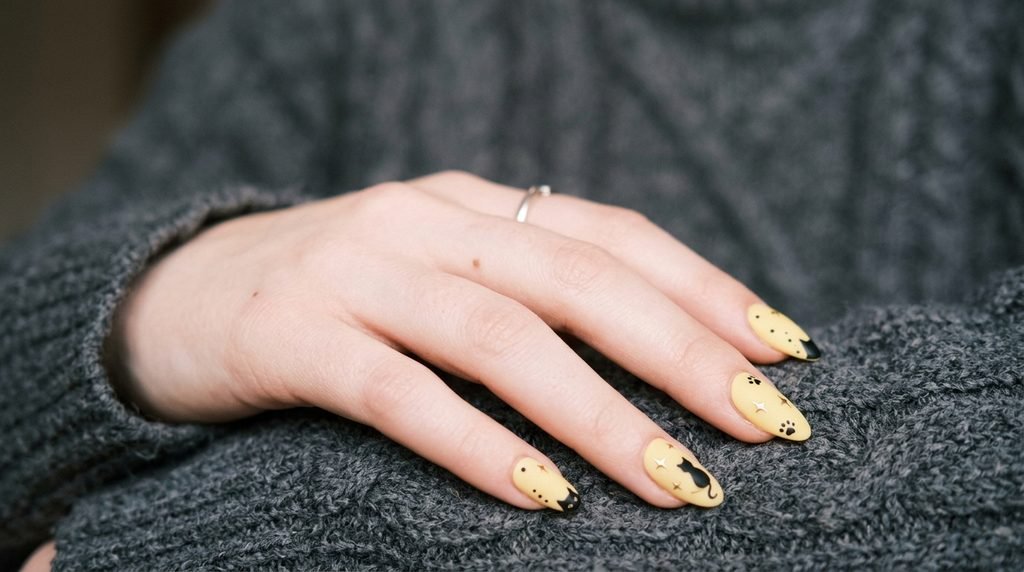
We are pairing soft matte butter yellow with crisp black cat silhouettes and delicate star accents. This guide covers every step, shape adaptation, and technique you need to steal this exact manicure today.
At-a-Glance: What is Ahead
Here is a quick preview of what we will cover in this guide:
- Color Balance: Why soft butter yellow softens black silhouette art without losing Halloween vibes.
- Step-by-Step Tutorial: Prep, painting, detail placement, and matte sealing.
- Shape & Length Adapters: Tailoring cat art for short, almond, coffin, and square nails.
- Salon vs. DIY: Tips for talking to your tech or doing this at home.
- Maintenance & FAQs: Keeping matte gel clean and fixing tiny line art mistakes.
Why Matte Butter Yellow and Black Cat Art Work
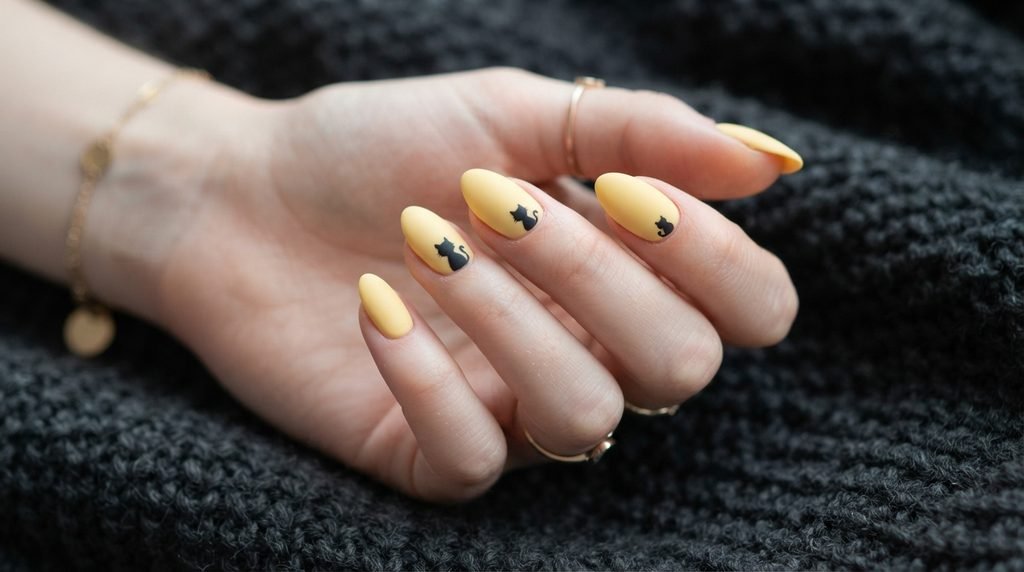
Pastels and dark Halloween art create instant visual contrast. Butter yellow acts as a soft, warm neutral base.
Black silhouettes pop instantly against this background without looking overly harsh or gothic. Therefore, your hands look bright and clean.
Adding a smooth matte top coat ties the colors together seamlessly. It gives the soft yellow an expensive suede texture while taking away gloss glare from tiny line work.
Choosing the Right Polish and Gel Formulas
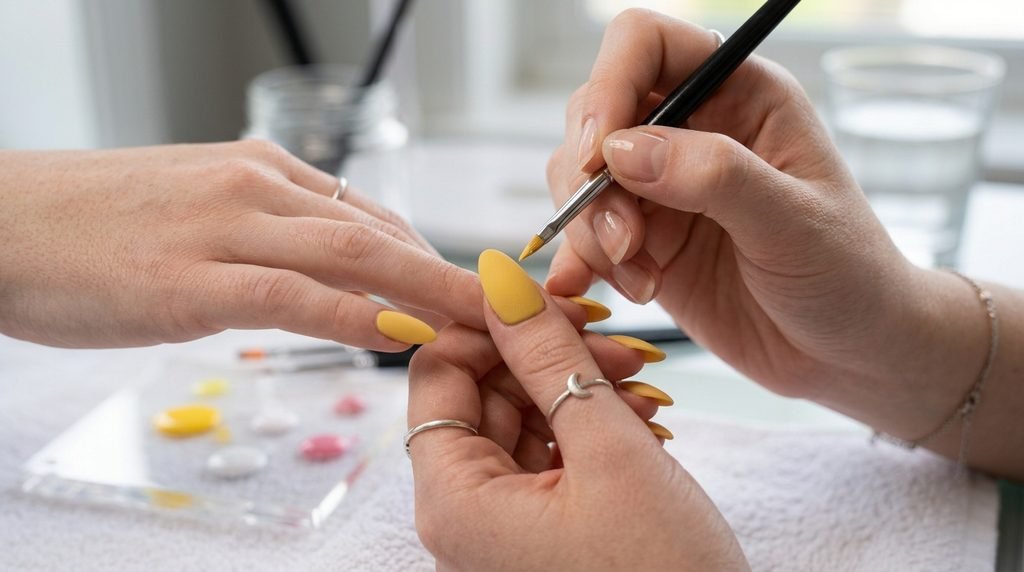
For crisp cat silhouettes, formula choice matters immensely. Liquid, sheer polishes tend to bleed into fine lines.
Instead, select a highly pigmented black gel paint or art gel. These thick formulas stay where you place them until cured under a lamp.
For the base shade, pick a full-coverage cream butter yellow. Avoid sheer jellies unless you want to build up three or four layers for opacity.
| Formula Type | Best For | Pros | Cons |
| Paints & Art Gels | Detailed Silhouettes & Whiskers | Zero bleeding, holds crisp lines | Requires UV/LED cure lamp |
| Opaque Cream Polish | Butter Yellow Base | Full coverage in 2 thin coats | Can streak if applied unevenly |
| Velvet Matte Top Coat | Sealing Final Look | Non-reflective, hides tiny flaws | Needs regular cleaning to prevent stains |
Essential Nail Prep for Longevity
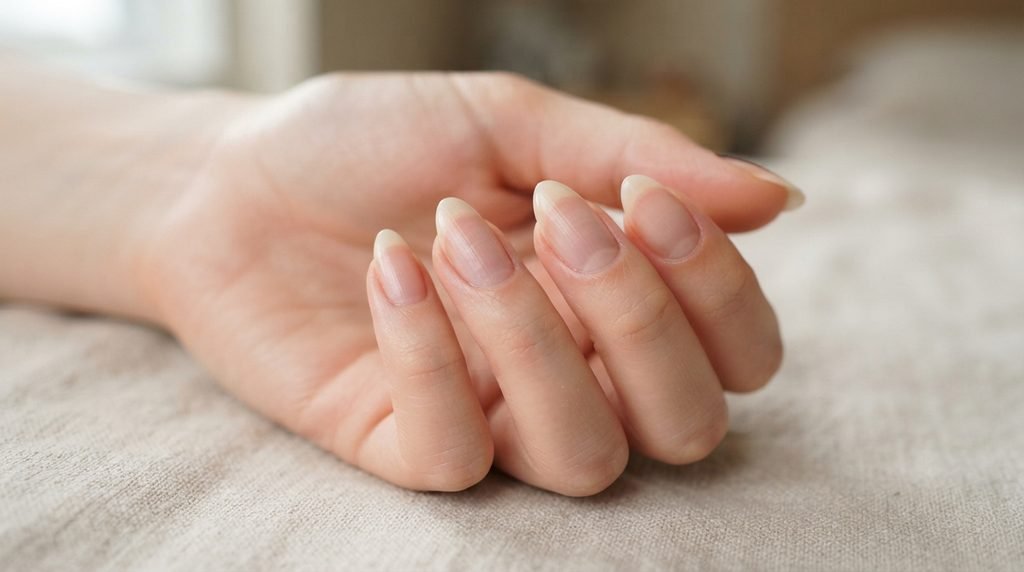
Great nail art starts with proper nail bed preparation. First, push back your cuticles gently using a wooden pusher.
Next, lightly buff the surface to remove natural oils. Cleanse thoroughly with 91% isopropyl alcohol to avoid lifting later.
Applying a quality dehydrator and primer ensures your gel base grips tightly. This prevents premature peeling around the cuticle edges.
Base Coat Application: Averting Cuticle Flooding
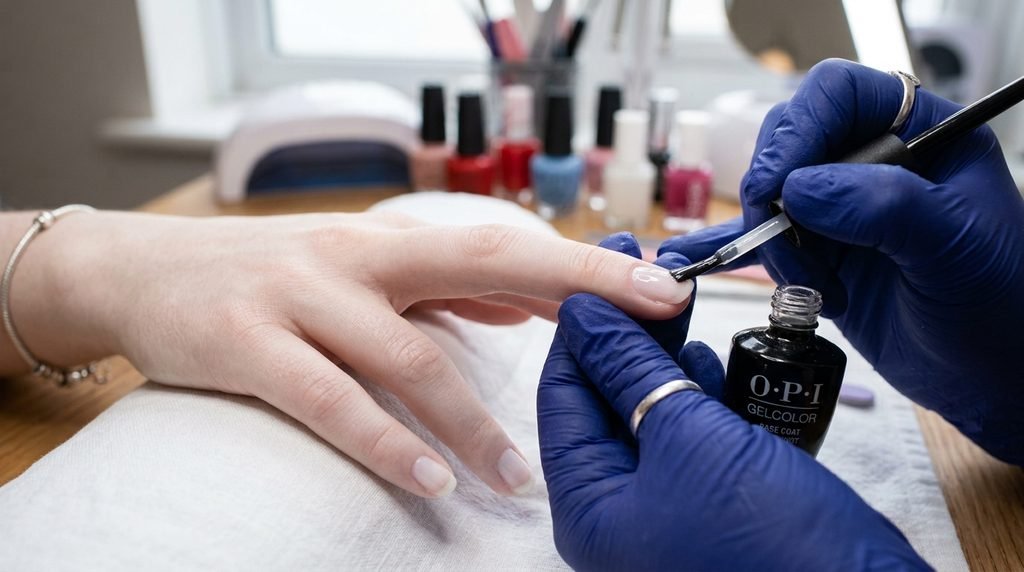
Cuticle flooding ruins clean nail designs instantly. To prevent this, apply a thin coat of base gel starting 1 millimeter away from the skin.
Push the brush gently toward the cuticle, then sweep forward toward the tip. Cap the free edge to seal the nail completely.
Cure under your LED lamp according to manufacturer instructions. A neat base makes hand-painting silhouettes far easier later on.
Laying Down the Matte Butter Yellow Base
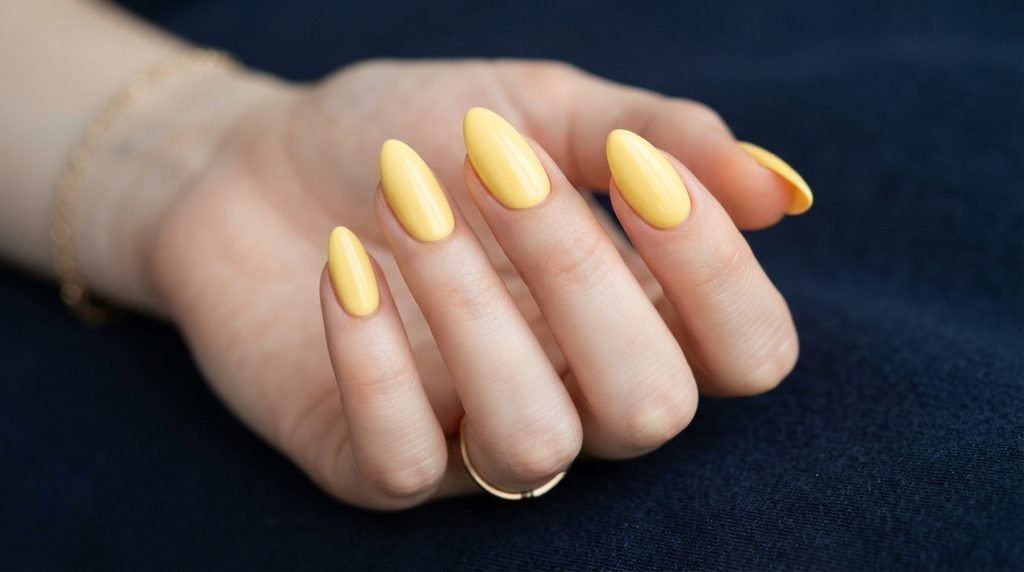
Apply two thin layers of butter yellow polish to your accent nails. Thin coats ensure even curing and prevent bulkiness.
Cure each layer thoroughly under your lamp. If your yellow shade looks streaky, apply a third ultra-thin layer for solid coverage.
Keep your brush parallel to the nail to avoid leaving brush strokes behind. Smooth color is essential for clean line placement.
How Do You Paint a Simple Black Cat Silhouette on Nails?
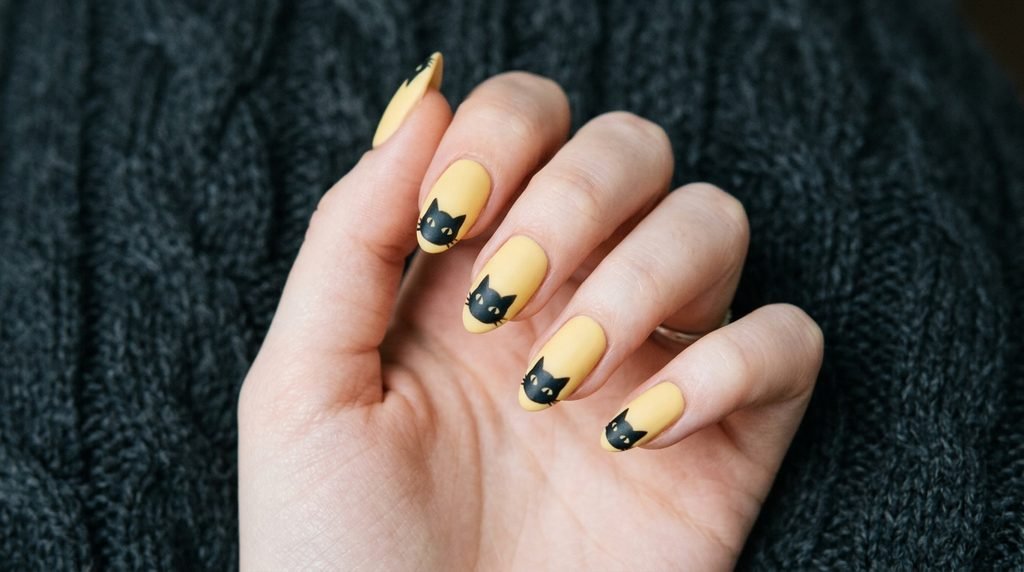
Creating a cat head silhouette is surprisingly easy with a fine detail brush. Start by painting a small semicircle right at the free edge of your nail.
Next, pull two small triangular points upward from the top curve to form pointed ears. Fill in the center completely with black gel.
Use a micro-dotting tool dipped in white or yellow polish to place two tiny oval eyes in the center. Cure immediately to lock in the shape.
Adding Constellations and Star Details
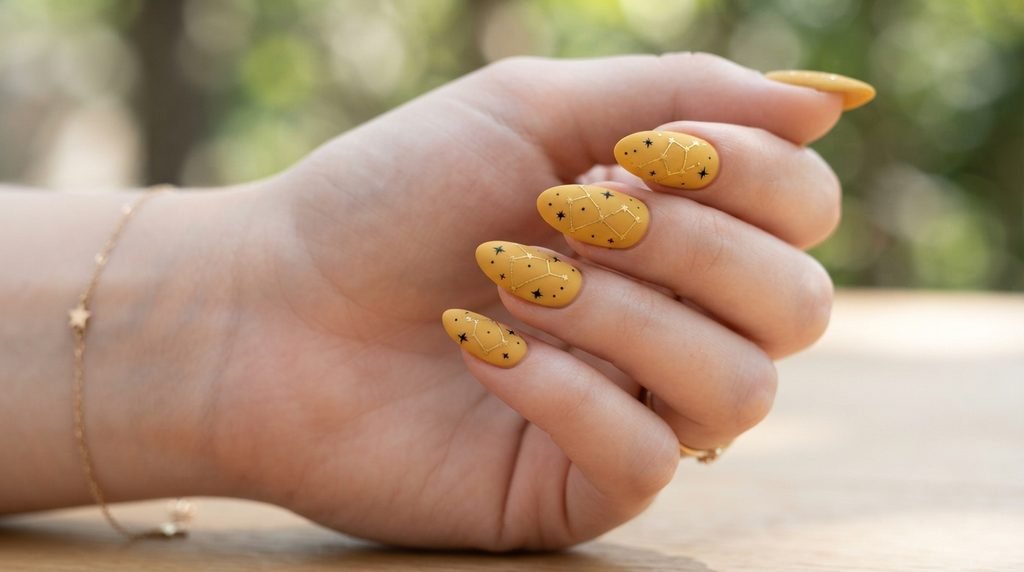
Stars instantly elevate cat nail art into something magical. Dip a fine liner brush into black art gel or gold gel paint.
Paint a thin vertical line, then cross it horizontally with a second thin line to form a four-point star. Keep your pressure light.
Scatter tiny dots around the star to mimic distant galaxies. This fills empty yellow space without cluttering the main cat focus.
Painting Delicate Black Cat Paw Prints
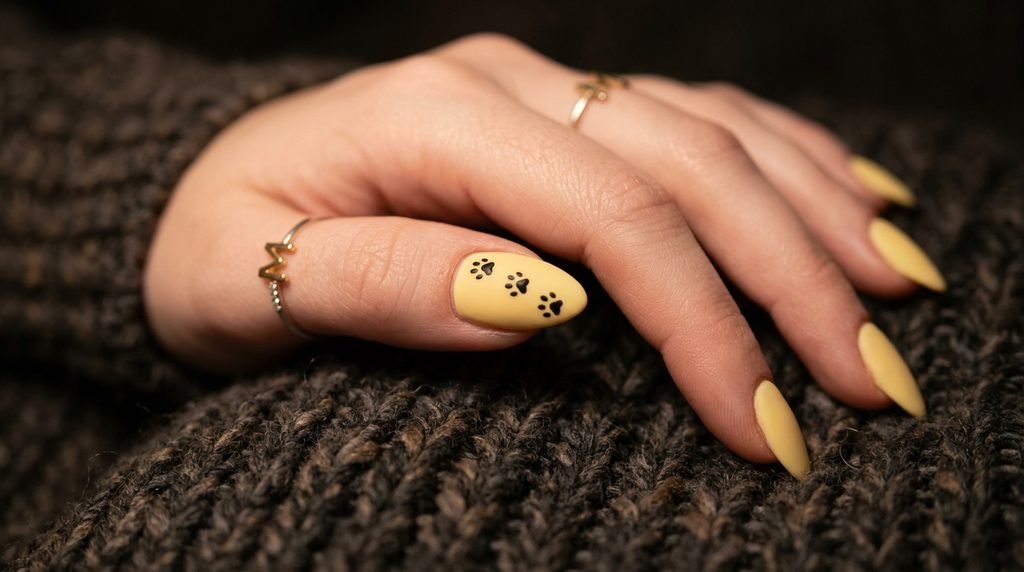
Paw prints add playful, whimsical texture to accent nails. Start with one larger central dot for the main paw pad.
Then, place three to four tiny dots closely above the central pad using a micro-dotting tool. Keep them neatly arched.
Space the paw prints randomly across the nail. This gives the illusion that a tiny cat walked across your butter yellow base.
Creating Whisker Line Art and Small Hearts
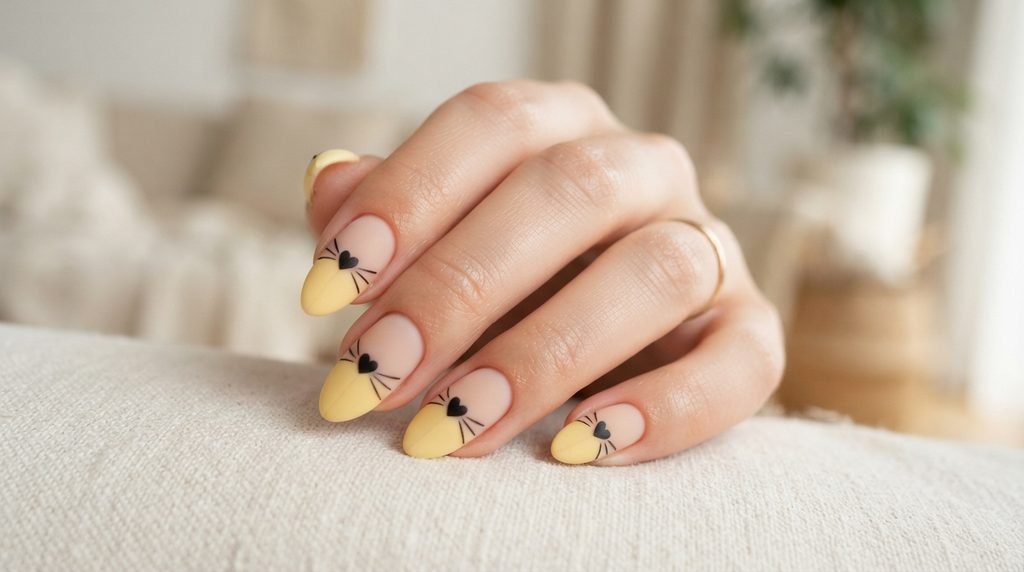
Adding small face details requires a steady hand and a light touch. Dip the tip of your striping brush into black gel paint.
Pull three paper-thin lines outward from the lower cheek area for cat whiskers. Keep your stroke quick and continuous.
For small hearts, place two tiny dots side-by-side and drag their bottoms down into a V-shape. Cure once you are satisfied.
Sealing Your Design with Matte Top Coat
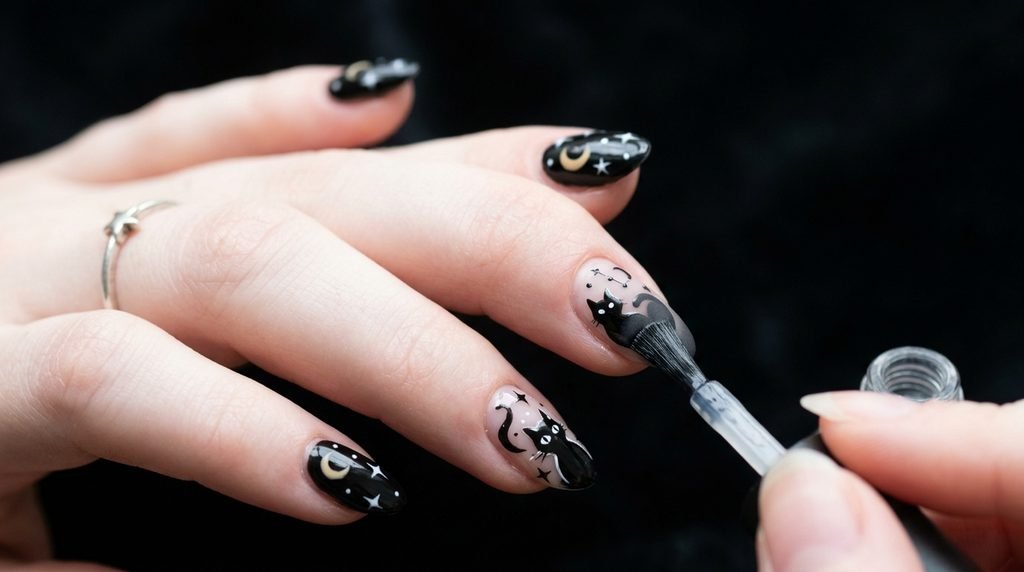
A matte finish transforms simple line art into editorial-style art. Apply a generous layer of velvety matte top coat over cured design layers.
Ensure you cover every edge, especially around detailed stars and whiskers. Uncovered spots will remain shiny after curing.
Cure for 60 seconds under LED. Wipe away any tacky residual layer with alcohol for a soft-touch matte finish.
Adapting Black Cat Art for Short Nails
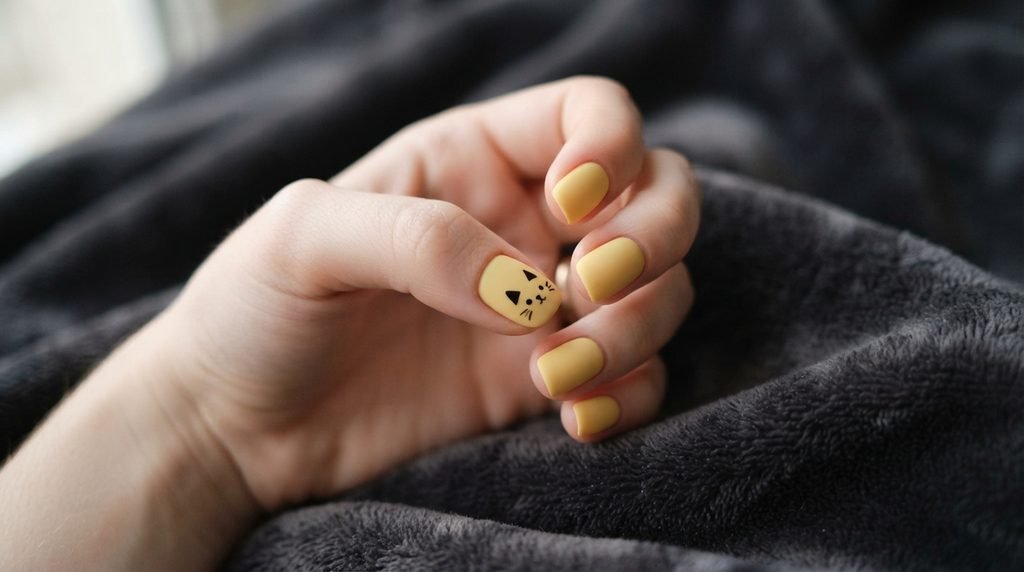
Short nails look fantastic with minimalist cat silhouettes. Focus the cat design on just one or two accent fingers.
Keep silhouettes close to the tip or the cuticle line to preserve negative space. This makes short nail beds appear longer.
Use smaller stars and single paw prints rather than full constellation maps. Simple designs keep short nails looking clean and intentional.
Styling for Medium Almond Nails
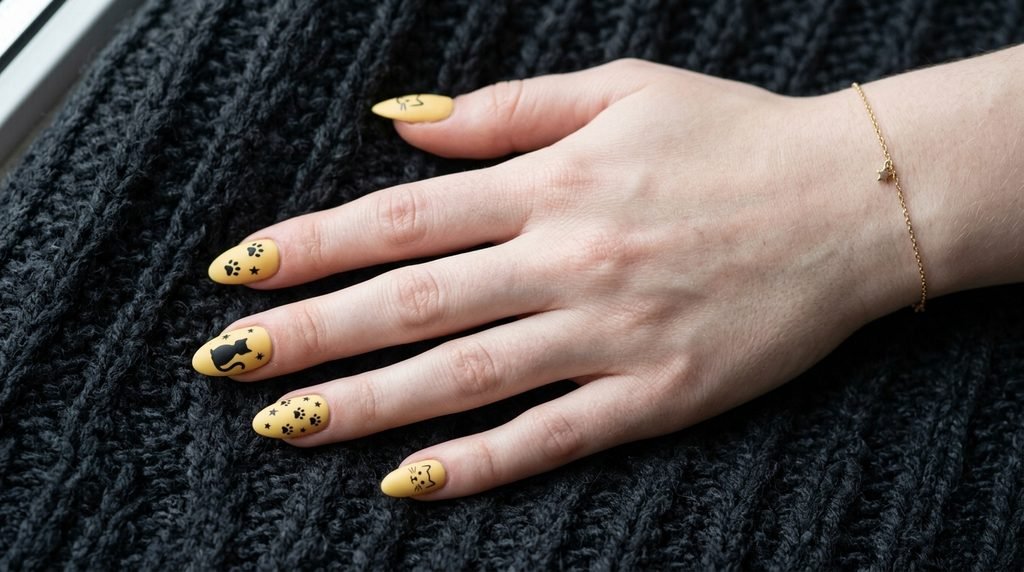
Almond shapes provide the perfect soft canvas for cat art. The tapered tip naturally frames a cat head silhouette beautifully.
Place the cat ears following the natural curve of the almond tip. This harmony enhances both the nail shape and the artwork.
You can feature fuller constellation lines on almond nails because of the extra surface area. It offers a balanced, graceful appearance.
Modifying for Long Coffin and Stiletto Shapes
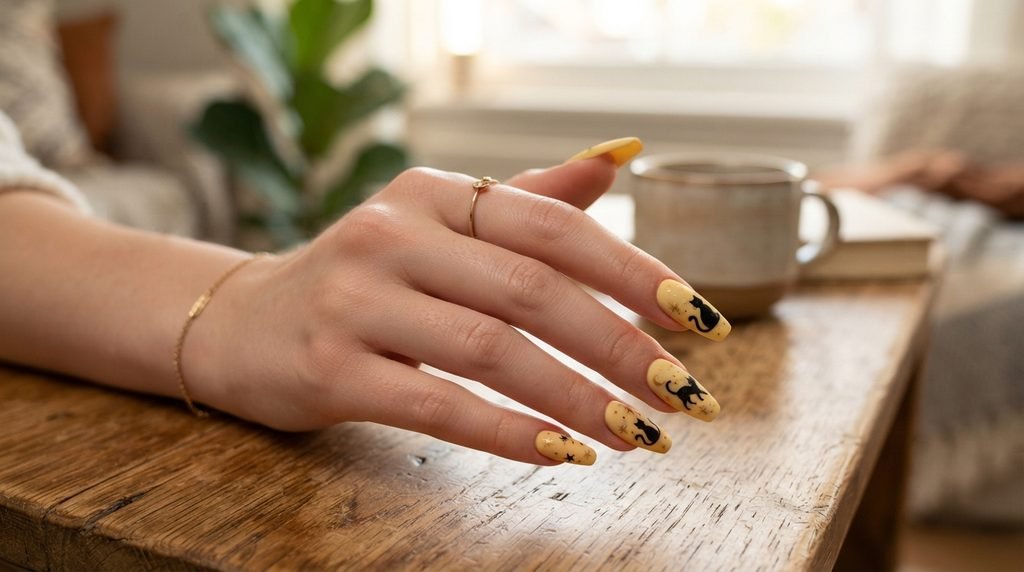
Long shapes offer maximum space for intricate detail work. You can paint a full cat body silhouette extending down the nail.
Combine cat silhouettes on the tips with dramatic starbursts near the base. The contrast creates strong visual impact from a distance.
Ensure you double-cap the edges with matte top coat. Long nails take more tip impact, so proper sealing prevents chipping.
| Nail Shape | Best Cat Art Placement | Key Style Advantage | Ideal Detail Level |
| Short Oval / Squoval | Tip Minimalist Cat Face | Clean, non-cluttered space | 1 Paw Print + Cat Face |
| Medium Almond | Tip Curve Silhouette | Smooth natural framing | Cat Head + Stars & Constellations |
| Long Coffin / Stiletto | Full Nail Length | Maximum room for dramatic art | Full Cat Silhouette + Complete Galaxies |
Salon Communication: What to Ask Your Tech
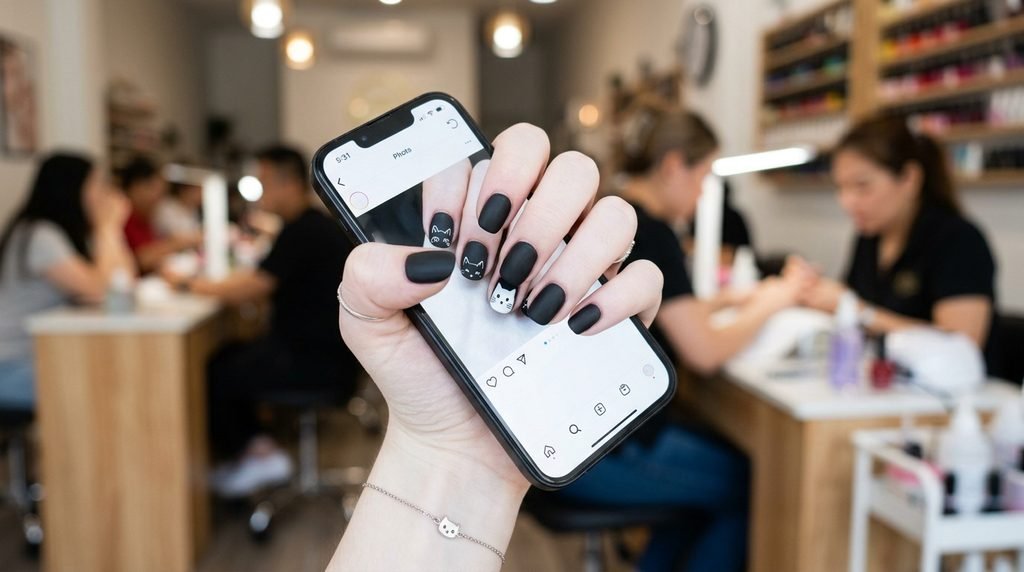
Knowing how to communicate your ideas clearly saves you from nail disappointment. Bring clear photos showing both color and art placement.
Tell your nail technician you want a matte butter yellow base with hand-painted black gel art, not stickers.
Request clean almond shaping and ask for thin layers. This keeps your nails looking natural rather than thick and heavy.
Client Note for Salon Visit: “I would like a matte finish over a pale butter yellow base. On accent nails, I want hand-painted black cat silhouettes, subtle stars, and tiny paw prints using fine liner brushes.”
DIY vs. Press-On Options for Beginners
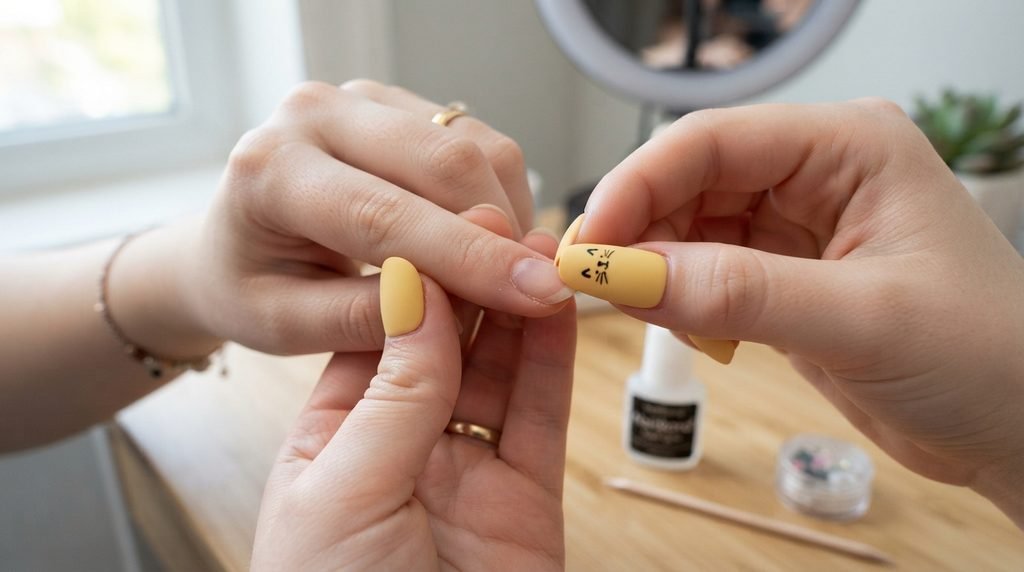
If you lack time or a steady hand, high-quality press-on nails are an incredible shortcut. Many independent artists sell custom matte sets.
When applying press-ons, lightly buff your natural nail and use quality glue. Press firmly for 30 seconds per finger to eliminate air bubbles.
For DIY painters, practice painting silhouettes on clear plastic tips first. Mastering fine brush pressure before painting your off-hand builds confidence.
Autumn Outfits That Match Butter Yellow Nails
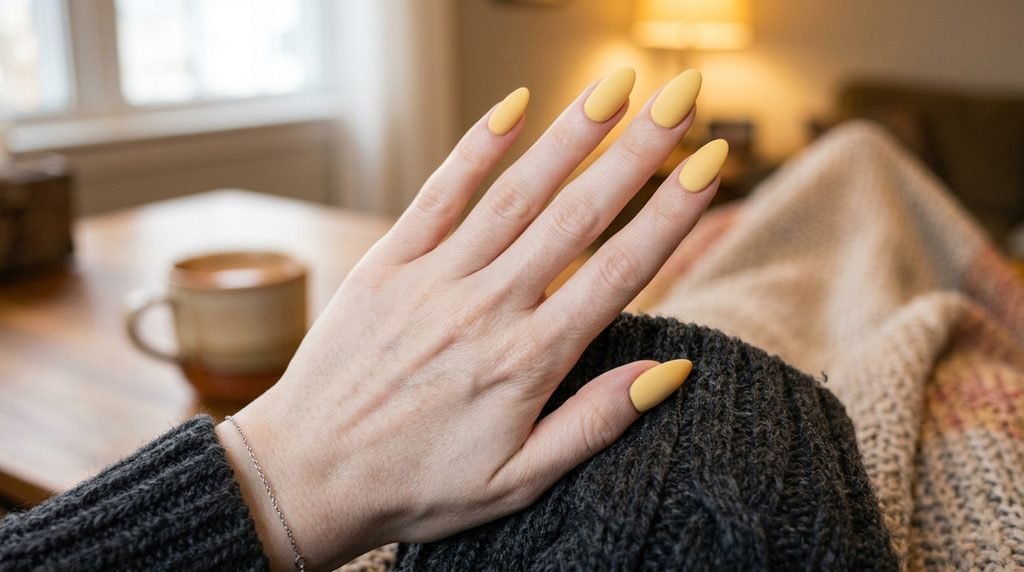
Butter yellow is surprisingly versatile for fall fashion. It pairs beautifully with dark charcoal knits, cozy cream sweaters, and denim jackets.
The warm undertone bridges early autumn weather and deep October vibes. It adds a gentle pop of color to muted seasonal outfits.
Wear gold rings to highlight the warm yellow tones and starry details. The combination feels thoughtful, curated, and effortlessly chic.
How to Maintain and Clean Matte Nails
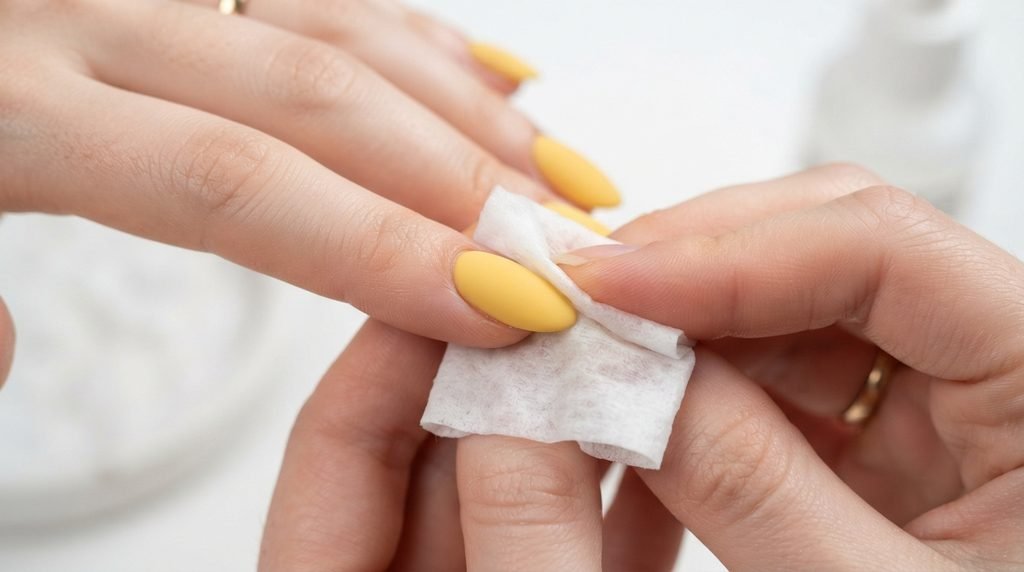
Matte surfaces attract dirt and denim dye more easily than glossy coats. Prevention is key to keeping butter yellow looking fresh.
Clean your matte nails daily using a soft nail brush and warm soapy water. Gently scrub away lint and surface marks.
Rubbing stubborn spots with alcohol restores the clean matte texture. Avoid heavy hand oils directly before taking photos to prevent shiny patches.
Troubleshooting Line Art and Curing Issues
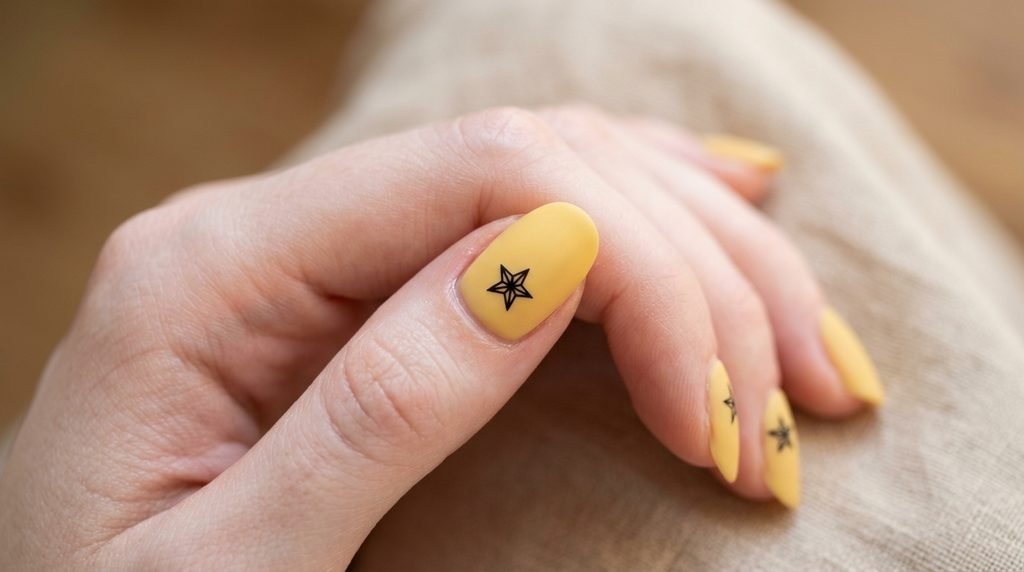
If your thin black lines bleed or fuzz, your polish is likely too thin. Switch to dedicated gel painting paste for sharp edges.
If matte top coat cracks, the underlying layers may be under-cured or applied too thick. Always flash-cure detailed lines for 10 seconds.
If yellow turns dingy, switch to a non-yellowing top coat formula. UV rays can alter light pastel shades over time.
Transitioning Halloween Nails into November
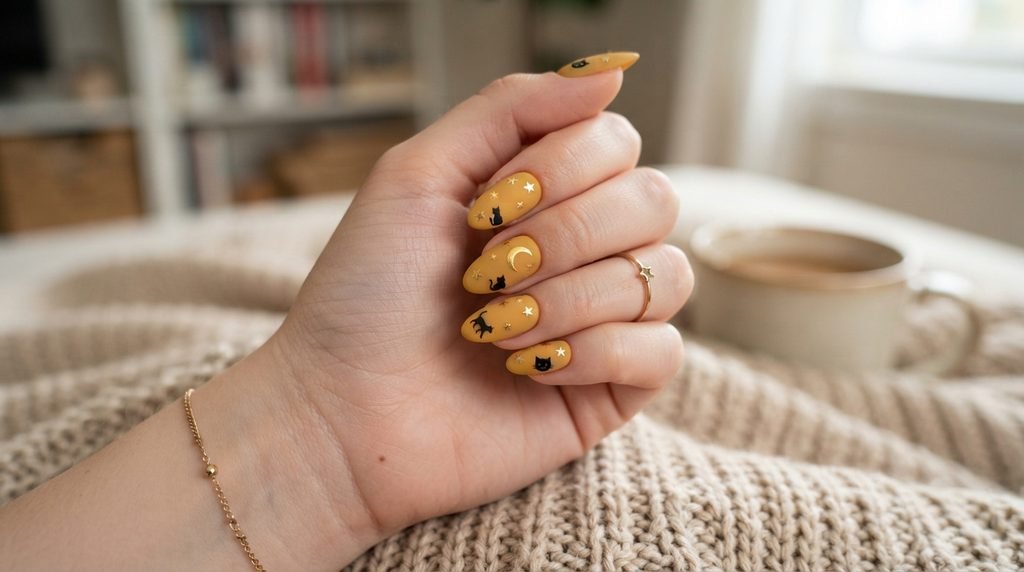
You do not need to soak off your nails right after October 31st. Soft butter yellow transitions effortlessly into late autumn styles.
File down the tip containing the cat ears to leave behind a cute starburst design. Alternatively, paint over cat eyes with gold shimmer.
This extends your manicure investment well into November. Subtle starry nails look chic straight through the Thanksgiving season.
Frequently Asked Questions (FAQ)
What colors pair well with black cat nail art?
Butter yellow, creamy nude, soft lavender, orange, and matte black pair exceptionally well with cat silhouettes. Pastel bases keep black details readable.
Is black cat nail art good for beginners?
Yes, cat silhouettes rely on simple geometric shapes like circles and triangles. Using dotting tools makes painting ears and paws manageable for beginners.
Can you do black cat nails without acrylics?
Absolutely. You can execute this look on natural nails, builder gel overlays, or gel extensions using gel polish or high-pigment lacquer.
How do you keep matte yellow nails from getting dirty?
Wipe nails daily with 91% rubbing alcohol or warm soapy water. Avoid touching dark denim dyes or unwashed spices like turmeric directly.
Final Formation: How This Look Comes Together
We created this complete design by balancing contrast, texture, and spacing. Soft matte butter yellow lightens the tone, making Halloween art playful rather than dark.
Hand-painted black silhouettes provide sharp focus, while stars and paw prints distribute visual weight evenly across all fingers. The final matte seal locks everything into a cohesive, velvety finish.
Save this post now so you have the photo and client notes ready for your next nail appointment! Which accent detail will you try first?

Mia founded Daily Nail Idea after a decade in beauty editorial, tired of watching great nail art disappear into the scroll. She now leads the team’s editorial direction — deciding what’s worth featuring and what’s just noise — and still paints her own nails every Sunday night, no exceptions.