Luxury Black & White Ghost Nails: Elegant Halloween Silhouette Design 2026
You saved those luxury ghost halloween nails on Pinterest. However, you want an elevated, chic manicure. You do not want childish cartoons on your hands. We understand completely. Halloween nail art can quickly cross into costume territory.
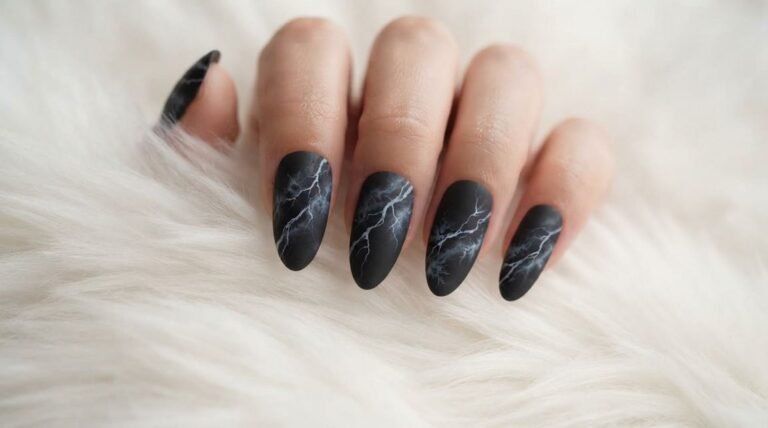
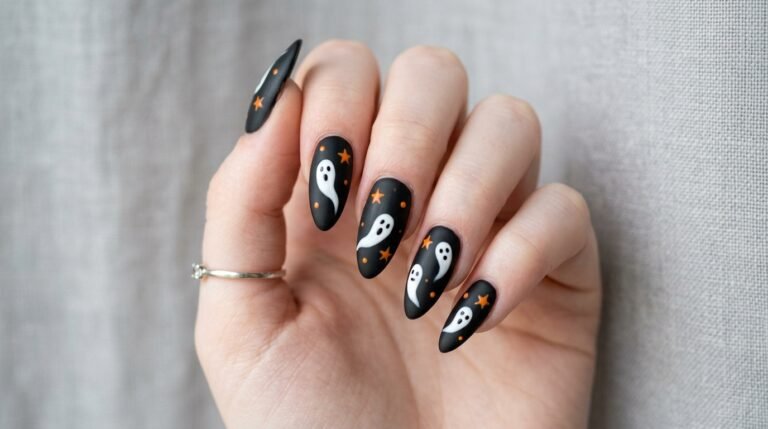
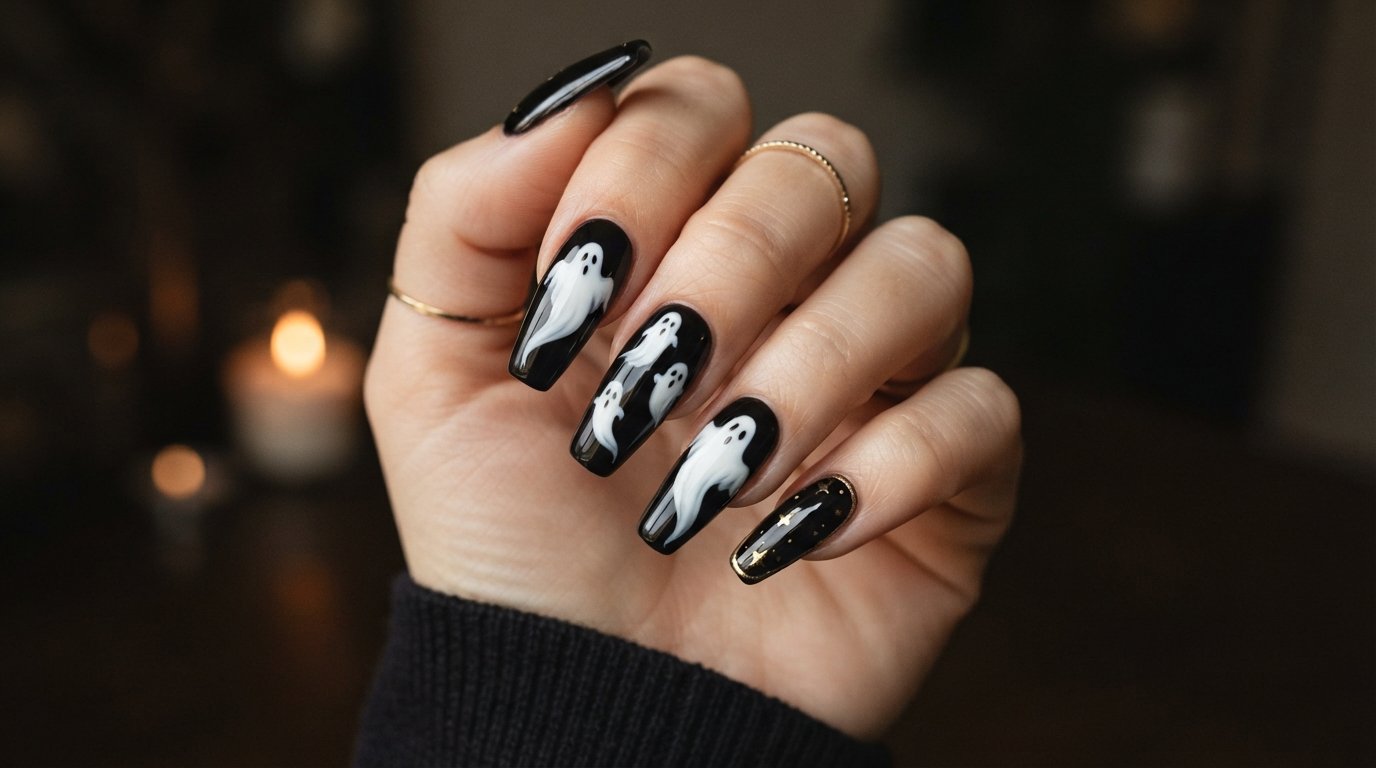
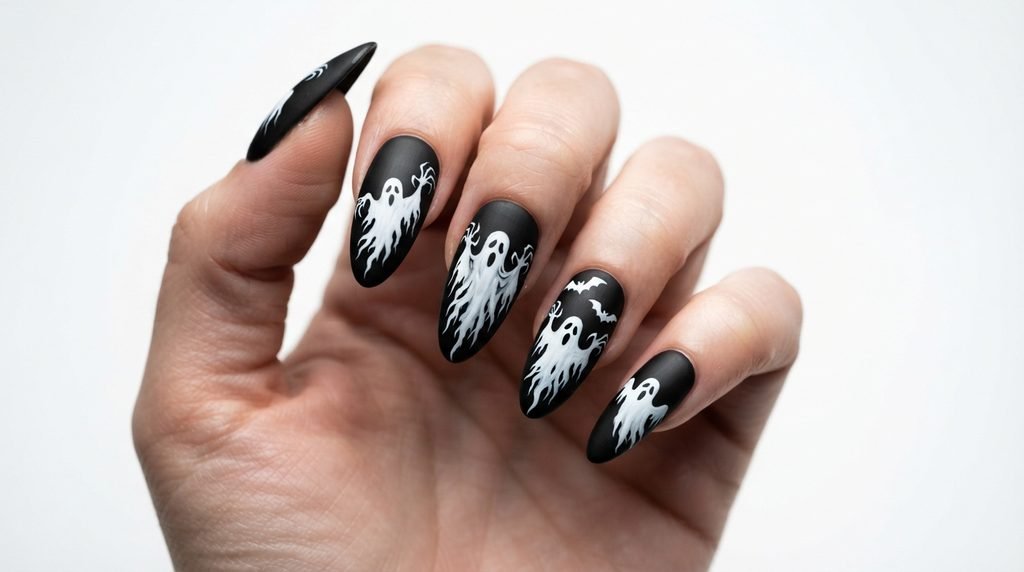
Fortunately, you can rock spooky vibes while keeping your style luxurious. so luxury ghost Halloween nails are having a massive moment this season. By pairing deep jet-black polish with fluid white ghost silhouettes and gold leaf accents, you create a high-fashion look.
In this complete guide, I will walk you through everything. We will cover salon communication tips, shape adaptations, and step-by-step tutorials for luxury ghost halloween nails. Let us elevate your Halloween nail game together.
At-a-Glance Guide
Here is a quick look at what we will cover in this guide. Use this summary to jump straight to your favorite design technique or salon reference!
| Nail Feature | Salon Request & Style Spec | Ideal Occasion |
| Primary Base | Deep Jet-Black (High-Gloss Gel Finish) | Evening Parties & October Events |
| Accent Style | Hand-Painted White Ghost Silhouettes with Gold Foil | Elevated Halloween & Daily Fall Wear |
| Best Shapes | Long Coffin, Medium Almond, Sleek Stiletto | Formal Halloween Galas & Dates |
| Maintenance | Apply Top Coat Every 3 Days to Prevent Chips | Lasts 2–3 Weeks with Gel Polish |
Why Elegant Gothic Halloween Nails Are Trending
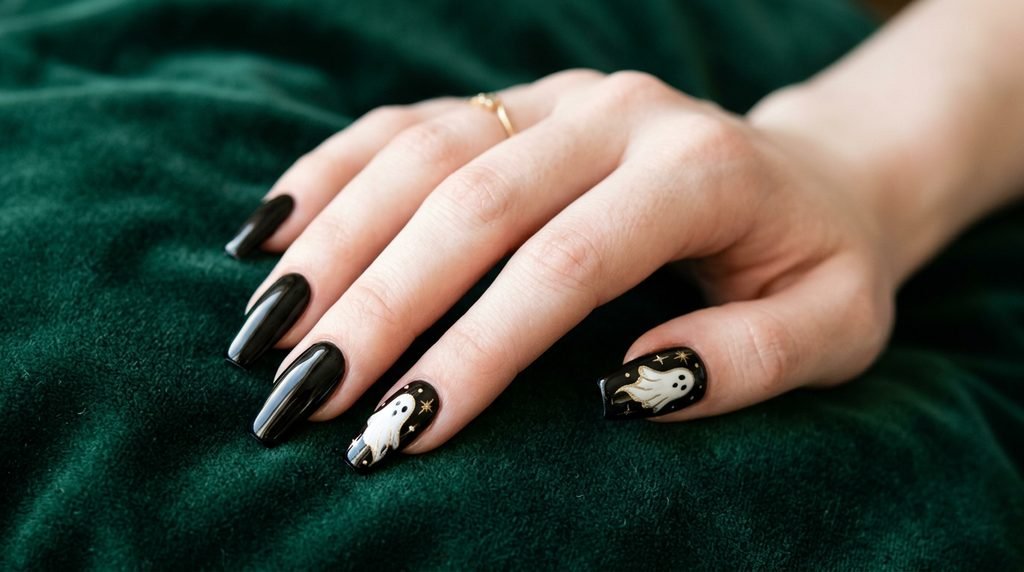
Spooky season no longer means bright orange polish and tacky decals. Instead, minimalist gothic Halloween nails are dominating Pinterest feeds everywhere. Readers want dark, moody aesthetics mixed with high-fashion elements.
Furthermore, black and white manicures offer incredible contrast. When you add dainty ghost silhouettes, the design becomes intriguing rather than loud. It allows you to celebrate October in style.
So, if you prefer subtle elegance over neon colors, this trend is perfect. You get high contrast, mysterious vibes, and complete outfit flexibility.
Setting the Canvas: Choosing Your Base Polish
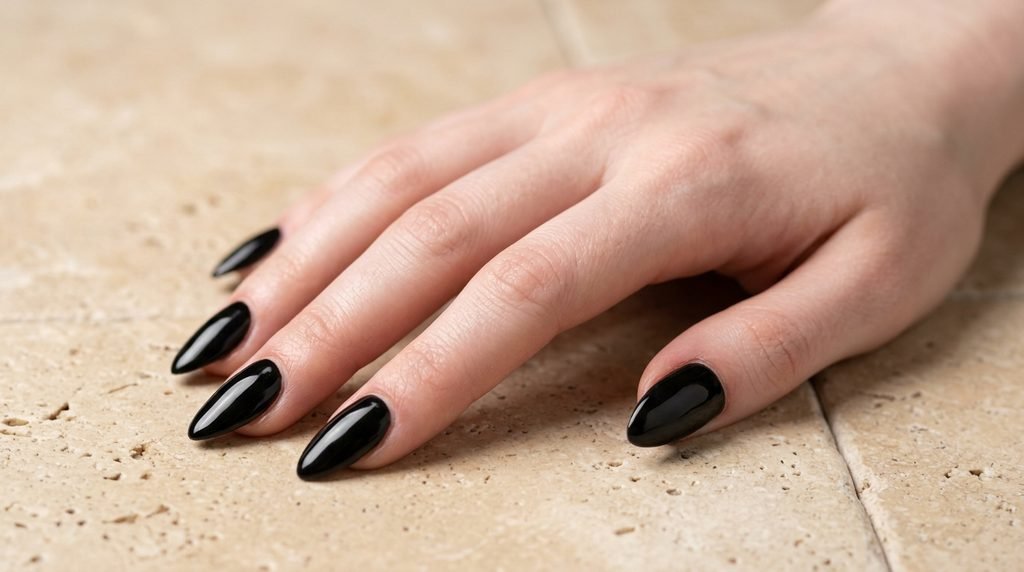
A luxury manicure always starts with a flawless foundation. For this design, you need a high-pigment jet-black polish. Avoid sheer blacks, as they can look patchy under bright light.
Instead, opt for two thin coats of full-coverage black gel polish. Curing between coats ensures a smooth surface for detailed art. This deep base creates high drama.
Additionally, make sure your nail plate is completely clean before application. Any oils will disrupt the crisp white ghost lines later.
Creating Fluid Ghost Silhouettes Step-by-Step
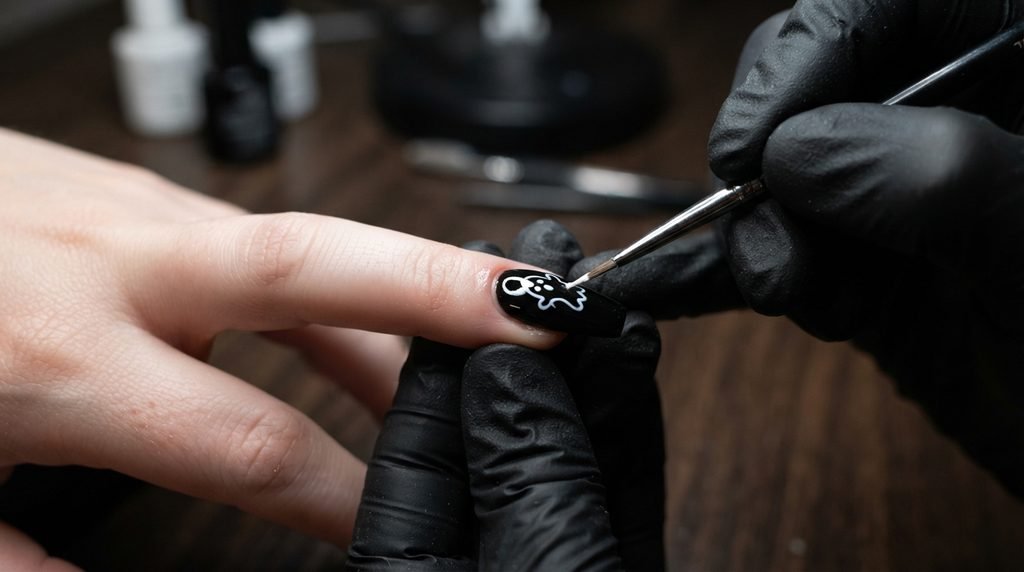
Ghost art looks best when lines flow naturally. Forget rigid circles or blobby shapes. Instead, draw tapered, sweeping strokes that mimic floating silk.
First, use a fine liner brush dipped in opaque white gel paint. Start at the mid-nail and drag the brush downward in a soft curve. Next, flare the bottom tail outward gently.
Finally, cure the white paint before adding tiny facial details. A dotting tool creates perfect, dainty black eyes with minimal effort.
Incorporating Metallic Gold Line Accents
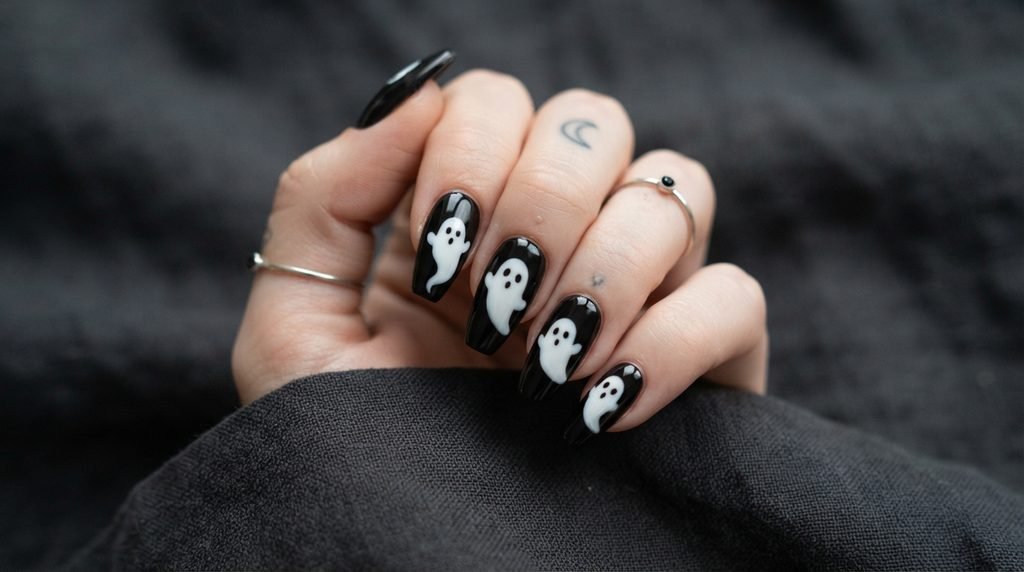
Gold details instantly transform a cute design into pure luxury. Tracing your ghost silhouettes with fine gold paint adds richness. Alternatively, scattered gold stars create a magical, twilight atmosphere.
To apply gold foil, dab foil transfer gel along your accent areas. Cure it briefly, then press the foil strip down firmly. Pull it away quickly for a clean metallic finish.
Consequently, your nails will catch the light with every hand movement. It adds a jewelry-like shimmer to dark bases.
Shape Adaptation: Adapting for Long Coffin Nails
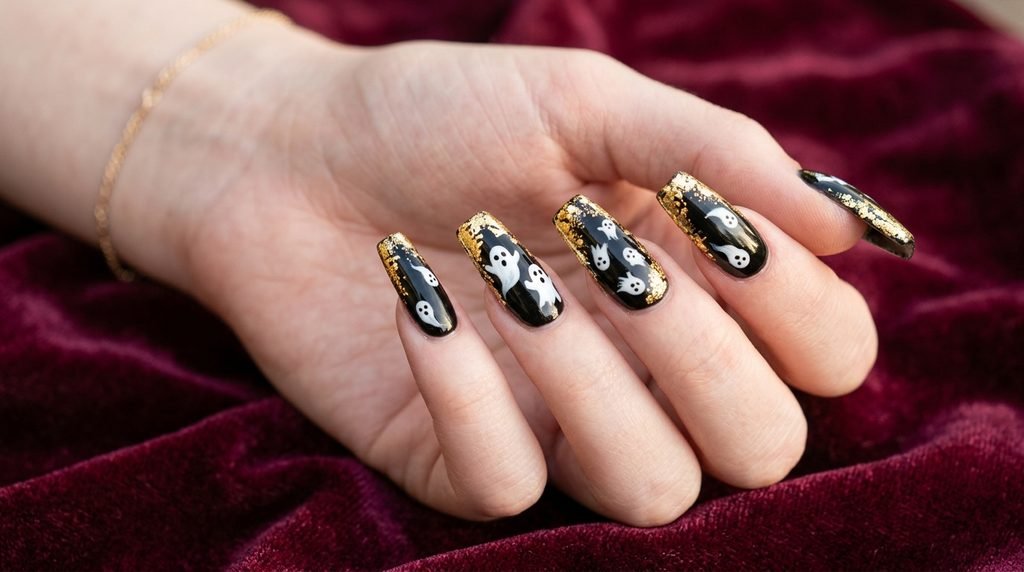
Long coffin nails offer plenty of surface area for intricate art. The flat tip balances rounded ghost silhouettes nicely. Therefore, coffin shapes are a top pick for this set.
On coffin nails, place the ghost silhouette near the center. Leave the side margins black to preserve the sharp, tapered illusion.
Moreover, you can add thin gold borders along the free edge. This framing technique highlights the unique geometry of coffin nails.
Shape Adaptation: Adapting for Elegant Almond Nails
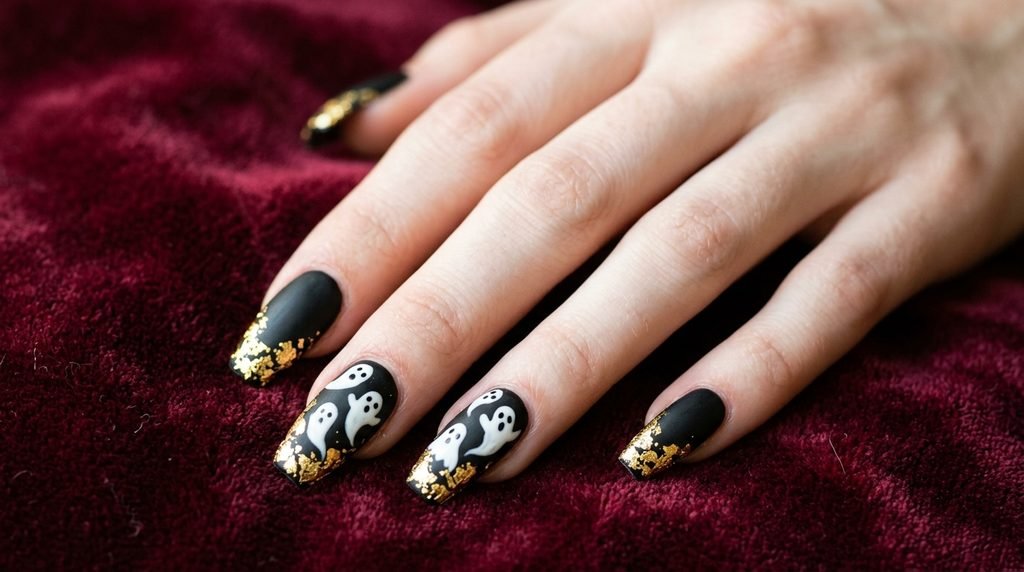
Almond nails naturally elongate your fingers with soft, curved edges. Because almond shapes are already inherently graceful, ghost art looks stunning here.
To style almond nails, curve your ghost silhouette along the nail’s edge. This movement mirrors the natural curve of your fingertip.
Furthermore, keep gold accents minimal on almond shapes. A few tiny gold dots near the cuticle will maintain balance nicely.
Shape Adaptation: Sleek Square and Short Options
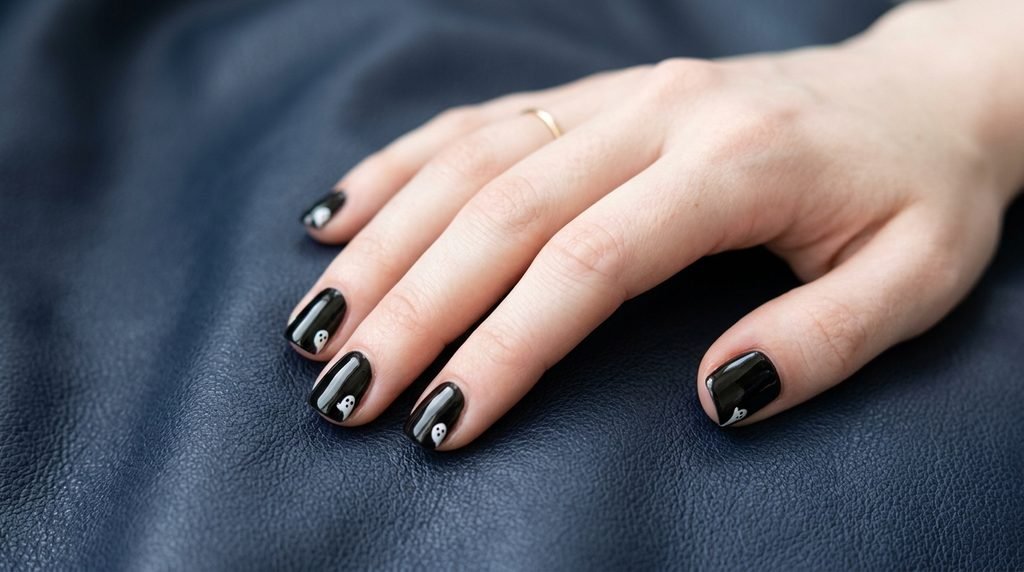
Short or square nails can absolutely rock gothic Halloween art! You just need to scale the silhouettes down slightly. Smaller art prevents the nail from feeling cluttered.
Instead of full-length ghosts, paint half-silhouettes peeking from the sidewalls. This negative-space technique looks modern and very intentional.
Additionally, stick to a super glossy top coat. Maximum shine adds depth to shorter nails, making them look elongated.
Preventing Cuticle Flooding During Gel Application
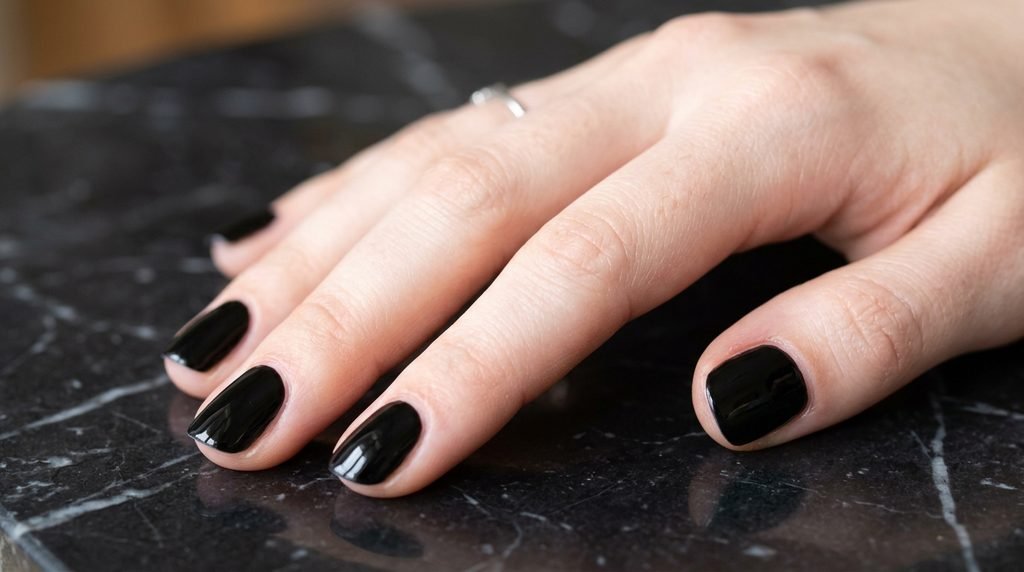
Nothing ruins a dark manicure faster than flooded cuticles. Black polish bleeds easily into side walls if applied too heavily.
To prevent this, wipe most polish off your brush before touching the nail. Start a tiny millimeter away from your cuticle line. Then, gently push the gel toward the cuticle before pulling down.
If gel touches your skin, clean it immediately with acetone and a brush. Always clean before curing under your LED lamp!
Matte vs. High-Gloss Finish: Which Is Better?
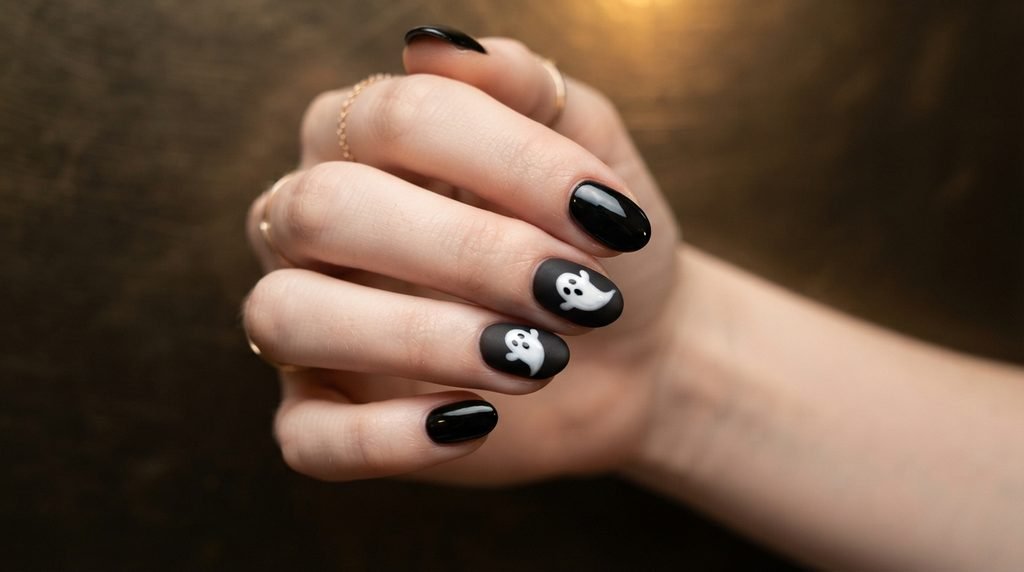
Choosing between matte and gloss changes the whole mood of your set. High-gloss top coats offer a mirror-like glass finish. Gloss emphasizes deep black depth and sparkles under light.
On the other hand, matte top coats create a velvet-like gothic texture. Matte black feels soft, mysterious, and modern.
Try combining both! Use a matte black base, then paint glossy ghosts on top. The textural contrast is visually stunning.
Salon Communication: What to Ask Your Nail Tech
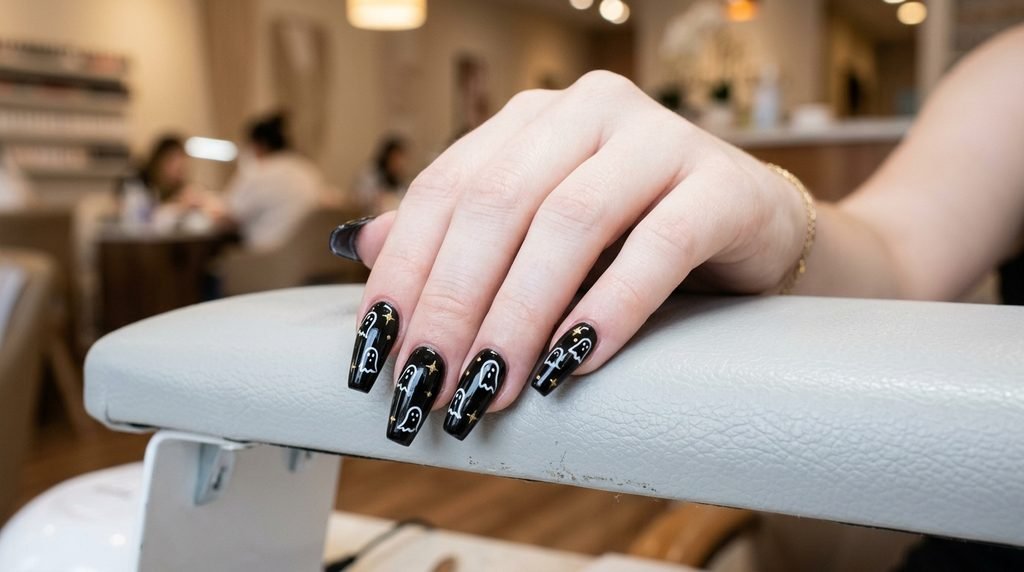
Walking into the salon without reference photos can lead to mix-ups. You might end up with cartoon ghosts instead of chic silhouettes!
Tell your nail tech: “I want a high-gloss black base with delicate, fine-line white ghost art.” Show them your saved photos clearly.
Specify that you want fine gold line accents rather than large glitters. Clear communication ensures you walk out with your dream set.
Choosing Press-Ons vs. Salon vs. DIY
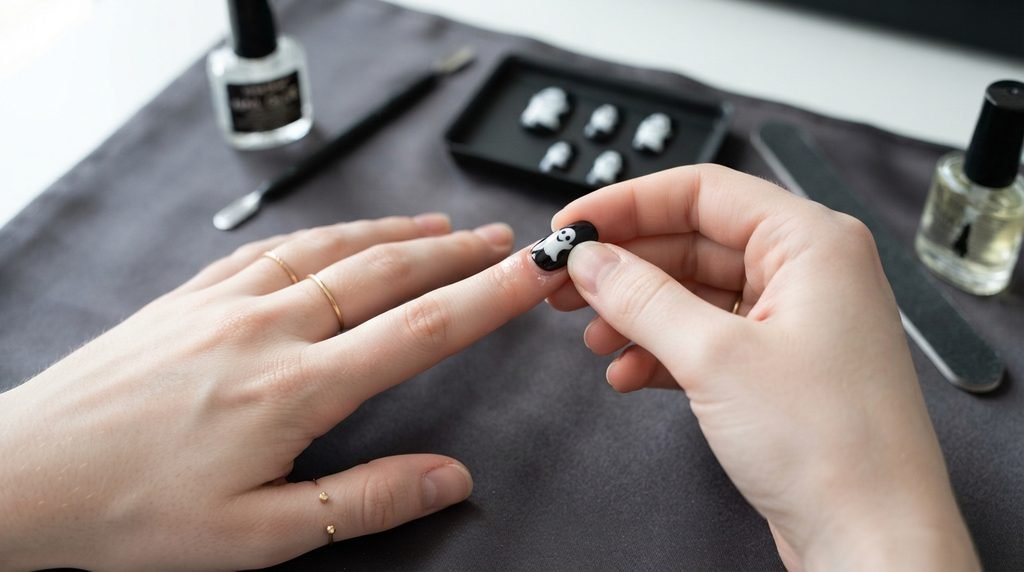
Deciding how to get this look depends on your budget and time. Each method offers distinct advantages for Halloween nails.
| Application Method | Estimated Cost | Application Time | Average Durability |
| Custom Press-Ons | $25 – $45 | 15 Minutes | 1–2 Weeks |
| Professional Salon Gel | $60 – $110 | 90 Minutes | 2–3 Weeks |
| DIY At-Home Painting | $15 – $30 (Supplies) | 60 Minutes | 5–7 Days (Regular) / 2 Weeks (Gel) |
If you love switching designs often, press-ons are quick and affordable. However, professional salon gel gives maximum durability for busy schedules.
Maintaining High-Gloss Shine and Longevity
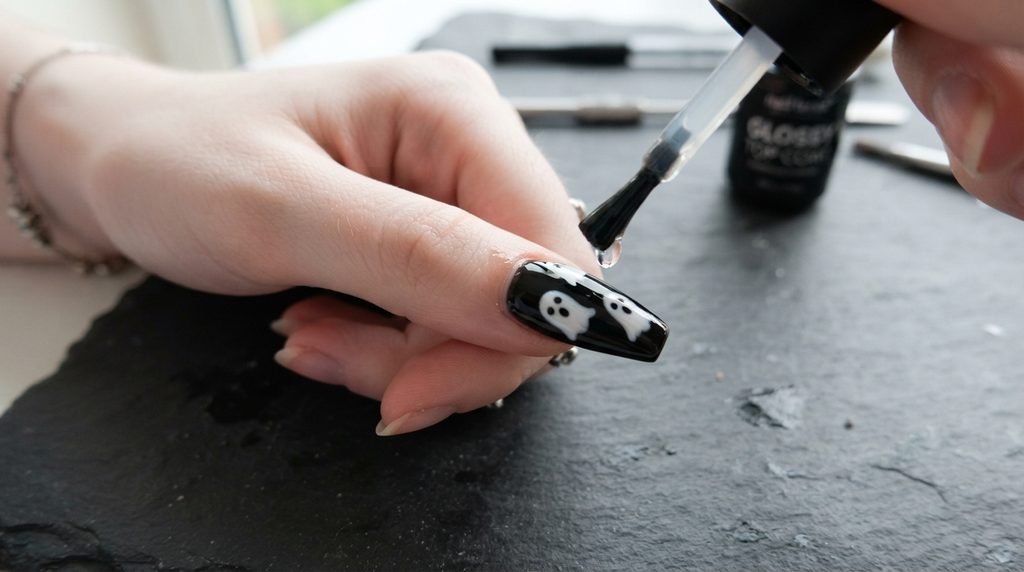
Dark manicures show scratches and dulled shine faster than light shades. Protecting your top coat keeps your set looking fresh.
Apply a thin layer of top coat every three to four days. This seals micro-scratches and refreshes the mirror-like glow.
Also, wear protective gloves while doing household cleaning or dishes. Harsh chemicals can degrade gel polish over time.
Skin Hydration and Cuticle Care for Dark Nails
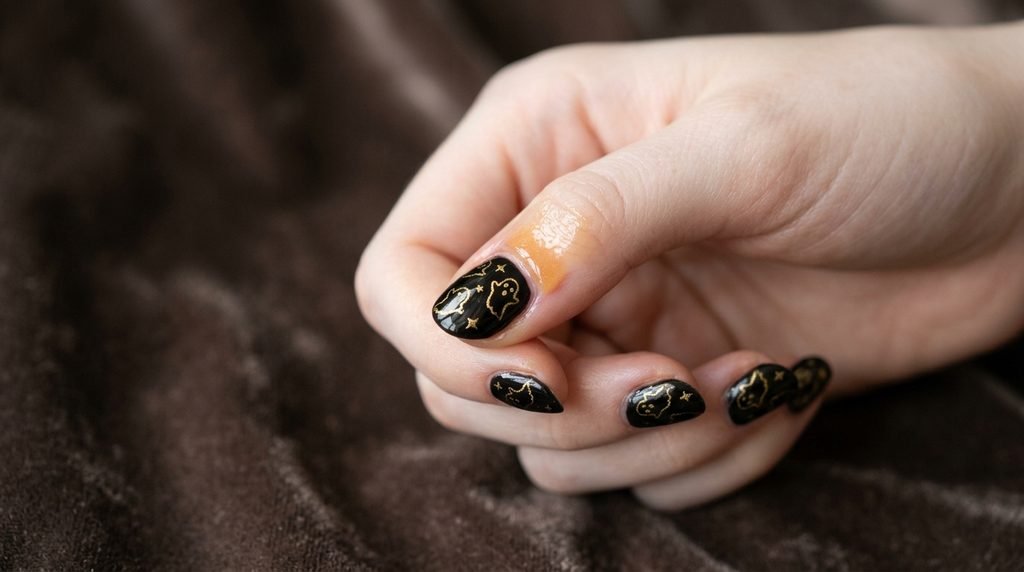
Dark polish highlights the skin surrounding your nails. Dry cuticles or flaky skin become very noticeable next to jet-black gel.
Therefore, massage cuticle oil into your skin twice daily. Look for jojoba oil or vitamin E formulas for deep moisture.
Furthermore, apply a hydrating hand lotion after washing your hands. Healthy skin framing your nails amplifies the luxurious aesthetic.
Styling Your Gothic Manicure with Jewelry
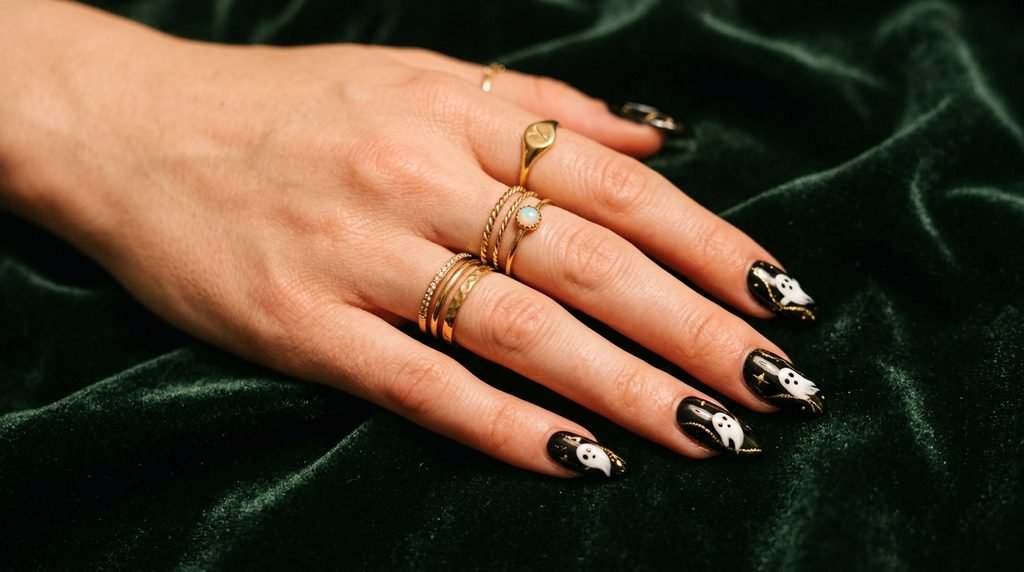
Your nail design does not live in isolation! Pairing your nails with matching jewelry completes the whole elevated aesthetic.
Gold rings beautifully complement the metallic accents on your nails. Stack thin gold bands across multiple fingers for a curated vibe.
Alternatively, chunky silver rings create a bold, edgy contrast against deep black polish. Choose pieces that match your personal style.
Transitioning Your Nails After Halloween
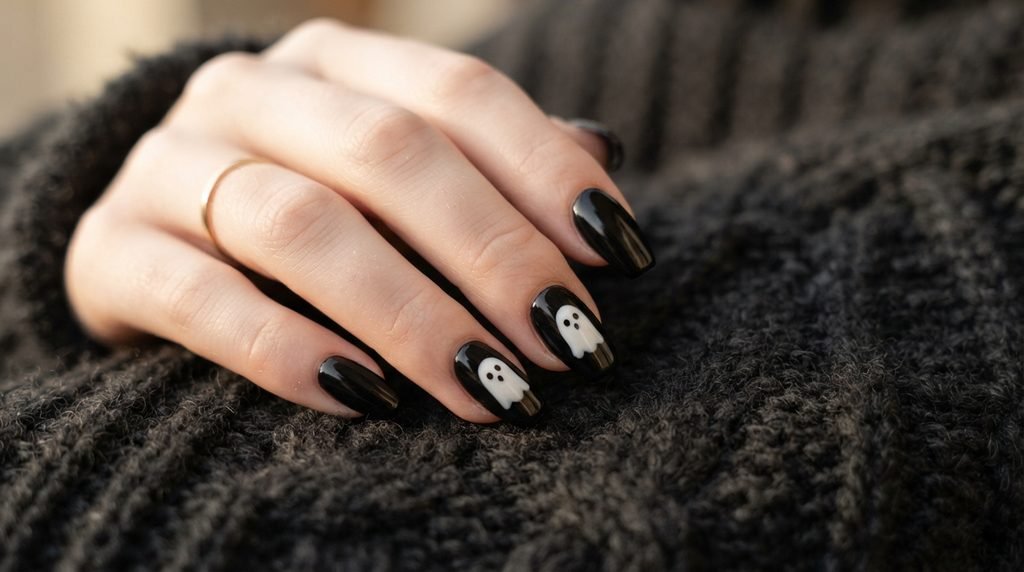
One benefit of black and white nails is versatility. Unlike bright orange designs, sleek ghost silhouettes transition smoothly into late autumn.
If you want to prolong your set, ask your tech to focus art on just two nails. Once Halloween passes, you can file those down or repaint them black.
Consequently, the rest of your manicure stays classy all November long. Black nails never go out of style.
Common DIY Mistakes to Avoid
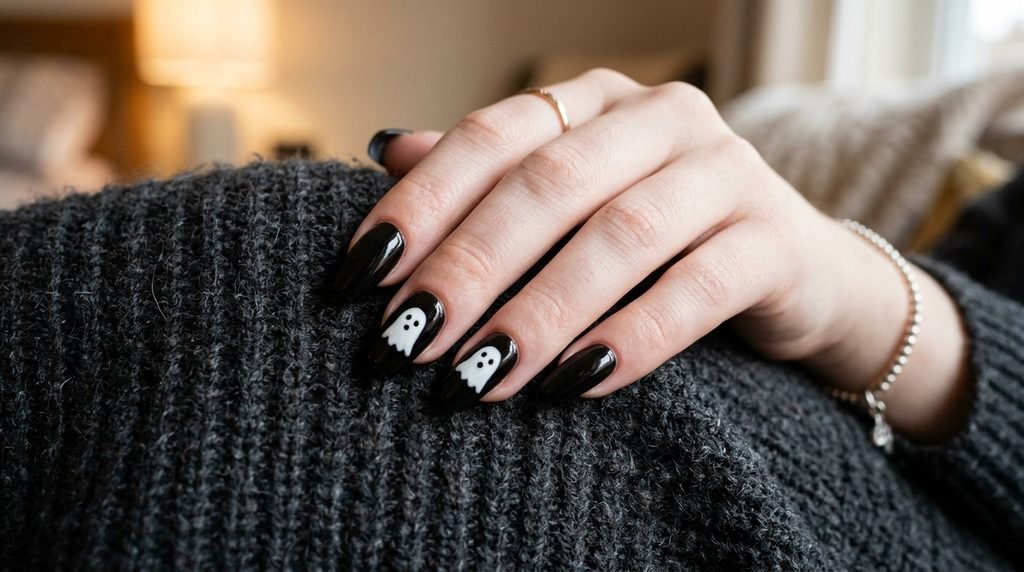
DIY ghost nails are fun, but a few small errors can ruin your look. First, avoid applying paint layers too thickly. Thick paint bubbles during curing.
Second, do not rush between detail layers. Always flash-cure your white shapes for ten seconds before painting eyes or gold foil.
Finally, do not forget to cap your free edges with top coat. Capping seals the tips against peeling and chipping.
Creating Negative Space Ghost Silhouettes
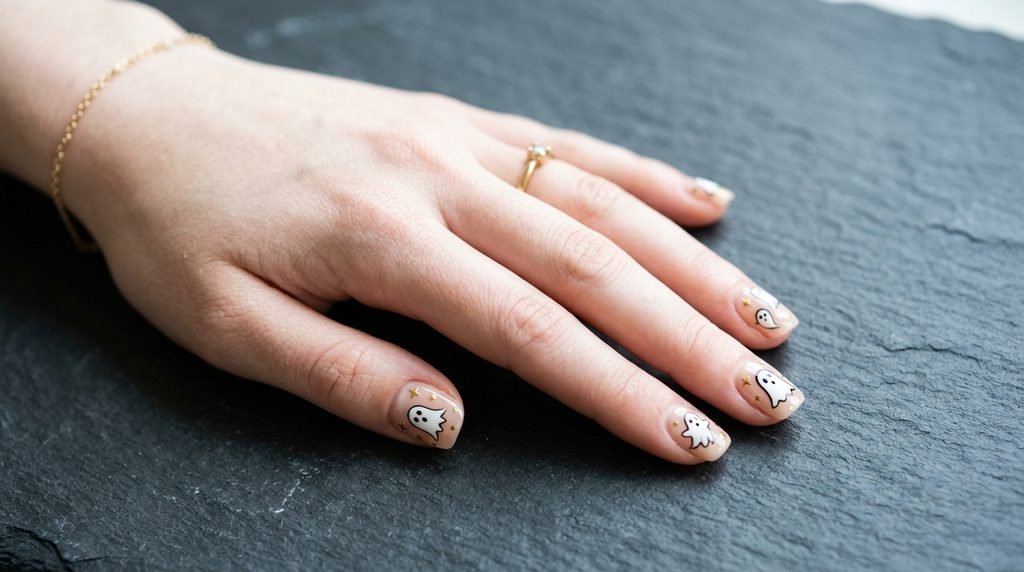
Negative space offers another chic variation for gothic Halloween nails. Instead of a solid black base, leave parts of your nail bare.
Paint your ghost using sheer nude polish as the background. Outline the silhouette with fine black and white detailing.
This modern technique creates an airy, weightless look. It feels light while maintaining a edgy, moody vibe.
Combining Matte Black Bases with Glossy Ghosts
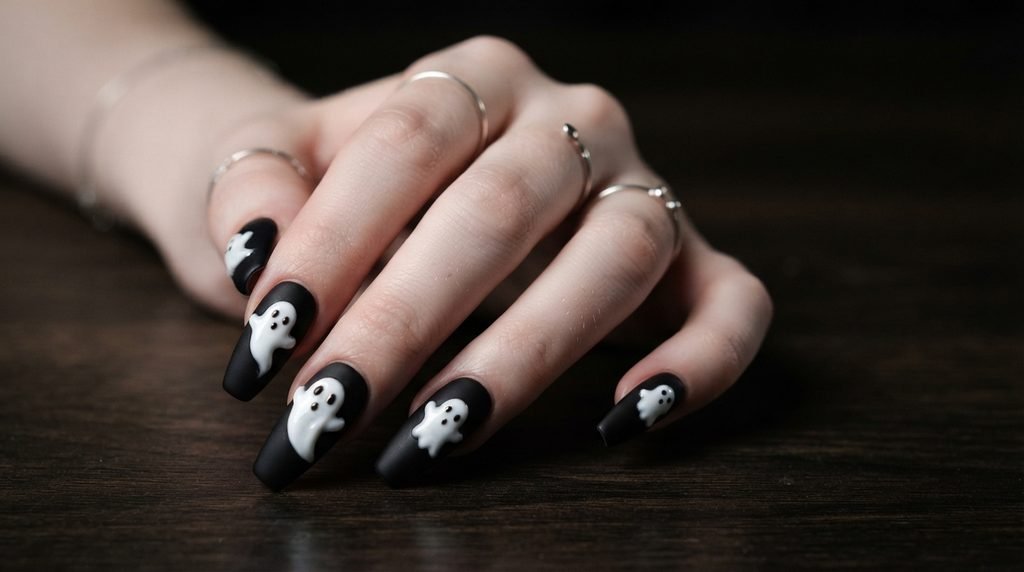
Contrast textures elevate nail art instantly. For this technique, apply a velvety matte top coat over your black base.
Next, paint your white ghost silhouettes using a high-gloss top gel. Cure thoroughly under your LED lamp.
The glossy ghosts pop dramatically off the flat, matte background. It creates a tactile, two-tone effect everyone will notice.
Adding Delicate Celestial Details
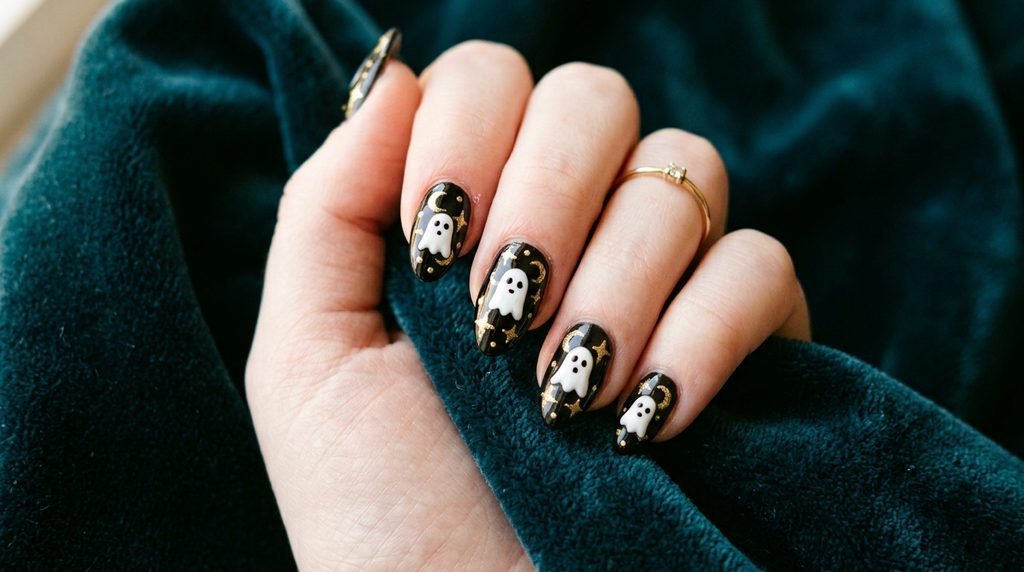
Celestial elements pair naturally with ghostly themes. Incorporating tiny starbursts or crescent moons enhances the magical atmosphere.
Use a tiny detail brush to dot gold glitter across the black spaces. Draw micro starbursts using white gel art paint.
However, keep these details sparse! Leaving open black space ensures the design stays sophisticated, not crowded.
Frequently Asked Questions (FAQ)
How do you make ghost nail art look elegant, not childish?
Focus on fluid lines rather than circular cartoon shapes. Keep features minimal, and add delicate gold foil details to elevate the look.
What colors pair well with black and white Halloween nails?
Gold metallic accents, deep plum undertones, and sheer nude negative space blend beautifully with black and white palettes.
What is the difference between cute ghost nails and luxury ghost nails?
Cute ghost nails feature bold outlines, bright colors, and big cartoon eyes. Luxury ghosts use minimalist silhouettes, fine lines, and high-shine gold accents.
How do you add a gold accent to a black and white Halloween manicure?
Use transfer foil gel for sharp foil placement, or paint fine line details with a metallic gold gel liner.
What is the best nail shape for ghost silhouette art?
Long coffin and medium almond shapes offer the best balance. They give ample surface area for smooth, flowing ghost details.
Conclusion
You do not have to settle for basic Halloween designs this year. Luxury black and white ghost nails give you high fashion with spooky flair.
Whether you visit a salon or try DIY at home, focus on crisp lines and rich shine. Gold accents and proper shaping will elevate your entire vibe.
Save this post now for your upcoming salon appointment! Which detail will you try first?

Mia founded Daily Nail Idea after a decade in beauty editorial, tired of watching great nail art disappear into the scroll. She now leads the team’s editorial direction — deciding what’s worth featuring and what’s just noise — and still paints her own nails every Sunday night, no exceptions.