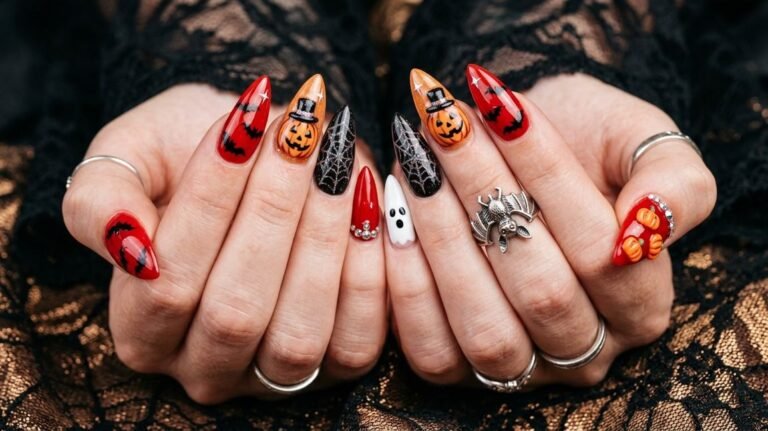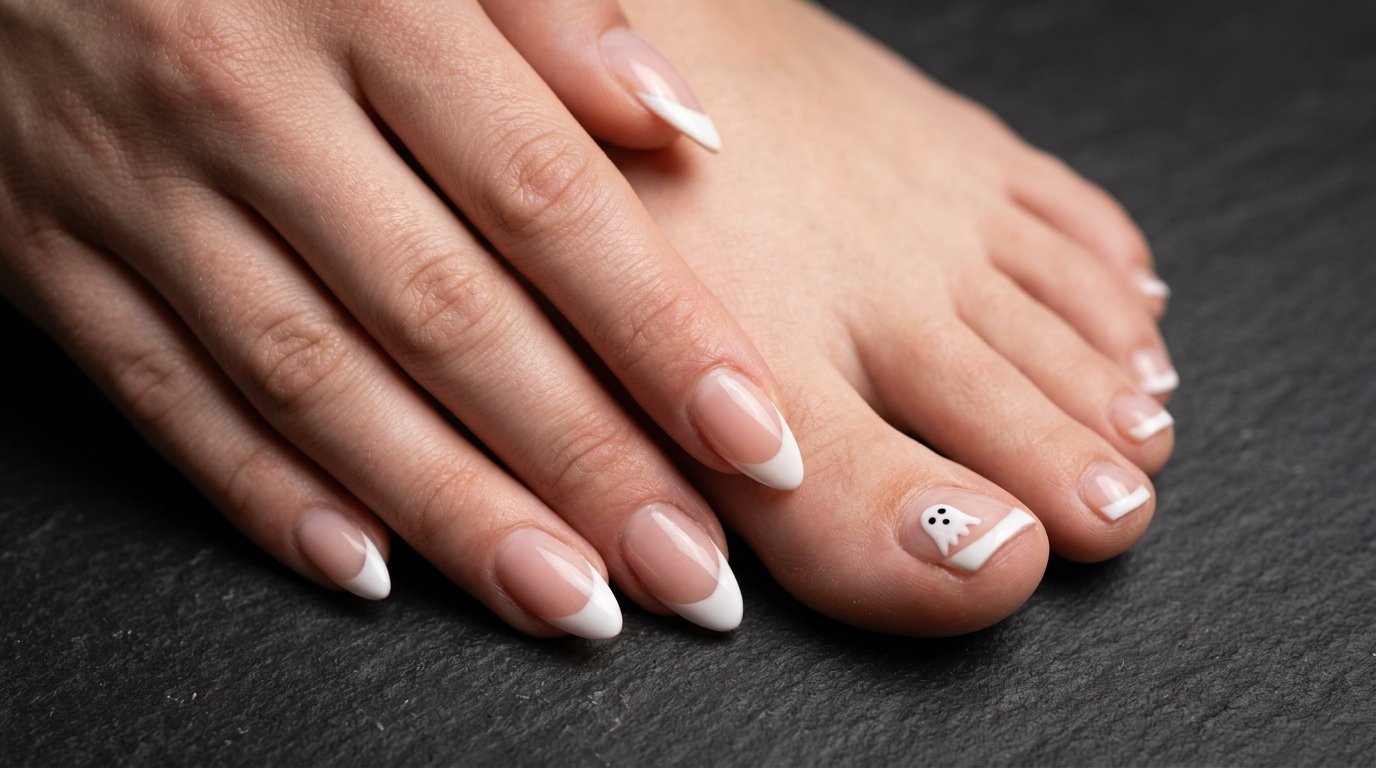
Halloween Toe Nails 2026: Big-Toe Statement Pedicure Ideas That Fit Small Nail Plates
Staring at your toes wondering how to fit spooky nail art on tiny nail plates? Planning your festive autumn pedicure should be exciting, not stressful. Trying to cram complex ghost scenes onto four tiny toes often turns into a messy blur.
Instead, focus all the art on your big toe while keeping smaller toes solid. This simple strategy makes halloween toe nails look intentional, clean, and salon-quality every single time.
At-a-Glance: What is Ahead
- The Big-Toe Focus Strategy: Why concentrating nail art on the primary digit creates a high-impact, clean look for small toenails.
- 21 Unique Pedicure Designs: Step-by-step breakdowns from spooky ghosts to metallic spider webs designed for small nail beds.
- Prep & Longevity Tutorials: Essential steps to prevent gel flooding, manage cuticles, and ensure your festive pedicure lasts well into November.
- Salon Communication Tips: Exact phrases to use with your technician to get precise shapes and zero design crowding.
- Matching Rules: How to coordinate your festive pedicure with your manicure without looking overly matched.
Why Big-Toe Statement Designs Work Best for Small Plates
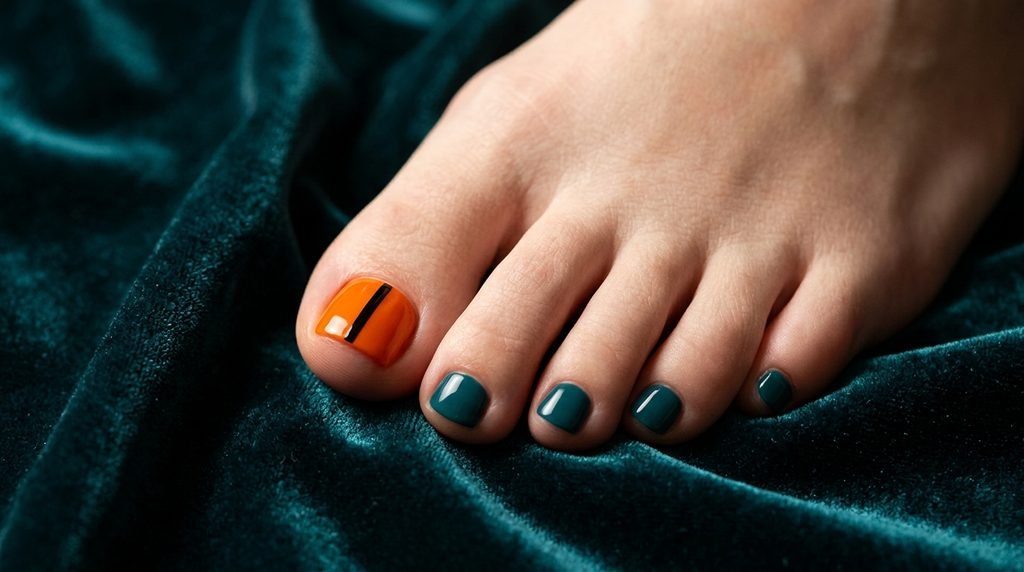
Small nail plates often smudge when overloaded with intricate artwork. Therefore, focusing your design strictly on the big toe solves this spatial dilemma effortlessly.
The big toe offers ample canvas for detailed linework, chrome finishes, or cute hand-painted faces. Meanwhile, keeping the smaller four toes in matching solid colors creates balance.
This approach saves time during application and ensures a crisp, sophisticated finish. Moreover, it prevents dark polishes from making smaller toes look cramped or uneven.
Essential Prep: Preparing Small Toenails for Gel
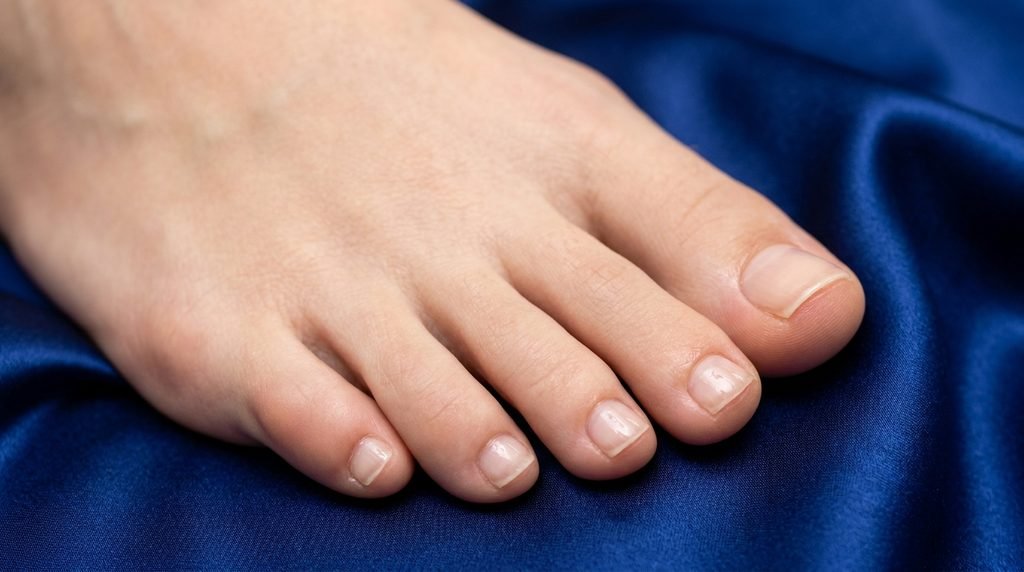
Proper surface preparation is crucial before applying any festive gel polishes. Start by gently pushing back cuticles with a wooden cuticle pusher.
- Step 1: Trim toenails straight across to prevent painful ingrown edges.
- Step 2: Lightly buff the surface of each nail plate to remove natural oil shine.
- Step 3: Wipe down every nail with alcohol pads to eliminate debris and dust.
- Step 4: Apply a thin dehy
- drating primer coat to maximize gel adhesion.
Skipping proper prep often leads to early lifting or gel flooding near cuticle borders. Consequently, taking five extra minutes on prep ensures your pedicure lasts four full weeks.
Averting Cuticle Flooding on Tiny Toes
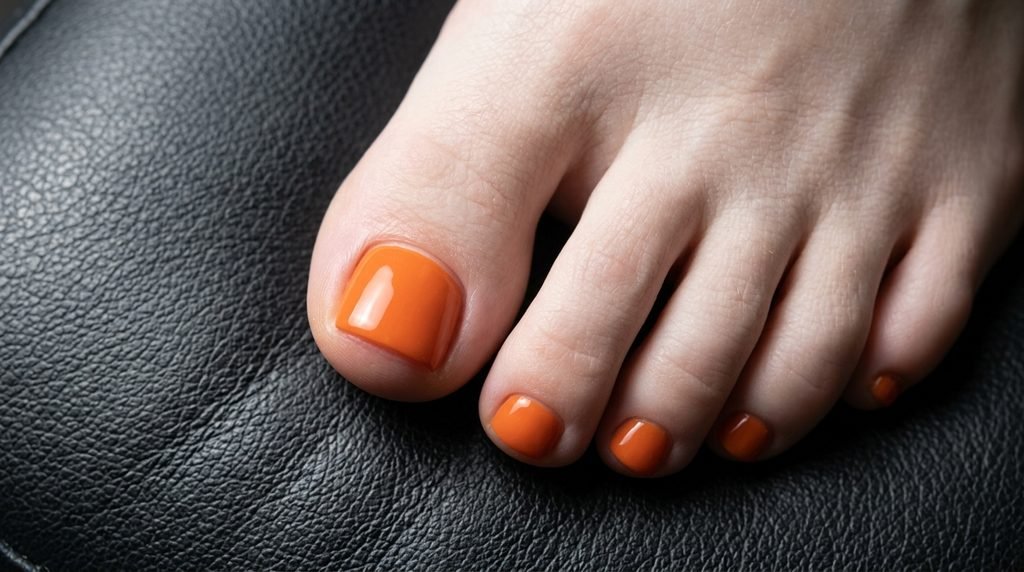
Cuticle flooding occurs when liquid polish spills into surrounding skin folds. This mistake looks messy and causes gel polish to peel within days.
To prevent this issue, wipe off excess polish on the bottle rim before brushing. Always leave a tiny hair-width gap between your cuticle wall and the polish line.
| Correct Gel Application Distance | Description |
| Cuticle Border | Keep the gel away from the cuticle area. |
| 1 mm Clean Gap | Leave a 1 mm gap between the cuticle border and gel to prevent flooding. |
| Gel Polish Layer | Apply the gel polish evenly below the 1 mm clean gap. |
| Nail Plate Body | The gel polish should cover the main body of the nail plate. |
If polish touches your skin, wipe it immediately using a tiny brush dipped in acetone. Additionally, flash-cure each toe under an LED lamp for five seconds right after painting.
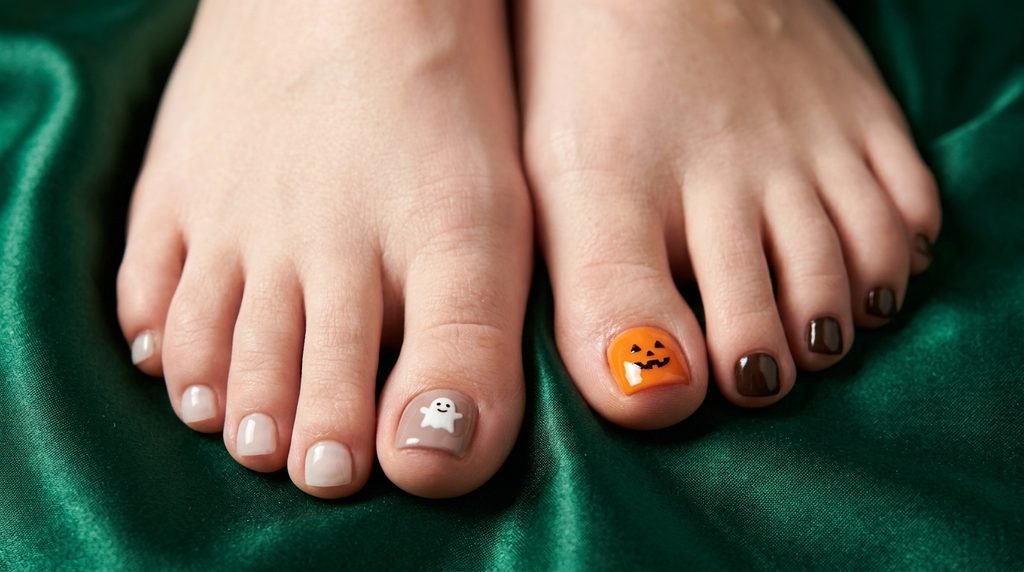
Classic Friendly Ghost Big-Toe Art
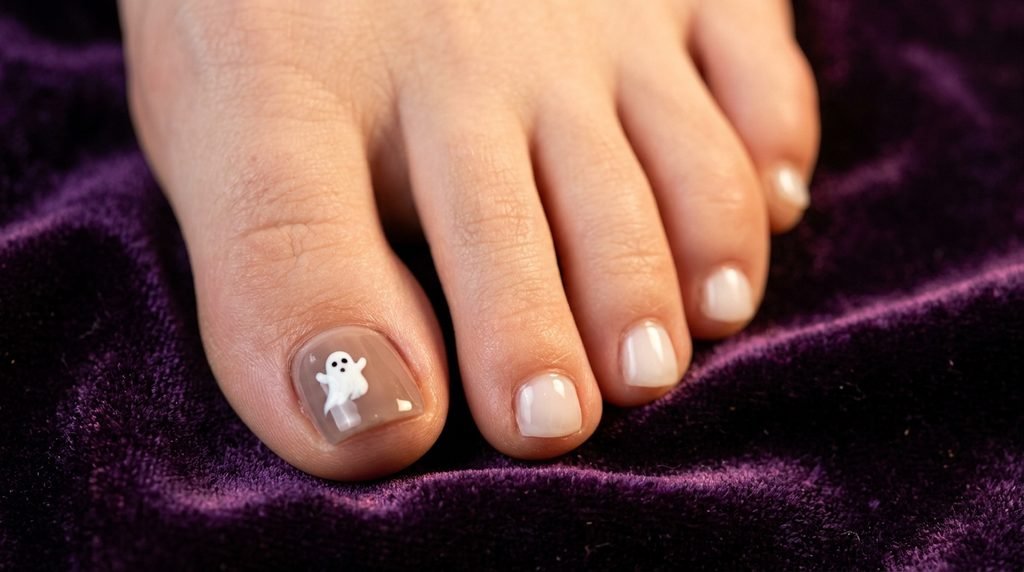
A minimalist white ghost on a warm neutral base looks playful yet sleek. First, apply two coats of sheer taupe gel across all toenails.
Next, use a medium dotting tool to place a white oval near the top corner. Draw two soft squiggles extending downward from the oval to create a flowing sheet body.
Finally, add two tiny black dots for eyes using a fine detail brush. Keep the four smaller toes in sheer milky white polish for a soft finish.
Pumpkin Orange & Espresso Brown Combinations
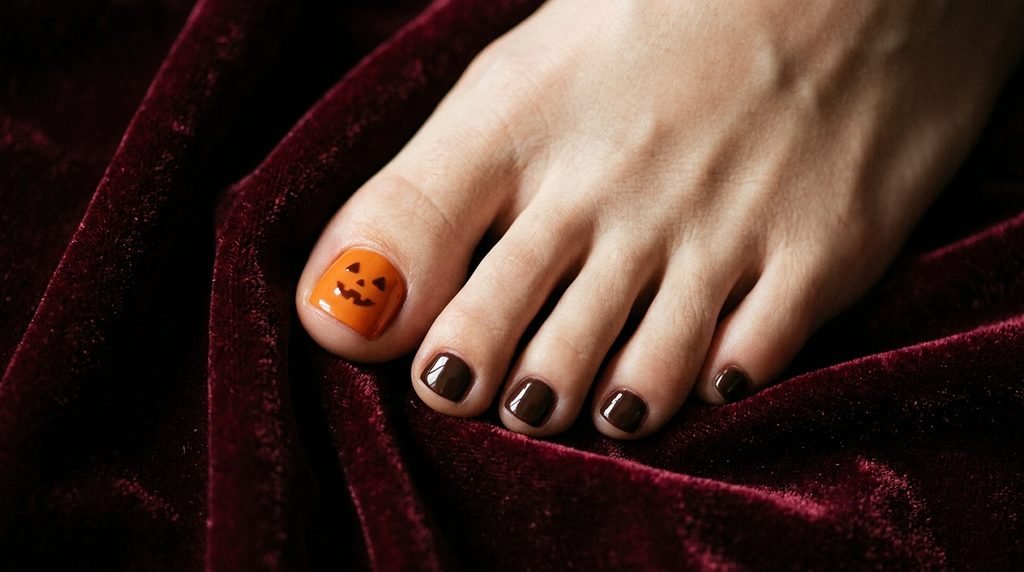
Pairing rich pumpkin orange with deep espresso brown gives off instant autumnal vibes. Paint your big toenail with a vibrant burnt orange shade as your main feature.
Add a minimal jack-o’-lantern face using dark brown polish and a fine striping brush. Alternatively, leave the orange toe solid and place a tiny black stem at the base.
Paint all four smaller toenails with two thin coats of rich espresso brown polish. This contrast feels cozy, luxurious, and perfectly styled for sweater weather.
Cream & Black Mummy Wrap Pedicure
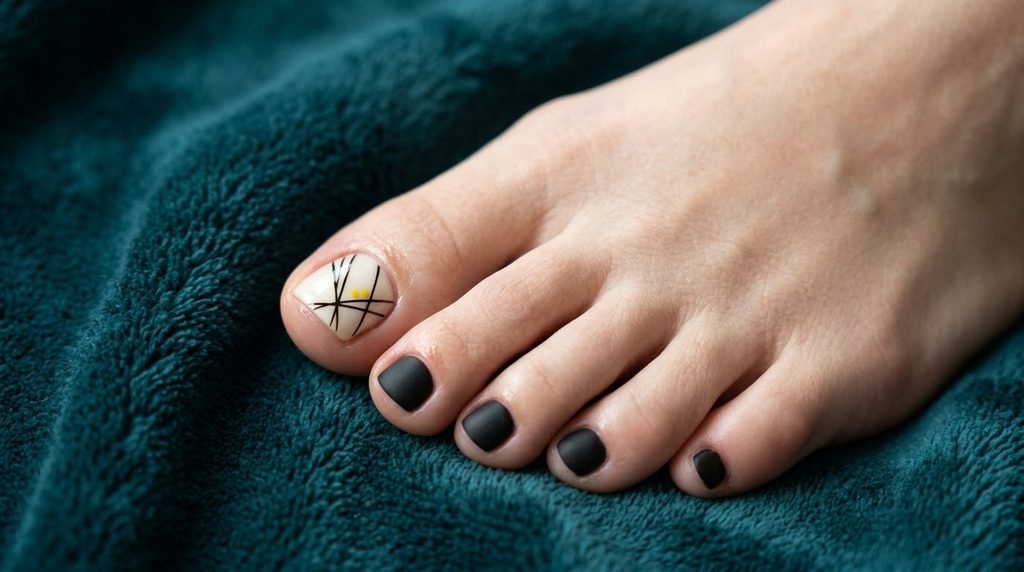
Mummy wrap nail art adds clever texture without requiring complex drawing skills. Begin with a solid cream or off-white gel base on your big toenails.
Using a thin liner brush, draw fine, overlapping black diagonal lines across the nail plate. Leave a small open horizontal space near the upper middle section of the nail.
- Eye Placement: Add two tiny yellow or white dots inside the open gap.
- Detailing: Place a micro black dot inside each eye to complete the look.
- Finish: Top with a ultra-matte top coat for a soft bandage effect.
Keep your smaller toes solid black to frame the detailed mummy wrap big toe.
Glossy Candy Corn Ombré Big-Toe Accent
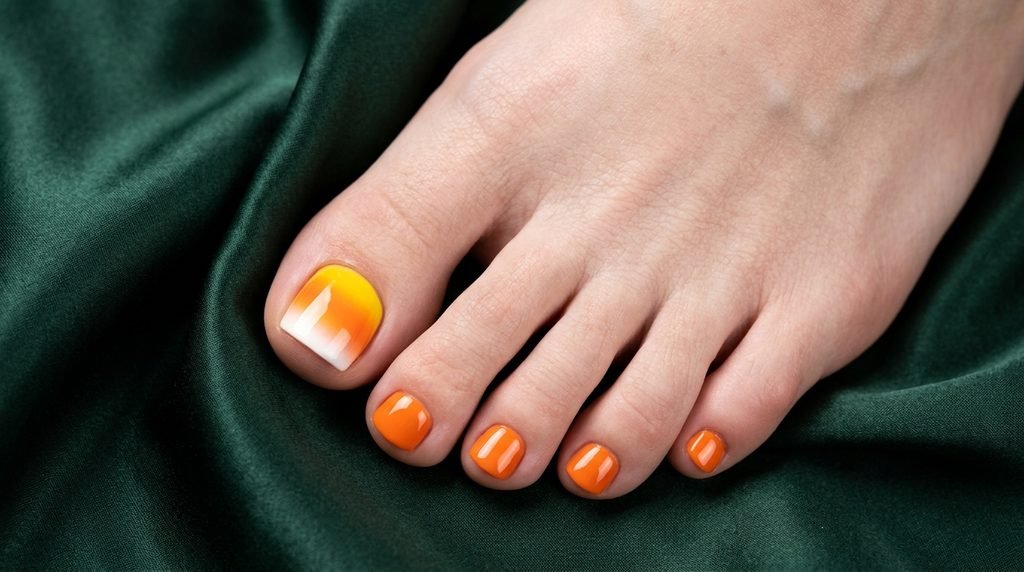
Candy corn designs look vibrant when applied as a smooth vertical or horizontal gradient. Start by painting the base of your big toenail with rich sunny yellow polish.
Sponge orange gel into the center, then blend bright white polish onto the tip. Use a clean ombre sponge to dab the boundary lines softly before curing under your lamp.
Because small nail plates can get visually overwhelmed, keep this bright gradient strictly on the big toe. Finish the four smaller toes in high-gloss orange or white to stay cohesive.
Metallic Gold & Black Spider Web Accent
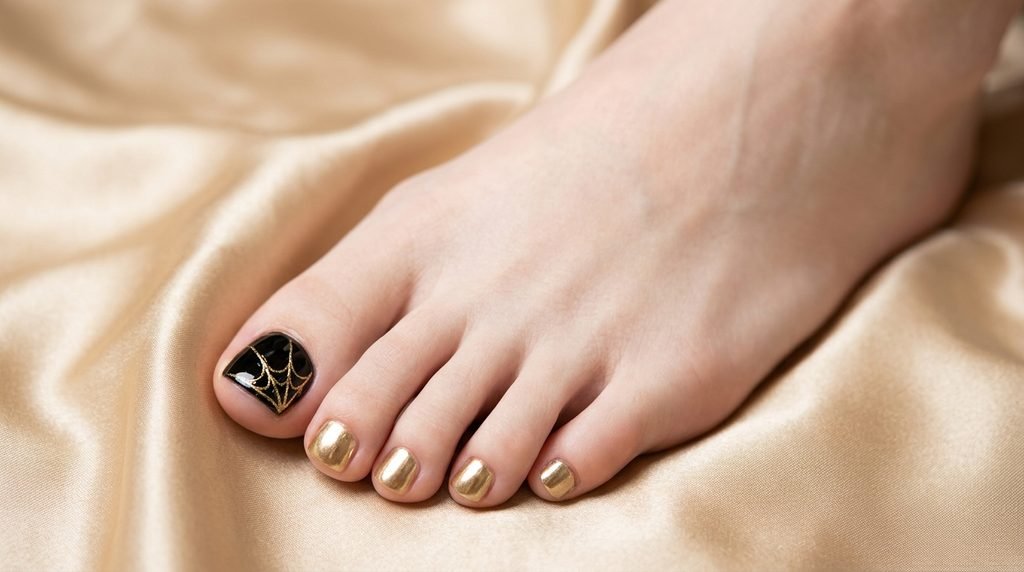
Dark background colors paired with reflective lines create striking evening contrast. Paint your big toenails with two coats of deep black gel polish and cure completely.
Dip a fine striping brush into metallic gold gel or painting paste. Draw three straight lines radiating outward from one corner of your big toenail plate.
Connect these radial lines using short curved arches to form a delicate web motif. Paint small toes in solid metallic gold or rich dark jet black polish.
Minimalist Blood Drips on Nude Base
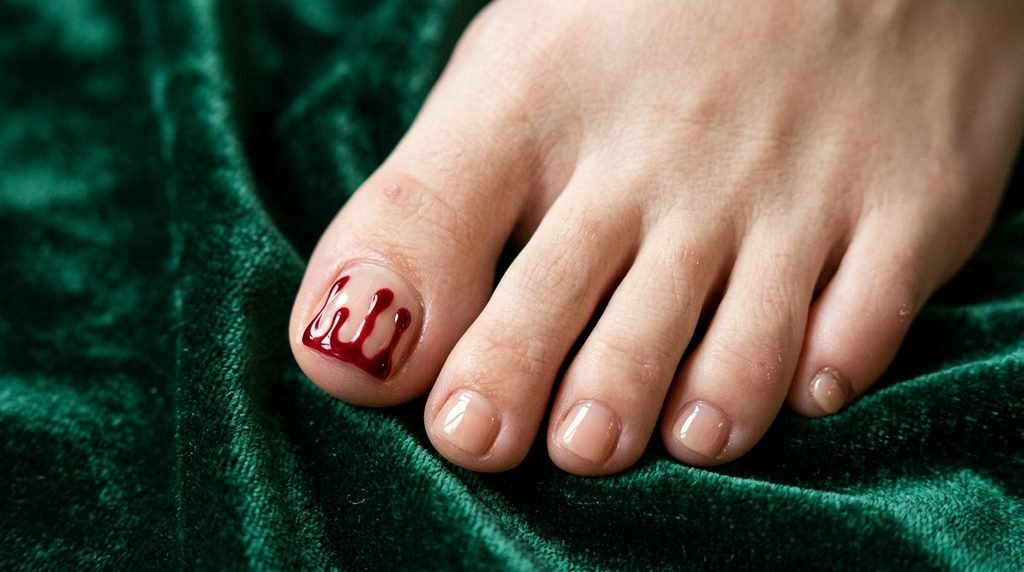
If you love subtle spooky themes, minimalist blood drips offer dramatic contrast. Start with a nude or sheer pink base coat across all ten toes for a clean base.
Place a small bead of deep crimson gel near the free edge of your big toe. Use a fine dotting tool to drag light trails upward toward the cuticle line.
Vary the length of each drip trail to keep the pattern looking soft and organic. Finish with a glass-like glossy top coat to make the deep red shade pop effortlessly.
Cute Bat Silhouette on Sheer Lavender
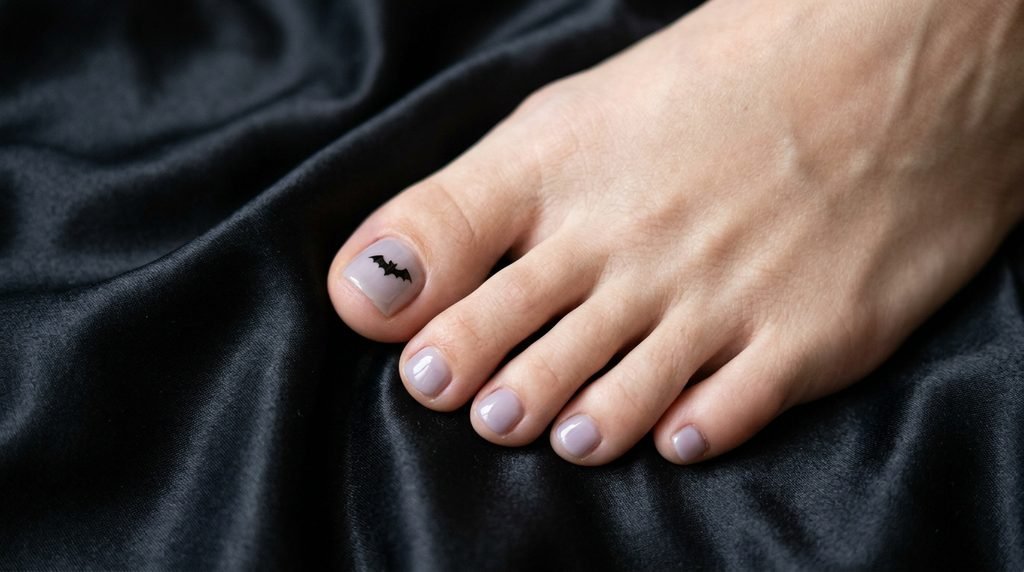
Soft pastel shades provide a unique, unexpected backdrop for dark seasonal silhouettes. Paint your toenails in a sheer lavender or soft muted purple shade first.
On your big toenail, use a black detailing pen or fine brush to draw a bat outline. Start with two small curved wings expanding outward from a small center body dot.
Fill in the bat silhouette completely using thin layers of opaque black gel polish. Keep smaller toes smooth and simple in lavender.
Subtle Matte Black & Glossy French Tip Accent
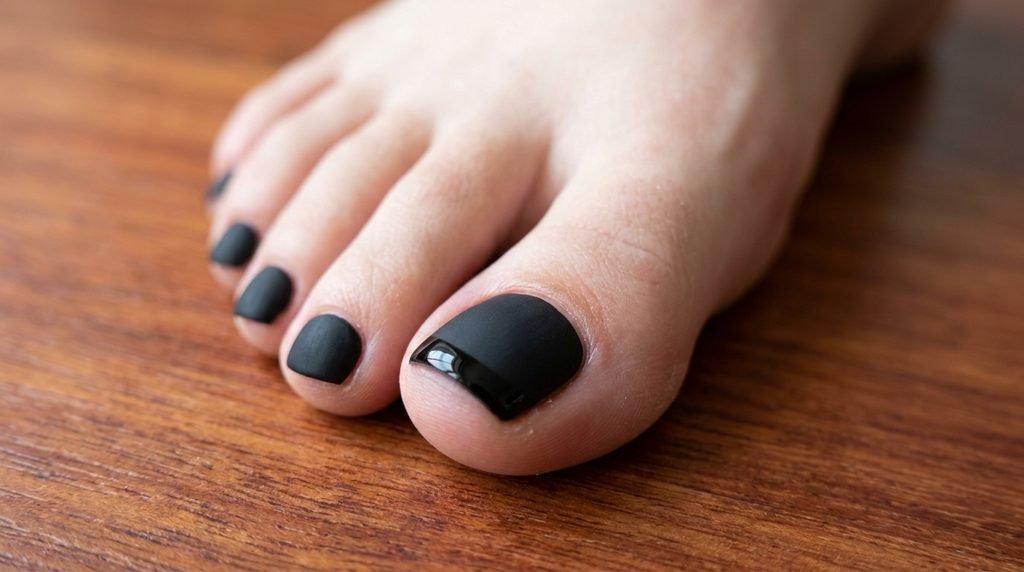
Mix textures instead of high-contrast colors for a ultra-sophisticated seasonal aesthetic. Apply two thin coats of matte black gel across all your toenails first.
Once fully cured, apply a ultra-glossy topcoat along the free edge of your big toe. This creates a sleek tone-on-tone French tip contrast that catches light subtly.
This subtle style looks chic in open-toe heels and transitions seamlessly into regular evening wear. Furthermore, it works exceptionally well on shorter toenails where canvas space is limited.
Celestial Crescent Moons & Tiny Starbursts
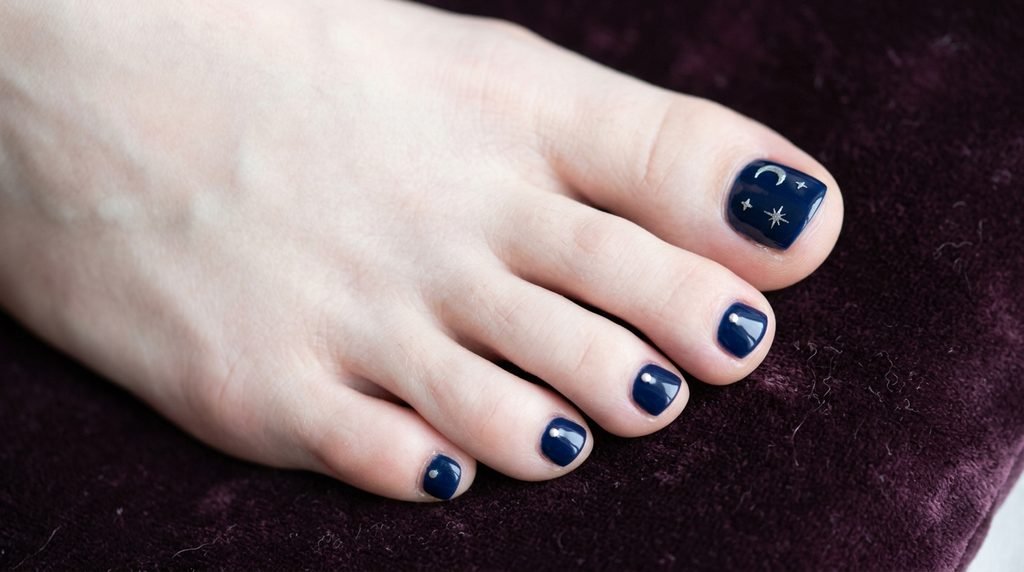
Celestial art offers a magical seasonal look that extends beautifully past October. Paint all ten nails in a deep night-sky navy blue or deep obsidian shade.
Using metallic silver gel, paint a crisp crescent moon along the side curve of your big toe. Add two small four-point starbursts using a micro detail brush near the opposite corner.
- Placement Tip: Keep stars small to avoid crowding your nail plate.
- Accent Step: Add a micro dot of silver glitter to the center of each starburst.
- Finish: Seal with a hard gel topcoat to protect delicate metallic linework.
Leave smaller toes solid navy blue or add one tiny silver dot near each cuticle base.
Glow-in-the-Dark Accent Details for October Nights
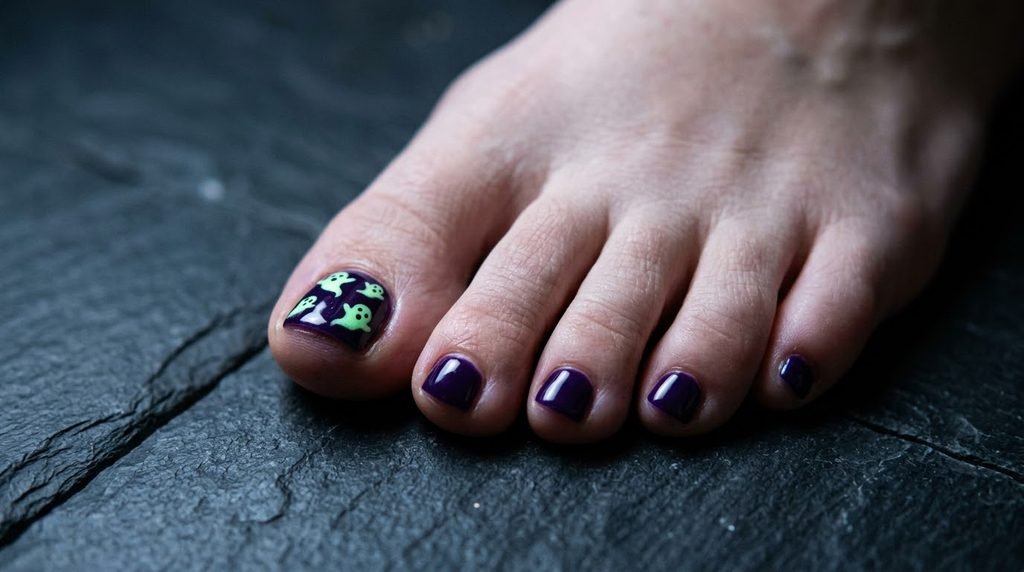
Glow-in-the-Dark polishes bring a fun, surprising element to evening festivities. Paint your base colors normally, using shades like deep purple, black, or taupe.
Overlay your big-toe artwork—such as ghost bodies or stars—with a luminous topcoat layer. During daylight, the pedicure looks like a chic, classic autumn design.
Once lights dim, the special accents glow brightly, adding festive charm without extra bulk. Always cure glow gels thoroughly under high-power LED lamps to ensure maximum brightness.
Chrome Mummy Lines over Charcoal Gel
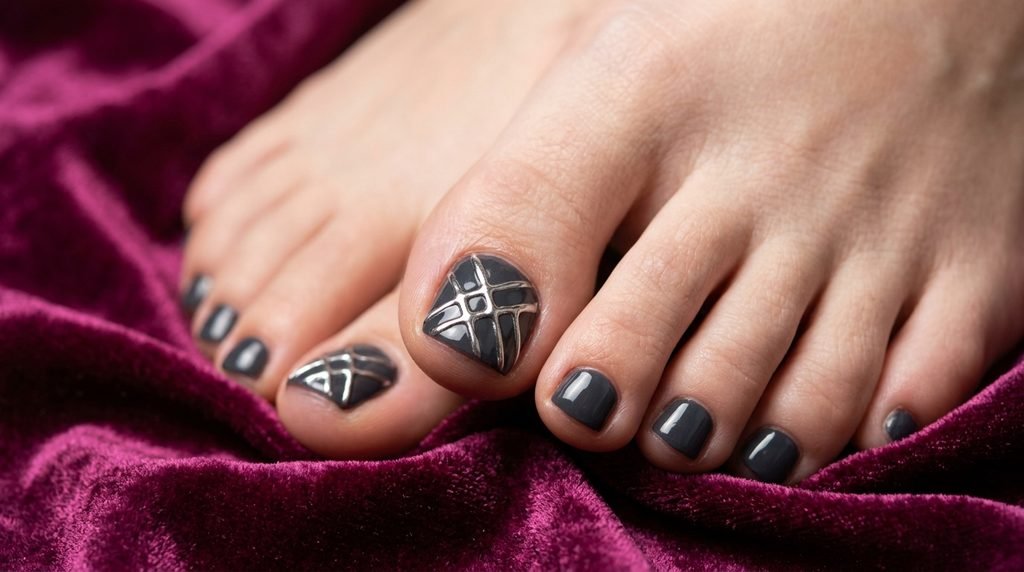
Elevate classic mummy wraps by swapping basic white polish for high-shine chrome finish. Paint all toenails with a rich charcoal grey or deep black base coat.
Apply a non-wipe top coat over your big toe and cure for thirty seconds. Use clear 3D building gel to paint raised, diagonal crisscross lines across the plate.
Rub silver chrome powder over the cured gel ridges using a soft sponge applicator. Dust away loose powder particles, then seal the raised metallic artwork with clear topcoat.
Tortoiseshell Pattern with Micro Pumpkin Detail
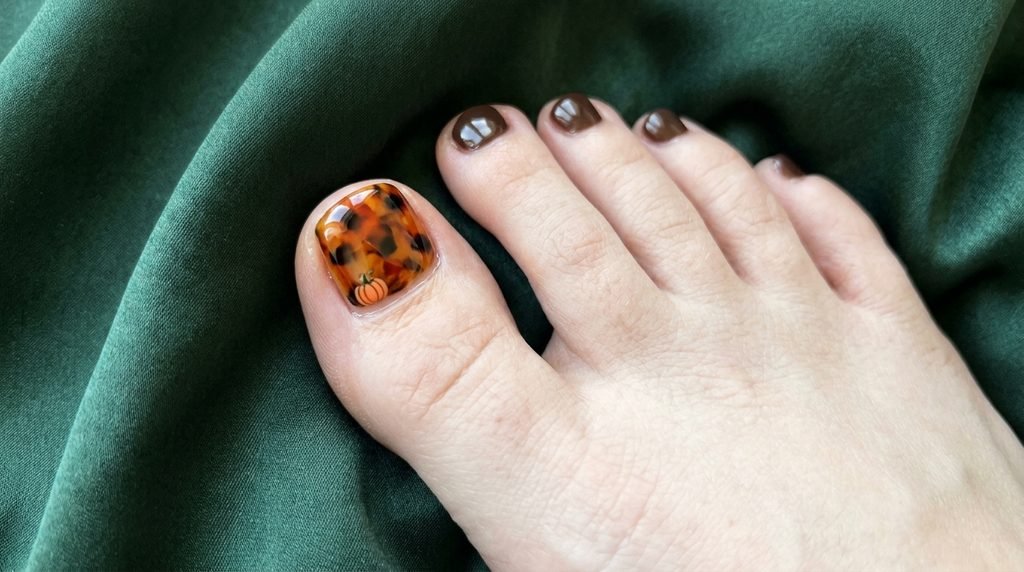
Tortoiseshell patterns offer warm amber tones that feel inherently cozy and seasonal. Create the pattern on your big toenail by layering translucent amber, brown, and black gels.
Cure between layers to build rich depth inside the warm tortoiseshell pattern. Once complete, paint a tiny, minimal orange pumpkin outline right near the nail base.
Paint smaller toes in warm espresso or deep amber-brown to complement your accent toe. This rich design looks high-end while giving a subtle nod to autumn festivities.
Pastel Spooky: Soft Pink Base with Tiny White Ghosts
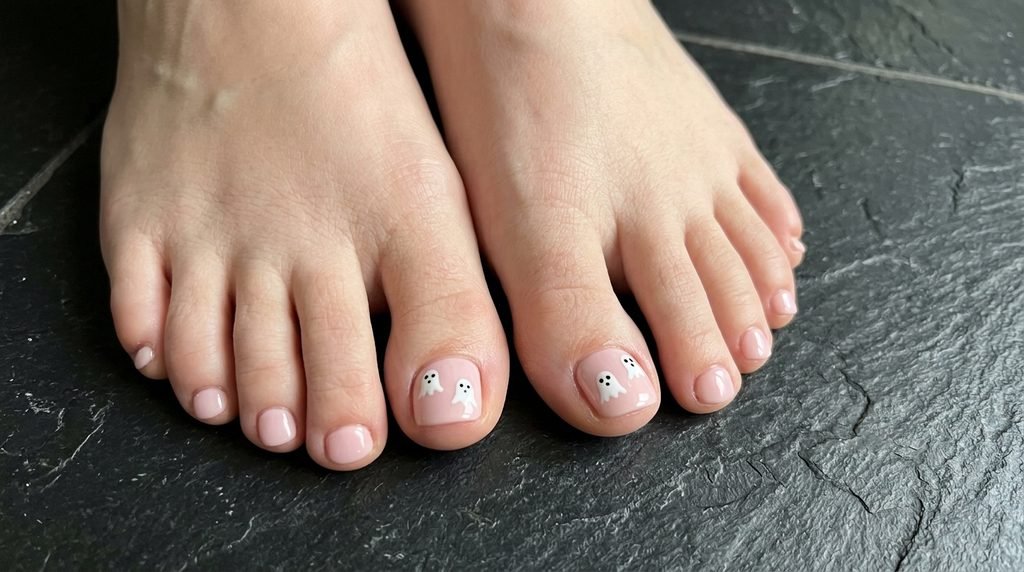
Soft pastel aesthetics give traditional seasonal nail art a sweet, modern twist. Paint all ten toes with two coats of soft blush or muted pastel pink gel.
Draw two micro ghost shapes on your big toenails using stark white paint. Add tiny black eyes using a toothpick or small dotting tool for effortless accuracy.
This palette keeps your feet looking clean and bright while embracing fun seasonal elements. Additionally, it flatters lighter skin tones exceptionally well without looking harsh or heavy.
Deep Burgundy Base with Gold Foil Poison Apple Accent
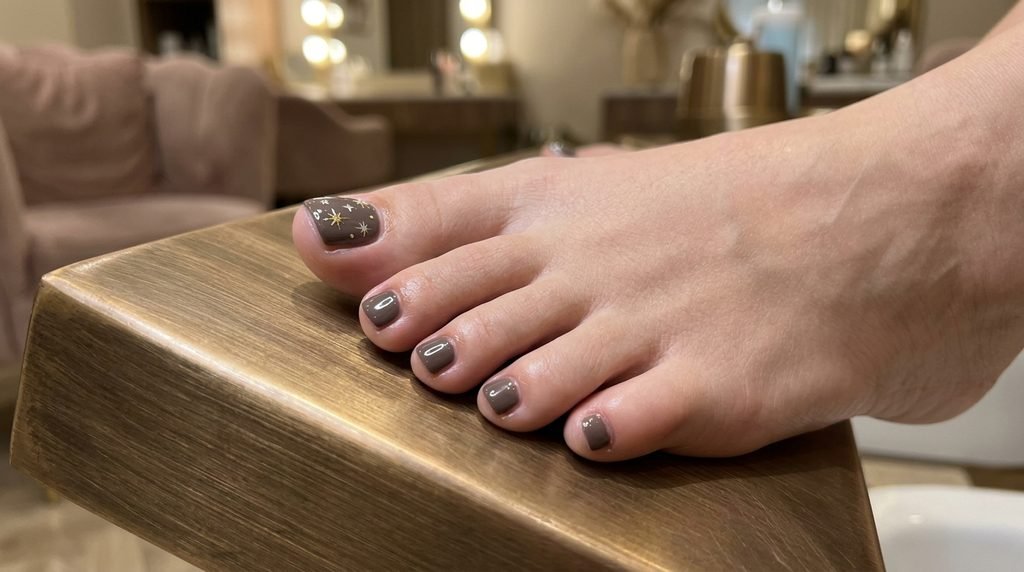
Rich burgundy polish creates a luxurious foundation for dramatic autumnal metallic accents. Apply two thick coats of deep wine-red polish to all of your toenails.
On the big toe, dab small patches of foil transfer gel along one side wall. Press gold leaf foil firmly onto the sticky layer, then pull it back quickly.
Use green painting gel to outline a subtle poisoned apple silhouette over the gold. The metallic foil shines through the sheer green, creating a moody, glass-like effect.
Green Slime Drips over Obsidian Gel
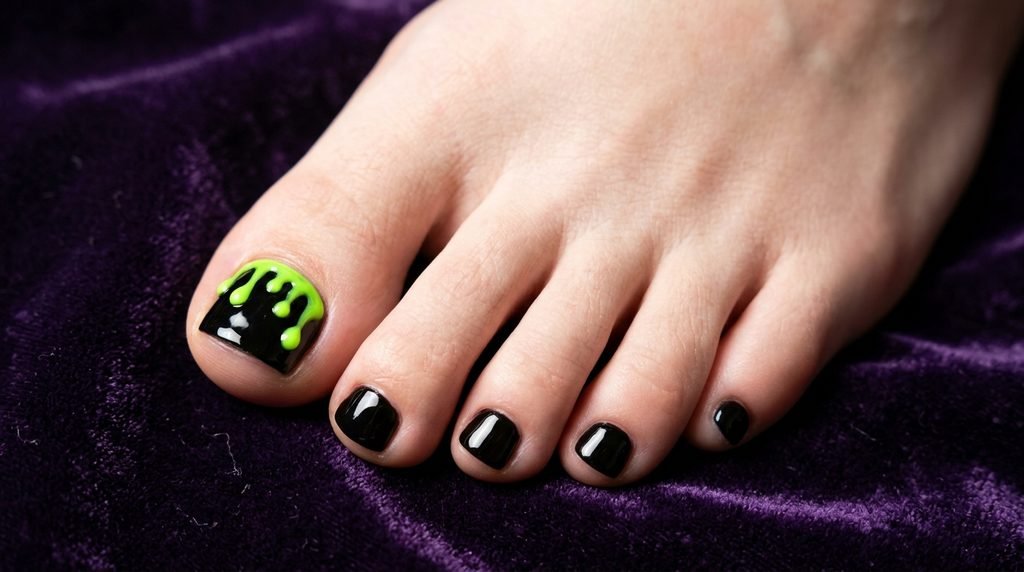
Vibrant neon slime green contrasts sharply against deep obsidian black base polishes. Coat all toenails in high-gloss black gel polish for maximum contrast background depth.
Using a bright lime green gel, paint small rounded droplets starting along the toe tip. Connect those droplets back up to the tip to create an authentic liquid slime drip.
Because neon green draws intense visual attention, keep this vibrant artwork strictly on your big toe. Paint smaller toes in plain obsidian black to keep the look balanced and bold.
How to Ask Your Salon Tech for Big-Toe Art
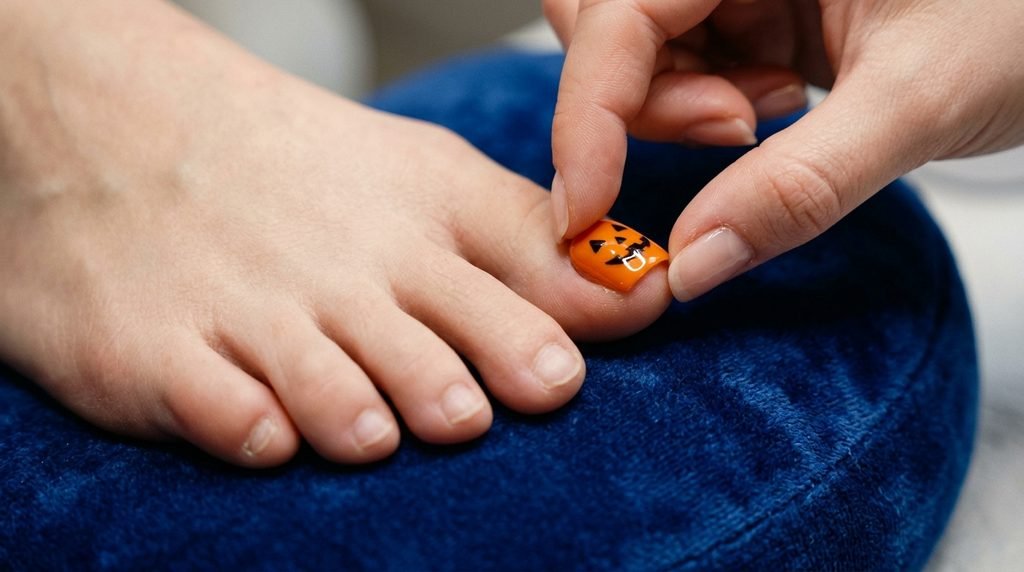
Walking into a salon without clear photos often leads to mismatched art expectations. Show your nail tech exact reference photos of the specific design you prefer.
State clearly that you want detailed art placed only on your big toes. Mention that you prefer solid matching polish colors across the four smaller toes.
| Salon Communication Cheat Sheet | What to Say |
| 1. Art Scope | “Design on big toes only, please.” |
| 2. Smaller Toes | “Solid coordinating dark shade on four small.” |
| 3. Nail Shape | “Short square with soft, rounded corners.” |
| 4. Layering | “Thin gel coats to prevent bulky edges.” |
Request a short square shape with gently rounded corners to prevent snagging on socks. Finally, ask them to keep gel coats thin to maintain a natural nail thickness.
DIY Options: Gel vs. Press-On Toenails
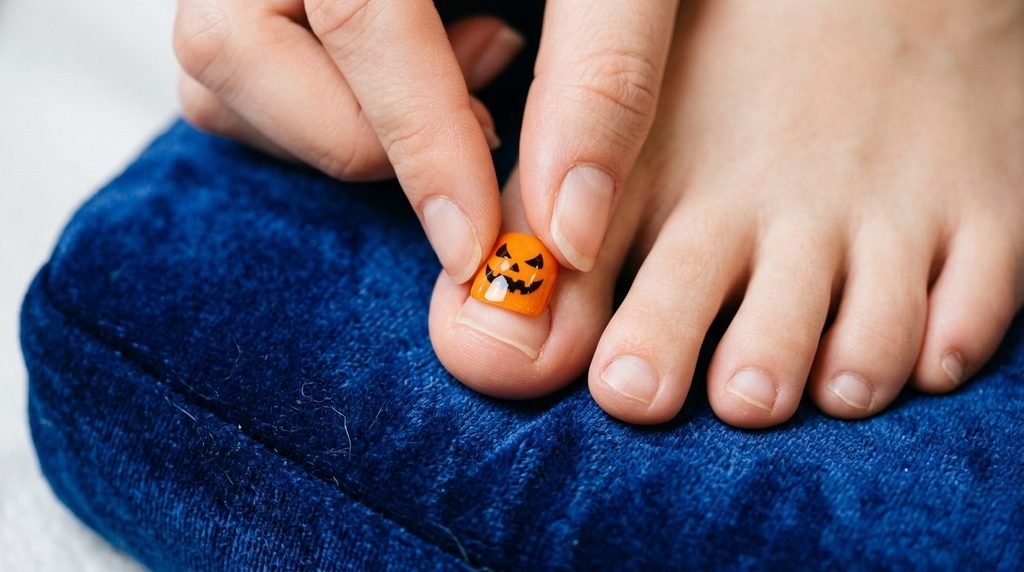
Choosing between at-home gel kits and press-on toenail sets depends on your schedule. Press-on toenails offer instant detailed art without requiring steady freehand painting skills.
| Feature / Method | At-Home Gel Application | Pre-Designed Press-On Sets | Salon Gel Pedicure |
| Application Time | 45 – 60 Minutes | 10 – 15 Minutes | 45 – 75 Minutes |
| Durability | 3 to 4 Weeks | 7 to 10 Days | 4+ Weeks |
| Skill Requirement | Medium (Requires steady hand) | Very Low | None (Professional) |
| Best For | Custom art & durability | Quick event turnarounds | Long-lasting pampering |
| Cost Range | Low (After kit purchase) | Very Budget-Friendly | Higher investment |
Gel polishes provide superior durability, easily resisting chipping inside closed-toe boots. Conversely, press-ons serve as an excellent temporary option for weekend Halloween events or parties.
Pedicure Color Pairing Guide
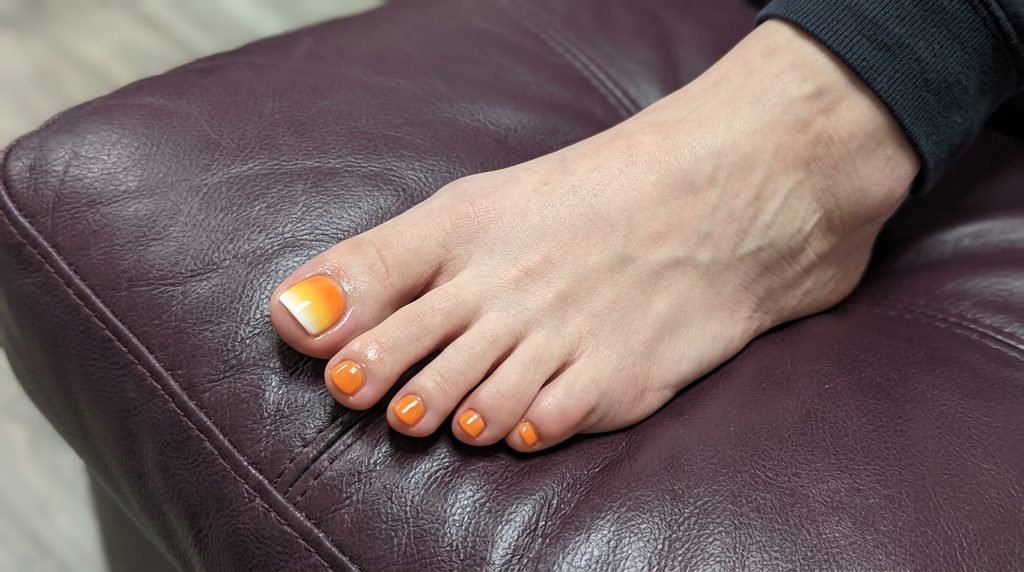
Matching your big toe base color with smaller toe shades creates visual harmony. Selecting complementary tones prevents your pedicure from looking busy or disorganized.
| Big Toe Design Style | Recommended Big Toe Base | Recommended Small Toes Color | Overall Look Vibe |
| Friendly Ghost | Sheer Taupe / Nude | Sheer Milky White | Clean & Minimalist |
| Jack-o’-Lantern | Vibrant Pumpkin Orange | Deep Espresso Brown | Warm & Cozy Autumn |
| Mummy Wrap | Warm Cream / Off-White | Jet Black | High Contrast Spooky |
| Spider Web | Jet Black | Metallic Gold / Silver | Moody & Glamorous |
| Candy Corn | Yellow/Orange/White Gradient | Bright Orange | Playful & Festive |
Refer to this chart when purchasing polishes or choosing shades at your salon. Maintaining unified undertones ensures your final look appears professional and intentional.
Matching Mani-Pedi Rules Without Overdoing It
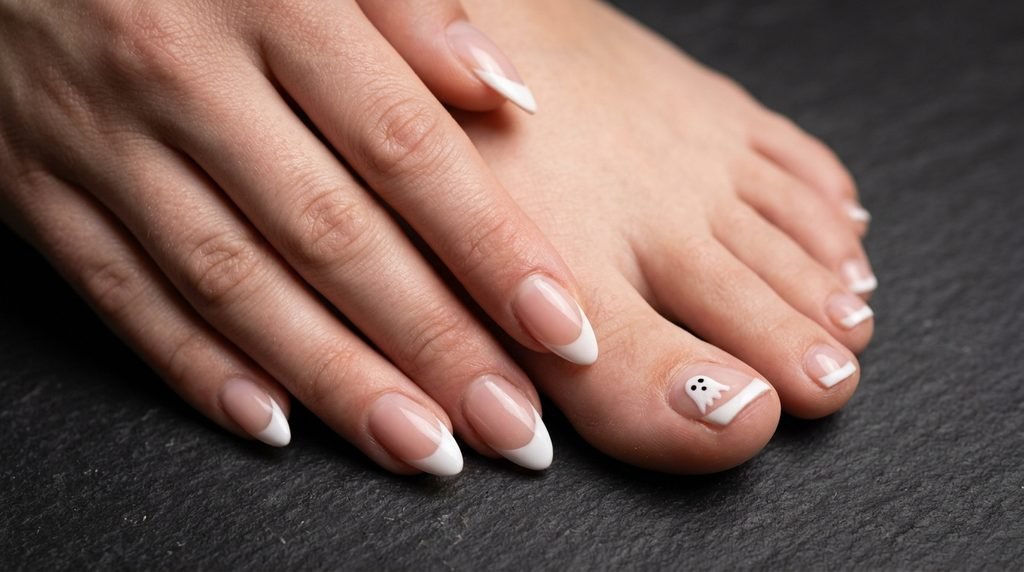
Matching your hands and feet identically can often look dated or overly planned. Instead, pair one common color or single design element across both sets.
If your manicure features full ghost nail art, choose simple white French tips for toes. Alternatively, match your pedicure base shade with your manicure’s accent finger polish.
This cohesive strategy connects your looks without repeating busy patterns across twenty nails.
Transitioning Your Pedicure into November
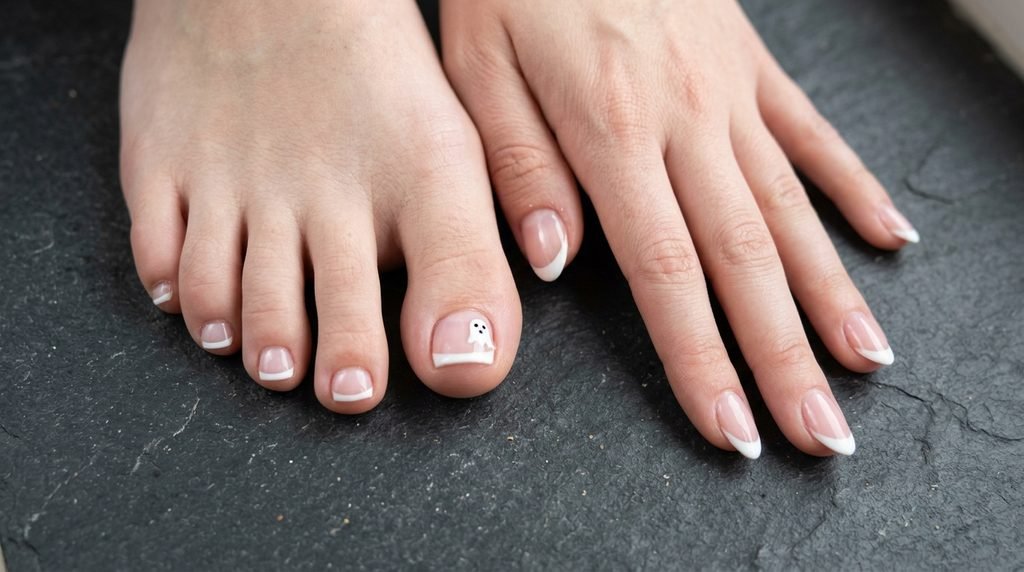
Remove explicit spook motifs like ghosts or webs right after October ends. However, you can easily save time by leaving warm background base colors intact.
Paint over big-toe ghost accents with solid deep burgundy, warm taupe, or dark espresso. Alternatively, add subtle gold foil flakes over the old design space to cover it up gracefully.
Warm cinnamon tones, dark browns, and deep forest greens transition naturally into late autumn styles.
Halloween Pedicure FAQs
What are good Halloween toe nail designs for tiny toenails?
Focusing detailed art on your big toe while keeping smaller toes solid works best. Minimalist ghosts, pumpkin faces, or simple spider webs fit small surfaces without smudging.
What is the easiest Halloween pedicure idea to do at home?
A classic ghost accent on the big toe is simplest. Paint a white oval on a taupe base, add two black eye dots, and keep remaining toes solid.
Can you do Halloween nail art on short toenails?
Yes, short toenails are ideal for statement artwork. Keep lines clean, use thin gel layers, and avoid overcrowding small nail plates with multiple motifs.
Should your Halloween pedicure match your manicure?
They do not need to match identically. Coordinate your look by using same color family tones or repeating one subtle accent motif across both sets.
What colors work best for Halloween toe nails?
Classic choices include pumpkin orange, rich espresso brown, jet black, stark white, and deep burgundy. Metallic gold or silver accents add instant holiday glam.
Conclusion: Wrapping Up Your Festive Look
Creating gorgeous halloween toe nails comes down to smart spacing and clean prep. By keeping complex designs on your big toe, small nail plates look balanced and neat.
Whether you choose cute ghosts or sleek metallic webs, keep your smaller toes simple. Save your favorite look to show your nail technician at your next appointment! Which design are you trying first?

Mia founded Daily Nail Idea after a decade in beauty editorial, tired of watching great nail art disappear into the scroll. She now leads the team’s editorial direction — deciding what’s worth featuring and what’s just noise — and still paints her own nails every Sunday night, no exceptions.