
Acrylic vs Gel Nails, What Acrylic Enhancements Are, and What a Beginner Kit Needs
Scrolling through Pinterest late at night before a salon appointment can feel super overwhelming. You save fifty gorgeous photos, yet you still have no idea what to actually ask for. Should you book an acrylic full set, or is hard gel better for your lifestyle? Maybe you are even thinking about buying a starter kit to practice at home. When comparing acrylic vs gel nails, the right choice comes down to your daily routine, budget, and nail goals. I have spent years working with clients in the salon chair. Let me break down the exact science, real costs, and safety rules so you can book or buy with total confidence.
At-a-Glance: What You Will Learn Ahead
This comprehensive guide covers everything you need to know about modern nail enhancements. First, we will look at a direct comparison table contrasting durability, feel, and upkeep. Next, you will learn how an acrylic nail enhancement actually cures in open air without a lamp. We will also map out the entire family of artificial nails, from soft gel tips to dip powder. After that, I will share honest salon pricing insights and strict safety rules regarding EMA versus MMA monomers. Finally, you will get a complete checklist for building an acrylic nail kit for beginners, plus step-by-step application tutorials and shape adaptations.
1. Acrylic vs Gel Nails: Which Should I Choose?

Acrylic is a liquid monomer mixed with polymer powder that hardens in air into a rigid, durable extension, best for length and dramatic shapes. Gel is a resin cured under a UV or LED lamp that feels thinner, more flexible, and more natural. Neither is automatically healthier.
Choosing between these two popular systems depends entirely on what your hands go through every week. If you type aggressively, work with your hands, or love extra-long coffin shapes, acrylic provides unmatched structural strength. However, if you want a lightweight overlay on your natural nails that bends slightly under pressure, gel is your best friend.
| Feature | Acrylic Nail Enhancement | Hard Gel / Soft Gel Extensions |
| Chemical Formula | Liquid monomer + polymer powder | Pre-mixed oligomer resin |
| Curing Method | Air-dries via chemical reaction (no lamp) | Requires UV or LED nail lamp |
| Strength & Feel | Very rigid, hard, and thick | Flexible, lightweight, and natural |
| Best Shapes | Long Coffin, Stiletto, Dramatic Square | Short Round, Medium Almond, Squoval |
| Removal Process | Soaks off in 100% pure acetone | Hard gel must be filed off; soft gel soaks |
| Odor Level | Strong chemical odor during application | Virtually odorless |
| Upkeep Schedule | Fill-ins every 2 to 3 weeks | Fill-ins or soak-off every 2 to 3 weeks |
2. What Is an Acrylic Nail Enhancement and How Does It Work?
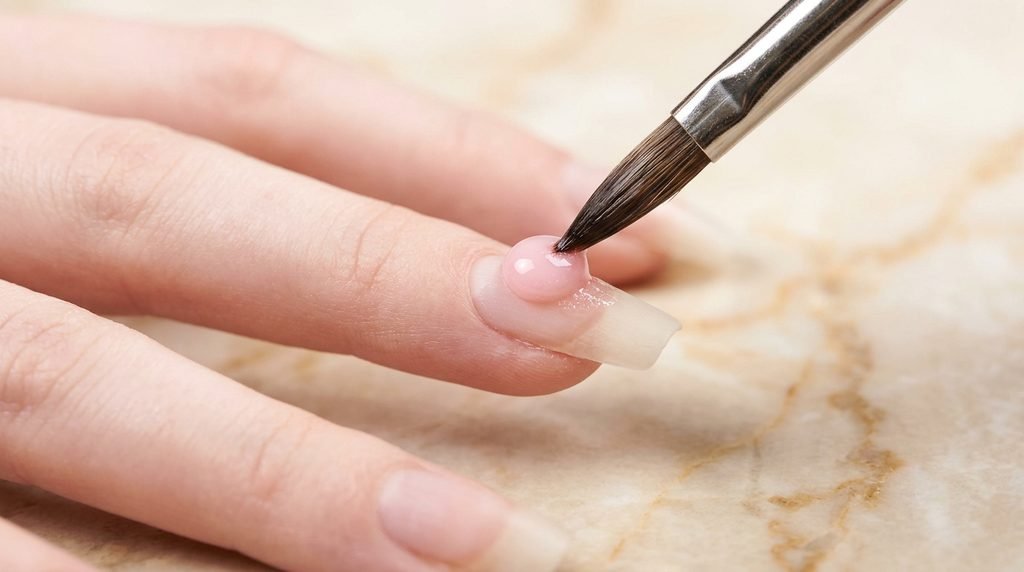
An acrylic nail enhancement is an artificial nail made by dipping a brush in liquid monomer, picking up a bead of polymer powder, and sculpting it onto the natural nail or a tip. It hardens in air without a lamp, then is filed, shaped, and finished with polish.
In the beauty industry, “enhancement” is the proper umbrella term for any product that adds strength or length to your natural nail plate. Many clients call all extensions “acrylics,” yet artificial nails go by many names, including press-ons, gel nails, and sculpted extensions. Understanding this chemistry helps you communicate clearly at the salon desk.
When your nail technician dips a natural hair brush into liquid monomer and touches the polymer powder, a tiny chemical reaction begins immediately. Those two ingredients polymerize, forming a pliable bead that you can press and smooth over the nail bed. Within two to three minutes of exposure to oxygen, the bead transforms into a solid, protective plastic shield.
3. Acrylic Nails Without UV Light: Clearing Up the Biggest Salon Myth
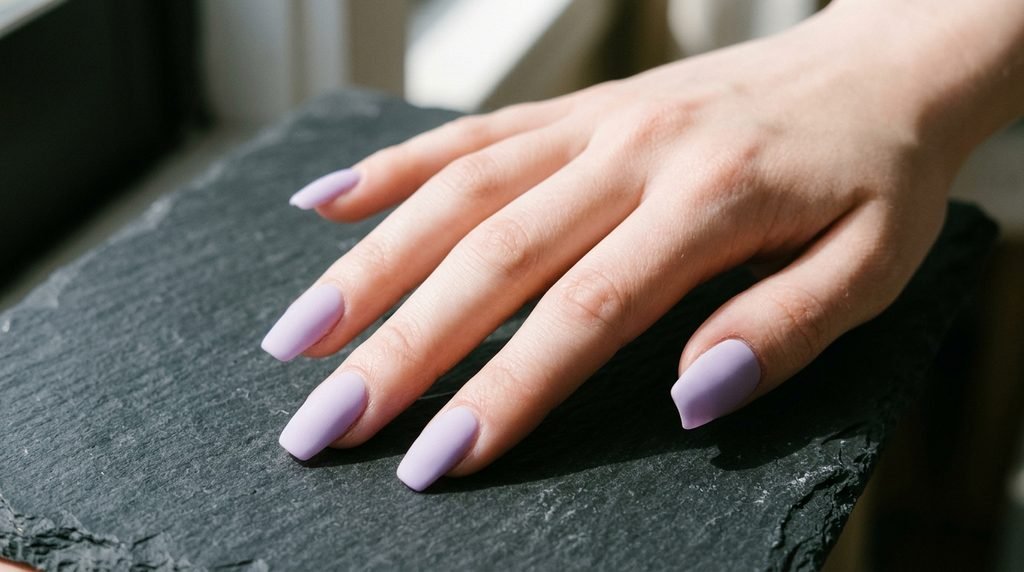
One of the most common questions I hear in my chair is whether acrylics require a UV lamp to dry. Pure acrylic enhancements harden completely in open air and never need a UV or LED light to cure.
So, why do you still put your hands inside a lamp at the end of an acrylic appointment? That lamp is strictly for curing the gel top coat or gel color applied over the finished acrylic base. Many people confuse traditional acrylic with polygel or dip powder systems. Polygel is a hybrid putty that looks like acrylic, yet it stays soft until cured under an LED lamp. Dip powder uses a resin glue and an activator spray instead of a lamp, though some techs finish dip sets with a UV gel top coat for extra shine.
4. Kinds of Artificial Nails: A Complete Salon Glossary
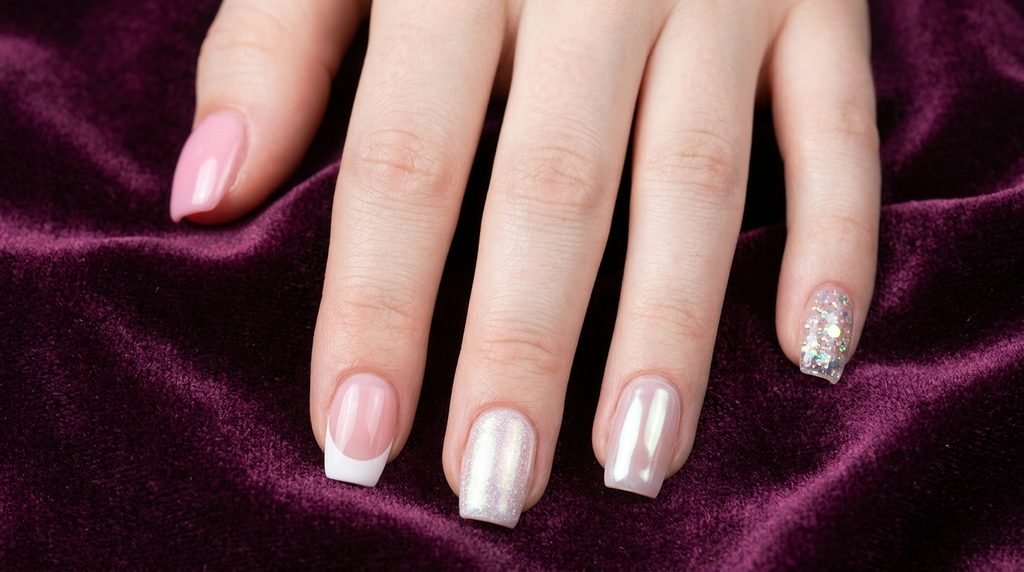
Before you sit down for your next appointment, it helps to know every option on the salon menu. Each enhancement system behaves differently on your nail plate and suits specific occasions.
- Traditional Acrylic: Liquid and powder sculpted over plastic tips or paper forms. It offers maximum hardness for long lengths.
- Hard Gel (Builder Gel): A thick, structural gel potted in a jar that creates strong extensions. It must be hand-filed or e-filed off during removal.
- Soft Gel Tips (Gel-X Style): Full-cover tips made entirely of soft gel that adhere with a base gel and cure under LED light. They soak off cleanly in acetone.
- Dip Powder (SNS Style): Colored acrylic polymer powder layered with cyanoacrylate resin glue. It requires no lamp and feels very sturdy.
- Press-On Nails: Pre-shaped, pre-painted ABS plastic or soft gel nails applied at home with nail glue or adhesive tabs for temporary weekend wear.
- Polygel (Acrylic-Gel Hybrid): A tube-dispensed paste combining acrylic durability with gel flexibility, sculpted using slip solution and cured in a lamp.
5. Durability and Strength: Which Lasts Longer in Real Life?
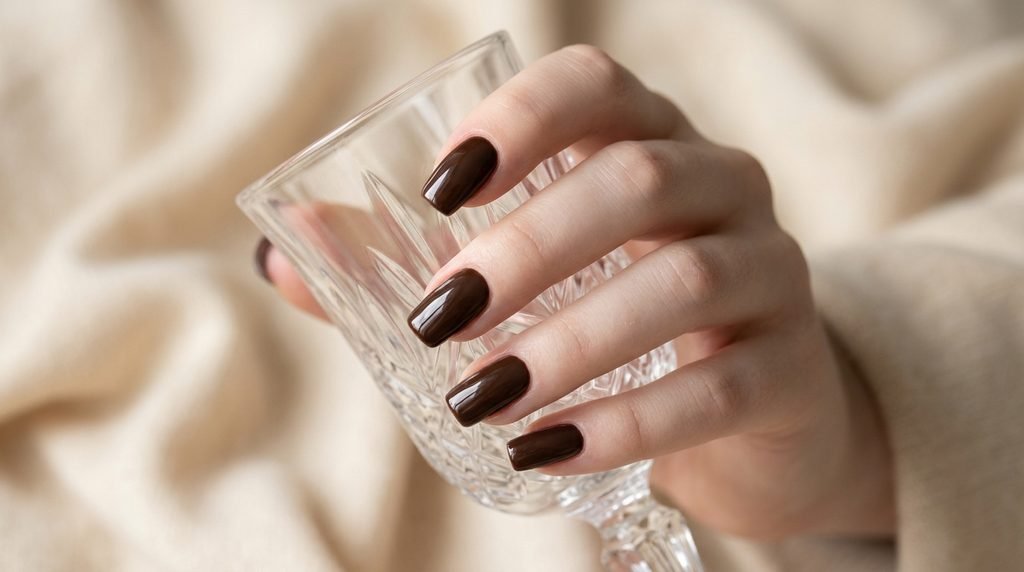
When clients ask how long artificial nails last, the honest answer is two to three weeks before natural nail growth requires maintenance. However, the way acrylic and gel handle daily impact differs dramatically.
Acrylic acts like a hard helmet over your natural nail. Because it is so rigid, it resists bending when you open soda cans or lift heavy boxes. The downside is that if you jam an acrylic nail hard against a doorframe, the rigid material will not flex. Instead, it may snap cleanly or pull painfully at your natural nail bed.
Gel has natural elasticity built into its molecular structure. If you bump a gel extension, it bends slightly with your natural nail and bounces back. This flexibility prevents painful breaks on active hands. However, if you pick at your cuticles or keep your hands submerged in hot dishwater daily, gel can lift at the free edge sooner than acrylic.
6. Appearance, Thickness, and Finish: Comparing the Aesthetic
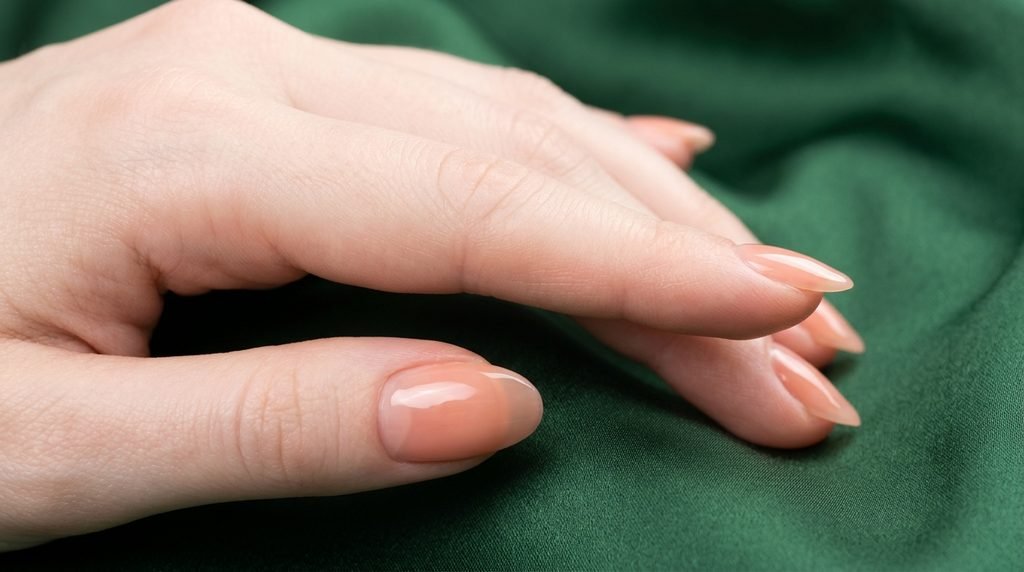
Your desired aesthetic plays a huge role in picking the right product. If you love ultra-thin, barely-there “clean girl” manicures, gel wins every single time. Gel self-levels smoothly under the brush, creating a glassy, natural-looking apex without bulky ridges.
Acrylic requires slightly more thickness at the stress area—the middle zone where your nail bends—to prevent cracking. While a skilled nail artist can sculpt remarkably thin, natural-looking acrylics, the product inherently carries more visual weight. Acrylic is unbeatable when you want crisp, razor-sharp edges on a long ballerina shape or dramatic 3D sculpted floral art.
7. Salon Wear Test: What Happens at Days 1, 7, 14, and 21?

To give you realistic expectations, let us look at how a standard salon wear test plays out across three weeks on active hands.
- Day 1: Both sets look flawless. The gel set has a high-gloss, mirror-like finish, while the acrylic set feels rock-solid and clicks satisfyingly against hard surfaces.
- Day 7: A tiny gap of natural nail growth appears near the cuticle on both hands. Neither set shows lifting, though matte top coats on the acrylic hand may start showing slight glossy wear at the tips.
- Day 14: Cuticle growth is noticeable, measuring about two millimeters. On the gel hand, slight edge wear appears on the dominant index finger from typing. The acrylic hand remains completely intact with zero chips.
- Day 21: Both sets are overdue for maintenance. The apex has grown forward, shifting the balance of the nail and risking breakage. Minor hairline lifting appears near the sidewall on one gel nail, signaling it is time for a rebalance.
8. Which Is Healthier for Your Natural Nails?
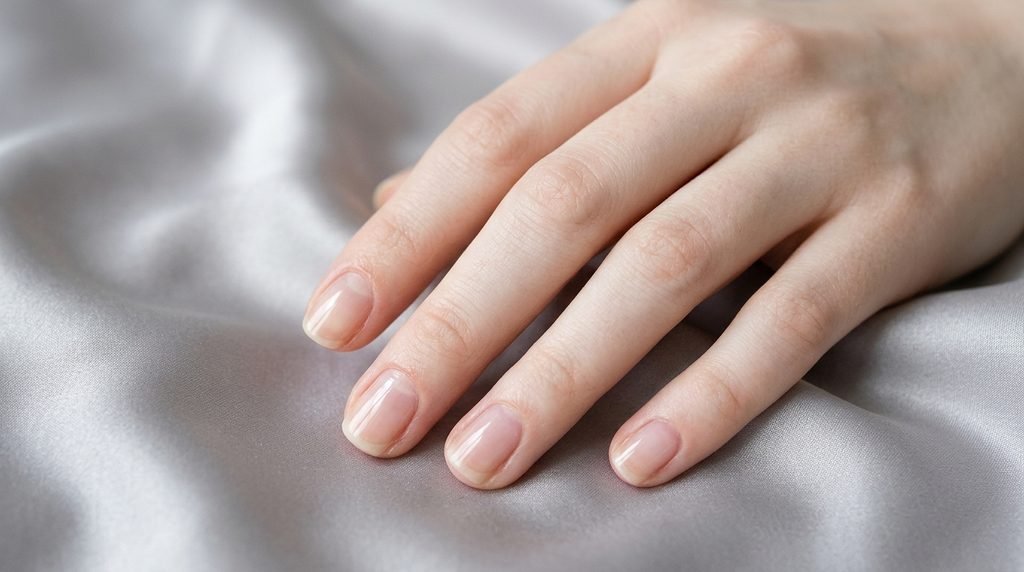
Neither gel nor acrylic is inherently healthier for your natural nails. Your nail plate is made of dead keratin cells, meaning it does not “breathe” oxygen from the air. Damage happens during aggressive preparation, improper chemical use, or forceful removal.
If a technician over-files your natural nail plate with a coarse electric drill bit before applying product, your nails will become thin and sensitive. Similarly, if you peel off lifted gel or acrylic enhancements at home, you rip away the top layers of your healthy nail plate. Healthy enhancements rely entirely on gentle prep, safe products, and patient removal.
9. EMA vs MMA Monomer: The Critical Safety Rule You Must Know
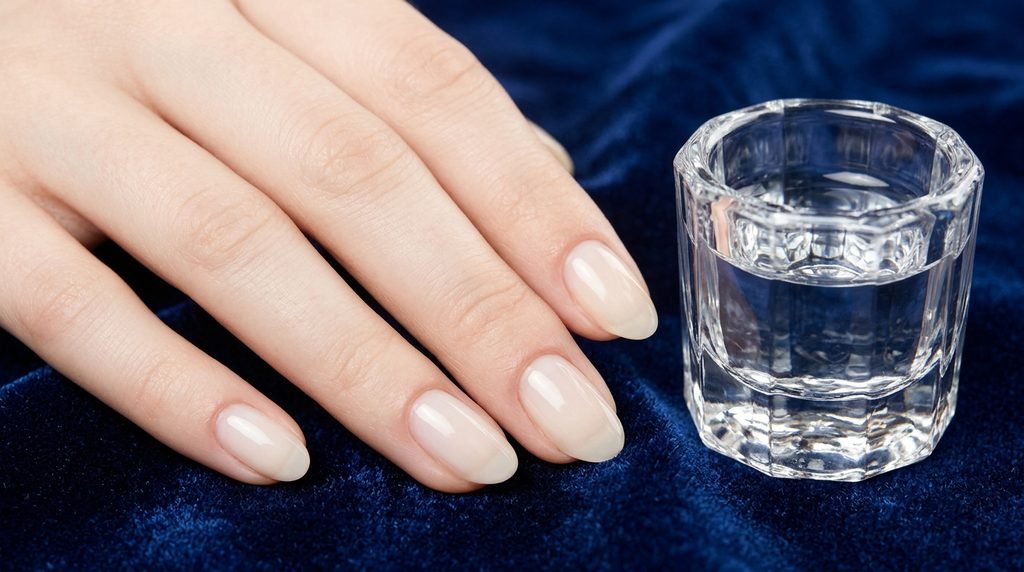
If you remember only one technical term from this guide, make it EMA versus MMA. Monomer is the liquid component used in every acrylic service, and the chemical type inside that bottle determines your nail health.
EMA (Ethyl Methacrylate) is the gold standard in professional nail salons. It is safe for cosmetic nail use, adheres well without excessive nail plate etching, and soaks off cleanly in acetone. MMA (Methyl Methacrylate) is a dental and industrial acrylic resin banned or restricted for nail use by cosmetic regulators across many regions [needs source].
Some discount salons still illegally cut costs by using MMA monomer because it is cheaper. MMA creates a rock-hard bond that requires aggressive roughing of your natural nail to stick. Worse, it refuses to soak off in acetone, forcing technicians to pry or grind it off, which causes severe nail trauma and allergic reactions. Always ask your salon if they use 100% EMA monomer before sitting down.
10. Salon Red Flags: How to Spot Bad Practices Before They Start
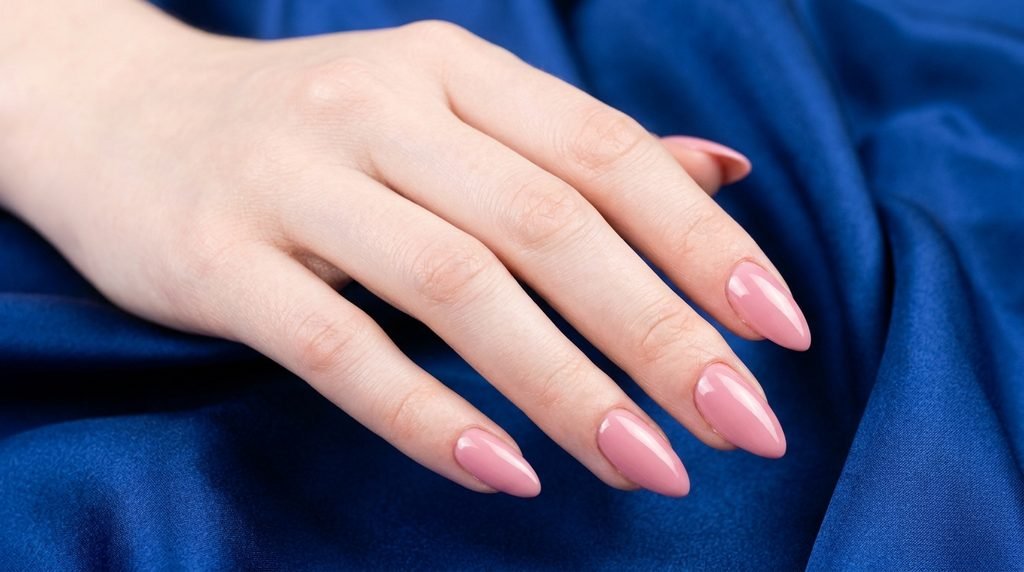
Protecting your natural nails starts the moment you walk into a salon. Watch out for these warning signs before letting anyone touch your hands:
- Overpowering Sweet Odor: While EMA monomer has a distinct chemical smell, MMA emits an unusually sharp, sweet, fruity odor that gives you an instant headache.
- Unlabeled Bottles: Technicians pouring liquid monomer out of unmarked plastic jugs or reused soda bottles instead of original manufacturer containers.
- Painful E-Filing: You should never feel heat spikes, burning, or sharp stinging while a tech preps your natural nail plate.
- Skipping Sanitation: Files and buffers should come out of a fresh, sealed pouch or be brand new for your appointment.
- Refusing Questions: A trustworthy professional will happily show you their product bottles and explain their removal process.
11. Acrylic vs Gel Cost: Why Salon Prices Vary So Much

Searching online for acrylic vs gel nails cost often leads to confusing, contradictory answers. One article claims gel is cheaper, while another insists gel costs twenty dollars more. Both claims are true because people compare different services.
A basic gel manicure—which is just gel polish painted directly over your bare natural nails—is almost always cheaper than a full set of acrylic extensions. However, if you compare a full set of sculpted hard gel extensions against a full set of acrylic extensions, hard gel usually costs more. Hard gel products are more expensive for salons to purchase, and sculpting each layer takes extra curing time under the lamp.
12. Real-World Salon Price Survey: What You Should Expect to Pay

To help you budget accurately for your next appointment, I surveyed pricing across typical mid-range nail salons for standard short-to-medium lengths without intricate hand-painted nail art.
| Service Type | Budget Walk-In Salon | Mid-Range Boutique Salon | Luxury / Independent Artist |
| Gel Manicure (Natural Nails) | $35 – $45 | $50 – $65 | $70 – $85 |
| Acrylic Full Set (With Gel Polish) | $50 – $65 | $70 – $90 | $100 – $130 |
| Hard Gel / Gel-X Full Set | $60 – $75 | $85 – $110 | $115 – $150 |
| Acrylic Fill-In (2–3 Weeks) | $35 – $45 | $50 – $65 | $70 – $90 |
| Hard Gel Fill-In (2–3 Weeks) | $45 – $55 | $60 – $80 | $85 – $110 |
Keep in mind that adding extra length, specialty shapes like stiletto, French tips, or chrome powder will add $10 to $40 onto these base prices. Always ask for a total quote during your consultation before the service begins.
13. Maintenance and Upkeep: Understanding Acrylic Nail Fill-Ins

As your natural nails grow forward over two to three weeks, an empty gap opens up near your cuticle. Meanwhile, the thick apex of the enhancement moves closer to the tip, making the nail top-heavy and prone to snapping.
Scheduling regular acrylic nail fill ins solves both issues without removing the entire set. During a fill appointment, your technician files down the old polish, thins out any lifted edges, and preps the new natural nail growth. Next, they apply a fresh bead of acrylic near the cuticle and rebalance the apex. You can typically get three to four fills on a single acrylic set before needing a fresh soak-off and new application. [Internal link opportunity: → how often to get acrylic nail fills and maintenance schedule]
14. Safe Removal: How to Take Off Acrylic Nails Without Damage
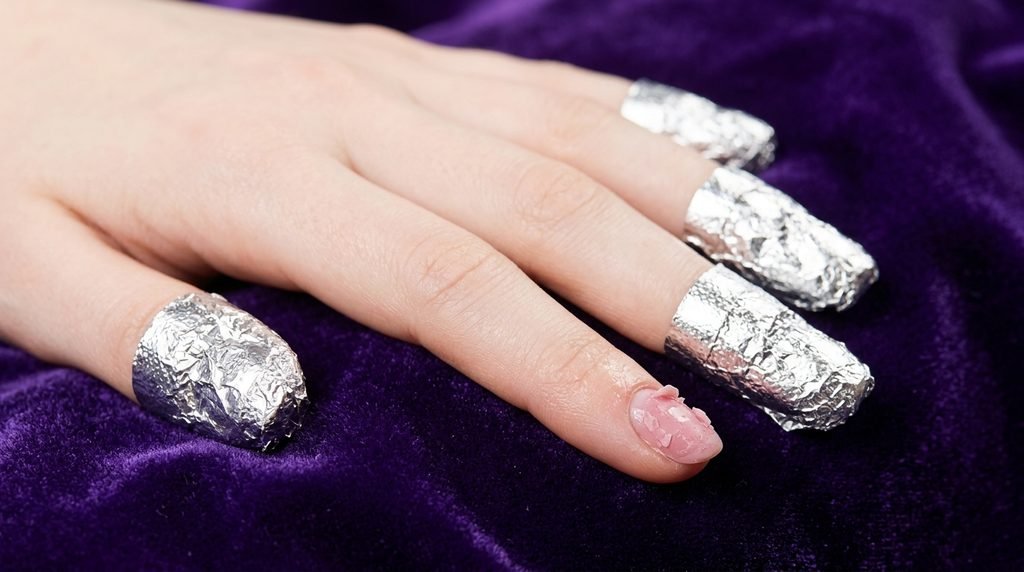
Never bite, pry, or pop off your enhancements with a credit card or dental floss. Peeling off artificial nails rips away the top keratin layers of your nail plate, leaving behind painful, paper-thin red spots that take months to grow out.
Proper removal requires patience and 100% pure acetone. First, file down the shiny top coat and bulk of the acrylic using a 100/180 grit hand file. Next, soak cotton balls in pure acetone, place them over each nail, and wrap your fingertips tightly in aluminum foil squares. Wait 15 to 20 minutes until the acrylic turns soft and gummy, then gently push it away with a wooden cuticle stick.
15. What Should a Beginner’s Acrylic Nail Kit Include?

A beginner kit should include acrylic powder (clear, pink, white), EMA liquid monomer, a glass dappen dish, a size 8–10 acrylic brush, nail tips or forms with glue, dehydrator and primer, files and a buffer, and a top coat. Work in a well-ventilated space and avoid MMA.
Buying an acrylic nail kit for beginners can be tricky because many cheap online bundles include toxic MMA monomer or stiff synthetic brushes that ruin your learning experience. Instead of buying a massive 50-piece box full of cheap glitter, focus on quality core essentials. Expect to budget roughly $60 to $120 for a safe, reliable starter setup with authentic EMA monomer [needs source].
| Essential Kit Item | Why It Matters for Beginners | Pro Selection Note |
| Acrylic Powders (Clear, Pink, White) | Covers natural overlays, French tips, and encasing | Stick to finely milled, self-leveling formulas |
| EMA Liquid Monomer | Safely cures acrylic without damaging nails | Verify “Ethyl Methacrylate” on the ingredient label |
| Glass Dappen Dish | Holds liquid monomer during application | Never use plastic cups, as monomer melts plastic |
| Size 8 or Size 10 Acrylic Brush | Picks up and sculpts liquid-to-powder beads | Natural Kolinsky hair holds liquid far better than nylon |
| Half-Well Nail Tips & Brush-On Glue | Adds instant length without sculpting forms | Plastic tips are much easier for beginners than paper forms |
| Nail Dehydrator & Acid-Free Primer | Removes oils and creates a strong chemical bond | Essential to prevent painful lifting after three days |
| 100/180 Grit Files & Buffing Block | Shapes extensions and smooths surface bumps | Use 180 grit near natural nails; 100 grit for acrylic bulk |
| No-Wipe Gel Top Coat & Lint-Free Wipes | Seals the nail with glass-like shine | Requires a small UV/LED lamp to cure |
| Articulated Practice Hand | Lets you practice bead control safely | Practice at least five full sets before touching real fingers |
16. Essential Safety Rules for At-Home Acrylic Application
Working with salon chemicals in your bedroom carries real health risks if you skip basic safety precautions. Always follow these non-negotiable rules whenever you open your kit:
- Maximize Ventilation: Liquid monomer releases strong vapors. Work right next to an open window with a fan blowing fumes away from your face, or use a nail dust collector with an activated carbon filter.
- Avoid Skin Contact: Repeatedly getting wet monomer or uncured gel on your skin can trigger lifelong acrylate allergies. Wipe away mistakes immediately with a clean brush dipped in monomer—never use your bare fingers.
- Apply Primer Sparingly: Acid-based and acid-free primers are strong chemicals. Wipe excess primer off the brush inside the bottle neck before applying a whisper-thin coat, avoiding your cuticles completely to prevent chemical burns.
- Respect the Learning Curve: Sculpting smooth acrylic takes dozens of hours of practice. Do not expect salon-perfection on your first try, and never rush your prep.
- Medical Disclaimer: This guide shares cosmetic technique tips and is not medical advice. Stop immediately and consult a doctor if you experience throbbing pain, swelling, pus, or signs of nail infection.
17. Step-by-Step Tutorial: Prepping and Sculpting Acrylic at Home

Ready to try your hand on a practice finger or your own nails? Follow this exact sequence from start to finish to prevent lifting and achieve a balanced structure.
- Sanitize and Push Cuticles: Wash your hands thoroughly and spray nails with 70% isopropyl alcohol. Gently push back your cuticles using a metal or wooden pusher, scraping away any invisible dead skin on the nail plate.
- Remove Surface Shine: Lightly buff the natural nail plate with a 180-grit file using gentle, feather-light strokes. You only want to remove the natural oil shine, not thin the nail.
- Size and Glue Nail Tips: Match plastic tips to each finger so they fit snugly from sidewall to sidewall without pinching. Apply a thin layer of brush-on glue to the tip well, press it onto the nail edge at a 45-degree angle to avoid air bubbles, and hold for ten seconds.
- Cut and Blend Tips: Trim the tips to your desired length using a tip cutter, then file the sides into shape. Gently buff the seam where the plastic tip meets your natural nail so it blends smoothly.
- Dehydrate and Prime: Brush one coat of nail dehydrator over the natural nail plate and wait ten seconds for it to turn chalky white. Follow with one thin coat of acid-free primer on the natural nail only.
- Pick Up Your First Bead: Dip your size 8 brush into the glass dappen dish of EMA monomer, wiping one side against the rim. Drag the tip lightly through your acrylic powder for two seconds until a glossy, round pearl forms.
- Sculpt Zone 1 (The Free Edge): Place your bead where the natural nail meets the plastic tip. Gently pat and press the acrylic toward the tip using the belly of your brush, keeping the sides thin and neat.
- Build Zone 2 (The Apex): Pick up a medium bead and place it in the center of the nail. Blend it smoothly backward toward the cuticle and forward toward the tip to create a gentle dome over the stress point.
- Seal Zone 3 (The Cuticle Area): Pick up a smaller, slightly wetter bead and place it a hair’s breadth away from the cuticle skin. Angle your brush downward at 45 degrees and pat the edge flush so it tapers seamlessly without touching skin.
- File, Buff, and Seal: Once the acrylic clicks when tapped with your brush handle, file the sidewalls straight and smooth the surface with a 180-grit file. Buff away scratches, wipe clean with alcohol, and cure a glossy top coat under an LED lamp for 60 seconds.
18. Master Brush Control: Avoiding Cuticle Flooding and Thick Lumps

Almost every beginner struggles with two frustrating problems: runny acrylic flooding the skin, or dry, lumpy beads hardening too fast. Both issues come down to your liquid-to-powder ratio.
If your bead looks wet and runs straight into your sidewalls the second it touches the nail, you have too much liquid monomer on your brush. Next time, wipe your brush firmly against the side of the dappen dish before dipping into the powder. You can also touch the back of your loaded brush onto a lint-free paper towel for one second to drain excess liquid before placing the bead.
Conversely, if your bead looks chalky, crusty, or sticks to your brush hairs, your ratio is too dry. Wipe your brush clean on a paper towel, dip deeper into the monomer, and keep more liquid in the bristles. Clean your brush immediately after every session by swirling it in clean monomer and reshaping the point.
19. Shape and Length Adaptations: Short, Almond, Coffin, and Square

Your favorite nail shape determines how thick your acrylic needs to be and which enhancement system works best. Here is how to adapt your technique—or what to tell your nail tech—for the four most requested shapes.
- Short Squoval or Round: Keep the acrylic overlay very thin, resembling a natural coat of thick polish. Both hard gel and acrylic look gorgeous here, though soft gel gives the most effortless everyday feel. Ask your tech for a “short natural overlay with a micro-apex.”
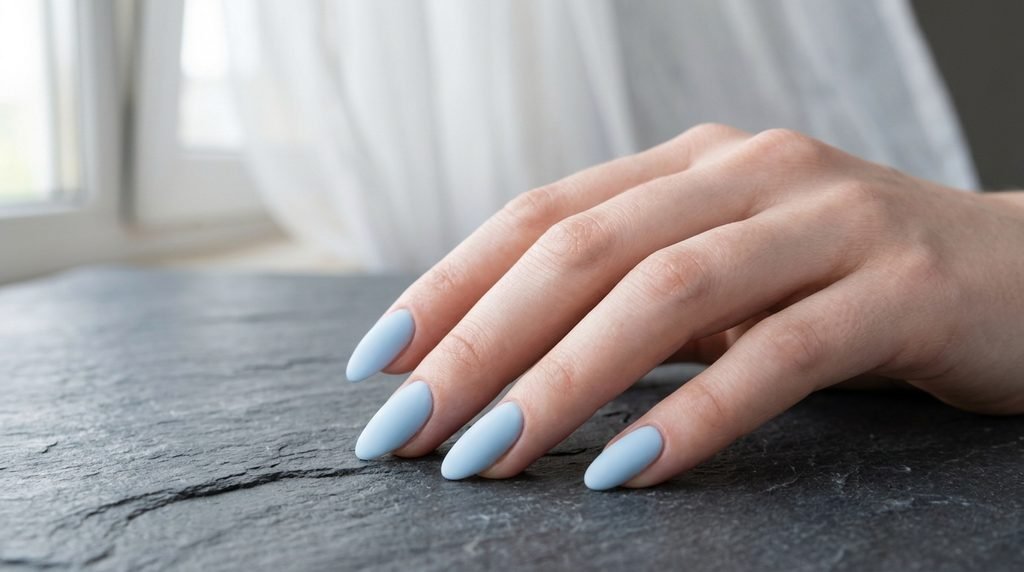
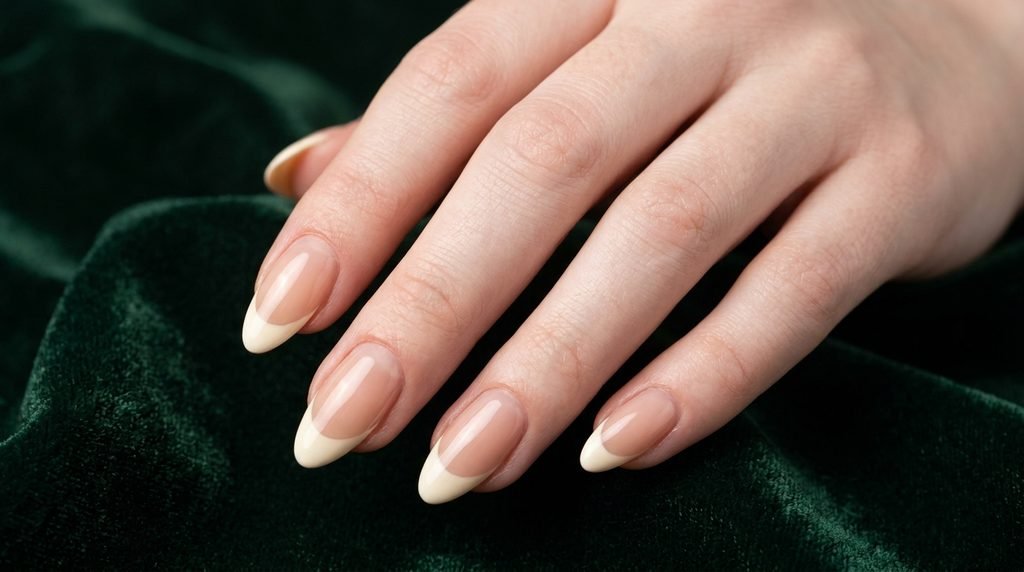
- Medium Almond: Almond nails taper softly to a rounded point, which removes structural support from the sidewalls. You need a solid, well-placed apex in the center so the narrow tip does not snap. Tell your tech, “I want a medium almond shape that tapers cleanly without looking bulky at the tip.”
- Long Coffin / Ballerina: Coffin nails feature dramatic length with straight, tapered sides and a flat, squared-off tip. Acrylic is the gold standard here because its rigid strength supports the long free edge. Ask for “sculpted long coffin nails with crisp, straight sidewalls and a strong stress point.”
- Crisp Square: Square nails need sharp 90-degree corners that can easily chip if applied too thinly. Reinforce the outer corners slightly with extra acrylic or builder gel. Tell your tech, “Please keep my square corners sharp and reinforce the free edge so they don’t round out.”
20. Salon Communication: What to Tell Your Nail Tech Before You Sit Down
Walking into a salon with a clear game plan guarantees you leave happy. Nail technicians love clients who know what they want and respect the time required to achieve it.
Bring two or three clear reference photos showing the exact shape, length, and color you want. Before your tech starts filing, share your lifestyle needs: “I type all day and garden on weekends, so I need a medium length that won’t break easily.” Ask directly about their products: “Do you use EMA monomer for your acrylics, and would you recommend acrylic or hard gel for this specific shape?”
21. Frequently Asked Questions (People Also Ask)
Which is better for your nails, gel or acrylics?
It depends on your goal. Gel feels more flexible and natural, while acrylic is stronger and better for dramatic length. Neither system is automatically healthier for your nail plate, so gentle preparation, safe EMA products, and soak-off removal without prying matter far more than the formula itself.
Why don’t people do acrylic nails anymore?
People still love and wear acrylic nails every single day. Acrylic remains the undisputed champion for extra-long lengths and razor-sharp shapes, though many modern nail artists now prefer hard gel or soft-gel tip extensions because they offer zero odor and faster application.
What is the healthiest nail option at a salon?
There is no single healthiest nail option for everyone. The safest choice is booking a licensed nail technician who uses pure EMA monomer rather than MMA, applies thin, balanced overlays without over-filing your natural plate, and removes product gently with acetone instead of prying.
Why is gel more expensive than acrylic?
It depends entirely on which two services you compare. Full sets of hard gel extensions often cost more than acrylic sets because of higher product costs, lamp-curing time, and specialized sculpting skill, whereas a basic gel polish manicure on bare natural nails is cheaper than acrylic.
What nail acrylic is good for beginners?
Look for pure EMA liquid monomer paired with finely milled clear, pink, and white polymer powders from a reputable professional brand, and strictly avoid cheap MMA liquids. Buying a starter kit with matched monomer-to-powder quantities makes learning your liquid ratios much easier.
How do you do acrylic nails at home for beginners?
Prep and dehydrate the nail plate, apply thin primer, glue on plastic tips, mix small liquid-to-powder beads, and sculpt in thin, balanced layers before filing and sealing with top coat. Always work next to an open window for ventilation and practice extensively on a practice hand first.
What nail making kit is best for beginners?
The best beginner kit includes both dehydrator and primer, safe EMA monomer, a natural hair brush that holds a sharp point, and enough powder for multiple practice sets. Skip massive bargain kits full of cheap decorations and choose a focused, complete kit with quality core essentials.
What is the best acrylic starter kit?
Because formulas and brush quality vary constantly, there is no single universal best starter kit for every beginner. Instead, use our essential checklist above to verify that any kit you buy contains pure EMA monomer, a glass dappen dish, and a size 8–10 brush.
Conclusion
Whether you choose the rock-solid durability of an acrylic nail enhancement or the lightweight flexibility of gel, knowing how these systems work puts you completely in control. You no longer have to guess at the salon counter or worry about damaging your natural nails with mystery chemicals. Save this guide to your phone before your next appointment so you can reference the price chart, safety checklist, and salon communication scripts right from the chair. Which system are you trying next—classic sculpted acrylics or flexible hard gel?

Jade Lin is the author behind the nail ideas at DailyNailIdea.com. She writes about simple nail designs, easy nail art for beginners, cute acrylic looks and seasonal color trends. Her articles focus on ideas that are easy to copy, with clear tips on colors, tools and nail shapes. She has loved nail art since 2012.