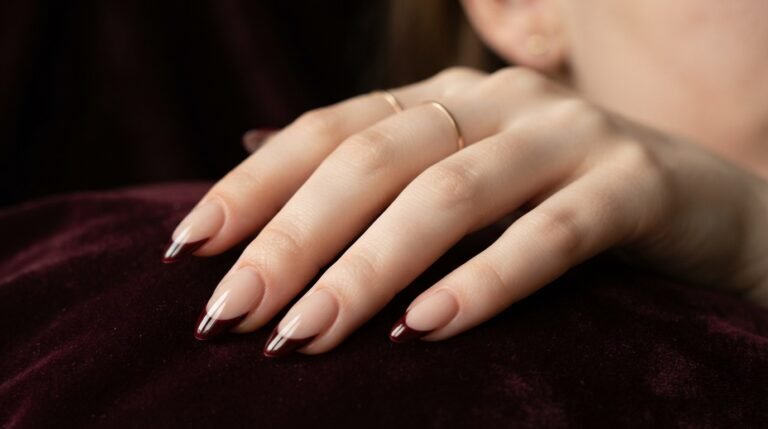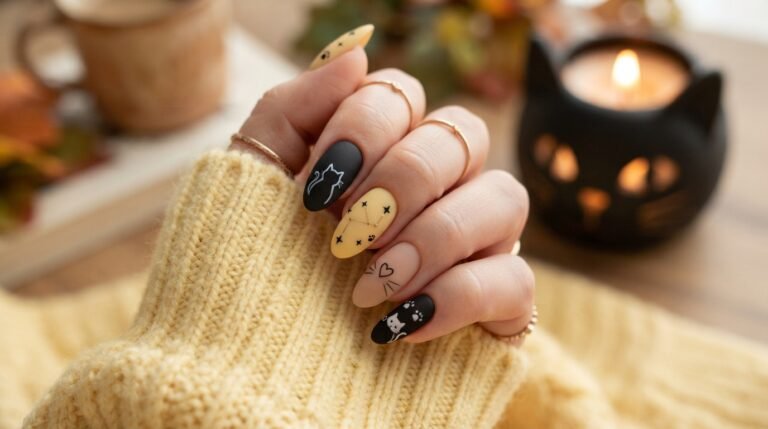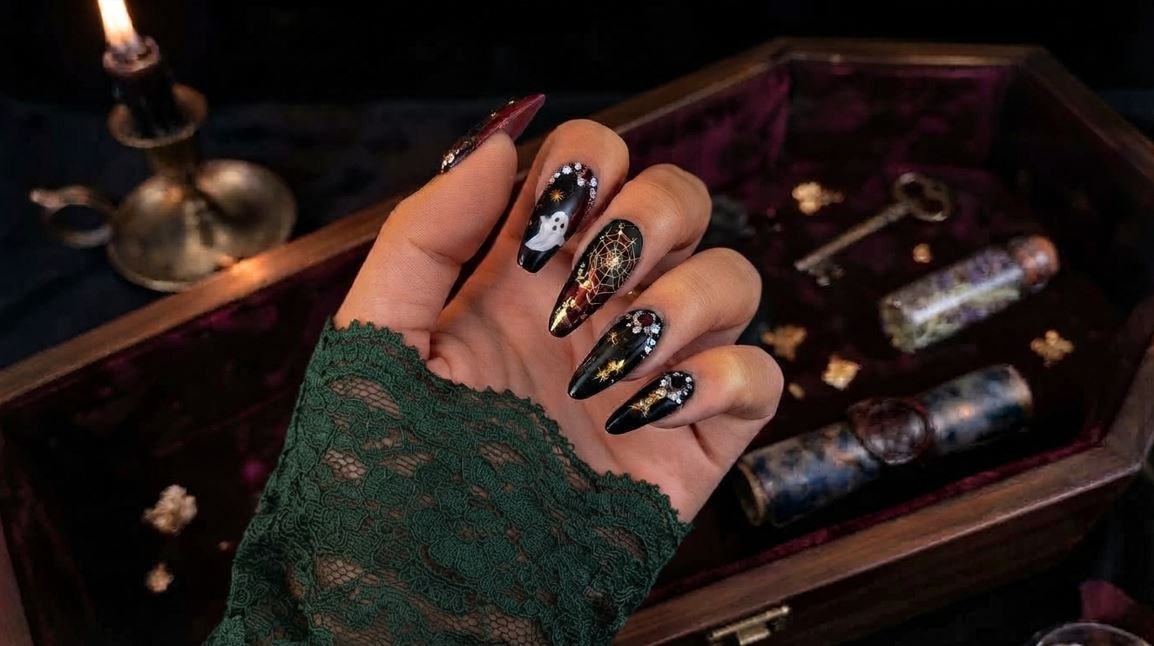
Luxury Gothic Halloween Nails: Burgundy & Gold Coffin Set with Rhinestones 2026
You saved ten different luxury gothic Halloween nails designs from different social media platforms. Now, your salon appointment is in two hours, and you still cannot decide.
You want something spooky or luxury gothic Halloween nails, but you also want your hands to look elegant, expensive, and chic. Generic orange pumpkins just will not match your moody fall wardrobe or your Friday night plans.
I have been working behind the manicure table for over eight years. I see this exact dilemma every October. Clients want the Halloween spirit without sacrificing sophistication.
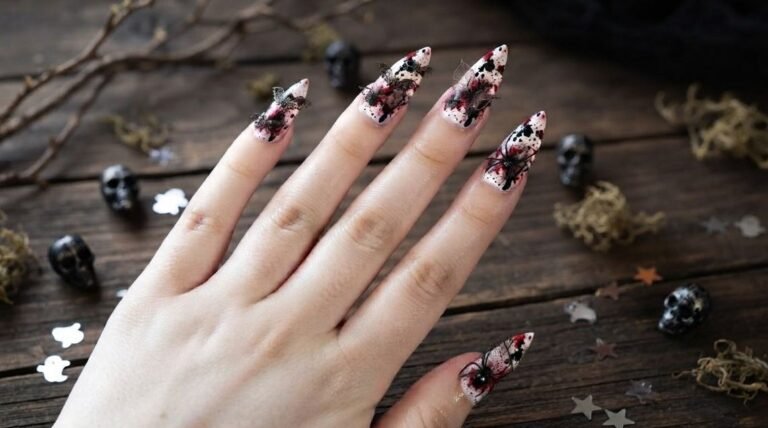
That is where luxury gothic halloween nails come into play. A rich deep burgundy mixed with jet black, liquid gold foil, and sparkling rhinestones gives you that dramatic edge while keeping your look high-end.
In this guide, I will walk you through this exact burgundy and gold coffin set step by step. We will cover shape adaptations, cuticle management, rhinestone longevity, and how to communicate this precise look to your nail tech.
At-a-Glance: The Luxury Gothic Nail Profile
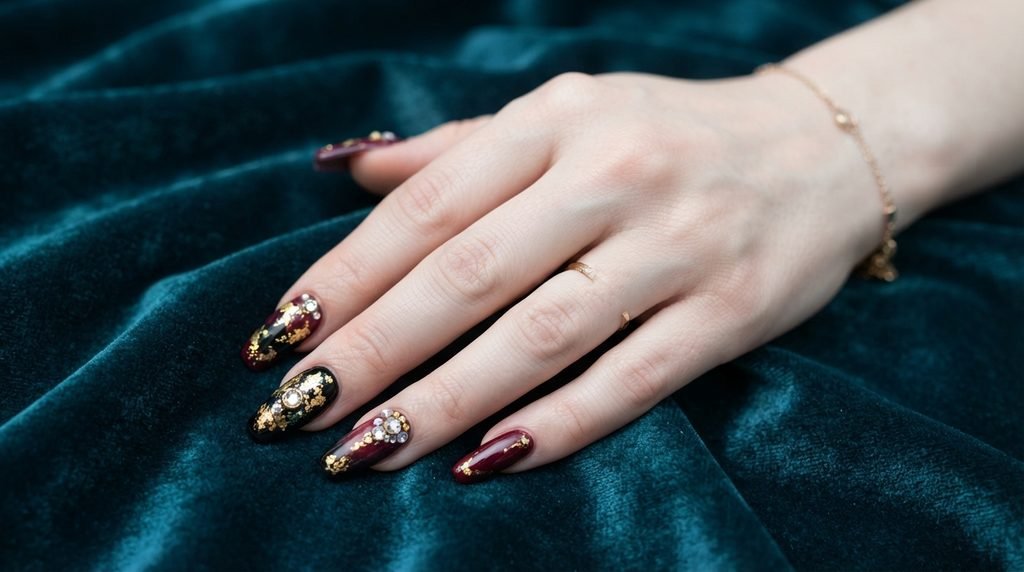
Before we dive into the detailed tutorial and variations, here is a quick overview of what makes this specific set work so well.
| Design Element | Luxury Gothic Specification | Alternative Option |
| Primary Base Color | Deep Cabernet / Oxblood Burgundy | Midnight Plum or Vampy Red |
| Secondary Accent | Jet Black with High-Gloss Finish | Matte Black or Smoked Charcoal |
| Metallic Detail | 24K Style Gold Transfer Foil | Metallic Gold Gel Paint |
| Jewel Accents | Black Diamond & Clear Swarovski Crystals | Gold Micro-caviar Beads |
| Signature Art | Fine Gold-Outlined Spiderweb & Delicate Mini Ghost | Hand-painted Gothic Scrollwork |
| Ideal Nail Shape | Long or Medium Tapered Coffin | Almond or Stiletto |
| Best Occasion | Halloween Galas, Moody Fall Weddings, Cocktail Parties | Night Out, Autumn Date Nights |
Why Burgundy and Gold Belong Together for Halloween
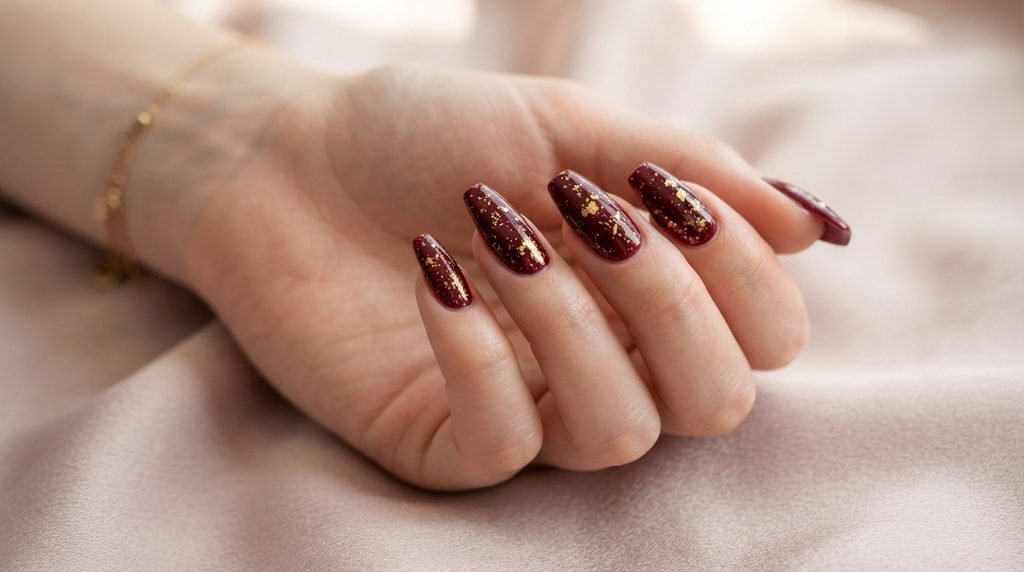
Burgundy brings instant warmth and rich depth to any autumn manicure. When you pair it with black, you create an iconic moody baseline.
Adding real gold foil elevates the design from basic spooky art to high-fashion drama. Gold creates a stark contrast against deep burgundy shades.
It catches light during evening events without looking cheap. It adds texture, dimension, and timeless luxury.
Choosing the Perfect Coffin Shape and Length
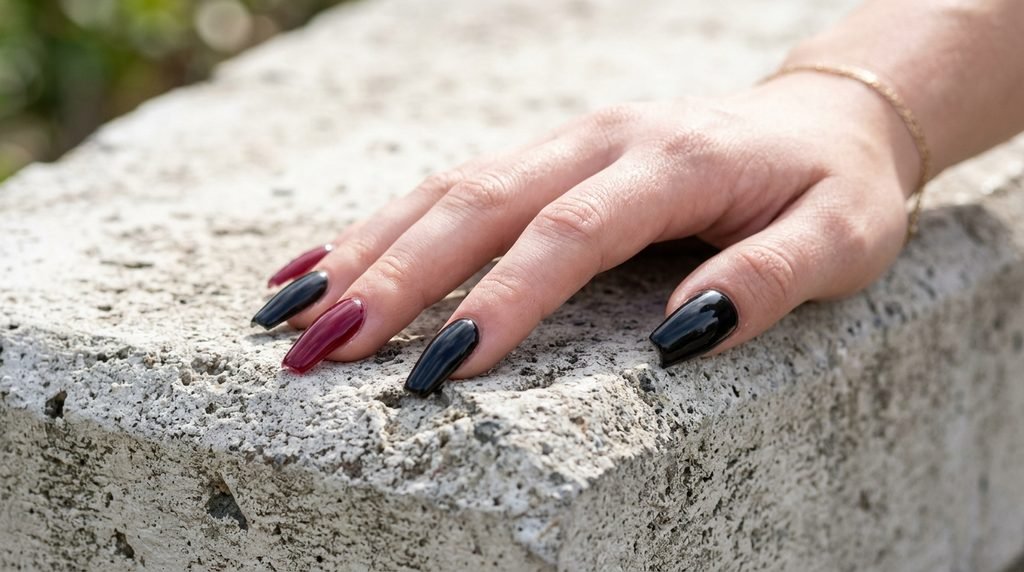
The coffin shape—also known as the ballerina shape—features tapered sides that end in a flat, square tip.
This structure acts like a canvas for detailed art. The flat edge balances the dark hues of burgundy and black.
Long coffin shapes elongate your fingers gracefully. However, a medium or short coffin shape offers plenty of surface area for foil and rhinestones too.
Preparing Your Nails for High-Pigment Gels
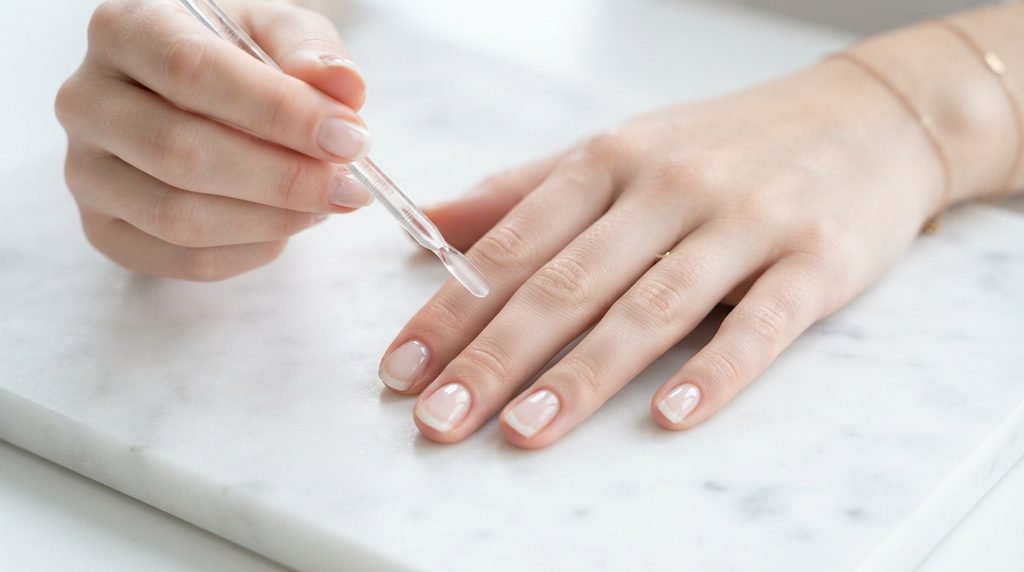
Dark pigments show every single lump and imperfection. Proper preparation is essential for a smooth finish.
- Soften cuticles using a gentle pusher and push back dead skin cleanly.
- Gently remove shine using a 240-grit buffer, filing in one direction.
- Dehydrate the nail plate completely using an alcohol-based cleanser.
- Apply a non-acid primer to ensure long-lasting gel adhesion.
Masterclass: Painting the Deep Burgundy Base
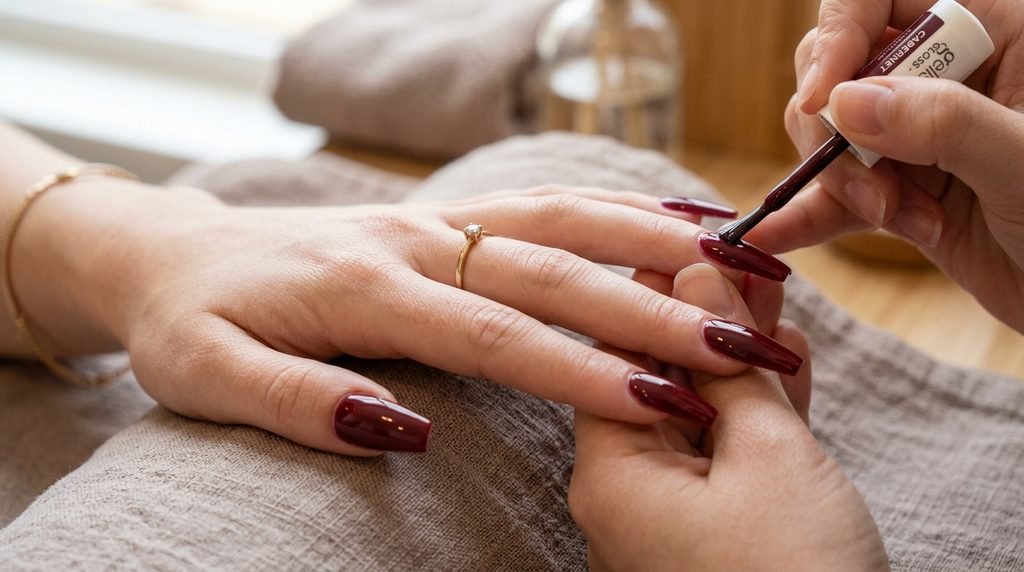
Deep wine shades require thin, precise layers. Thick coats cause uncured gel pockets beneath the surface.
Start by placing your brush in the center of the nail plate. Push gently toward the cuticle line without touching the skin.
Pull the polish straight down toward the flat coffin tip. Cure for 60 seconds under an LED lamp between each thin coat.
Preventing Cuticle Flooding with Dark Polishes
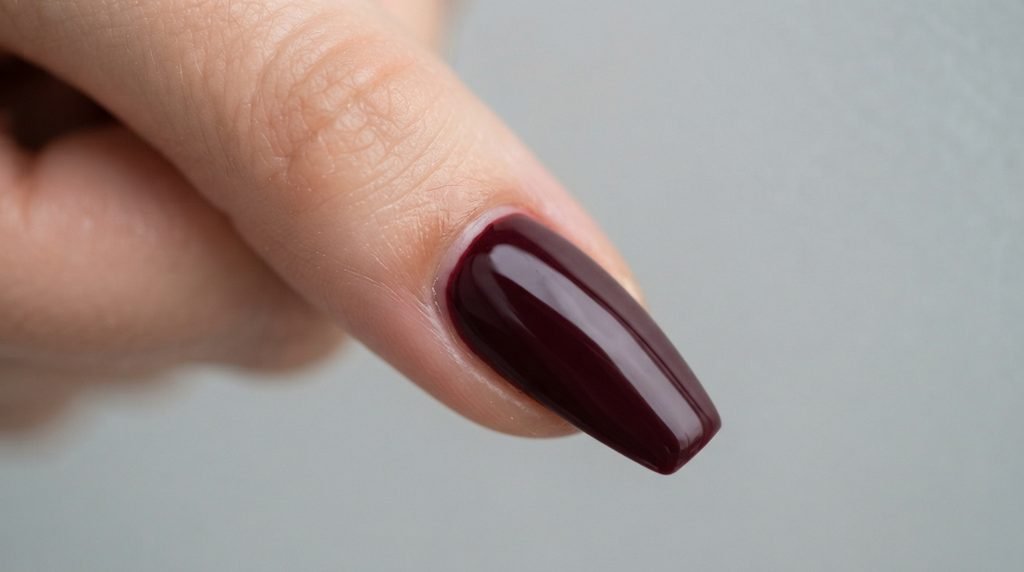
Dark red polish on flooded cuticles looks messy and ruins the clean edges of your manicure.
Keep a fine liner brush dipped in pure acetone next to your workspace. If gel touches your skin, clean it immediately before curing.
Leave a microscopic hair-width gap between your polish edge and your cuticle wall for a flawless, professional finish.
How to Apply Gold Foil Without Clumping
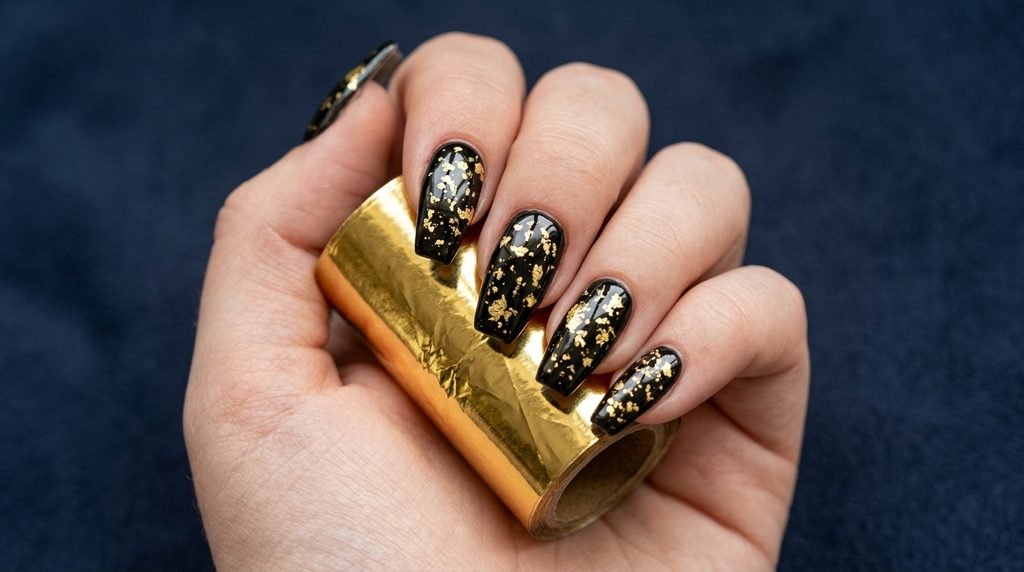
Gold foil requires the right tacky layer to stick cleanly. If your gel is too wet, the foil will smudge.
- Cure your dark base polish completely.
- Apply a dedicated foil transfer gel and cure for 30 to 60 seconds.
- Press the matte side of the gold foil firmly onto the nail.
- Rub smoothly with a silicone tool, then pull the sheet back swiftly.
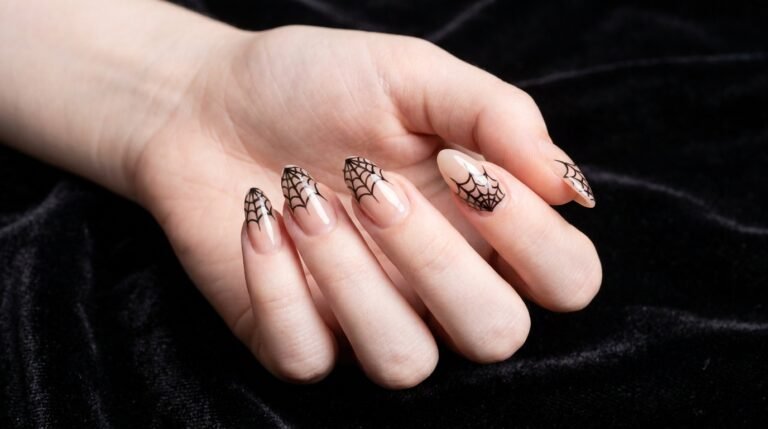
Hand-Painting the Fine Gold-Outlined Spiderweb
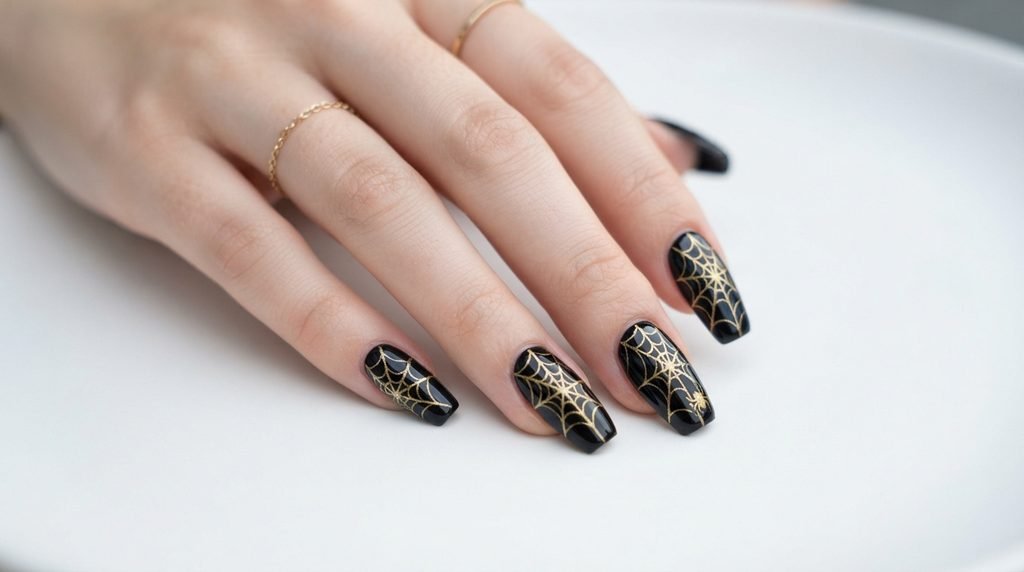
A spiderweb adds classic Halloween flare without looking childish. Use a long, super-thin 11mm detail liner brush.
Start at one corner of the coffin tip with a small dot of gold gel paint. Flash-cure for five seconds to anchor your starting point.
Pull four straight radiating lines out from the corner. Connect those lines using small, soft inward-curving arcs.
Creating the Cute Gothic Ghost Accent Nail
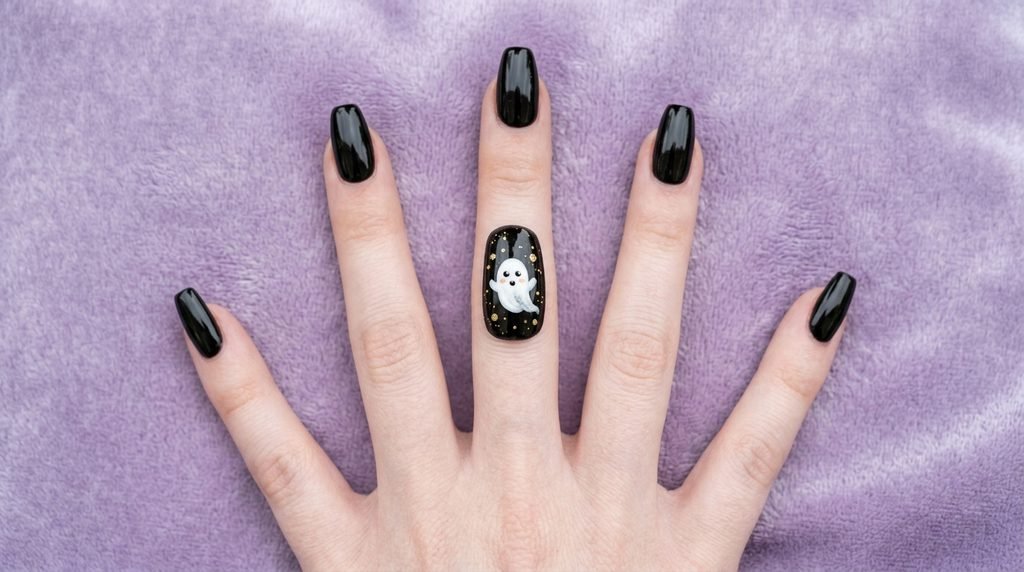
A single accent nail keeps this luxury gothic halloween nails set playful and balanced.
Paint your accent nail in glossy jet black. Use a dotting tool dipped in opaque white gel paint to create an elongated teardrop shape.
Fill in the ghost body smoothly. Add two tiny black dots for eyes and line the ghost with micro gold shimmer.
Adding Black Lace Detailing on Burgundy
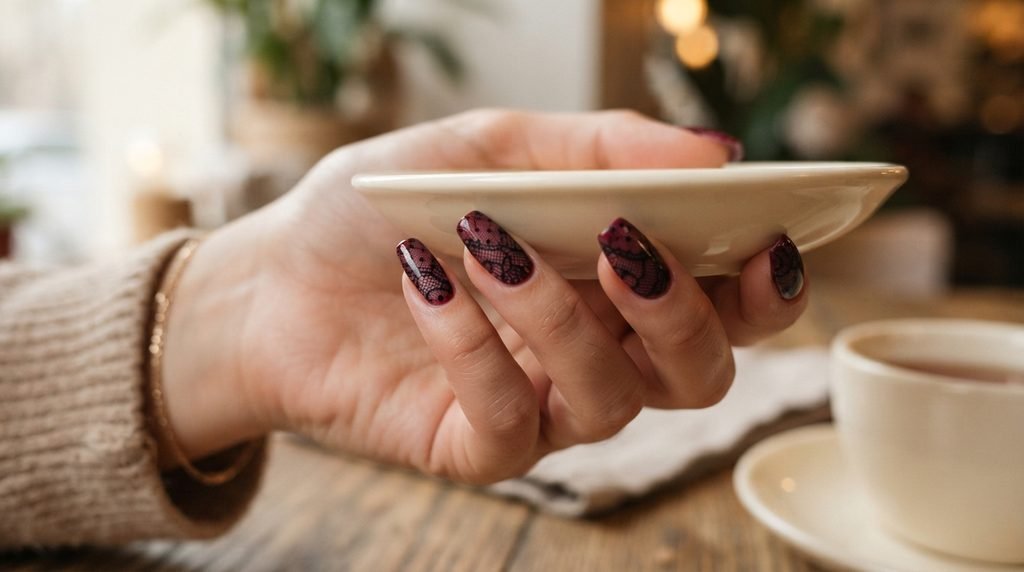
Black lace overlays give nails a vintage, romantic gothic aesthetic. You can achieve this using a stamping plate or delicate freehand strokes.
Paint your base in rich burgundy and cure. Dip a dry nail sponge into black gel polish, dabbing away excess until it is nearly dry.
Lightly tap around the edges to create a soft vignette. Paint fine crossing crisscross lines over the center to mimic delicate veil mesh.
Crystal Placement Strategies for Coffin Nails
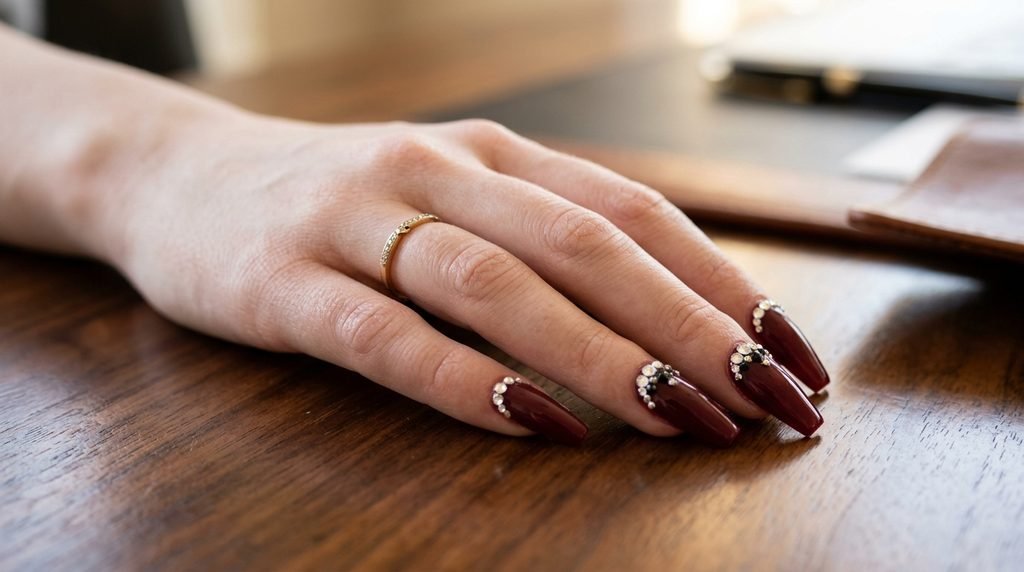
Rhinestones look best when placed strategically rather than scattered randomly.
Position larger black diamond crystals directly near the cuticle curve. Flank them with smaller clear or gold micro-beads.
This triangular arrangement draws the eye down the length of the coffin nail, emphasizing its sleek shape.
How to Secure Rhinestones So They Never Catch or Fall
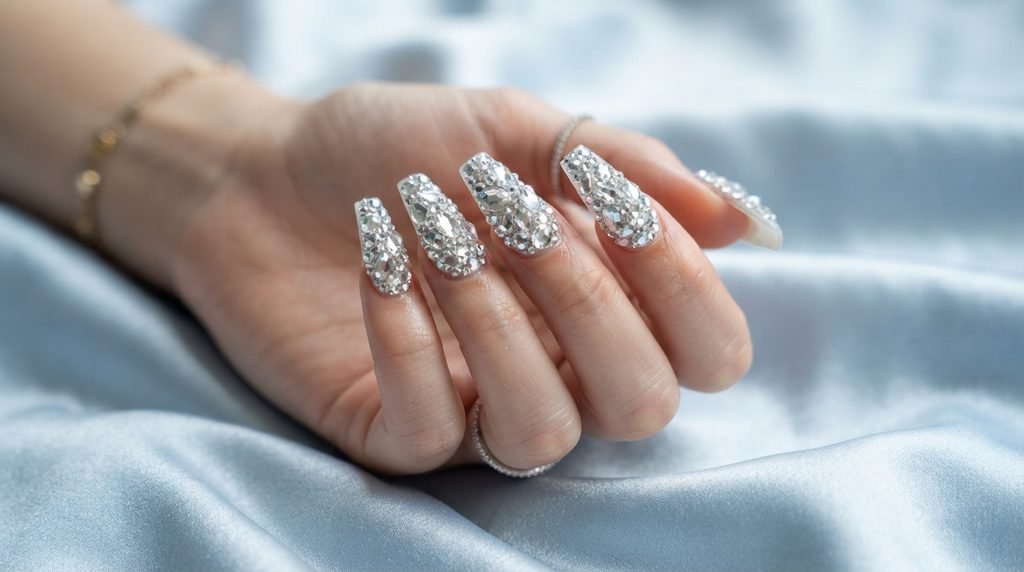
Losing a crystal two days after your manicure is frustrating. Securing them correctly guarantees long wear.
[Step 1: Apply Gem Glue] ➔ [Step 2: Set Rhinestones] ➔ [Step 3: Seal Edges with Top Coat]
- Apply a thick drop of rhinestone glue or hard gel where you want the crystal.
- Nest the crystal into the gel without pushing it all the way to the natural nail.
- Cure completely under LED.
- Use a fine liner brush to trace top coat around the base of the crystal, never over its facets.
Adapting the Design for Short Coffin Nails
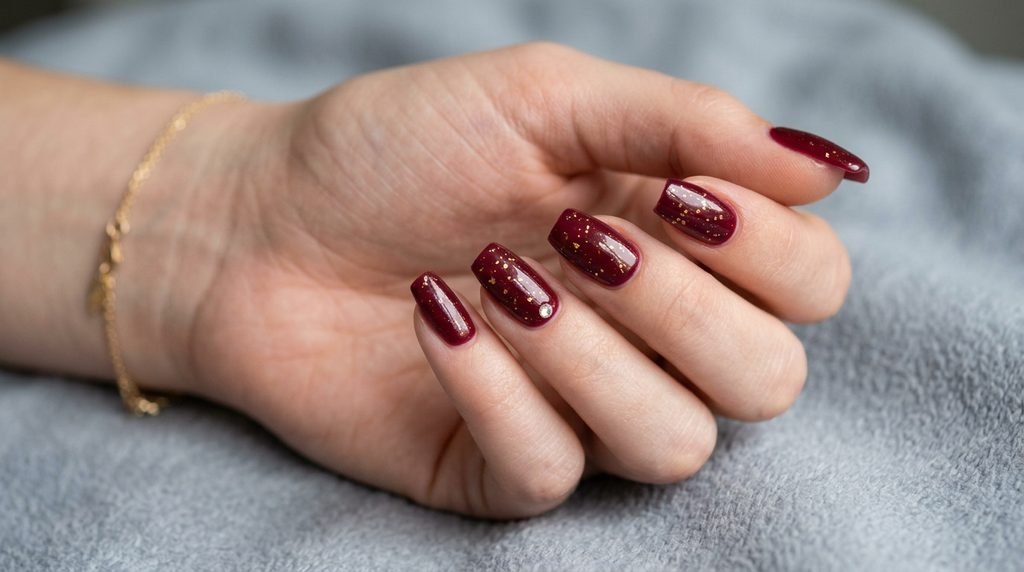
Short coffin nails look chic and offer incredible daily durability. You just need to tweak the scale of your design.
Keep the ghost art smaller and move it higher toward the center of the nail. Use fine gold foil flecks instead of large sheets.
Limit rhinestone placement to a single accent crystal at the cuticle line to prevent visual clutter.
Adapting the Design for Almond and Stiletto Shapes
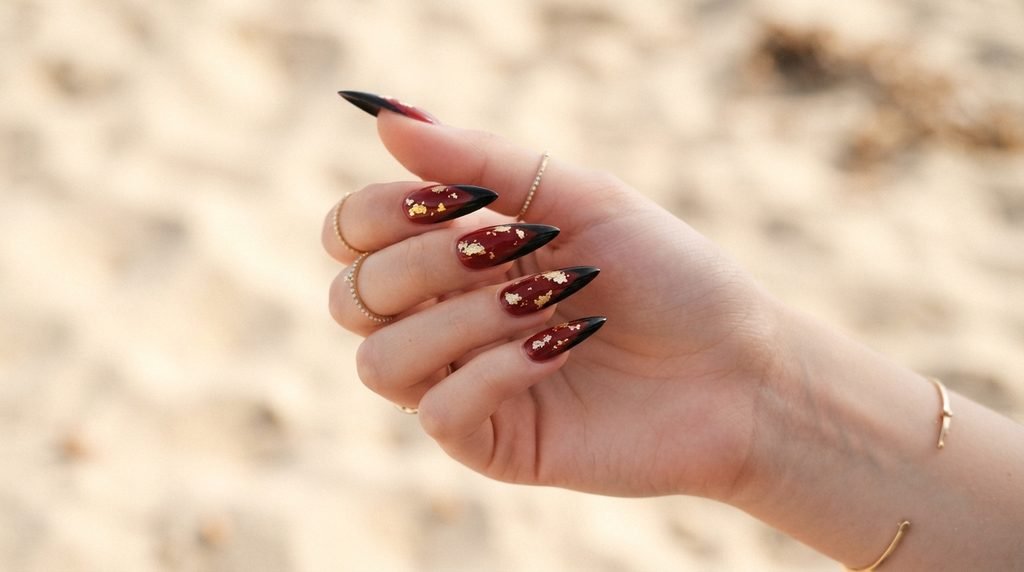
Almond and stiletto shapes bring a dramatic, claw-like villain energy to this color palette.
- Almond Shape: Center the spiderweb art directly at the tip to complement the rounded curve.
- Stiletto Shape: Paint sharp geometric V-shapes in burgundy along the razor-sharp point.
- Place a line of graduated rhinestones straight down the center axis to emphasize length.
DIY vs. Salon: Cost, Time, and Skill Breakdown
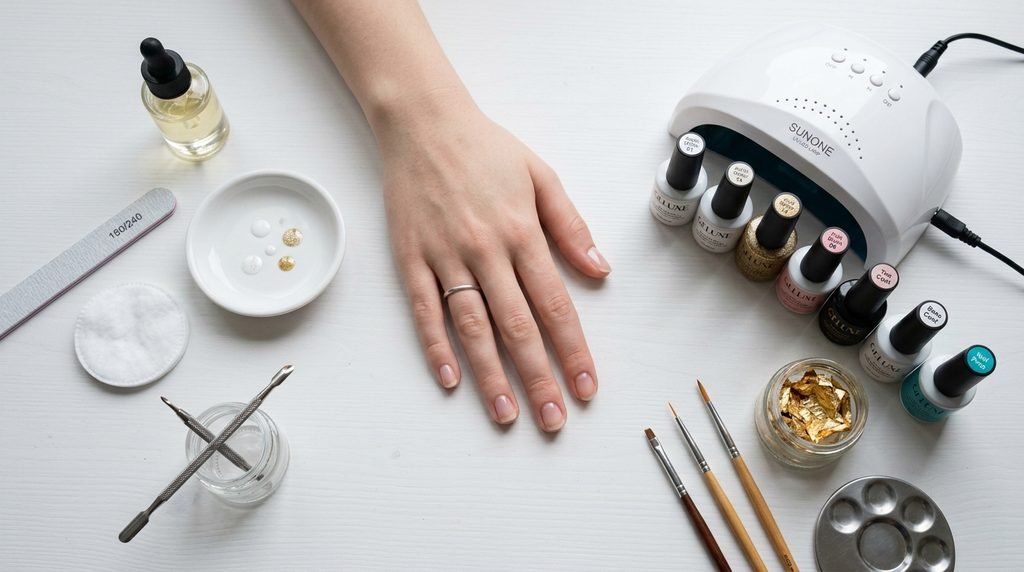
Deciding whether to do this set at home or visit a salon depends on your budget and patience.
| Feature | DIY Approach | Professional Salon | Press-On Alternatives |
| Estimated Cost | $30 – $50 (Initial supplies) | $80 – $150+ (Art dependent) | $15 – $30 (Reusable set) |
| Time Needed | 2.5 to 3.5 Hours | 1.5 to 2 Hours | 20 to 30 Minutes |
| Skill Required | Intermediate – Advanced | Professional Nail Artist | Beginner Friendly |
| Durability | 2 – 3 Weeks | 3 – 4 Weeks | 1 – 2 Weeks |
The Art of Encapsulation: Sealing Foil and Art Smoothly
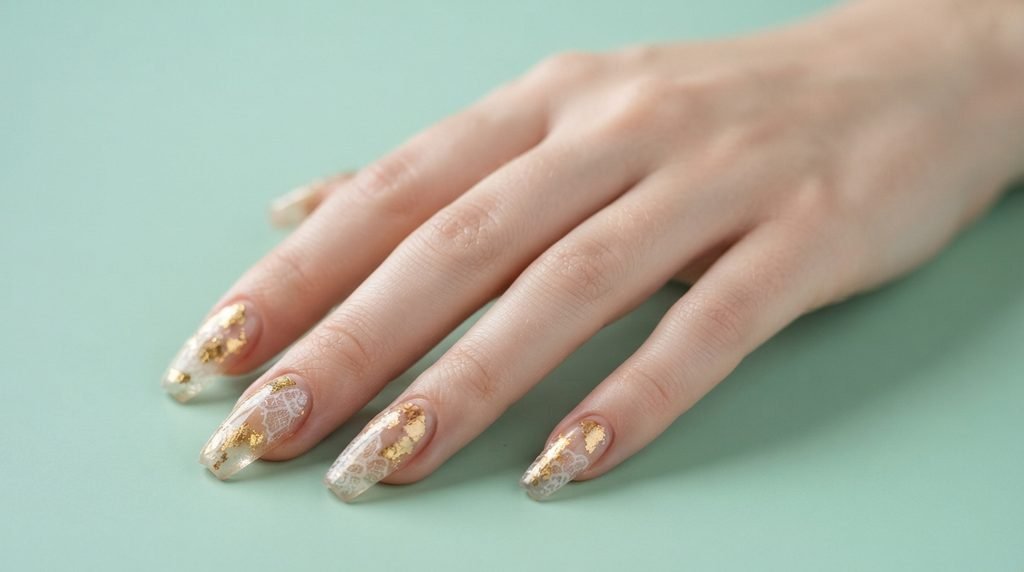
Nothing ruins a luxury manicure faster than peeling gold foil edges. Encapsulation protects your handiwork.
After applying foil or lace patterns, paint a thin layer of clear builder gel or rubber base over the entire design.
Float the brush lightly over the surface to avoid dragging your artwork. Cure for 60 seconds before applying your final top coat.
Matte vs. High-Gloss Finishes for Gothic Sets
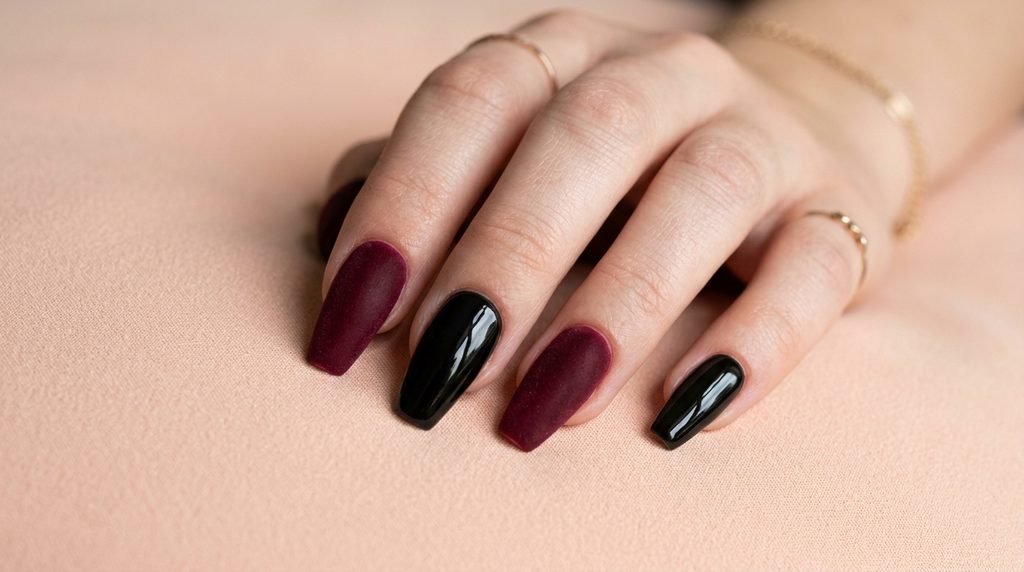
Choosing between a glossy or matte finish changes the mood of your entire set.
A high-gloss top coat brings out the deep red undertones in burgundy and makes gold foil pop with incredible shine.
A velvety matte top coat creates a dramatic contrast when paired with high-shine rhinestones and glossy black accents.
Salon Communication: Exactly What to Ask Your Nail Tech
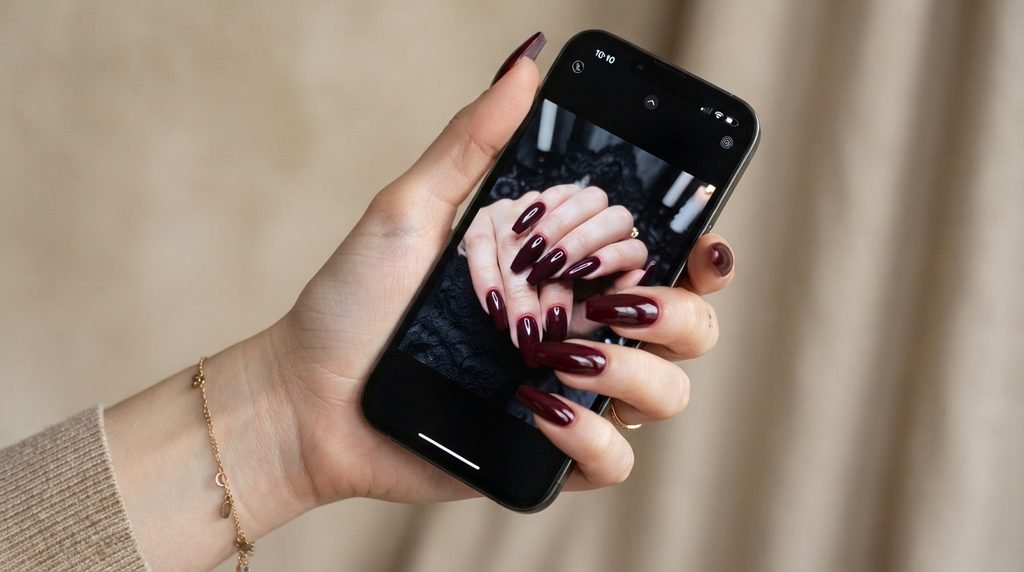
Showing up with vague photos can lead to miscommunication. Here is the exact script to use with your technician:
“I would like a medium-to-long tapered coffin shape with gel builder or acrylic. I want a mix of deep burgundy and jet black base colors. On the burgundy nails, please add gold transfer foil. On the black accent nails, I would like a gold-outlined spiderweb and a small ghost accent. Please secure black and clear rhinestones near the cuticles with hard gel.”
Maintenance: Keeping Burgundy Dark and Gold Shiny
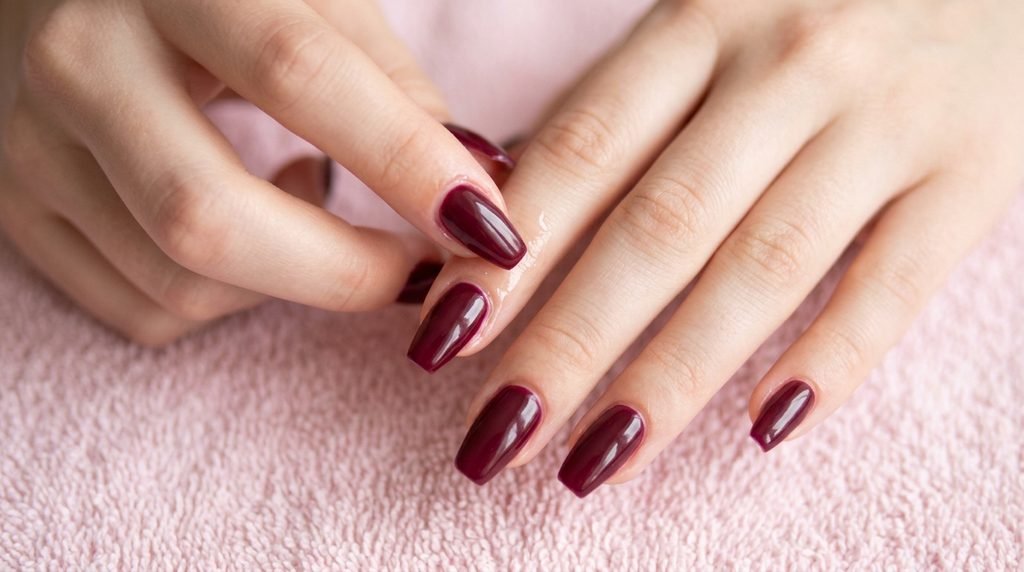
Dark polishes and shiny metallic foils require gentle care to stay vibrant through Halloween.
Wear gloves when washing dishes or using harsh cleaning chemicals. Bleach and detergents can strip the shine from gel top coats.
Apply fresh cuticle oil daily to nourish your surrounding skin and keep your manicure looking fresh from the salon.
Safely Removing Your Gothic Gel Nails at Home
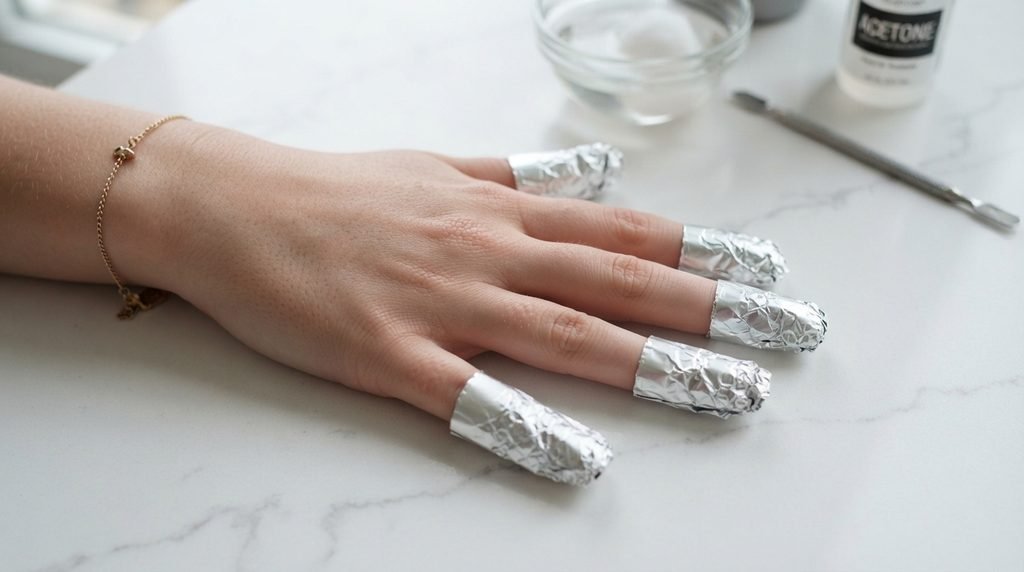
Never peel off gel nails or force rhinestones off with clippers. Doing so damages your natural nail plate layers.
- File away the shiny top coat and gel layer completely using a 100-grit file.
- Soak cotton pads in pure acetone and wrap them tightly over each nail using aluminum foil.
- Wait 15 to 20 minutes before gently scraping away softened gel with a wooden stick.
Seasonal Pairings: Accessories to Match Your Nails
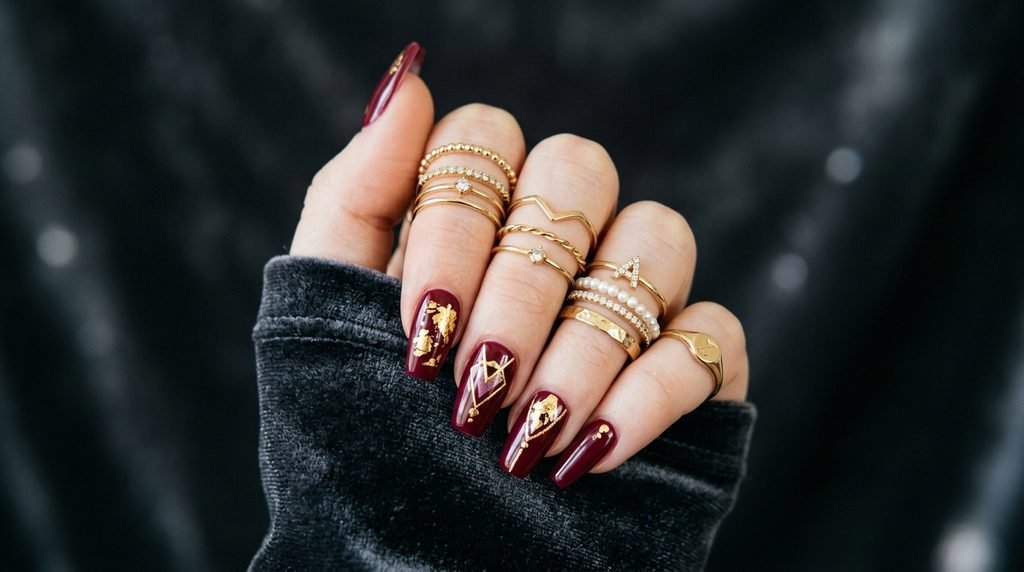
Complement your new set with jewelry that matches its luxury gothic mood.
Stack thin gold rings to pull out the warm metallic foil in your nails. Pair them with deep garnet or onyx stones.
Chunky black lace cuffs or velvet sleeves Frame long burgundy coffin nails beautifully for fall photos and Halloween parties.
Frequently Asked Questions (FAQ)
What are luxury Halloween nail designs?
Luxury Halloween nail designs elevate classic festive motifs like ghosts and webs by pairing them with rich jewel tones, metallic foils, fine linework, and high-quality rhinestones for an elegant, high-fashion aesthetic.
How do you add gold foil accents to gothic nails?
Apply a thin coat of foil transfer gel over your cured base color, cure under LED for the recommended time, press the foil sheet firmly onto the tacky layer, and seal thoroughly with a clear builder gel or top coat.
What colors make Halloween nails look elegant, not costumey?
Pairing deep burgundy, plum, emerald green, or navy blue with black and metallic accents like gold or bronze creates a classy, sophisticated palette that feels seasonal without looking like a costume accessory.
How do you attach rhinestones to coffin nails?
Secure rhinestones using a dedicated gem glue gel or builder gel. Place the stone into uncured glue, cure under LED, and then cap the edges around the crystal base with a gel top coat using a fine detail brush.
What is the best nail shape for elaborate gothic Halloween art?
Long or medium coffin and almond shapes offer the best real estate for detailed gothic art, providing a wide canvas for intricate linework, foil placement, and rhinestone clusters near the cuticle line.
Conclusion
This burgundy and gold coffin set proves that Halloween nails can be dramatic, spooky, and luxurious all at once. By pairing rich wine tones with liquid gold foil, delicate artwork, and sparkling crystals, you get a look that shines at costume parties and formal autumn dinners alike.
Are you going to try the fine spiderweb detail or stick with the sleek gold foil accent? Save this post now to show your nail technician at your next appointment!

Mia founded Daily Nail Idea after a decade in beauty editorial, tired of watching great nail art disappear into the scroll. She now leads the team’s editorial direction — deciding what’s worth featuring and what’s just noise — and still paints her own nails every Sunday night, no exceptions.