Word Nail Art: Cute Smiley Face & Confidence Text Nails for Halloween October 2026
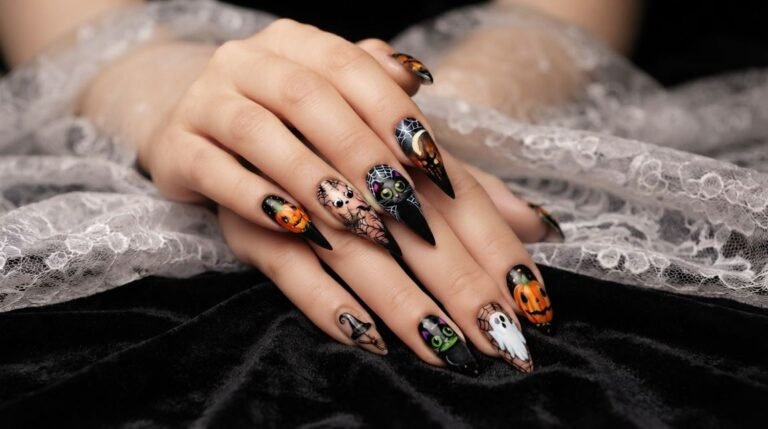
Stuck on what to get at your next salon visit? You saved a hundred spooky pins, but nothing feels quite right. Standard ghosts feel a bit boring, while classic spiders feel way too creepy.
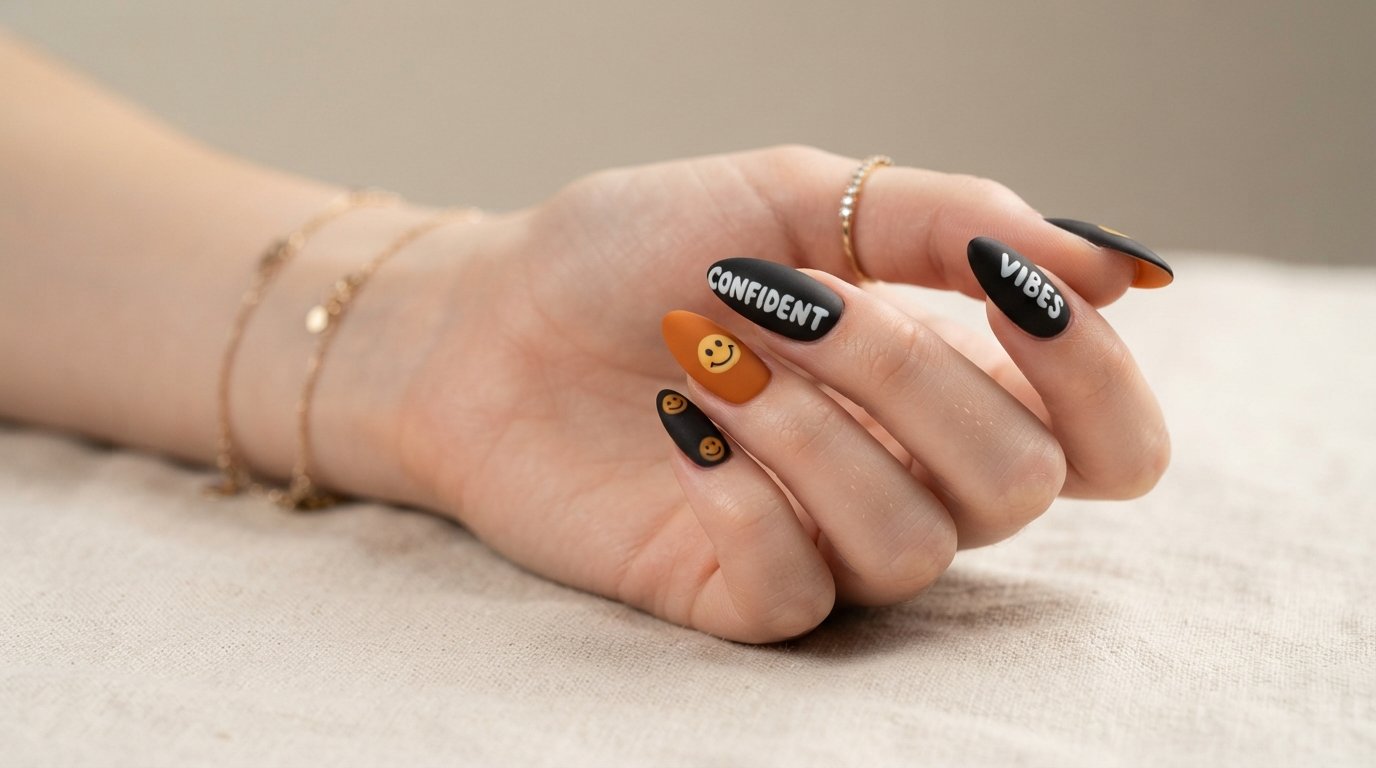
If you want something fun, upbeat, and bold, word nail art is your complete answer. Combining bright smiley faces with confident text gives Halloween a fresh, cheerful twist.
You can rock these cool designs without losing your spooky vibe. So, let’s dive into how you can customize this look for your exact nail shape, length, and favorite mood.
At-a-Glance
Here is a quick look at what we are covering today:
- The Vibe: Playful retro charm meets spooky Halloween energy.
- Key Elements: Dainty handwritten text, neon smiley faces, and high-shine top coats.
- Best Shapes: Almond and coffin offer the most space, but short square works great too.
- DIY or Salon: Easy to do at home with detail pens, or quick for your tech using stickers.
- Color Palette: Deep matte black paired with rich marigold orange, gold foil, and creamy white.
Quick Reference Summary
| Feature | Best Option | Alternate Choice |
| Nail Shape | Tapered Almond | Short Square |
| Base Finish | Velvet Matte Black | High-Gloss Pumpkin Orange |
| Art Technique | Hand-painted Line Gel | Water Decals / Stamping Plates |
| Accent Detail | Gold Leaf Foil | Iridescent Glitter Flakes |
What Is Word Nail Art?
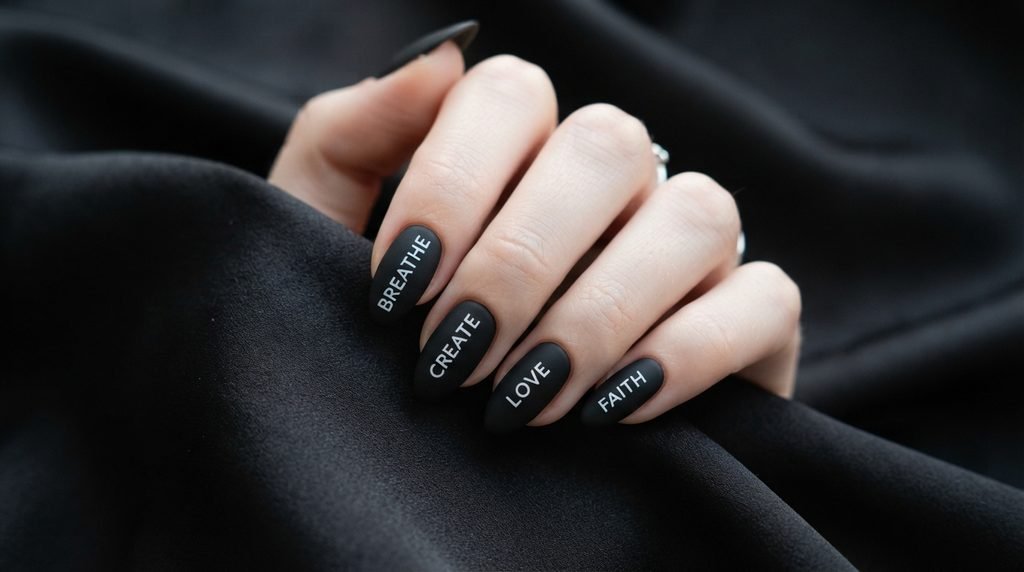
Word nail art is a micro-trend that uses letters, short phrases, or positive affirmations directly on your canvas. Instead of full landscape scenes, you focus on typography.
You can paint every letter by hand or use water decals. Furthermore, adding bold words gives your manicure a distinct voice.
It feels personal, stylish, and super creative. Additionally, it lets you share your exact mood with the world without saying a single word out loud.
Why Smiley Faces and Text Work for Halloween
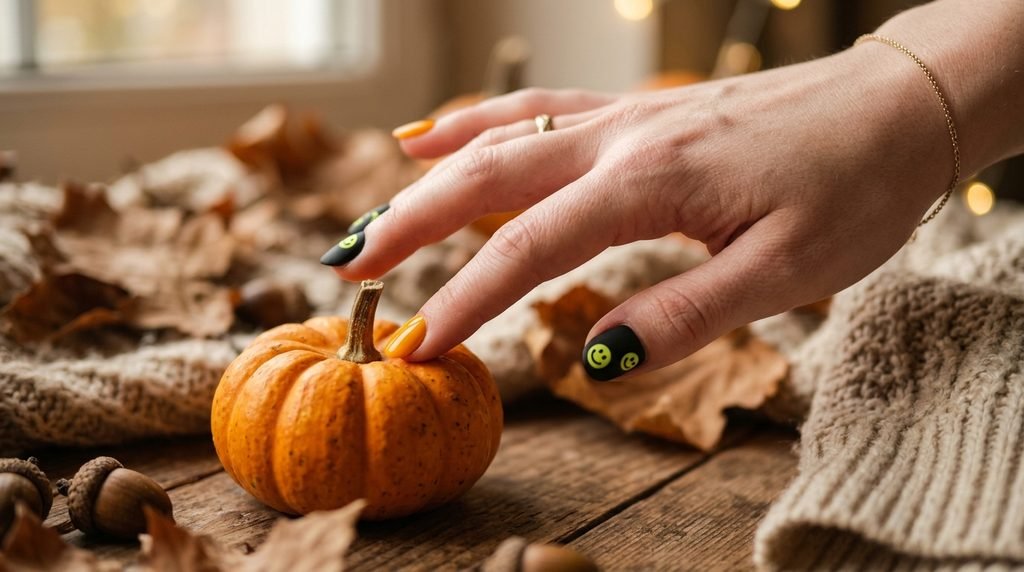
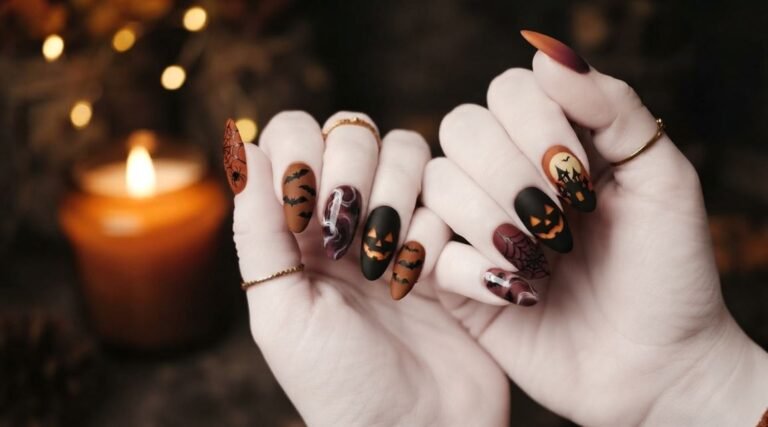
Halloween nails do not always have to be dark or gory. Combining smiley faces with Halloween colors gives you a happy, balance-restoring contrast.
The bright yellow or neon orange smileys instantly pop off a matte black base coat. Meanwhile, positive phrases keep your spirits high all month long.
As a result, your set feels spooky yet delightfully warm. It is the perfect blend for anyone who loves cozy aesthetic vibes.
Prepping Your Canvas for Precise Hand-Lettering
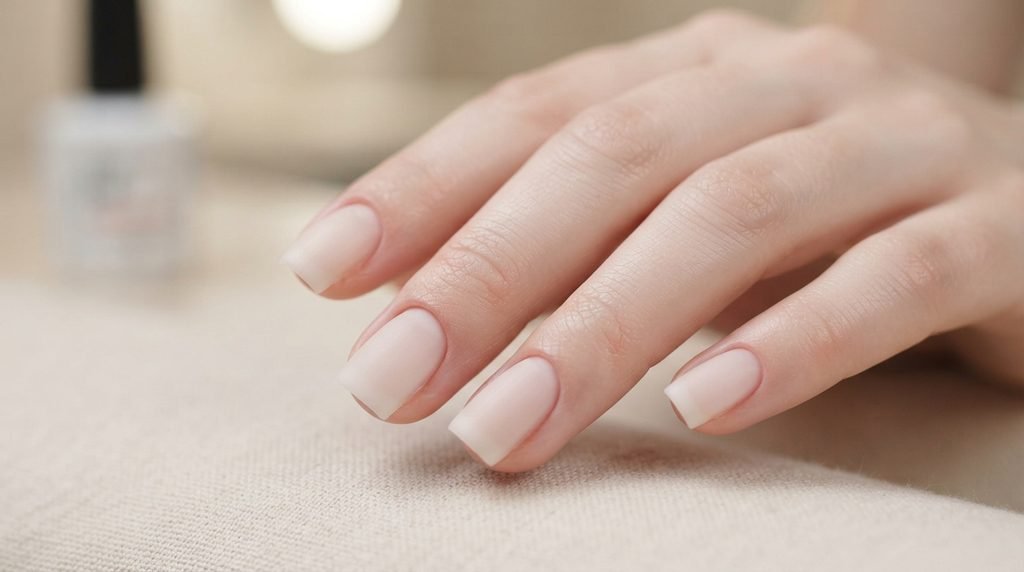
Clean prep is the secret to flawless lettering. First, gently push back your cuticles to avoid any unwanted flooding.
Next, buff the natural shine off your nails using a fine-grit block. Clean away all residual dust with isopropyl alcohol before applying your base coat.
A smooth, dehydrator-treated base keeps your gel from pooling around the edges. Consequently, your fine lines stay razor-sharp during the painting process.
Choosing Your Halloween Base Colors
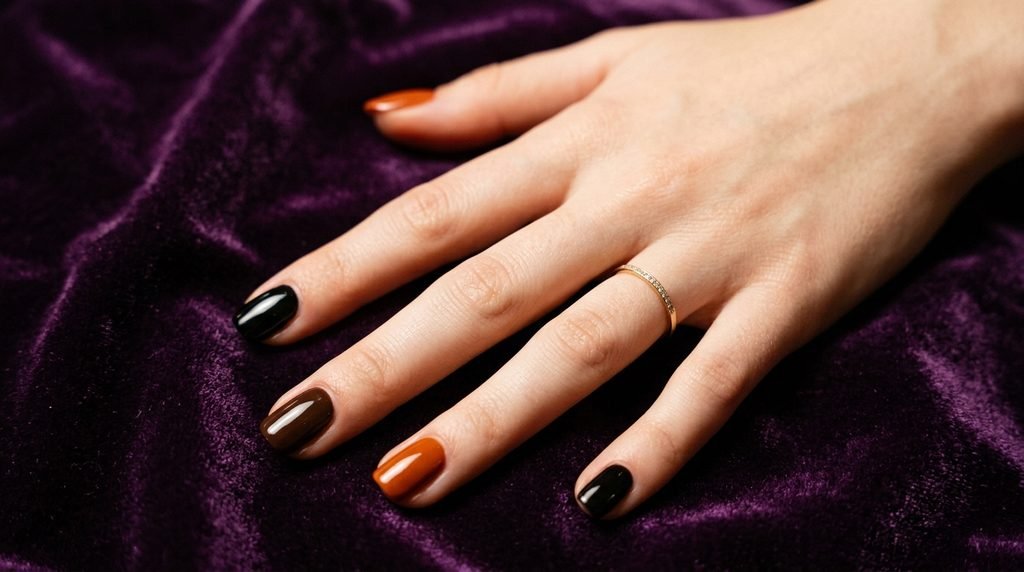
Contrast is critical when working with thin lines and text. Therefore, choosing a deep shade like raven black or dark eggplant purple works best.
If you prefer warmer tones, try a burnt pumpkin orange or rich chocolate brown. These moody shades make white and gold lettering pop effortlessly.
On the other hand, you can opt for a sheer nude base. This creates a soft negative-space effect that feels ultra-modern.
Master the Matte Black Base with Neon cat Smileys
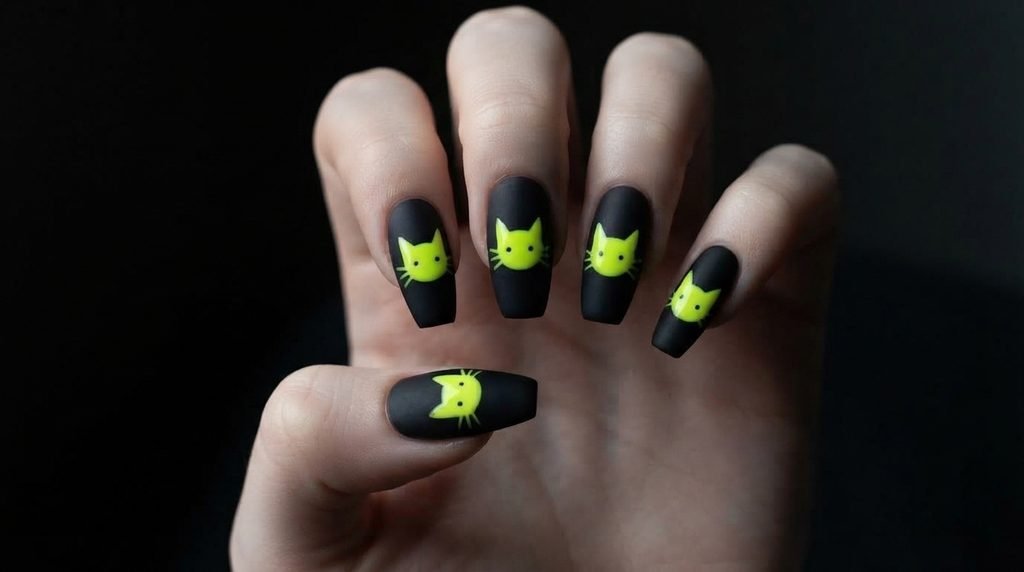
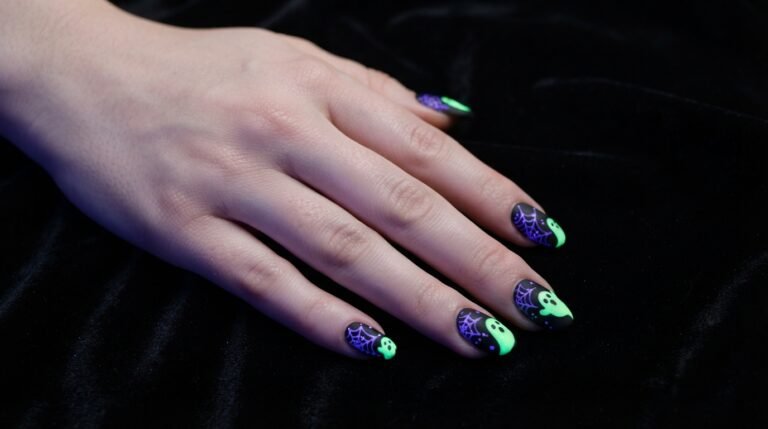
Matte black is the ultimate background for neon accent art. First, apply two thin layers of black gel, curing after each pass.
Then, wipe away the tacky layer and apply a velvety matte top coat. Once cured, use a dotting tool to craft glowing yellow smiley circles.
Because the background is completely flat and dark, the bright smileys look like neon signs. Furthermore, the gloss detail on top of matte looks incredible.
How to Paint Dainty Confidence Words Step-by-Step
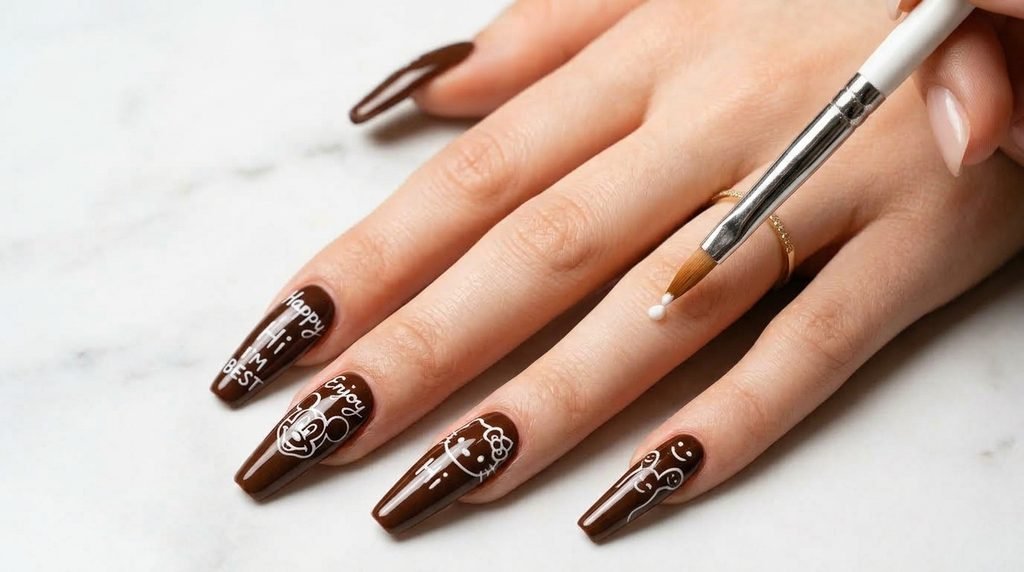
Writing on a small surface can feel intimidating at first. However, breaking each word into simple strokes makes it easy.
Start by picking short words like “I’M BEST” or “GLOW”. Use a synthetic 7mm detail brush dipped in high-pigment liner gel.
Rest your pinky finger against your table to keep your hand completely still. Paint the center letter first, then work your way outward for balanced spacing.
The Best Fonts for Canvas Nail Typography
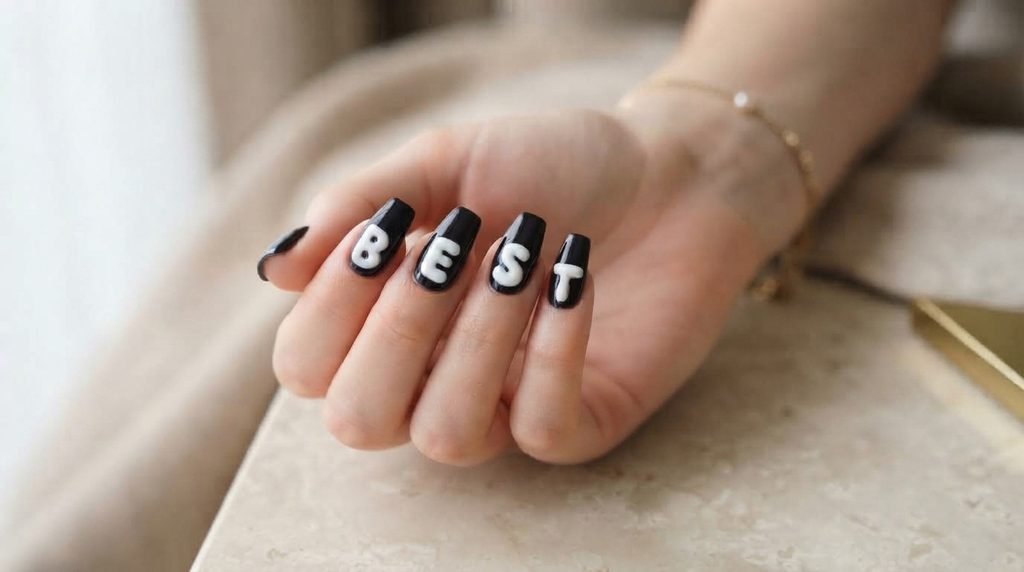
Not all fonts translate well onto a tiny surface. Blocky bubble fonts are very forgiving because imperfect lines look intentional.
Similarly, loose cursive lettering allows for a fluid, effortless style. Avoid thin serif fonts with tiny ticks, as they tend to blur together.
Instead, opt for rounded sans-serif letters or bold graffiti styles. These maintain readability even on shorter lengths.
Adapting Word Art for Short Natural Nails
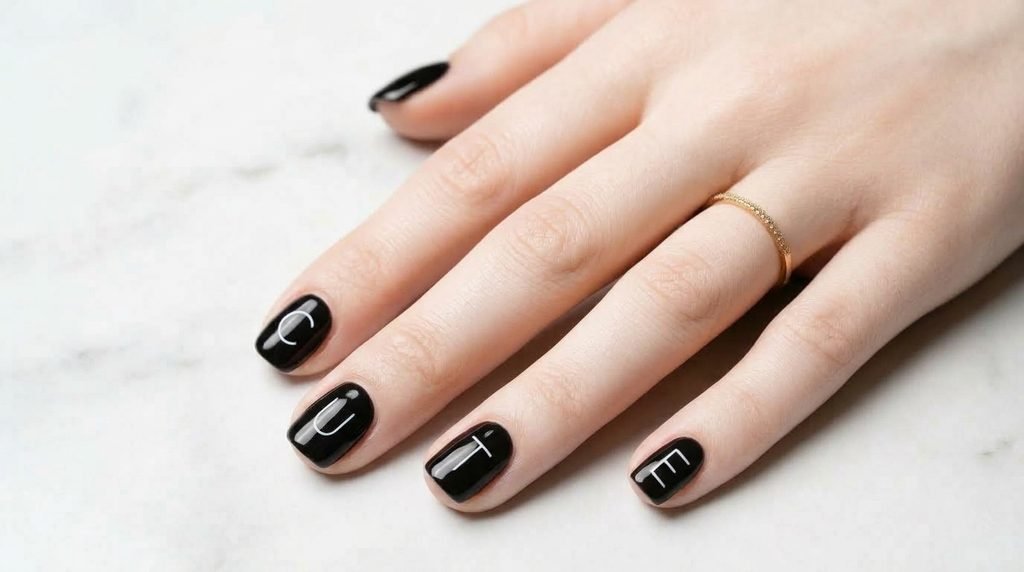
Short nails can absolutely wear typography designs without looking cluttered. The trick is keeping your phrase down to a single letter per nail.
Alternatively, pick one accent nail for a short word like “GOOD” or “CUTE”. Place tiny smiley faces near the moon of your cuticle to elongate your nail bed.
This leaves plenty of negative space around the edges. As a result, your hands look neat, balanced, and long.
Flaunting Text Art on Long Almond and Coffin Shapes
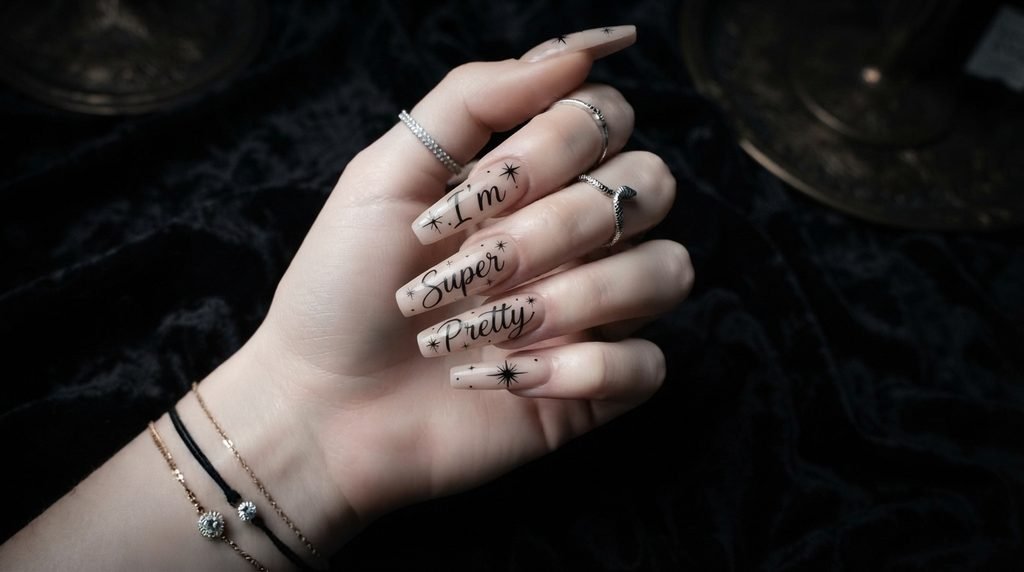
Long almond and coffin shapes give you a spacious canvas for complete quotes. You can write full phrases like “I’M SUPER PRETTY” across four fingers.
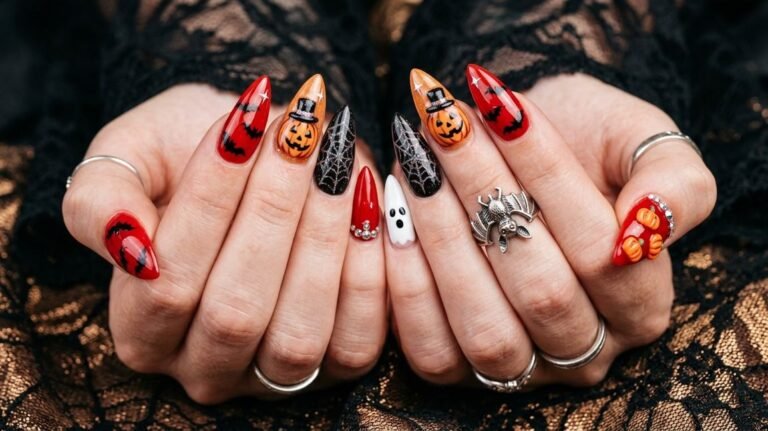
Furthermore, you can surround your words with tiny starbursts, spiderwebs, or mini bats. The extra length allows for larger fonts and deeper contrast.
Be sure to keep the heaviest design elements near the center. This preserves the structural strength and gorgeous tapered silhouette of your tips.
Combining Dainty Ghost Features with Retro Smileys
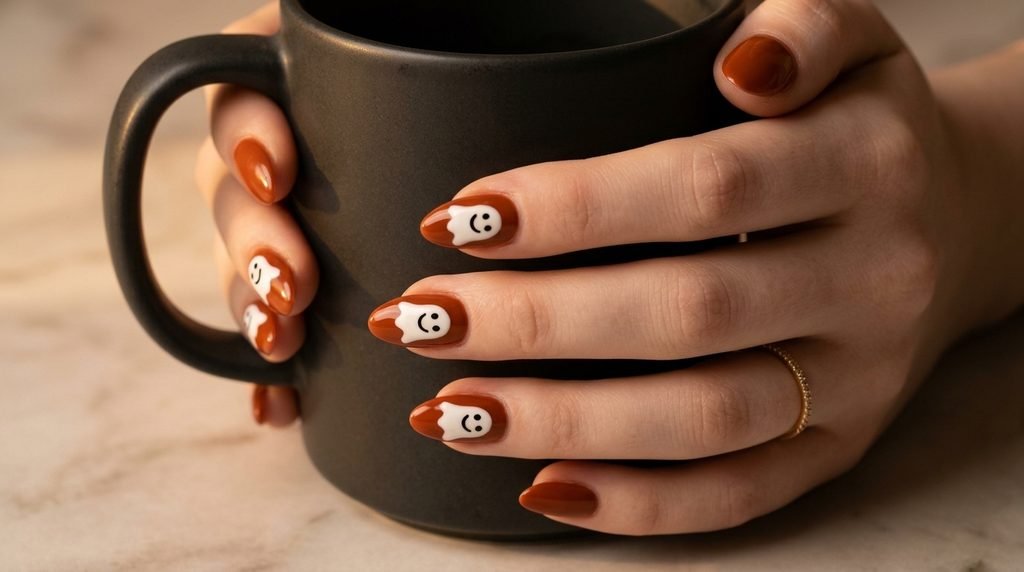
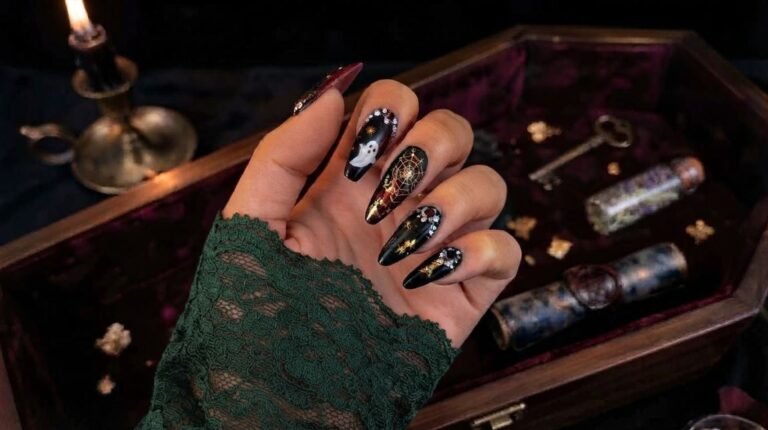
Give your retro smiley face a cute Halloween twist by turning it into a ghost. Paint a white rounded ghost blob in the center of your nail.
Instead of traditional black eyes, paint classic cheerful smiley eyes and a curved grin. This mashup feels playful and totally unique for the season.
Additionally, you can sprinkle tiny gold glitter flakes around the ghost. It adds a touch of glamour without overwhelming the artwork.
Salon Communication: What to Ask Your Nail Tech For
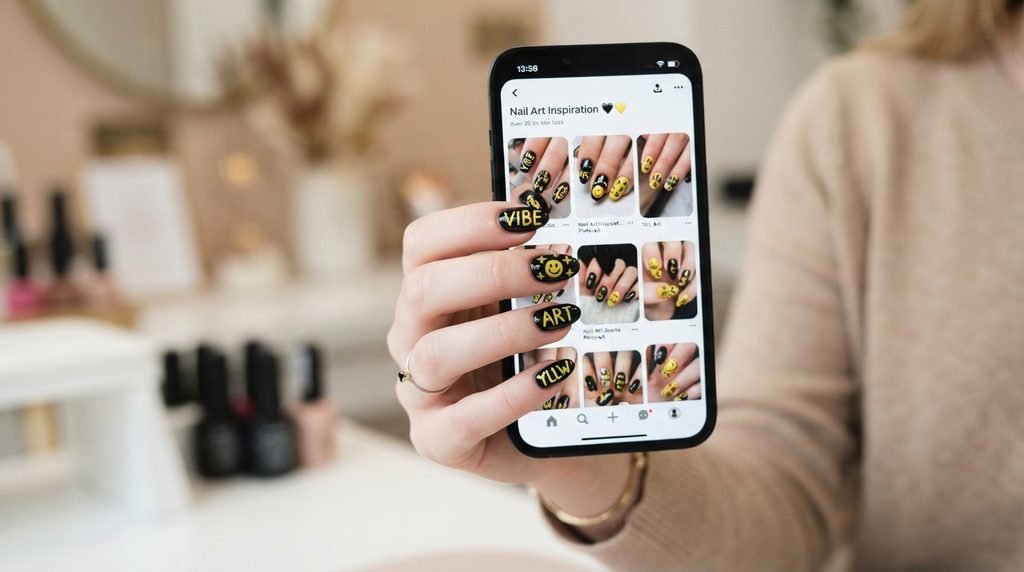
Visiting the salon for detailed line work requires clear communication. Show your tech a reference photo of the exact font style you want.
Ask if they excel at hand-painted line art or nail stamping. If they prefer speed, ask if they have typography decals or water slides available.
Request a gel liner art service when booking your appointment time. This ensures your technician has enough quiet focus time reserved for you.
At-Home DIY Hacks: Stamping vs. Water Decals
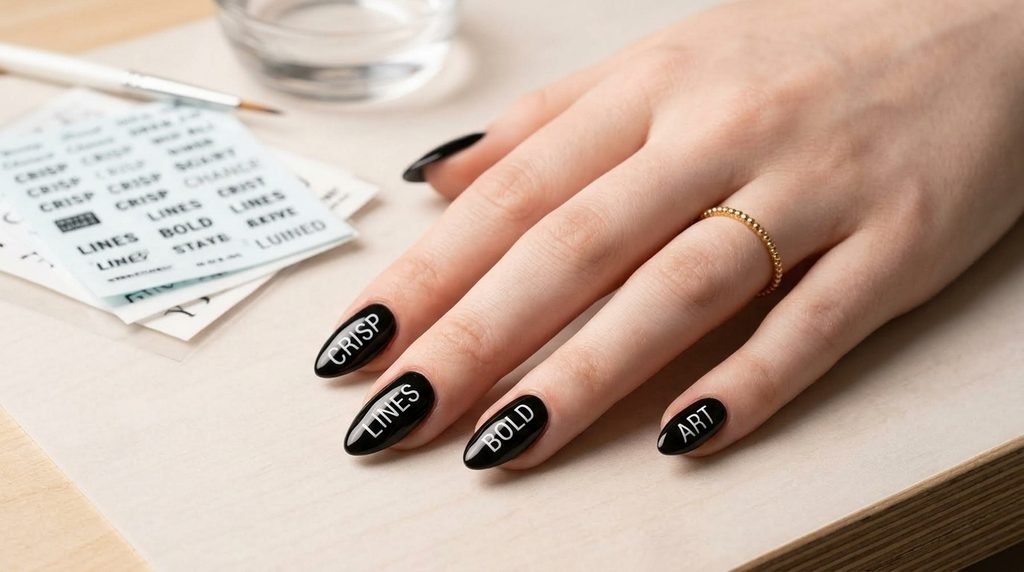
If hand-painted lettering feels tricky, DIY tools make it seamless. Water decals slide right onto your cured base color with zero fuss.
Alternatively, nail stamping plates offer crisp font designs in seconds. Simply apply your stamping polish, scrape the excess, and press onto your nail.
Seal your work with a generous layer of builder gel [Affiliate opportunity: clear builder gel for encapsulate art]. This locks down the edges so decals never peel off.
Avoiding Cuticle Flooding During Gel Application
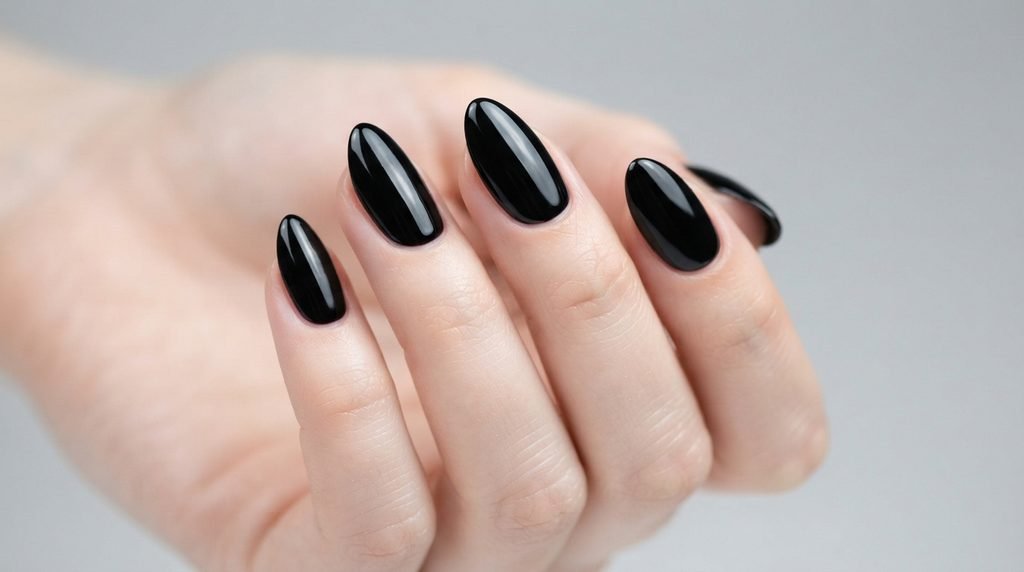
Cuticle flooding is a common issue when doing precise gel designs. Excess polish pools into your side walls, causing lifting within days.
To prevent this, leave a hairline gap between your polish and skin. Always use a clean brush dipped in rubbing alcohol to wipe away mistakes immediately.
Flash-cure each finger under a handheld mini LED light for five seconds. Consequently, your delicate lettering stays locked in place without running.
Adding Luxurious Gold Foil and Glitter Accents
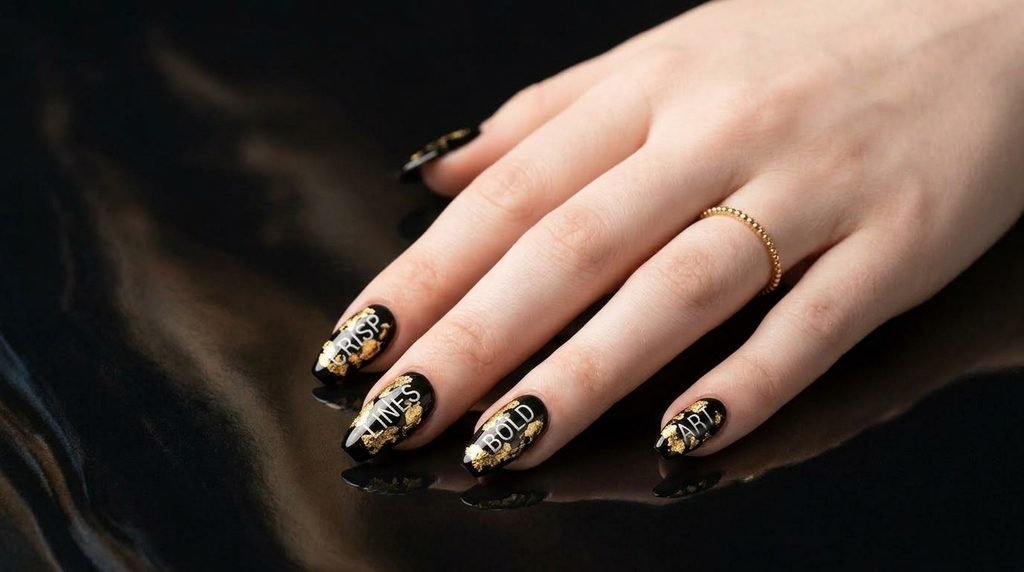
Elevate your fun Halloween look with rich metallic accents. Press small patches of gold leaf foil over your black base before adding text.
The raw gold texture peeking through your letters adds instant luxury. Furthermore, reflective glitter top coats make your smiley faces sparkle under warm lights.
It upgrades a simple casual design into something sophisticated. You get all the fun of Halloween with a sleek, high-end feel.
The “Negative Space” Spooky Typography Look
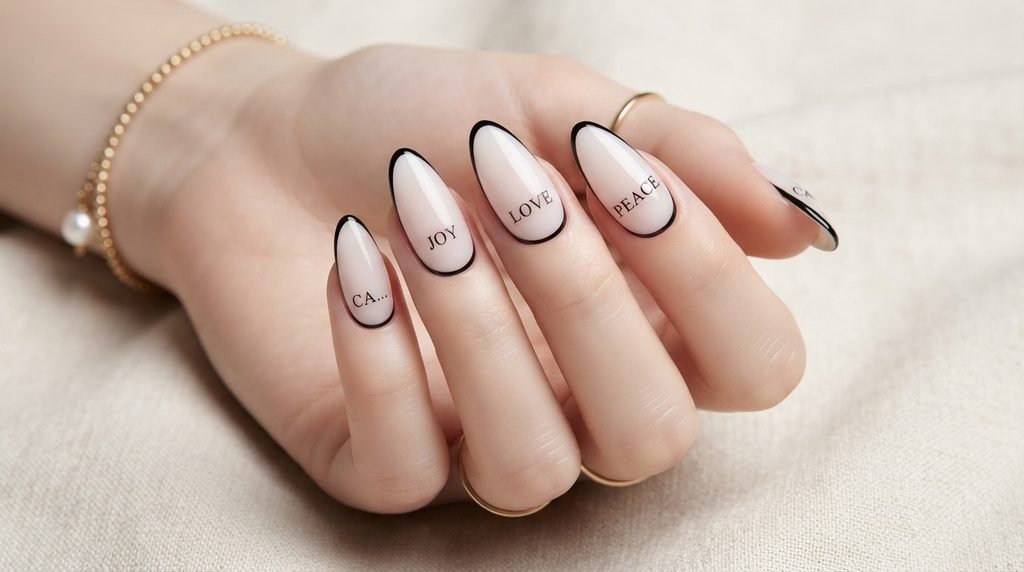
Negative space designs use your bare nail bed as part of the overall art. Apply a sheer pink tint over your prepped nail plate.
Then, paint crisp black borders around the edges to frame your nail. Write your positive words directly across the clear center area in bright white.
This style looks lightweight, clean, and extremely modern. Plus, regrowth near your cuticles stays virtually invisible for weeks.
Matching Your Nails to Your Halloween Outfit
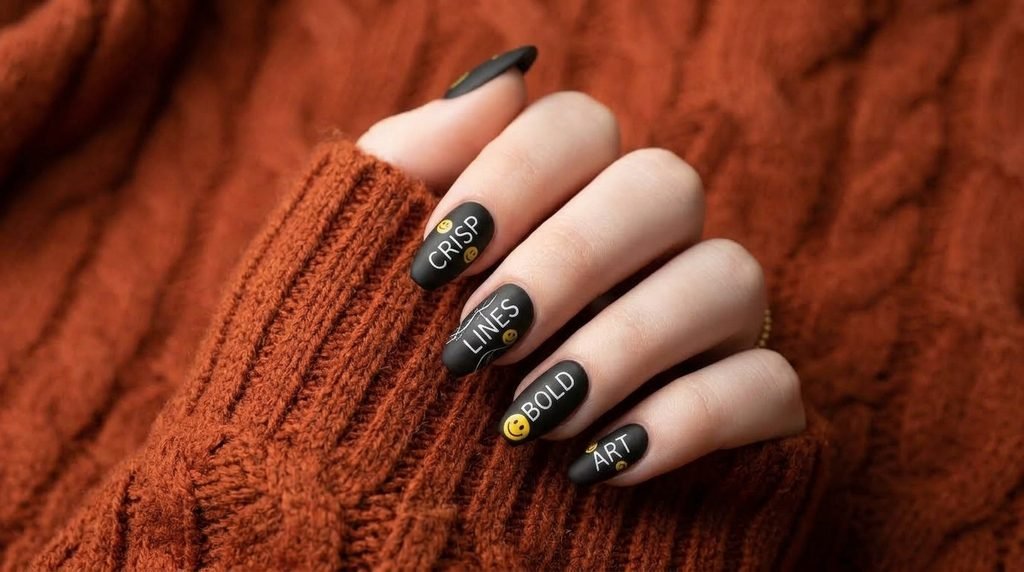
Word nail art acts as a stylish, built-in accessory for your wardrobe. If you plan on wearing an all-black witch outfit, yellow smileys add a pop.
Pairing oversized orange sweaters with dark typography nails creates a warm, cozy vibe. The black and white lettering blends effortlessly with neutral knits.
Whether you wear cozy street style or full costumes, these nails fit right in. They bring a cheerful touch to any autumn ensemble.
Sealing Your Art: Glossy Top Coat vs. Velvet Matte Finish
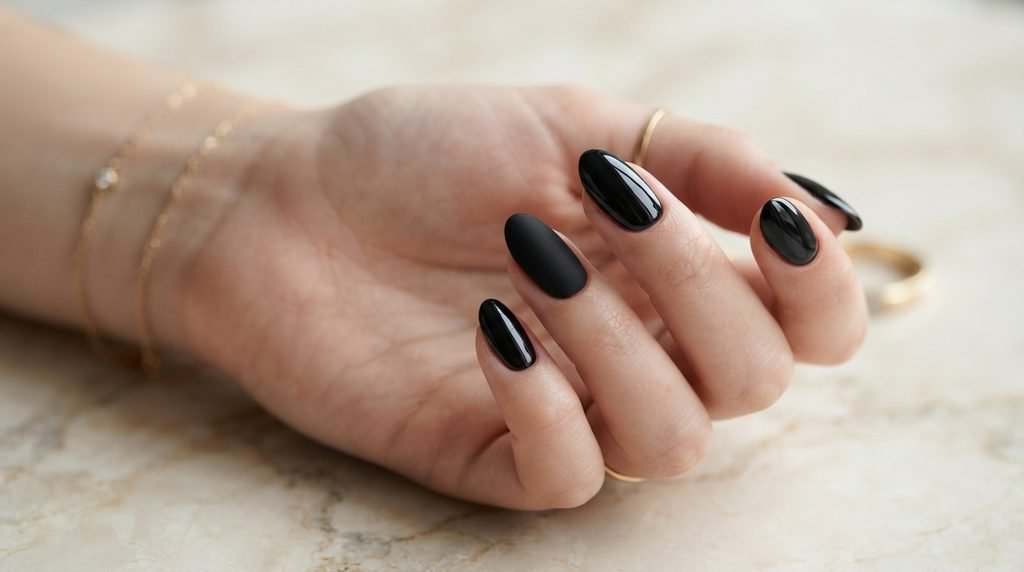
Choosing your final top coat changes the complete mood of your manicure. A high-gloss top coat enhances depth and gives a smooth glass finish.
On the flip side, a velvet matte top coat offers a moody, editorial look. You can even mix both finishes on a single set for dynamic texture.
Apply matte across the base color, then paint glossy top coat over the smileys. The raised shiny details feel amazingly tactile and fun.
Maintenance Tips to Keep Your Text Crisp for 3 Weeks
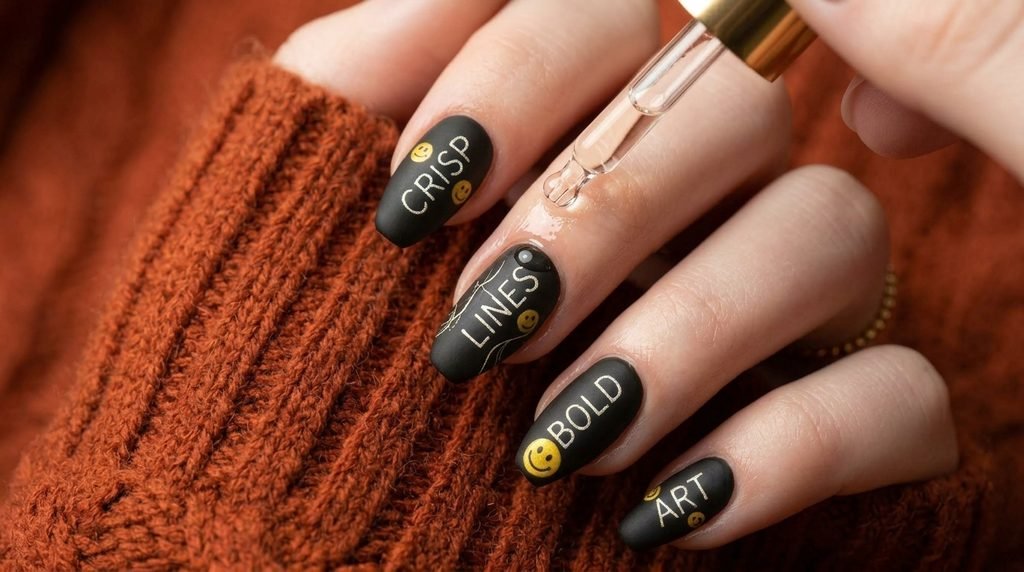
Hand-painted line work needs proper care to avoid premature chipping or wear. Always wear rubber gloves while washing dishes or handling cleaning chemicals.
Apply fresh cuticle oil twice daily to keep your skin plump and hydrated [Affiliate opportunity: hydrating cuticle oil pen]. Hydrated skin prevents surrounding lift, preserving your art’s clean edges.
Additionally, avoid using your nails as tools to open cans or boxes. Reapply a thin gel top coat at two weeks to refresh the shine.
Budget Breakdown: Salon vs. DIY Options
| Method | Estimated Cost | Time Required | Skill Level |
| Salon Hand-Painted | $80 – $150 | 90 – 120 Mins | Professional |
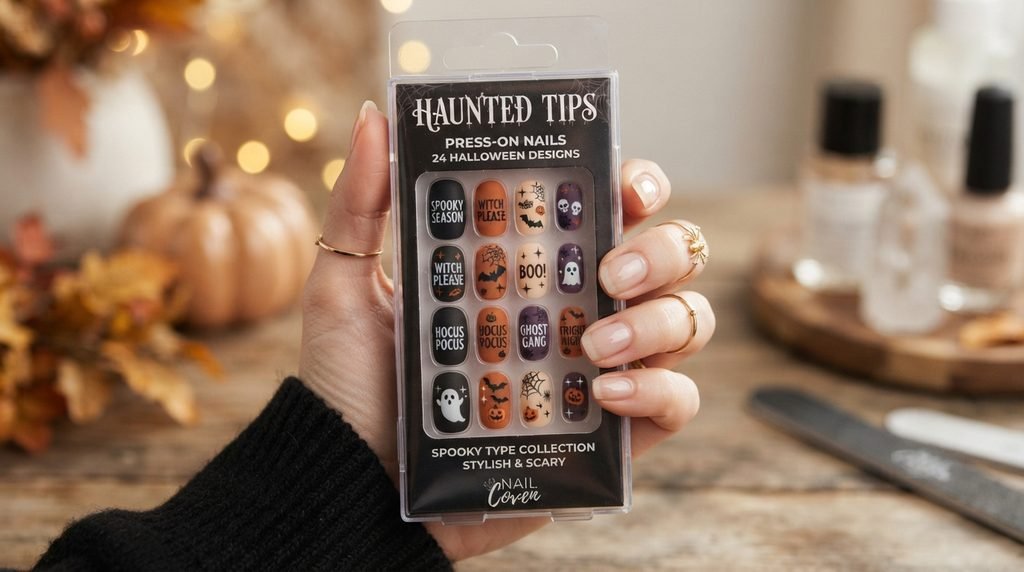
| Press-On Set | $15 – $25 | 15 Mins | Beginner |
| At-Home DIY (Gel) | $15 – $30 (Kit) | 60 – 90 Mins | Intermediate |
Frequently Asked Questions About Word Nail Art
What is text nail art?
Text nail art is a manicure trend featuring hand-painted words, phrases, or typography paired with playful accent characters.
Is word nail art easy for beginners?
Yes, using a gel detail pen or water decals makes creating crisp lettering simple for DIY beginners at home.
How do you paint a smiley face on nails?
Dot a circle using a dotting tool, let it cure, then add two tiny dot eyes and a curved smile brush stroke.
What font works best for nail art text?
Rounded bubble fonts and simple sans-serif styles are best because they stay clean and legible on small surfaces.
Can you put text art on short nails?
Absolutely, placing one letter per nail or picking short four-letter words keeps short nails looking balanced and neat.
Creating the Ultimate “I’M PRETTY” Halloween Mix
Bringing all these elements together gives you the ultimate Halloween manicure. Pair two matte black nails featuring gold “I’M PRETTY” text with orange smiley accents.
Add a soft ghost smiley on your thumb for an extra touch of seasonal cheer. This combination offers personality, balance, and pure Halloween joy.
Your set will feel totally customized, stylish, and full of confidence. So, save this guide so you are fully prepared for your upcoming salon date!
Conclusion
Finding the perfect Halloween nail art does not have to be stressful. By combining cheerful smiley faces with bold confidence words, you get a look that feels completely fresh.
Whether you opt for long coffin acrylics or short natural nails, this trend adapts effortlessly to your lifestyle. So, bring these precise design tips to your next salon visit for a head-turning finish.
Which word phrase are you going to paint on your nails this season? Save your favorite style to your Pinterest board now!

Mia founded Daily Nail Idea after a decade in beauty editorial, tired of watching great nail art disappear into the scroll. She now leads the team’s editorial direction — deciding what’s worth featuring and what’s just noise — and still paints her own nails every Sunday night, no exceptions.