Death’s-Head Moth Nails: Gothic Moth Wing Nail Art for Halloween
Hey there, fellow nail enthusiast! I’m so glad you’re here. Are you looking for a unique Halloween manicure that’s spooky yet surprisingly elegant? You’ve come to the right place.
Many of us get stuck on the same old pumpkin or spider web designs every October. I totally get it; they’re classic! But maybe you saw something different scrolling through Pinterest, like intricate moth nails, and now you need to know how to make them reality.
If that sounds like you, you are in for a treat today. We are diving deep into the mysterious and beautiful world of Death’s-Head Moth nails. This isn’t just a generic listicle; it’s your specific guide for achieving the perfect gothic, eerie, and incredibly detailed moth nail art for spooky season.
Whether you’re visiting your favorite nail tech or planning a challenging (but rewarding!) DIY session, I’m here to help. Get ready for some serious inspo and actionable advice to get this stunning, shadowed look on your fingertips.
Moth Nails At-a-Glance
Let’s quickly preview what we’ll cover in this complete guide. We will explore exactly why the Death’s-Head Moth is the ultimate Halloween inspo. Then, we’ll dive into specific looks – from full-on gothic moth nails to subtler moth wing nail designs. I will provide concrete pairings of shape, color, and finish, so you know exactly what works best. My favorite part? I’ve also included a full step-by-step tutorial for creating Death’s-Head Moth nails at home. Plus, we’ll cover essential FAQ and even alternative cryptid nails if the specific moth nails aren’t quite your vibe.
Why Death’s-Head Moth Nails are the Spookiest Look
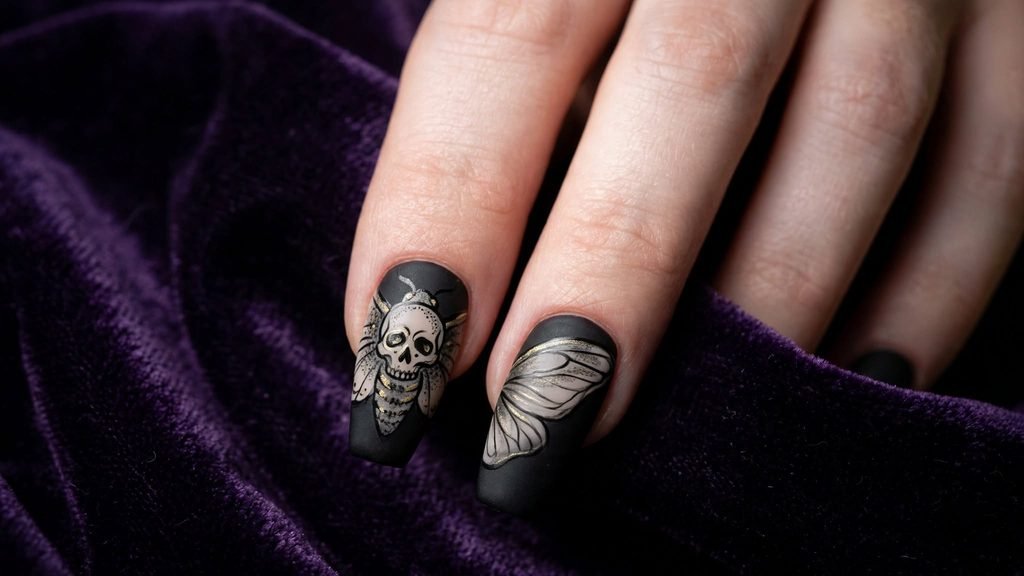
So, you’re looking for a design that’s eerie and beautiful? You should absolutely consider the Death’s-Head Moth. Why are these unique insects so perfect for Halloween? Firstly, the namesake of these creatures is the naturally occurring skull-like pattern on their thorax. I mean, come on, that is literally built-in Halloween content. This immediately connects them to themes of mortality, mystery, and gothic allure. Secondly, the subtle, velvety texture of their wings offers incredible inspiration for matte finishes or even subtle, flocked nail effects. Choosing moth nail art that features this specific motif tells a story far beyond a simple black cat.
Choosing Your Moth Aesthetics: From Cryptid to Cute
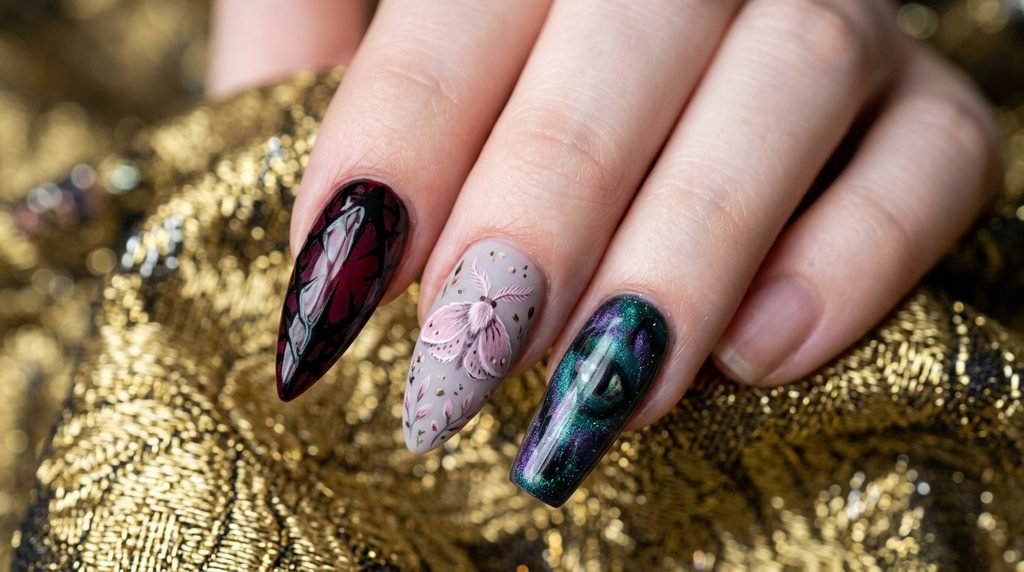
Are you going for full-blown dark academia mystery, or perhaps something softer? It is important to know that moth nail art is incredibly versatile. We often think of gothic moth nails first, but you can interpret this style in many ways. I always suggest reflecting your overall Halloween vibe before committing to a design.
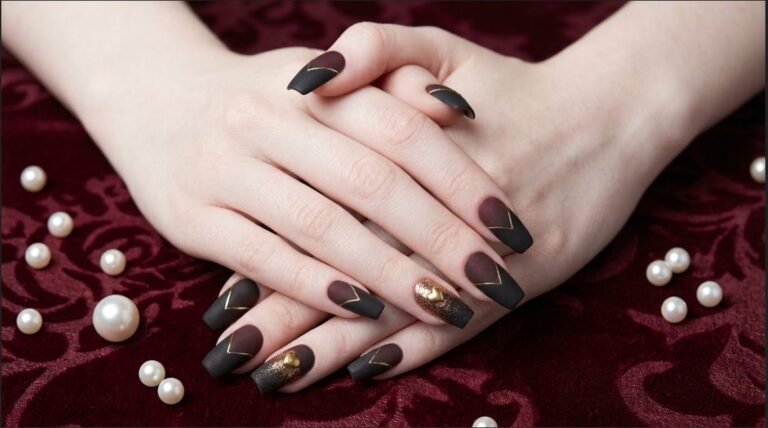
- Dark Gothic: Heavy on blacks, deep burgundy, and sharp, skeletal lines. Ideal for the Death’s-Head Moth or a mothman look.
- Whimsical/Cute: Soft dusty pinks, lavenders, or even some glitter. Perfect for a delicate garden moth.
- Mystical/Cryptid: Think deep teals, purples, and touches of eerie shimmer. Connects well to broader cryptid nails themes.
Top Shape Pairs for Death’s-Head Moth Nails
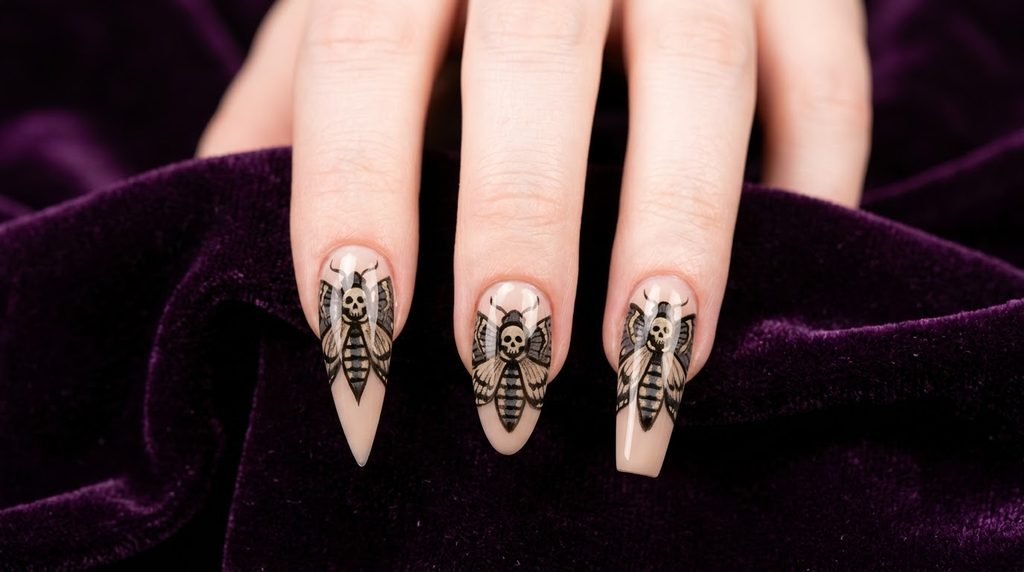
The right canvas makes all the difference, especially for intricate moth wing nail designs. I’ve personally found that specific shapes really make this look sing.
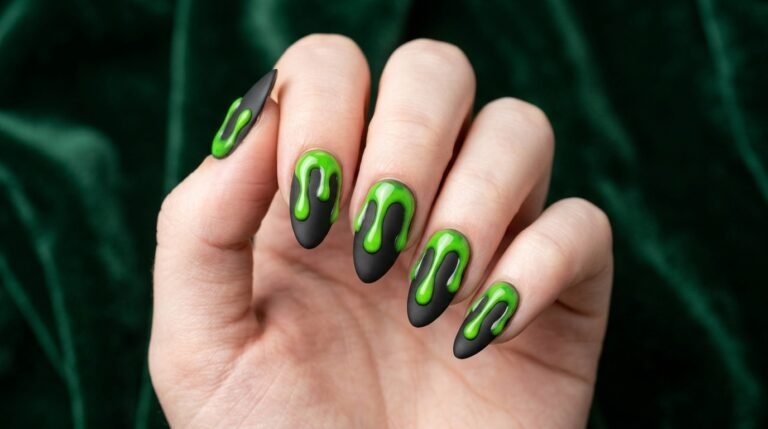
- Stiletto Nails: Oh my gosh, these were practically made for gothic moth nails! The long, pointed tip mimics the sharp angle of a moth wing or antennae.
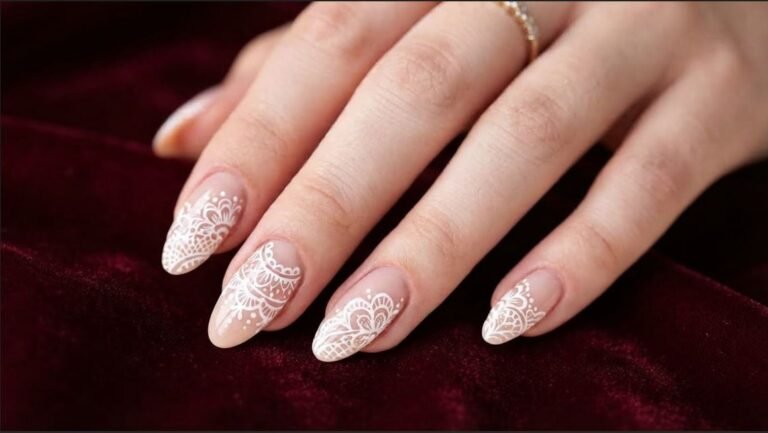
- Almond Nails: A softer, more feminine choice. The rounded point beautifully frames symmetrical, delicate moth artwork without being overly aggressive.
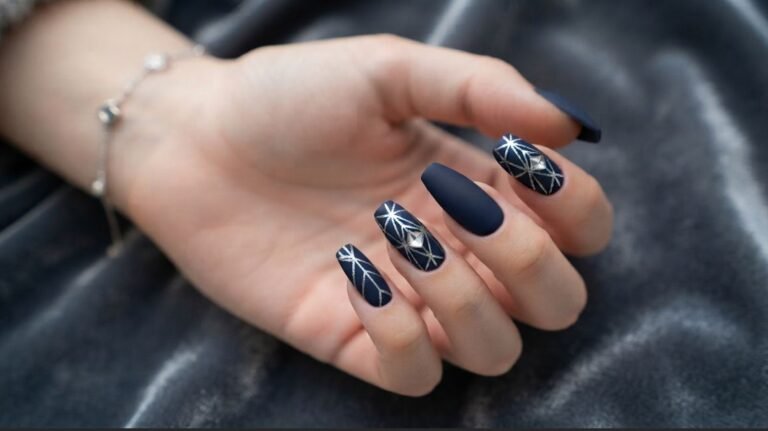
- Coffin/Ballerina Nails: This shape offers more surface area than almond, which is great for detailed Death’s-Head Moth nails where you want that skull pattern to be crystal clear.
Specific Stiletto Moth Wing Nail Designs
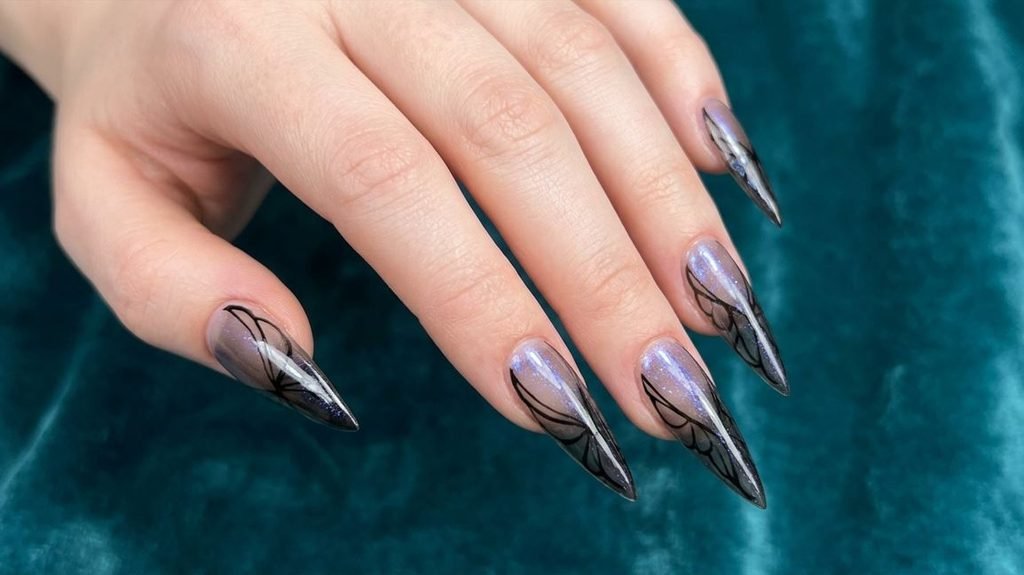
If you have chosen stiletto nails, get excited! The dramatic point of this shape is ideal for a striking moth wing nail design.
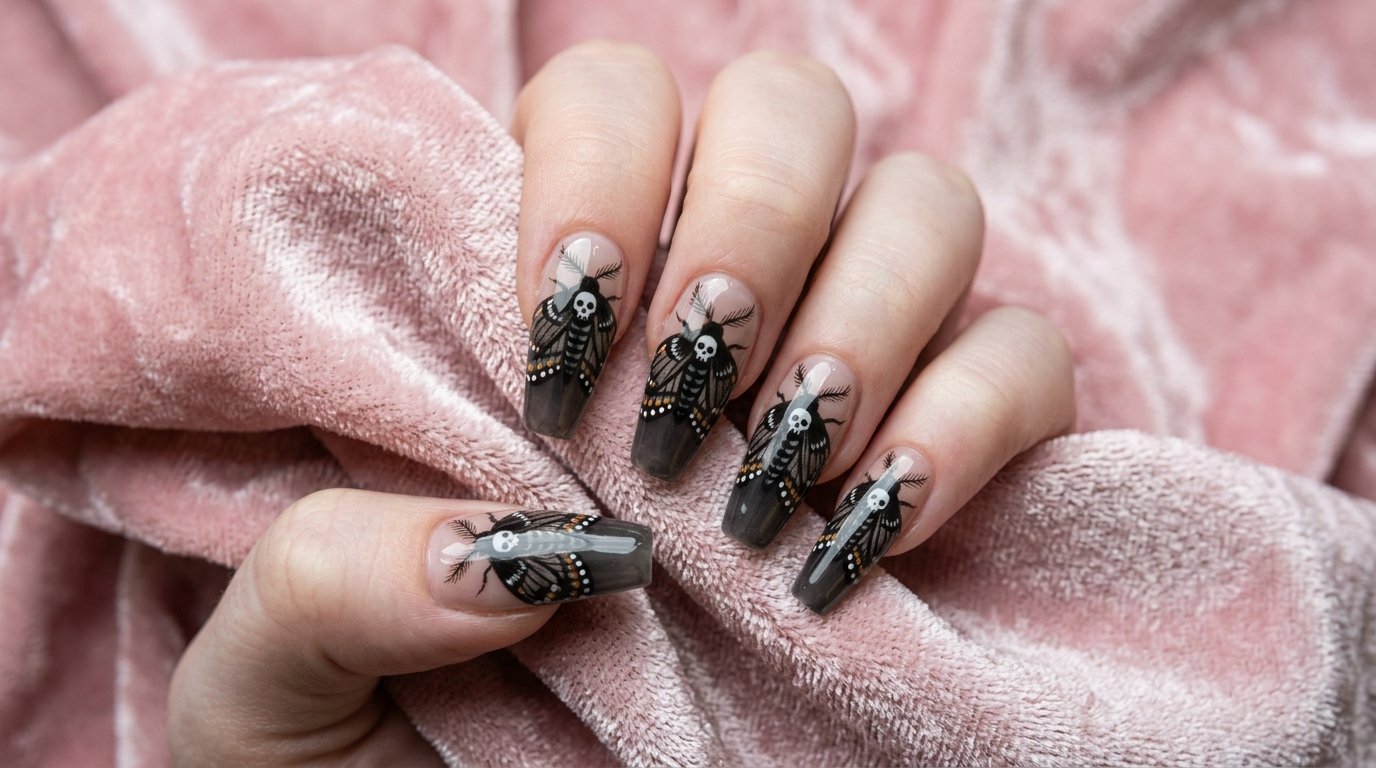
The Look: I love painting a single, symmetrical moth across the pointer and middle finger tips, letting the pointed shape of the nail become the extreme point of the wing.How to Ask the Salon: Request sharp black linework against a semi-sheer black or deep grey base. Specify that the design should extend precisely to the stiletto point.At-Home Note: This is tough to DIY. Consider high-quality moth press-on nails in a stiletto shape for an easy win.
Almond Nails for a Delicate Moth Approach
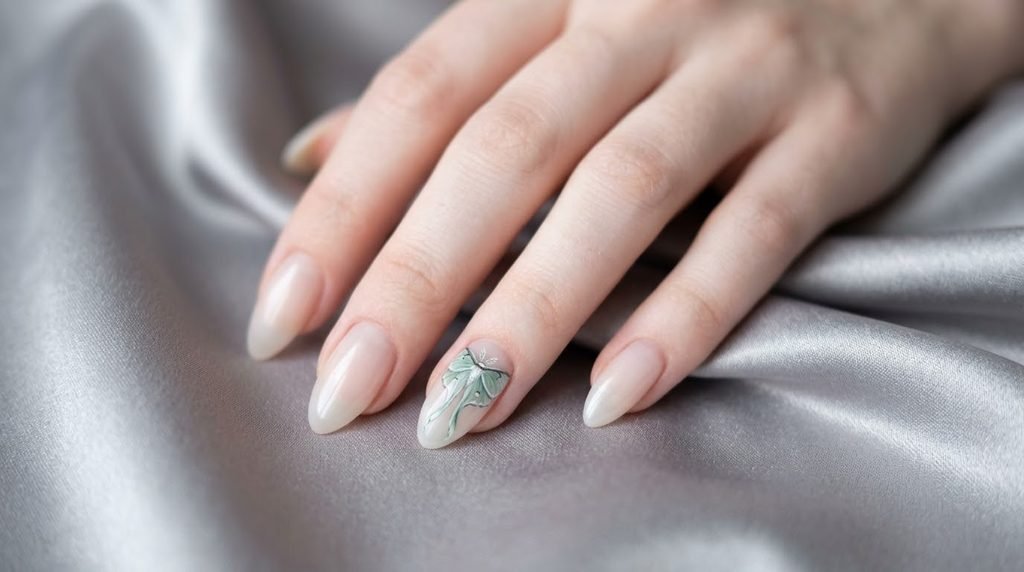
For my friends who love a slightly softer look, almond is perfect. The curvature of the nail naturally suits symmetrical moth nail art.
The Look: I often suggest placing a full moth, maybe a delicate one or even a stylized Luna moth, centered on the nail bed. Use fine brushwork and soft, shadowed blending.Pairs With: Deep forest green or soft dusty purples look incredible here. This combination is great if you want to wear your moth nails slightly earlier in the season.
Square/Coffin Nails and Intricate Death’s-Head Motifs
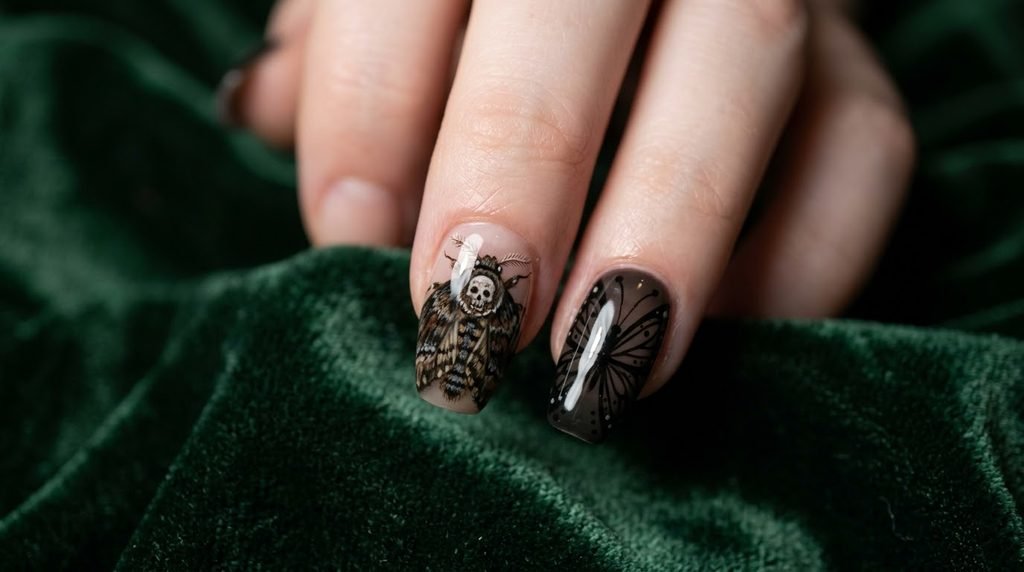
If you love a square or coffin shape, you have a distinct advantage: a wide, flat canvas. This is the ultimate choice for highly detailed Death’s-Head Moth nails.
The Look: You can have an actual miniaturized, hyper-realistic Death’s-Head Moth on your middle finger or thumb, skull marking clearly visible. Use black, grey, and subtle white dots for that distinct patterned look. pairs with: A dark, matte finish on the other nails keeps the focus squarely on the intricate art. This setup works beautifully with a long-wear gel application.
Short Nails and Minimalist Moth Nails
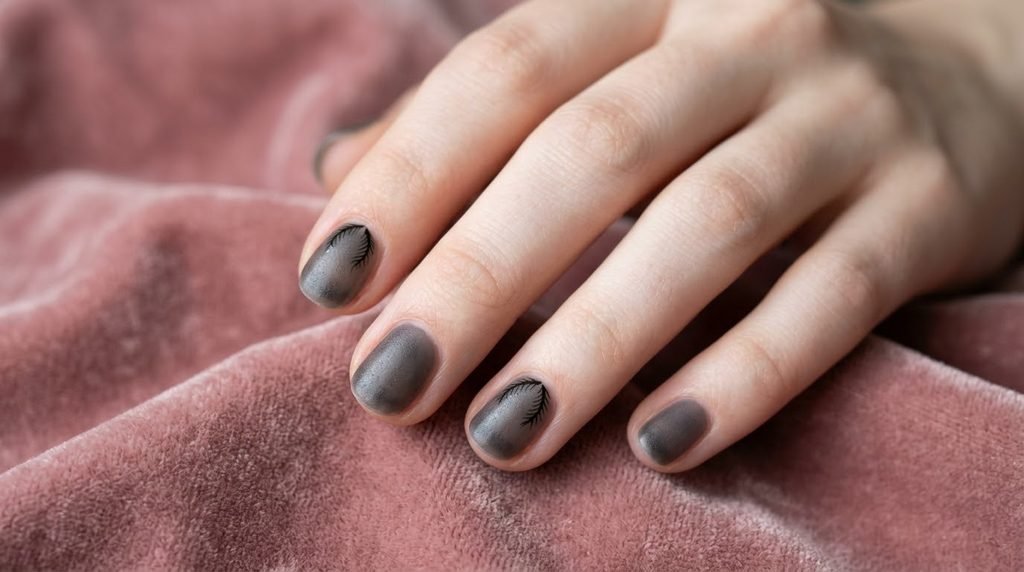
Can you do this look if you prefer your nails short? Absolutely! The approach must simply shift.
The Look: Instead of a full creature, I recommend focusing on smaller elements or abstracted details. For instance, tiny antennae near the cuticle, a small row of moth silhouettes, or a simple gradient representing moth wing texture.How to Ask the Salon: Request minimalist black silhouettes or a subtle, textured top coat over a dark color rather than complex, full painting. This ensures the design doesn’t overwhelm the shorter length.
Gothic Moth Nails: Color Palettes to Master the Shadow
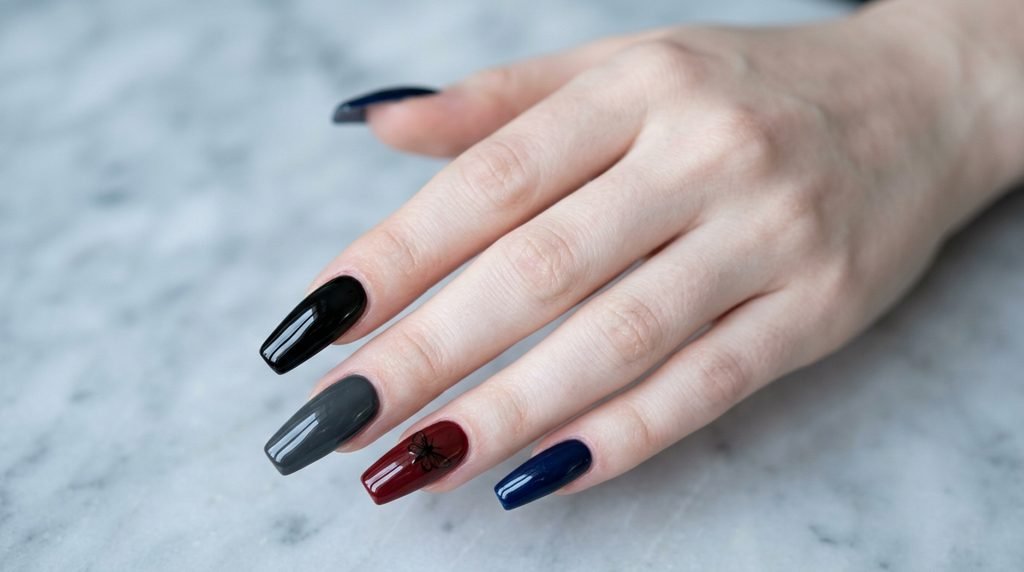
Choosing the right base colors is crucial for setting that moody, gothic moth nails atmosphere. You’re trying to evoke moonlit shadows, after all.
- The Classic Dark: High-gloss or matte black is always a strong contender. [Internal link opportunity: → classic black manicure inspiration]
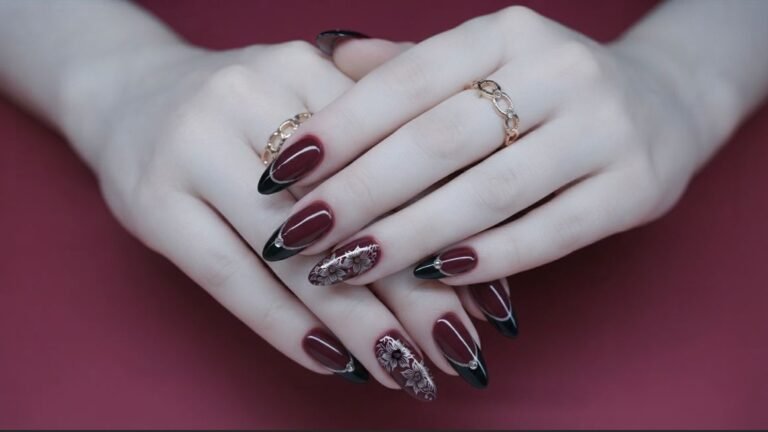
- Velvety Deep Hues: I adore deep charcoal grey, oxblood red, or intense, dark navy. These add unexpected depth.
- The Contrast Base: Don’t underestimate a pale grey, light dusty purple, or even a soft cream. This makes fine, black moth nail art linework really pop, resembling antique engravings.
Stained Glass Moth Nails: The Geometric Interpretation
For a striking modern twist, I am a huge fan of combining this insect motif with the stained glass Halloween nails trend. This look focuses heavily on geometric shapes.
The Look: Instead of soft blending, the wings are constructed from distinct, angled shapes of different colors, outlined in stark, thin black lines.Colors to Try: Imagine rich, translucent jewel tones like deep emerald green, amber yellow, and sapphire blue within the ‘glass’ panes of the wings. This approach turns your moth nails into miniature art pieces.
Luna Moth Nails: The Softer Halloween Choice
What if you love the idea but are hesitant about purely dark, gothic moth nails? The Luna moth is your answer. These pale green creatures offer a magical, alternative spooky vibe.
The Look: Think pale seafoam green bases. I sometimes add a gentle iridescent top coat or a touch of soft glitter for a moonlit glow. The moth itself can be painted in delicate gold, silver, or light grey.Season/Occasion: This style transitions incredibly well. I feel like it works for general magical/witchy vibes, early spring, or any moment you want eerie elegance over outright terror.
Concrete Moth Nail Art Pairings Table
It’s often helpful to visualize the final outcome. I’ve put together a few of my favorite specific combinations. Use this chart when planning your next salon visit.
| Moth Style | Base Color | Finish | Best Nail Shape | Best Accent Technique | Occasion/Mood |
| Gothic Moth | Matte Charcoal | Ultra Matte | Coffin | White Dot Details (for texture) | Spooky, Elegant, Mysterious |
| Luna Moth | Soft Mint Green | Iridescent Shim-mer | Almond | Delicate Silver Linework | Whimsical, Magical, Subtle Spooky |
| Stained Glass | Sheer Black | Glossy Gel | Stiletto | Geometric ‘Glass’ Panes | Dramatic, Modern, Art Focus |
| Minimalist | Sheer Pink/Nude | High Gloss | Short | Small Moth Silhouettes | Clean, Subtle, Everyday Spooky |
| Cryptid Mothman | Deep Teal/Navy | Glossy Gel | Oval | Eerie Red Eye Detail (minimalist) | Eerie, Specific Fandom |
At-Home Prep: Setting Up Your Workspace for Precision
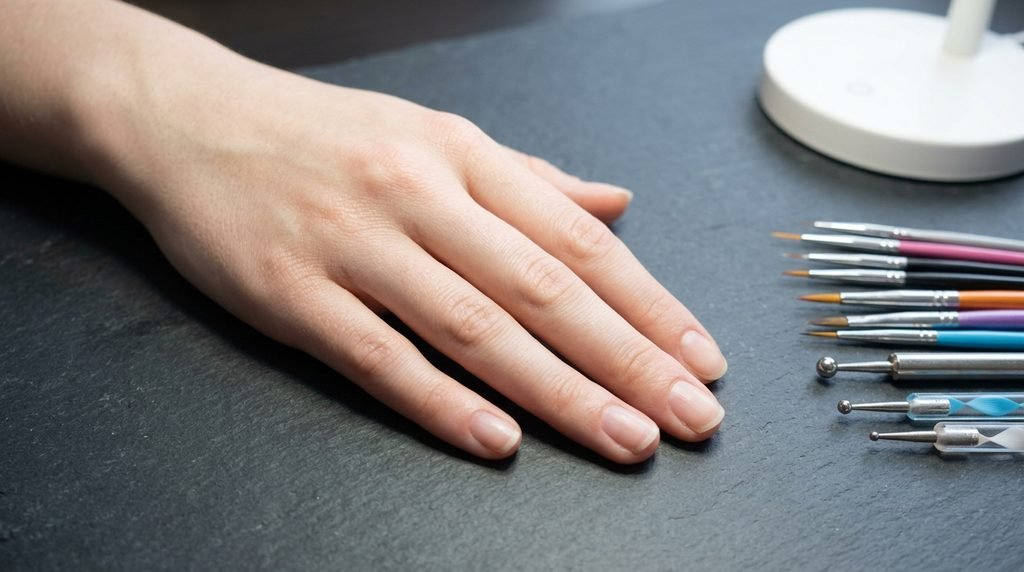
If you’re attempting DIY moth nail art, preparation is absolutely everything. This detailed look demands precision, so set yourself up for success.
- Find Great Lighting: A strong desk lamp is essential; you cannot afford to work in shadows.
- Prep Your Tools: You will need ultra-fine detailing brushes and dotting tools. If yours are old or frayed, invest in a new, sharp set. I cannot emphasize this enough.
- Stabilize Your Hands: When I paint fine lines, I always make sure both my painting hand and my resting hand are supported on a solid surface. It significantly reduces shaking.
- Use Thin Polish: Thicker polishes will clump and prevent those crucial delicate lines. If necessary, slightly thin your polish with professional-grade nail polish thinner.
Step-by-Step: The Essential DIY Moth Nail Art Tutorial
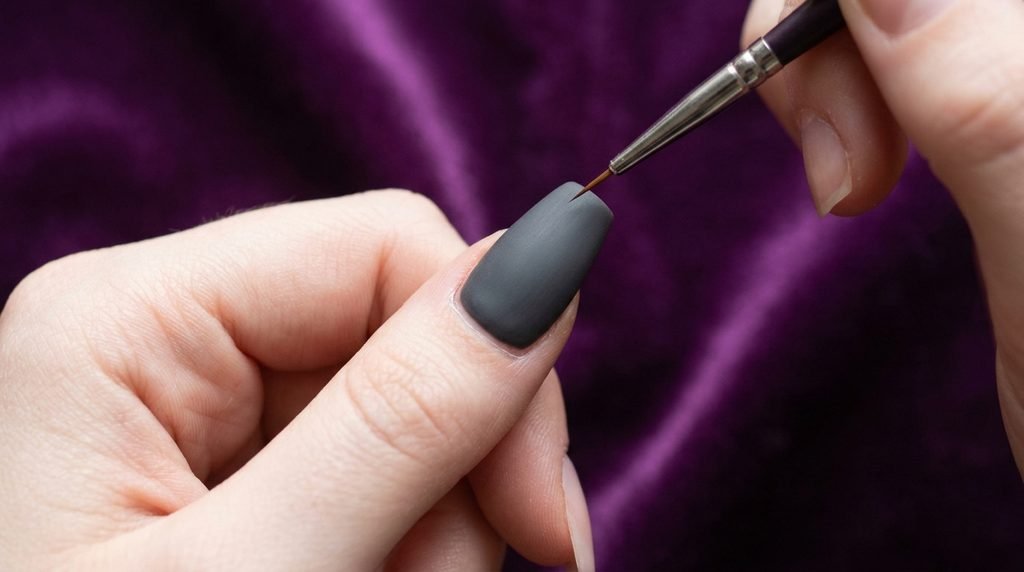
Ready to try your hand at moth nail art? Let’s break down a simplified, manageable version of a symmetrical moth on a central nail, which works well on almost any shape.
Goal: Create a centered, detailed moth with basic wing patterns and antennae.
Supplies Needed:
- Base coat
- Your chosen background color (e.g., matte dark grey or light dusty purple)
- Black opaque nail polish or acrylic paint for artwork
- Opaque white dotting color
- Ultra-fine detailing brush
- Dotting tools (different sizes)
- Top coat (Matte or Glossy)
Prep Your Nails:
- Complete all cuticle work and shaping. I always stress proper prep; it ensures the look lasts and prevents cuticle flooding.
- Apply your base coat. I recommend a nourishing one.
- Apply two thin, smooth coats of your chosen background color. If using gel, cure between each step.
- Apply a layer of matte top coat even if you want a glossy finish later. This provides a slightly rougher texture for easier artwork adhesion. Yes, really; it helps!
Step-by-Step: Painting the Moth Body and Basic Wings
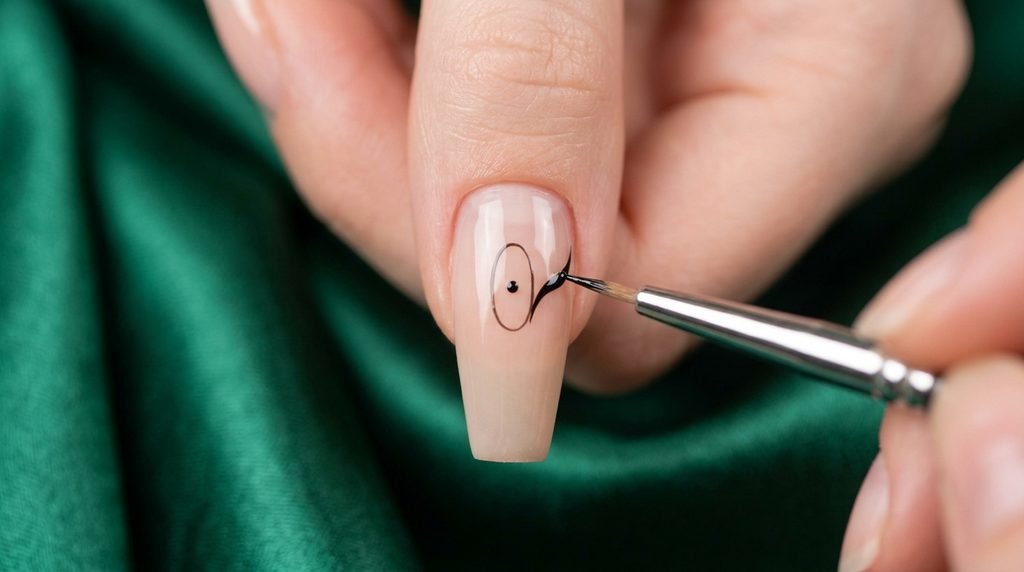
- Find the Center: With your finest brush and the black polish/paint, mark a tiny dot at the exact center of your nail bed.
- Paint the Body: From that dot, draw a thin vertical oval downward (for the abdomen) and a smaller, distinct circle or oval upward (for the thorax). This forms the basic body structure.
- Establish Wing Points: Mark two tiny dots on either side of the body, equidistant from the center. I find making reference points makes achieving symmetry so much easier.
- Connect the Wings: With incredibly thin lines, connect the body points to your established outer wing points, creating large, sweeping curves for the upper edges. Do one side at a time, checking symmetry constantly.
- Complete Wings: Draw smaller, connecting curves underneath to finish the classic moth wing shape on both sides.
Step-by-Step: Adding Detailed Patterns and Finalizing the Moth
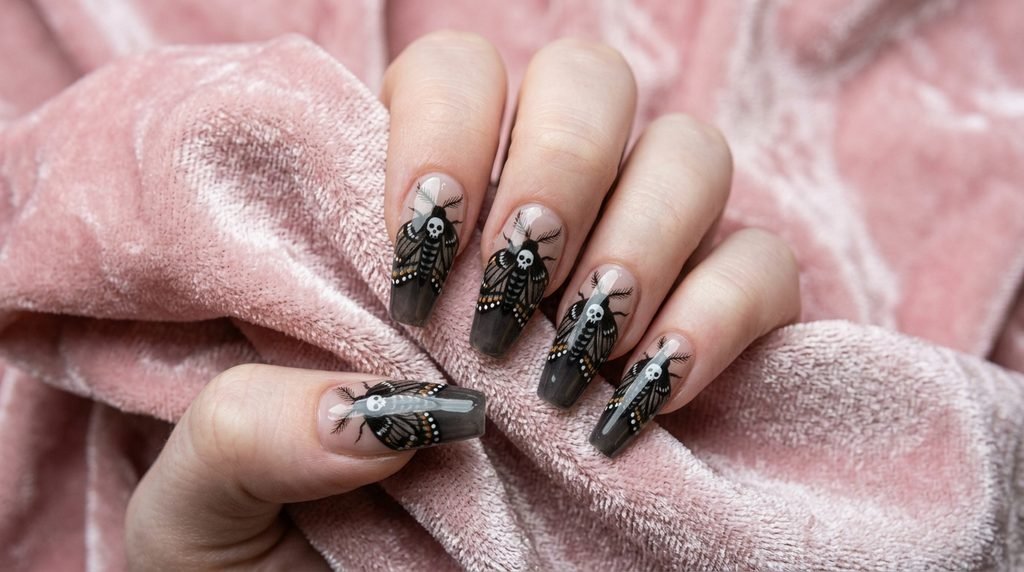
- Refine Inner Wings: Draw two or three thinner lines inside each wing, radiating from the body toward the outer edge. This creates the ‘veins’ and separates the color sections.
- Add the Skull Detail (Simplified): For basic Death’s-Head Moth nails, create a small white dot at the top center of the body (the thorax). Then, carefully add two tiny black dots and a line below it for basic eyes and teeth.
- Pattern the Wings: With your dotting tool or brush, add small white or colored dots along the wing edges or within the sections you created.
- Add Antennae: From the top of the head, draw two very thin, elegant, curving lines upward and outward. For extra detail, use a tiny dotting tool to add minute ‘feathering’ lines onto the main antenna stem.
- Correct Mistakes: Gently clean up any imperfect lines with a brush dipped in pure acetone or cleanup solution. Do not get it near your background coat!
- Seal and Finish: Once fully dry, apply your final top coat. For a deep, moody look, try matte. I absolutely love a matte finish here; it enhances the velvet-moth feel.
Salon Communication Guide: Getting the Perfect Death’s-Head Moth

Booking a professional is sometimes the best choice for highly complex designs. Here’s exactly how to communicate your vision for flawless moth nails.
- Bring References: This is non-negotiable! Show your tech clear pictures, ideally from my Pinterest board or this guide! Visuals prevent misinterpretation.
- Specify Shape First: Clearly state that you want “sharp stiletto” or “medium coffin” before discussing the art, as this dictates placement.
- Name the Moth: Don’t just ask for a generic moth. Say, “I want a Death’s-Head Moth, with a focus on the specific skull marking.”
- Describe Details: Explicitly mention if you prefer fine black linework without heavy filling, or if you want color accents like ‘stained glass’.
- Clarify Finish: State whether you envision matte wings with a glossy body, or a full velvety-matte look.
Budget Options: Moth Press-On Nails
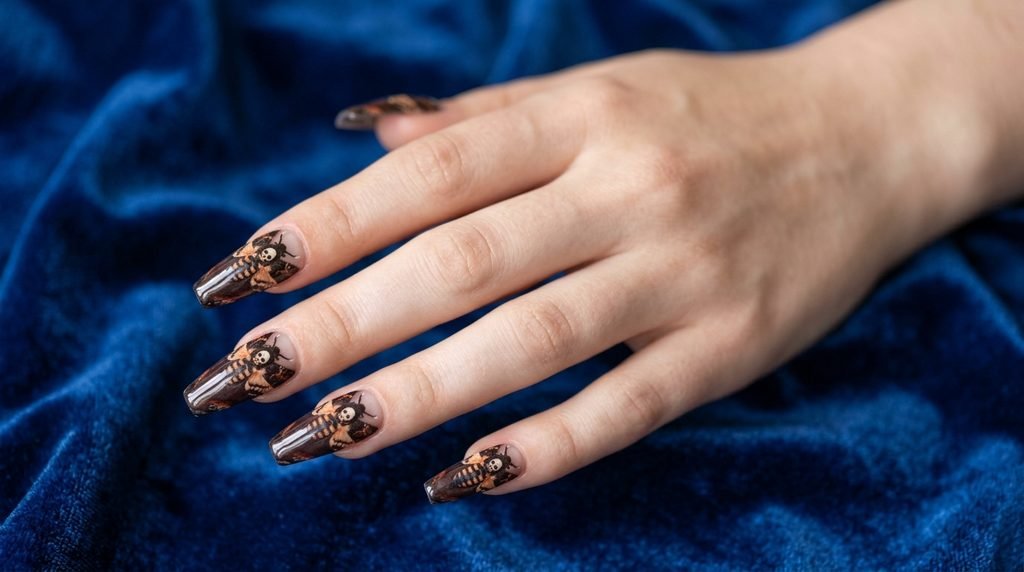
Love the intricate look but don’t have salon time or professional paint skills? I get it; detailed art takes serious time! High-quality moth press-on nails are an amazing budget-friendly option.
Why They Rock: You get incredible detail, complexity, and shapes like sharp stiletto without the work or the multi-hour appointment. I often use them myself for special events.How to Find Good Ones: Search marketplaces like Etsy or specific small-batch nail artists. Avoid generic, cheap-looking plastic ones. Look for hand-painted or highly detailed digital prints on quality ABS plastic.Pro Tip: Apply them using a professional brush-on glue over properly prepped nails for multi-week wear, not the flimsy sticker tabs.
Beyond Moth Nails: Exploring Cryptid Nails for Halloween
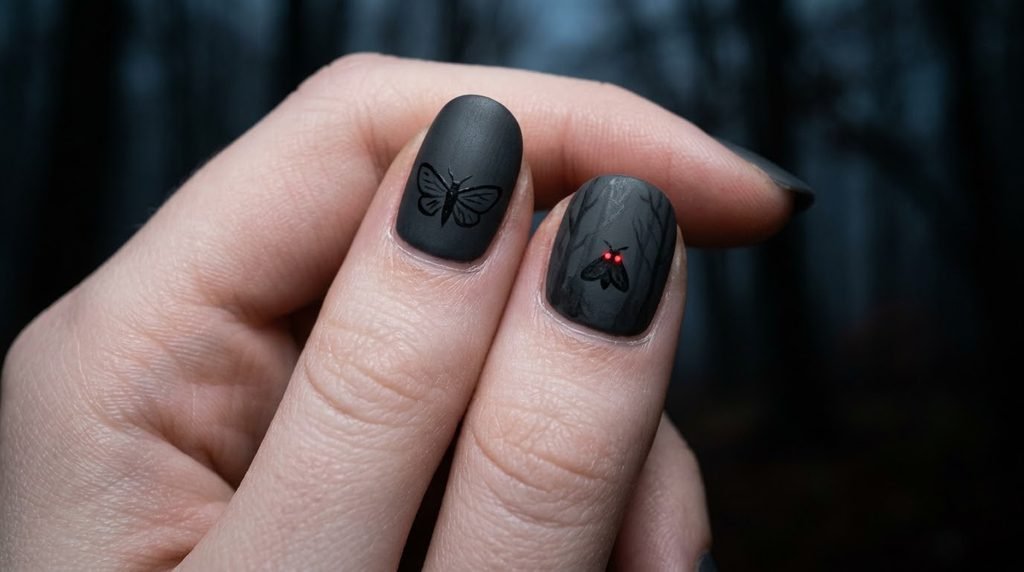
The Death’s-Head Moth and the legendary “Mothman” of Point Pleasant offer complementary spooky inspiration. If you really want to lean into cryptid lore, this is for you!
The Mothman Look: This often uses darker, more ominous color palettes like midnight black and deep charcoal grey. I suggest adding small, eerie red dot details on the central nail to represent the Mothman’s glowing eyes.Pairing: Keep the rest of your cryptid nails simple or add Abstract symbols associated with cryptid sightings, like stylized tree silhouettes against a moonlight sky.
Moth Nail Alternatives: Different Insect Designs for a Unique Twist
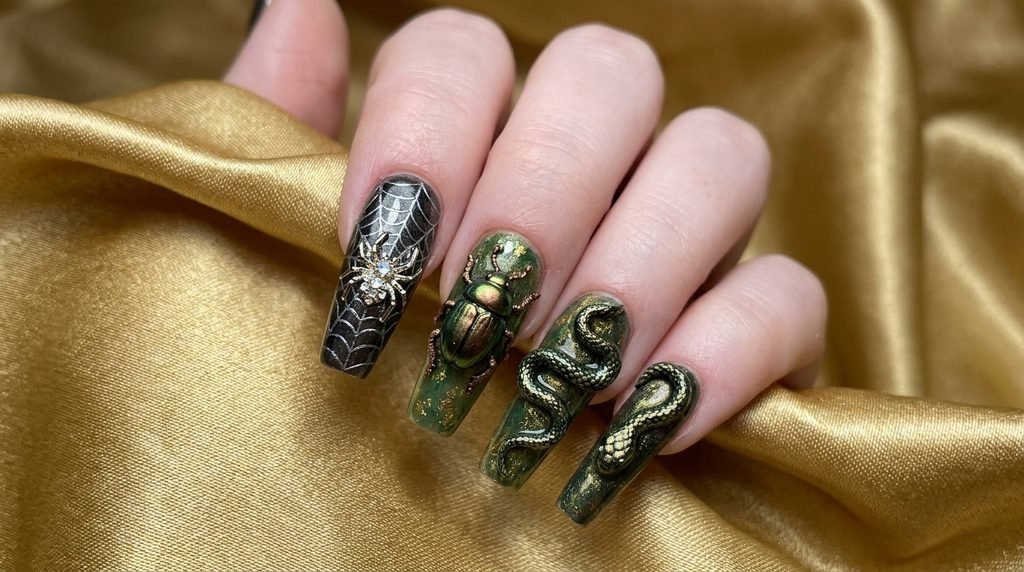
Perhaps you love the idea of an intricate insect design but aren’t sold specifically on moth nails.
- Spider Webs & Jewel Spiders: This is a fantastic ‘cousin’ trend to moth nails. [Internal link opportunity: → guide to luxurious gothic halloween nails featuring crystal spiders]
- Scorpions & Beetles: I’ve been seeing so many cool beetle and scorpion accents. The segmented bodies of scorpions pair exceptionally well with long coffin shapes.
- Serpent Nails: Snakes are inherently sleek and mystical. A serpent wrapping around your ring finger adds serious edge. [Internal link opportunity: → guide to serpent nail art for elegant Halloween looks]
Essential Techniques: Mastering Fine Linework and Avoiding Splashes
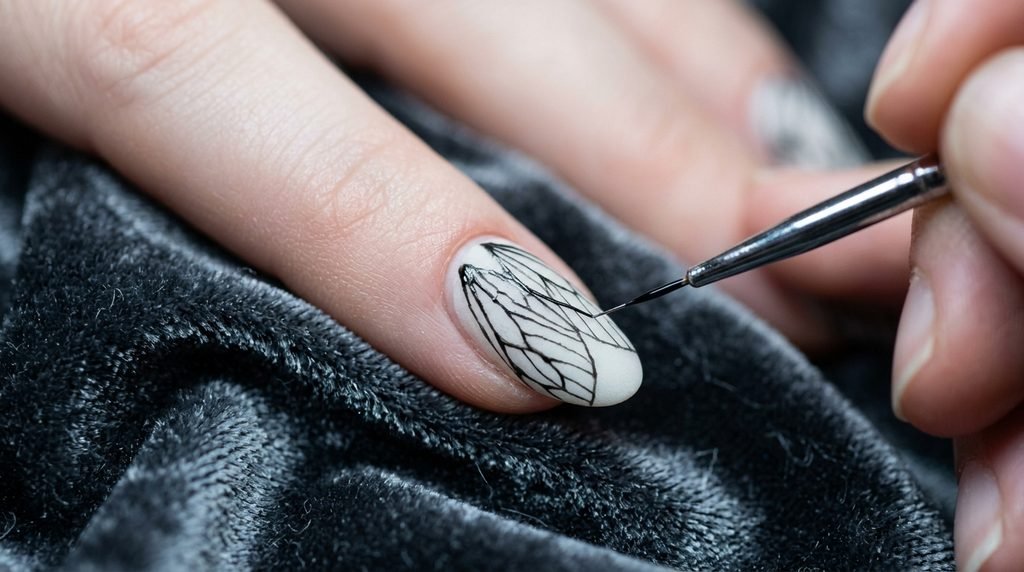
Whether you are working at home or just want to understand the why behind salon quality, precise technique is king for detailed moth nail art.
Technique: The Light Touch: When painting fine lines, never press down with your brush. Instead, use only the very tip, almost ‘floating’ the polish onto the nail surface. Yes, truly! This prevents thick, sloppy lines.Technique: Avoiding Cuticle Flooding: The biggest amateur mistake is overloading your brush with background color. Before painting, wipe the brush side vigorously against the bottle neck to remove excess product. This is essential for clean gel management and preventing flooding. I can always tell when this step was rushed!
Moth Nails FAQ: Your Questions Answered
We get so many great specific questions about this unique manicure. I’ve rounded up some of the most popular to help you out.
What are moth nails?
Moth nails are a specific type of spooky nail art that uses various species of moths as visual inspiration, particularly around the Halloween season. They often feature intricate, symmetrical hand-painted wings, body details, or abstract texture representations.
Are moth nails only for Halloween?
No! While the Death’s-Head Moth and its gothic aesthetic is very Halloween-specific, other designs like a soft green Luna moth or delicate garden moth work beautifully for spring, mystical vibes, or just an alternative everyday elegance.
How do you paint symmetrical moth wings on nails?
Achieving symmetry is key! I find the best way is establishing reference points. Dot the exact center of the nail bed, then place symmetrical dots for the top and side wing tips before painting any connecting curves. Always check symmetry at each dot placement stage.
What nail shape is best for moth nails?
This is a personal favorite question! For full, dramatic creatures, stiletto is unbeatable because the point perfectly mimics the wing shape. Almond is fantastic for smaller, detailed work, and Coffin offers the best canvas surface for hyper-realistic Death’s-Head Moth details.
How do you add an iridescent shimmer to dark nail art?
This is a fantastic way to elevate any gothic moth nails. My top tip? Try using a dedicated iridescent powder (like aurora or pearl pigment) gently rubbed over your cured dark gel before applying the final matte or glossy top coat. You can also layer a sheer iridescent polish over your base color before beginning the black linework art.
Summary Table: Moth Species Inspirations & Nail Adaptations
| Moth Species | Key Feature | Nail Interpretation Idea | Suggested Background |
| Death’s-Head Moth | Skull-like pattern on thorax | Miniaturized realistic moth, central nail | Charcoal Grey or Matte Black |
| Luna Moth | Long tails, pale green wings | Symmetrical wings across stiletto points | Seafoam Green or Off-White |
| Tiger Moth | Striking black/white patterned wings | Abstract geometric patterns, stripes | White or Very Light Grey |
| Rosy Maple Moth | Soft pink & yellow coloring | Simplified cute silhouettes | Sheer Nude or Soft Pink |
| Glover’s Silk Moth | Intricate, geometric feather patterns | ‘Stained Glass’ inspired wing segments | Rich Jewel Tones |
Conclusion
So, are you feeling inspired? I really hope so. This guide was specifically designed to help you, right here, right now, planning your perfect, unique Halloween manicure.
Whether you are saving the most complex gothic moth nails for your trusted nail tech or practicing that symmetry for a DIY weekend, you are now armed with actionable steps, shape pairs, and technique tips. Forget the generic lists – you have real guidance.
I can’t wait to see which look you choose. Are you going for dramatic moth wing nail design or maybe something subtle like a minimalist cryptid nails red-eye accent? Save this post for your next salon visit!

Mia founded Daily Nail Idea after a decade in beauty editorial, tired of watching great nail art disappear into the scroll. She now leads the team’s editorial direction — deciding what’s worth featuring and what’s just noise — and still paints her own nails every Sunday night, no exceptions.