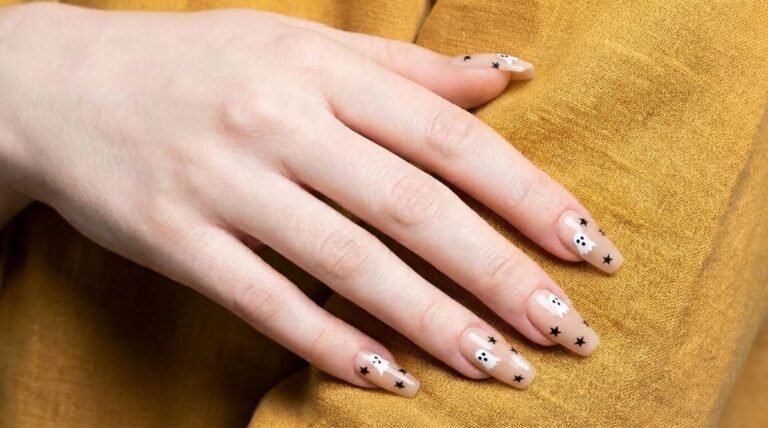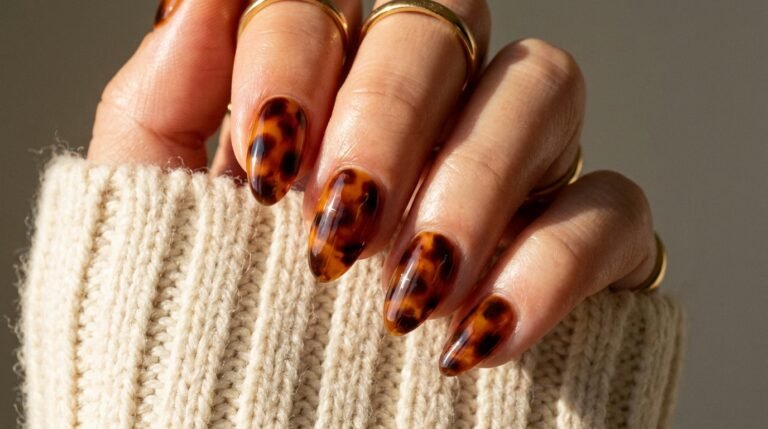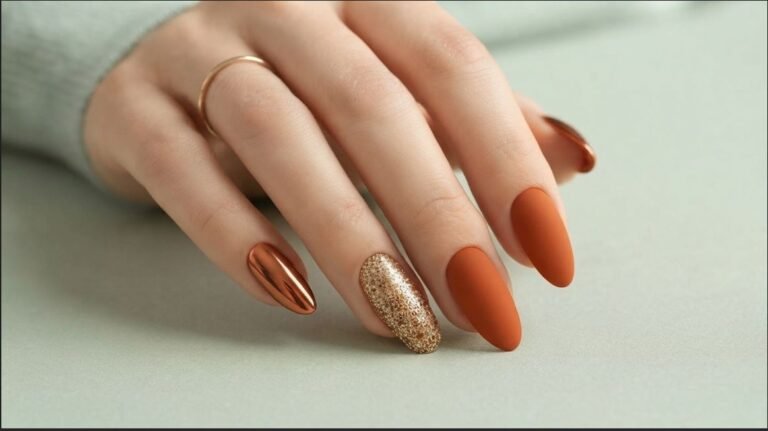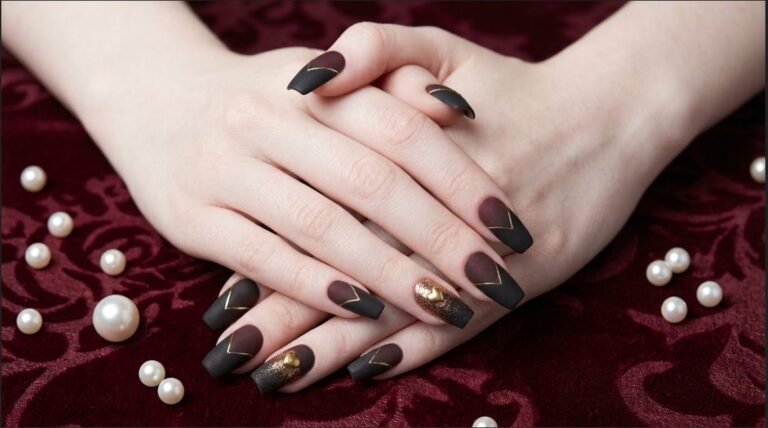
Chrome French Tip Halloween Nails: Nude Base with Bats, Webs & Pumpkins
Are you staring at your phone in the salon chair, completely torn between getting a classy manicure or going full spooky mode for October? You want something elevated that matches your everyday autumn outfits, but you still want your set to scream Halloween.
I have been right in that exact spot. You save twenty different spooky nail ideas on Pinterest, yet none of them feel quite wearable enough for work or school. That is where chrome French tip Halloween nails save the day.
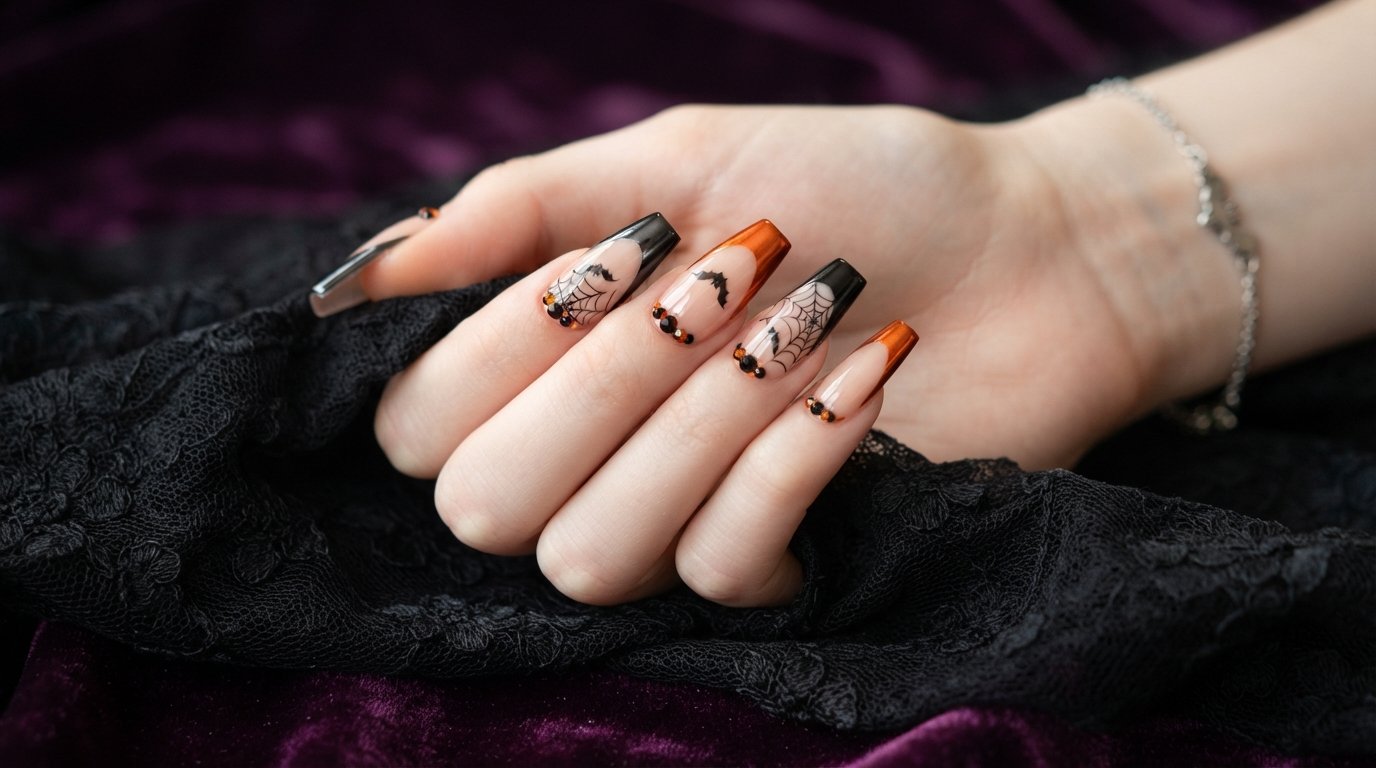
By pairing a clean, sheer nude base with metallic black and burnt orange chrome tips, you get the absolute best of both worlds. Add delicate hand-painted bats, spiderwebs, cute pumpkin faces, and tiny rhinestones for an instant head-turner.
This deep guide walks you through every single step to achieve this exact high-end look. Whether you plan to ask your favorite nail technician or tackle this design at home, you will find every detail right here.
At-a-Glance: The Soft Spooky Chrome French Look
Here is a quick look at what makes this spooky set work so incredibly well:
- The Base Color: A semi-sheer, milky nude polish that mimics your natural nail bed for a clean regrowth line.
- The Chrome Tips: Alternating high-shine black chrome and burnt orange chrome applied strictly along the smile line.
- The Detailed Art: Fine-line black spiderwebs, floating bat silhouettes, a small jack-o’-lantern face, and a sweet candy corn accent.
- The Glam Factor: Scattered black and orange rhinestone clusters placed near the cuticles to catch every bit of light.
- Best Nail Shapes: Coffin and almond offer the ideal surface area for both the chrome gradient and hand-painted art.
- Maintenance Level: Medium-to-high due to the chrome powder and rhinestone placement, requiring a solid top coat seal.
What Is a Chrome French Tip Halloween Design?
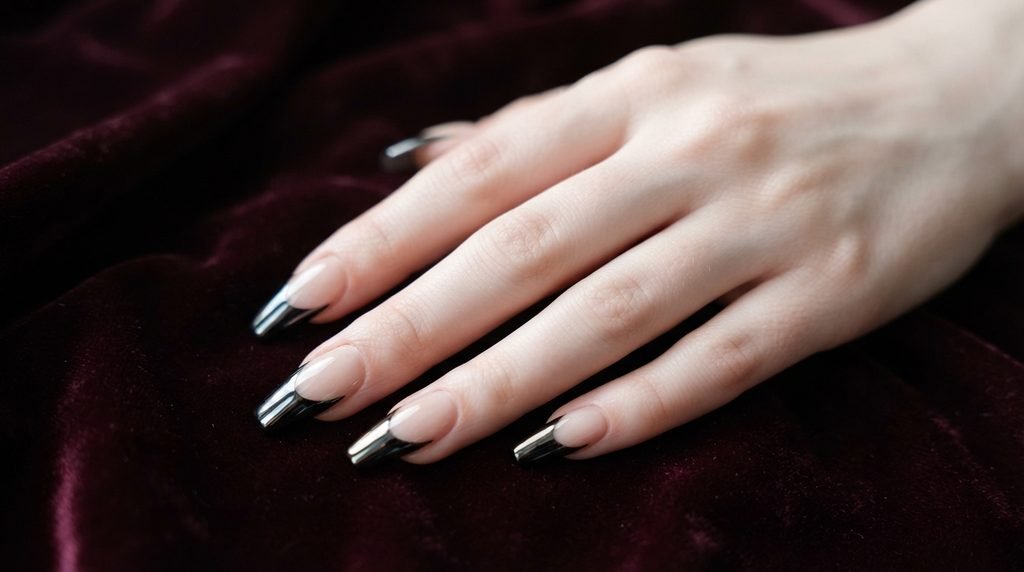
A dark chrome French tip Halloween manicure takes the classic smile line design and upgrades it with metallic powders and seasonal motifs. Instead of a solid white arc, your nail tech paints the tips with a deep black or rich pumpkin-orange gel base.
Once cured, chrome powder is buffed directly into those tips to create a mirror-like shine. Leaving the rest of the nail plate in a soft nude creates an ultra-sleek negative space effect.
This specific style bridges the gap between sophisticated luxury and playful spooky art. It gives you all the festive spirit without looking like a costume accessory.
Soft Spooky vs Classic Halloween Nails: The Big Difference
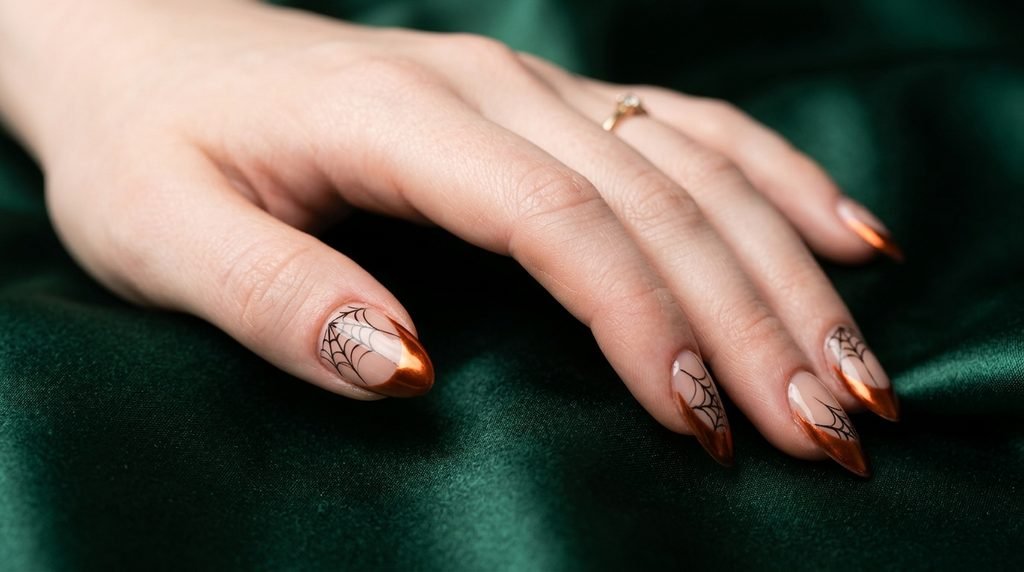
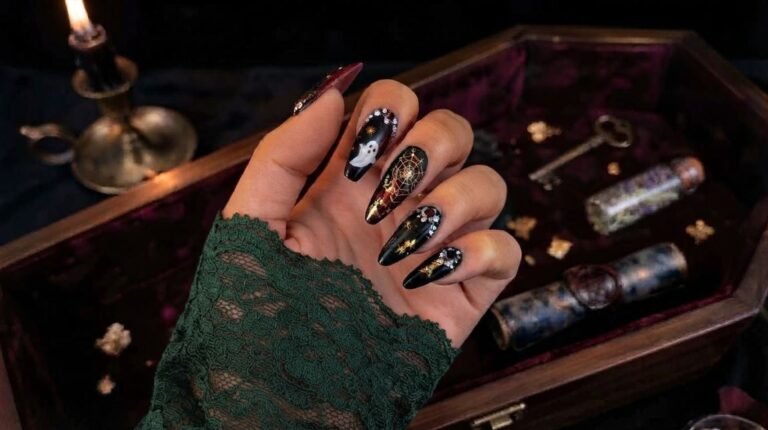
Classic Halloween nails usually feature bold, opaque backgrounds like solid black, neon green, or bright blood red. While those traditional sets look fun, they can sometimes feel heavy or clash with your daily outfits.
Soft spooky nails rely heavily on sheer nude bases and delicate line work. The sheer nude lets your natural skin tone shine through, which softens the stark contrast of dark art.
By keeping the dark tones confined to the chrome French tips and accent linework, your nails retain an airy, high-fashion aesthetic. It is spooky art designed for the modern fashion lover.
Why a Nude Base Is Essential for This Look
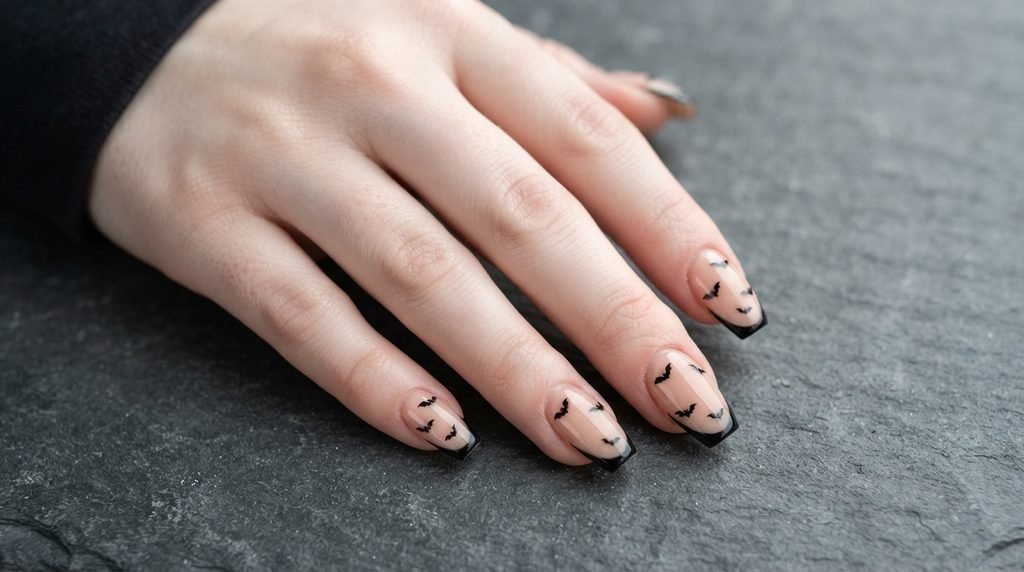
Using an opaque cream base under dark art can make your manicures look dense and flat. A sheer or semi-translucent nude gel creates depth, making your nail art appear as if it is floating.
Furthermore, a nude base hides natural nail growth far better than solid dark polishes. As your natural nail grows out over three weeks, the regrowth line remains virtually invisible to the naked eye.
When choosing your nude shade, match it to your underlying skin tone cool pink nudes for pale undertones, and warm peach nudes for warmer skin tones.
Top Color Combinations for Black and Orange Chrome Tips
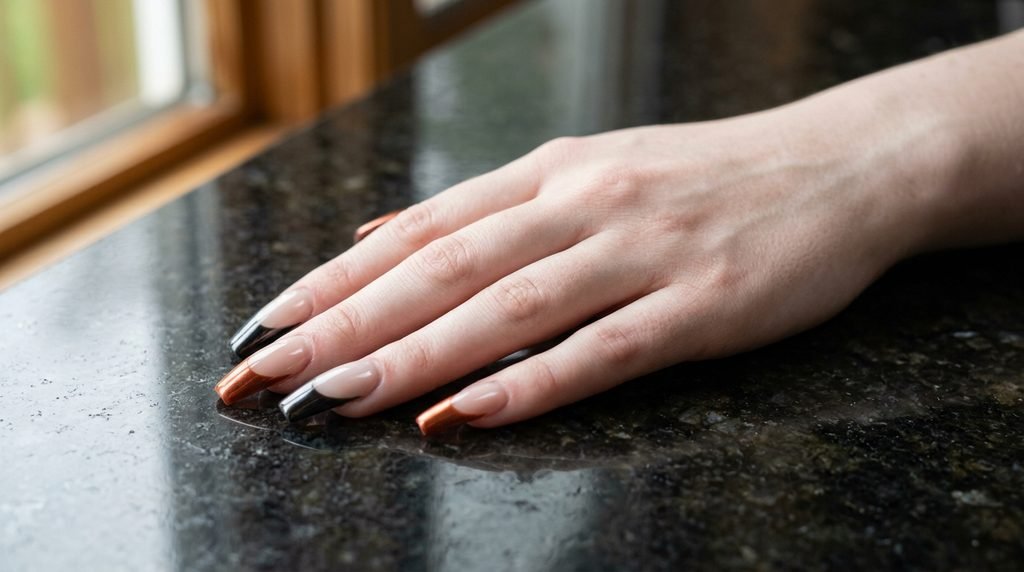
While classic black and burnt orange are the gold standard for October, mixing their finishes creates serious visual depth. Alternating metallic black chrome with a fiery burnt orange chrome keeps your set vibrant and dynamic.
You can also opt for a gunmetal chrome on two fingers, paired with a pumpkin-spice chrome on the rest. The contrast between cool metal and warm autumn tones looks stunning under warm evening lighting.
If you prefer a darker aesthetic, try layering an orange chrome powder over a dark red gel base for a deep, ember-like glow on your tips.
Choosing the Best Nail Shape for Detailed Halloween Art
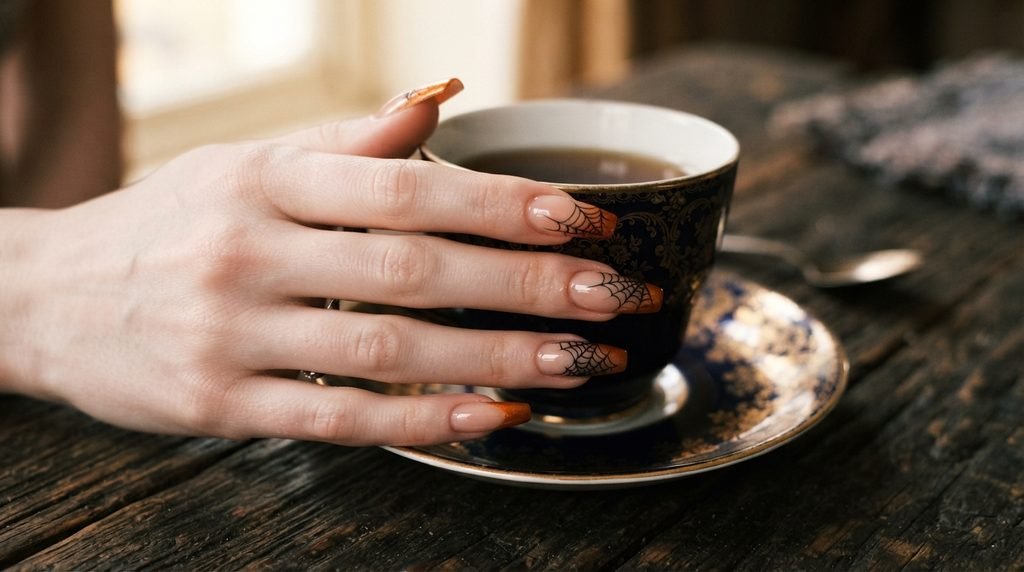
The coffin shape is easily the top choice for this specific design because its wide, flat edge acts like a mini canvas. It provides plenty of room for both a dramatic French tip smile line and intricate bat art.
Almond nails work equally well if you prefer a softer, more classic silhouette that elongates your fingers effortlessly. The tapered tip gives spiderwebs a gorgeous, natural focal point.
Square and stiletto shapes can also carry this look, though square nails require a slightly flatter French tip arc to avoid looking boxy.
Step-by-step Guide: Prep to Perfect Gel Application
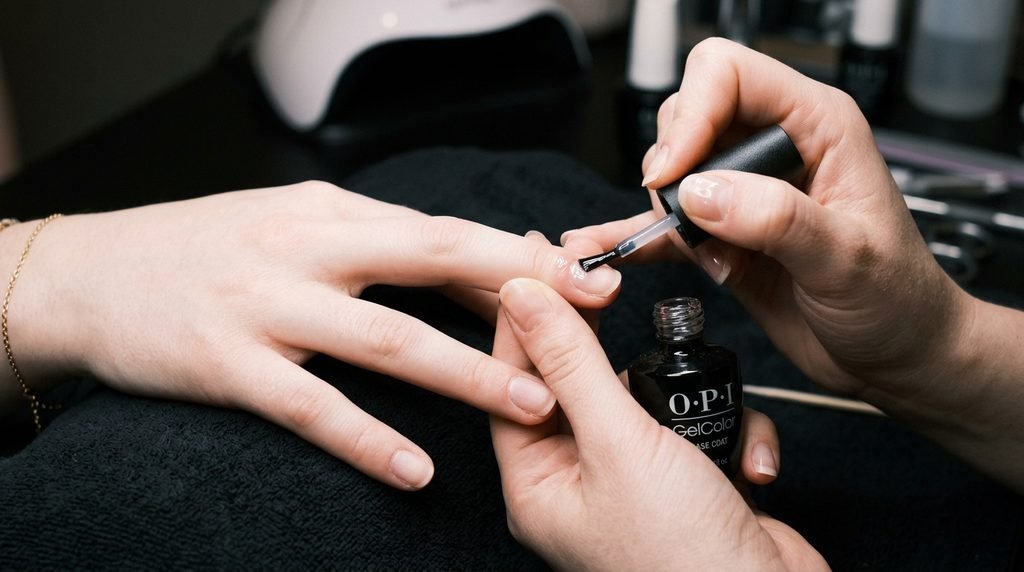
Great nail art always starts with proper prep work to prevent lifting and chrome peeling. Follow this sequential guide to set up your natural nails for long-lasting gel application:
- Gently push back your cuticles using a sterile metal pusher, clearing off all dead skin from the nail plate.
- Buff the natural shine away with a 180-grit buffer, paying extra attention to the side walls and cuticle area.
- Dehydrate and prime each nail using an alcohol wipe followed by an acid-free gel primer to maximize adhesion.
- Apply a thin layer of base coat, making sure to cap the free edge before curing under your LED lamp for 60 seconds.
- Apply two thin coats of sheer nude gel, curing each coat completely so your base remains smooth and streak-free.
How to Apply Chrome Powder Just at the Nail Tip
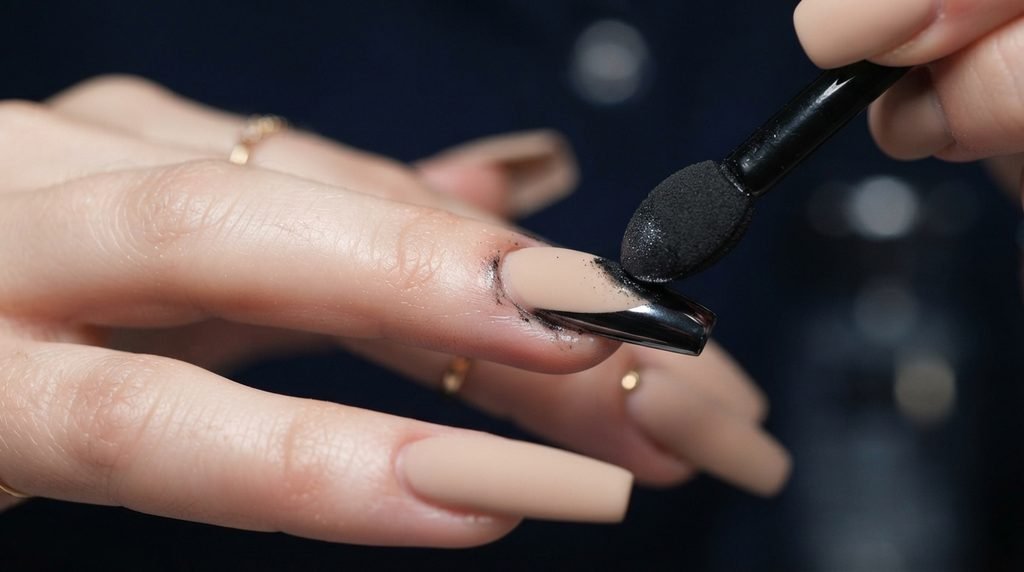
Applying chrome powder strictly to the French tip without getting mirror pigment all over your nude base requires a specific technique. You must control your surface shine with precision matte top coats.
First, apply a full layer of matte gel top coat over your cured nude base and cure it completely. The matte surface prevents chrome pigment from sticking to the center of your nail.
Next, paint your French tip smile lines using a non-wipe black or orange gel liner polish. Cure for 30 seconds (chrome powders stick best to a slightly warm, non-wipe gel).
Buff your chrome powder onto the painted tips using a silicone tool or sponge applicator. Gently dust away stray powder with a soft brush, then seal the tip with a glossy top coat.
Creating Fine-Line Spiderwebs That Never Smudge
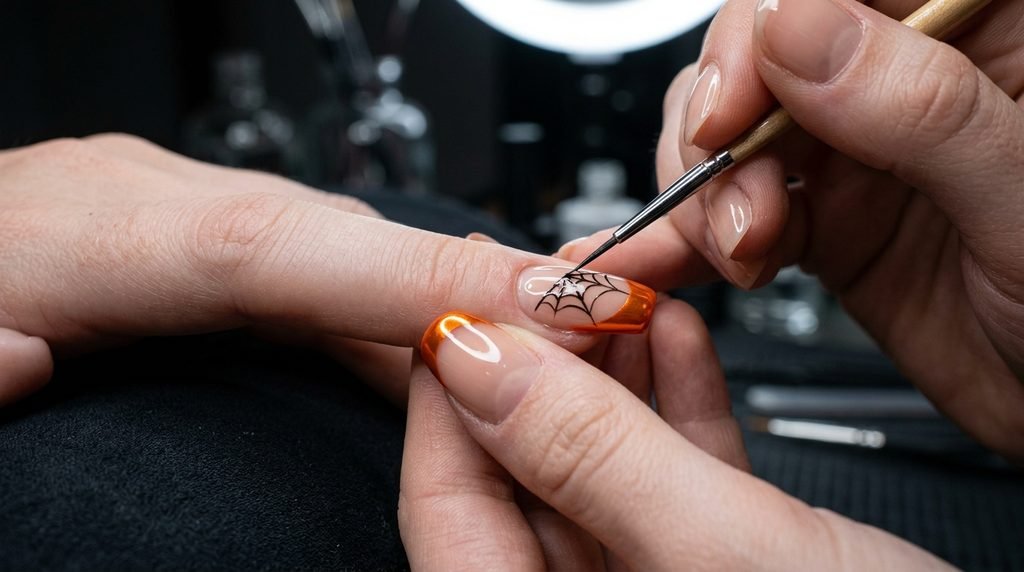
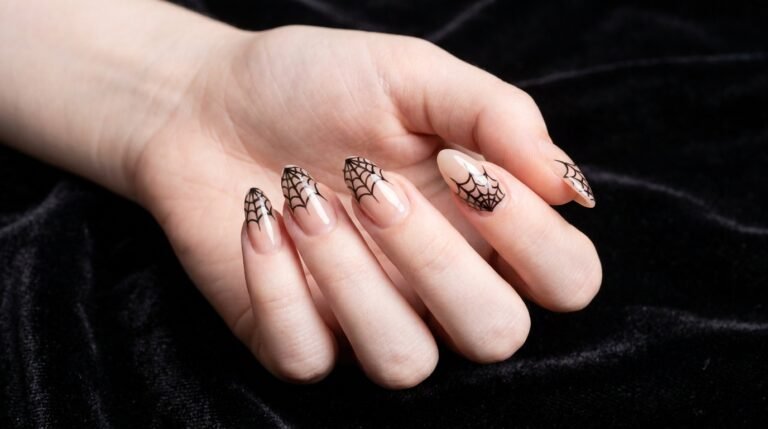
Spiderwebs look most elegant when the lines are whisper-thin and completely crisp. To get this look, use a 7mm or 11mm ultra-fine detail liner brush dipped in highly pigmented black gel paint.
Start by painting three or four straight anchor lines radiating outward from the corner of your nail or the French tip line. These lines form the structural frame of your web.
Connect those anchor lines using gentle, inward-curving arcs. Keep your brush pressure extremely light; only the very tip of the bristle should touch the nail surface.
Flash-cure your web under a mini handheld UV light for 10 seconds right after drawing it so the gel paint does not bleed or level out.
Painting Floating Bat Silhouettes with Precision
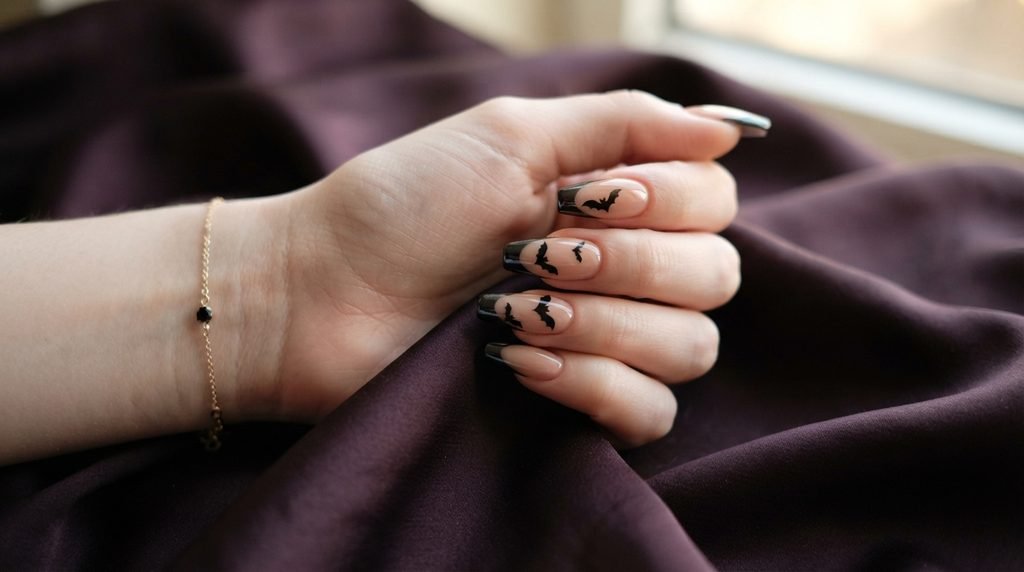
Bat silhouettes add instant movement and personality to a soft spooky manicure. The trick to painting clean bats is breaking their body structure down into simple geometric shapes.
- Dot the center body using a small dotting tool to create a tiny oval shape on the nude area of the nail.
- Pull tiny ears upward using the tip of your detail brush, forming two sharp points on top of the oval.
- Draw sweeping wing arches extending outward from both sides of the center body in a smooth downward curve.
- Connect the wing bottoms with two or three tiny scalloped arcs returning back toward the central body.
- Fill in the silhouette completely with black gel paint and cure under your main lamp for 60 seconds.
Mastering the Cute Pumpkin Face Accent Nail
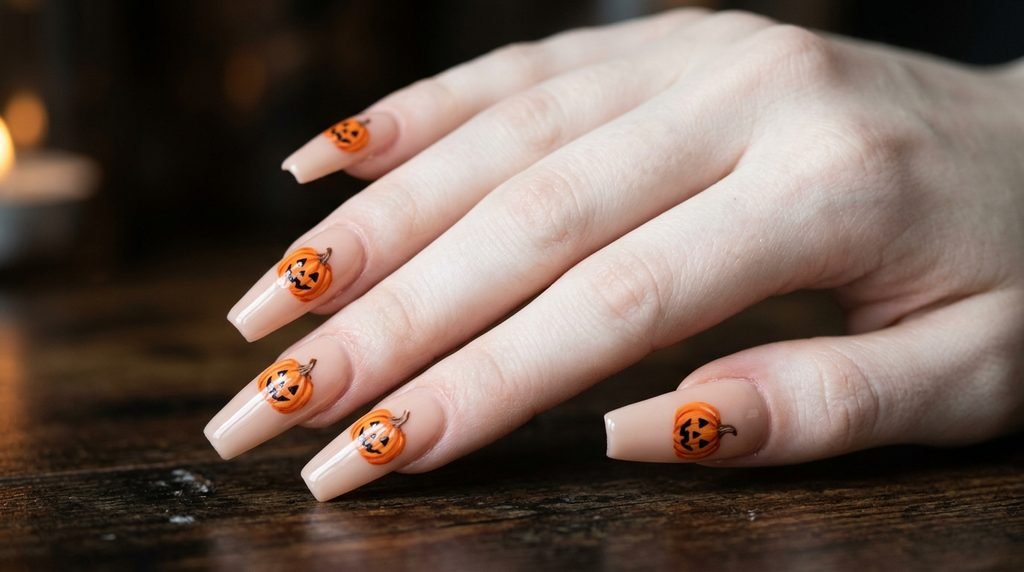
A single jack-o’-lantern face breaks up the dramatic dark lines with a cheerful, festive pop of color. Keep this accent nail balanced by placing it over a soft nude or sheer orange backdrop.
Paint a small, slightly flattened circle using burnt orange chrome or opaque orange gel to form your pumpkin body. Add subtle vertical shading lines using a deeper brown shade for realistic dimension.
Using your fine liner brush and black gel paint, draw two small triangular eyes and a classic jagged smile right in the center.
Keep the features slightly small so plenty of nude negative space remains visible around the pumpkin outline.
Incorporating a Hand-Painted Candy Corn Motif
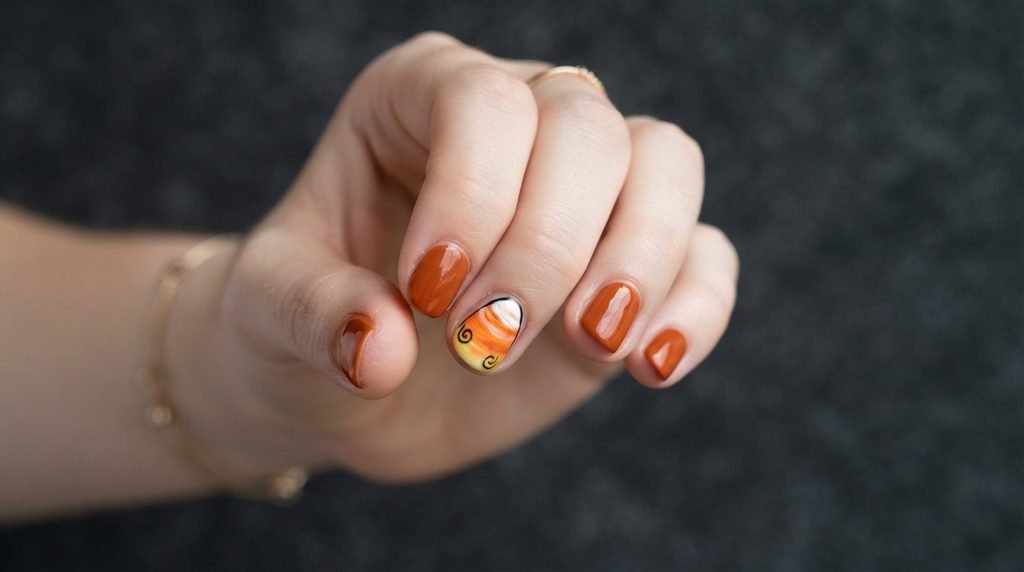
Candy corn designs often get a bad reputation for looking overly bright or childish, but a minimalist approach keeps them ultra-stylish. Paint a single swirled candy motif on one accent finger rather than every nail.
Use a teardrop or soft triangle shape as your base outline on the nude nail plate. Section the shape into three distinct horizontal bands: white at the top, orange in the middle, and yellow at the bottom.
Blend the transition lines softly with a clean brush for a modern, ombre-inspired candy look.
Outline the entire candy piece with a hairline strip of black chrome or gold paint to seamlessly match the rest of your set.
Rhinestone Placement Secrets for Maximum Sparkle
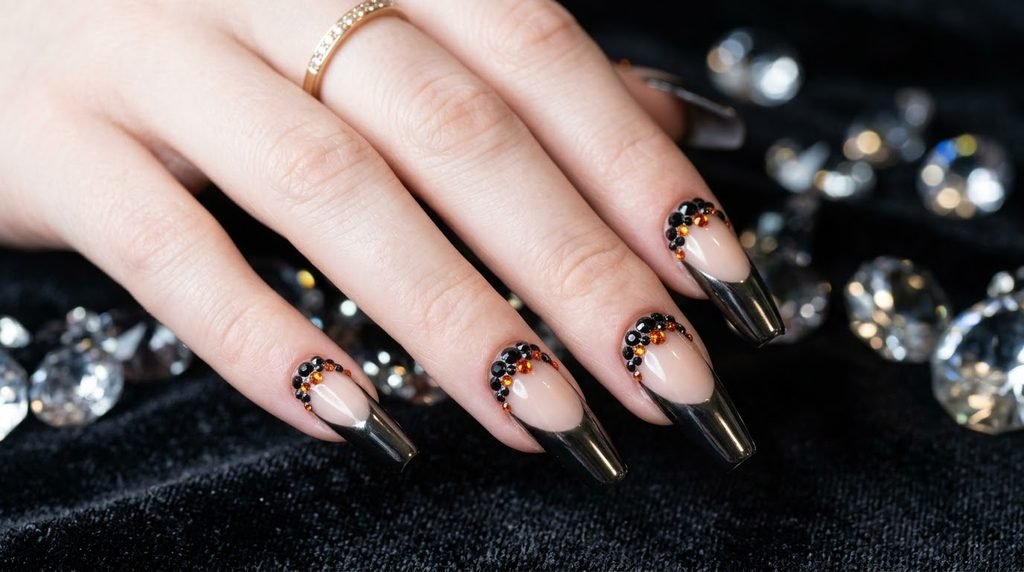
Scatter black and orange rhinestone clusters near the cuticle base to add instant evening glamour to your Halloween nails. Using varied stone sizes creates a far more custom, high-end appearance.
Place your largest rhinestone (around size SS6) right near the center of the cuticle line. Nestle two smaller stones (size SS3) on either side to frame it cleanly.
Always set your gems into a dedicated gem gel glue rather than regular top coat so they stay secure for weeks.
Avoid running your top coat directly over the facets of the rhinestones, as this dulls their cut edges and ruins their shine. Instead, trace around the bases with a fine brush.
Nail Art Technique Overview
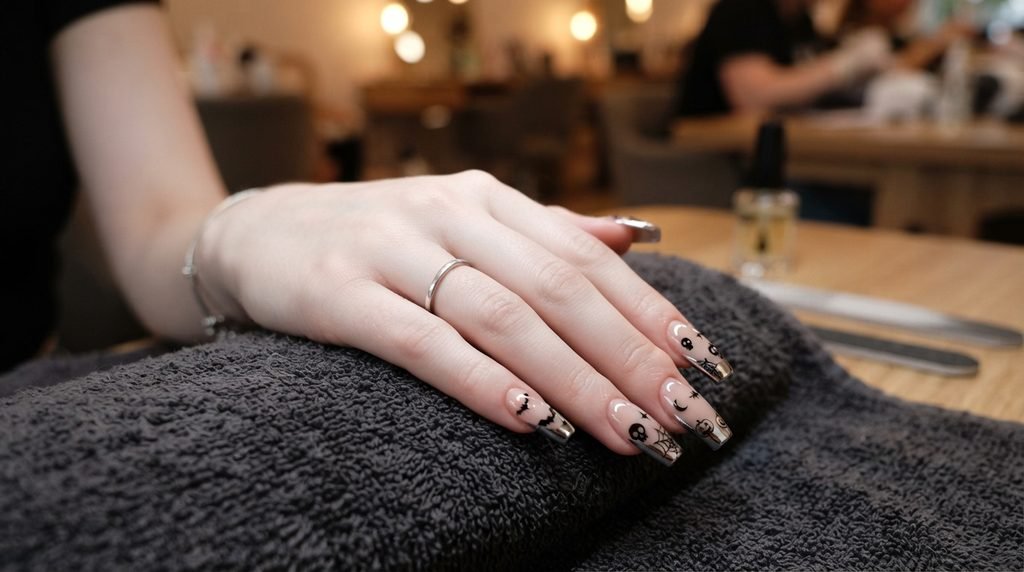
Here is a handy summary of the techniques, tools, and difficulty levels needed for each art element in this set:
| Design Element | Primary Tool Needed | Gel Product Type | Difficulty Level | Recommended Nail Placement |
| Chrome French Tip | Silicone applicator / Sponge | Non-wipe gel liner & Chrome powder | Intermediate | All nails (Smile lines) |
| Fine Spiderwebs | 11mm detail liner brush | High-pigment black gel paint | Intermediate-Advanced | Corner of accent nails |
| Bat Silhouettes | Fine detail brush & Dotting tool | Solid black gel paint | Intermediate | Floating on nude base |
| Pumpkin Face | Mini detail brush | Orange gel & Black gel paint | Beginner-Intermediate | Middle or ring finger accent |
| Candy Corn Swirl | Small flat brush & Liner | White, orange, & yellow gel | Intermediate | Single accent nail |
| Rhinestone Clusters | Dual-ended wax pen | Dense rhinestone gel glue | Beginner | Cuticle base area |
Salon Communication: Exactly What to Ask Your Nail Tech
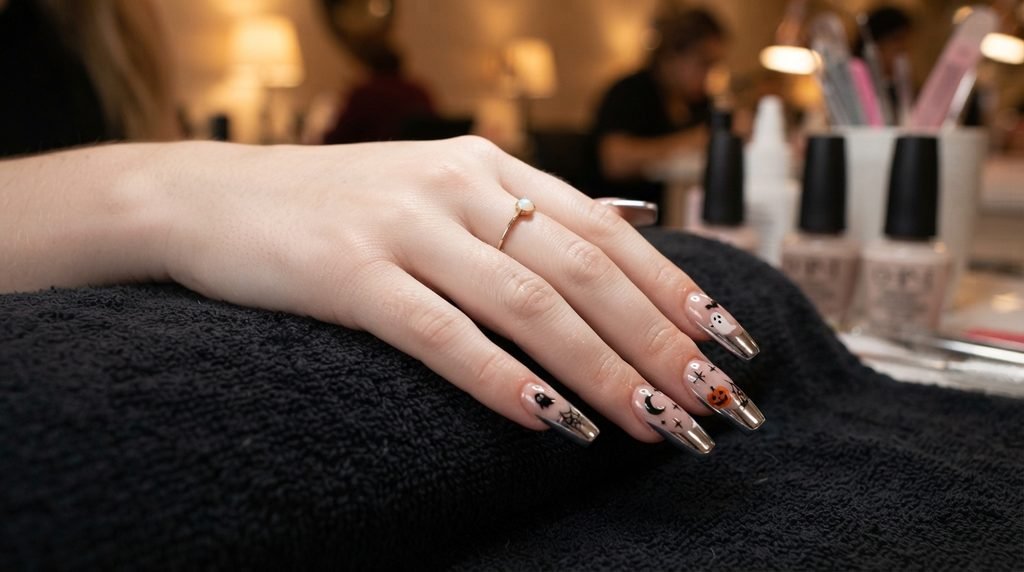
Walking into a salon with a complex design can feel overwhelming if you do not know the technical terms. Bringing clear photos helps, but using precise terminology ensures you and your nail tech are completely aligned.
Tell your nail technician you want a long coffin acrylic or gel extension set with a sheer nude base shade that matches your skin tone. Ask specifically for a matte top coat trick on the base to keep chrome powder off the center of your nails.
Request black and burnt orange chrome French tips on alternating fingers. Specify that you want hand-painted linework including spiderwebs, bats, and small rhinestones glued securely near the cuticle.
DIY Guide: Recreating This Look at Home Step by Step
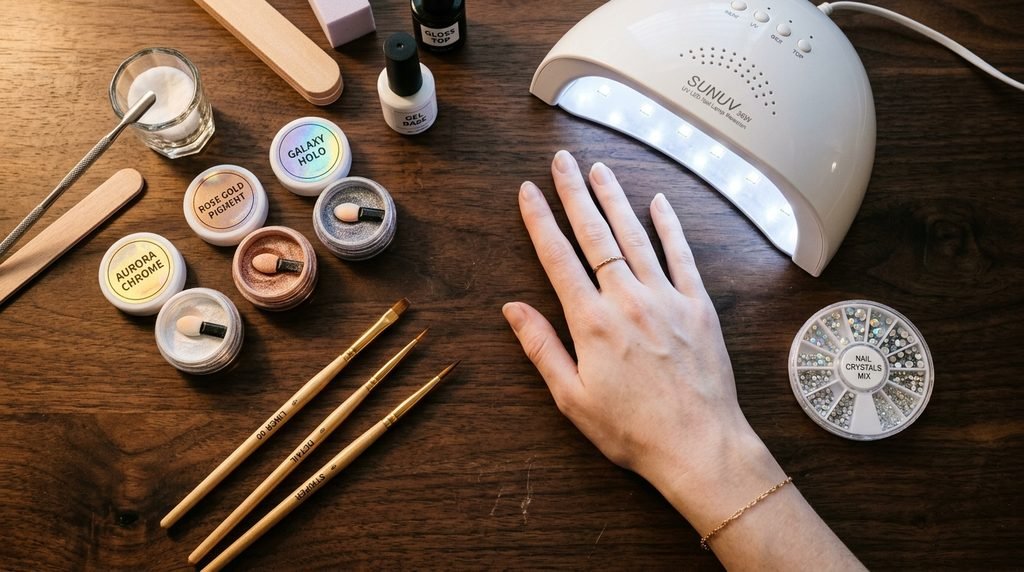
If you love doing your own nails at home, you can easily pull off this soft spooky manicure with a little patience and the right supplies.
- Prepare your nails, apply base coat, and cure two layers of sheer nude gel under your lamp.
- Apply a matte gel top coat over the entire nail and cure for 60 seconds to prep for clean chrome application.
- Draw French tip lines on your tips using non-wipe black gel liner and cure for 30 seconds.
- Rub black and orange chrome powders onto the designated tips using a sponge tip applicator until smooth.
- Dust off excess powder carefully with a fan brush.
- Paint fine black spiderwebs and floating bat shapes over your nude base using a fine liner brush, flash-curing between details.
- Apply small dots of gem gel near your cuticles, press black and orange rhinestones into place, and cure.
- Seal the entire nail—including the chrome tips and line art—with a high-shine, non-wipe glossy top coat.
Budget Breakdown: Press-Ons vs. DIY vs. Salon
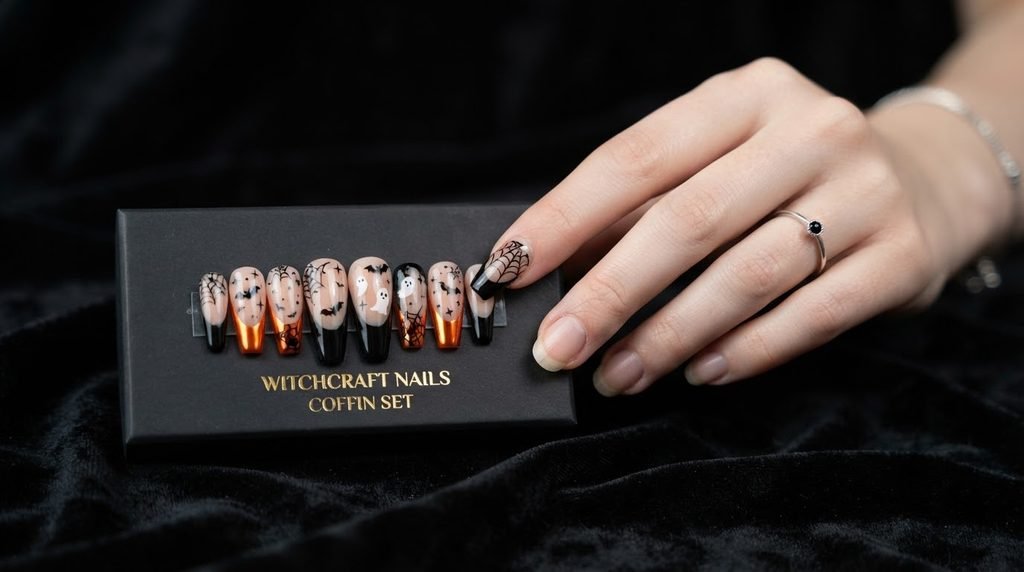
Knowing your options helps you plan your budget while still getting the exact Halloween manicure you want.
| Method | Estimated Cost Range | Longevity | Pros | Cons |
| Salon Professional | $90 – $150+ | 3 to 4 weeks | Flawless symmetry, durable acrylic structure | Highest cost, requires appointment |
| At-Home Gel DIY | $30 – $50 (Initial kit) | 2 to 3 weeks | Unlimited practice, fully customizable | Steeper learning curve for non-dominant hand |
| Custom Press-Ons | $25 – $45 | 1 to 2 weeks | Reusable, fast application, zero dry time | Requires accurate nail bed sizing |
If you choose press-ons, prep your natural nails with alcohol to ensure the adhesive tabs or nail glue bond properly.
Preventing Cuticle Flooding and Gel Management Tips
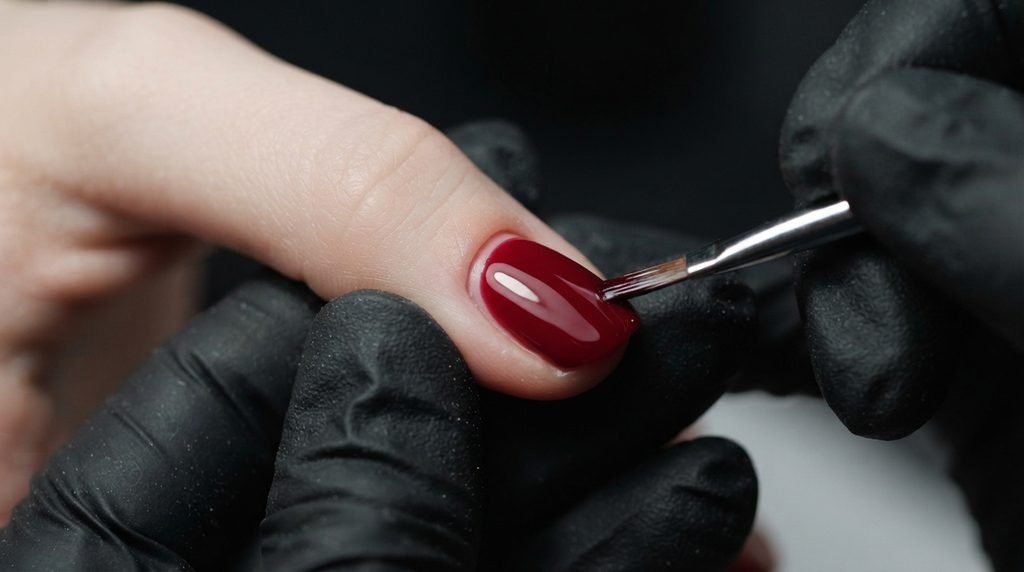
Cuticle flooding happens when liquid gel runs off the nail plate and pools into your side walls or cuticle folds. Not only does this look messy, but it also leads to early lifting and potential skin irritation.
To avert cuticle flooding, work with thin layers of polish and wipe excess product off your brush before touching the nail. Leave a tiny hairline gap between your gel polish and your actual cuticle skin.
Keep a clean detail brush dipped in isopropyl alcohol right next to your workstation. If gel touches your skin, wipe it away completely before putting your hand under the UV light.
Flash-cure individual fingers for 5 to 10 seconds right after painting detailed art so the product stays exactly where you put it.
How to Make Chrome Powder Last Without Chipping
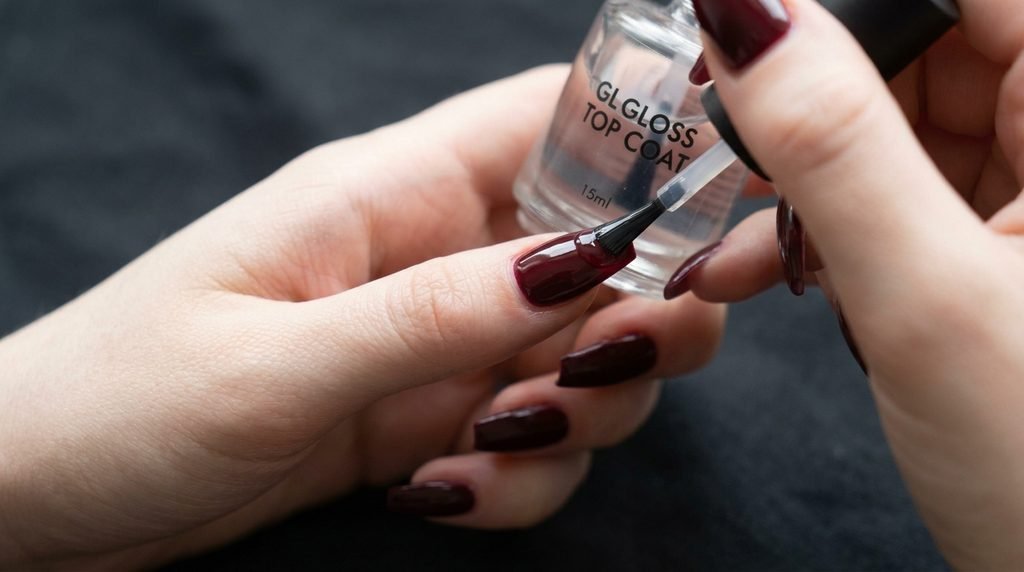
One common issue with chrome powder is that it tends to chip off the free edge of the nail after just a few days. This happens because smooth chrome powder prevents top coat from gripping the underlying gel.
To lock your chrome in place, gently file the very tip of your free edge with a fine buffer to expose a microscopic strip of raw gel.
Apply a thin coat of acid-free gel primer along the free edge right over the chrome before applying your top coat.
Finally, coat the entire nail with a rubber base coat or hard gel before applying your final glossy top coat, making sure to cap the tip edge thoroughly.
Adapting This Design for Short Nail Shapes
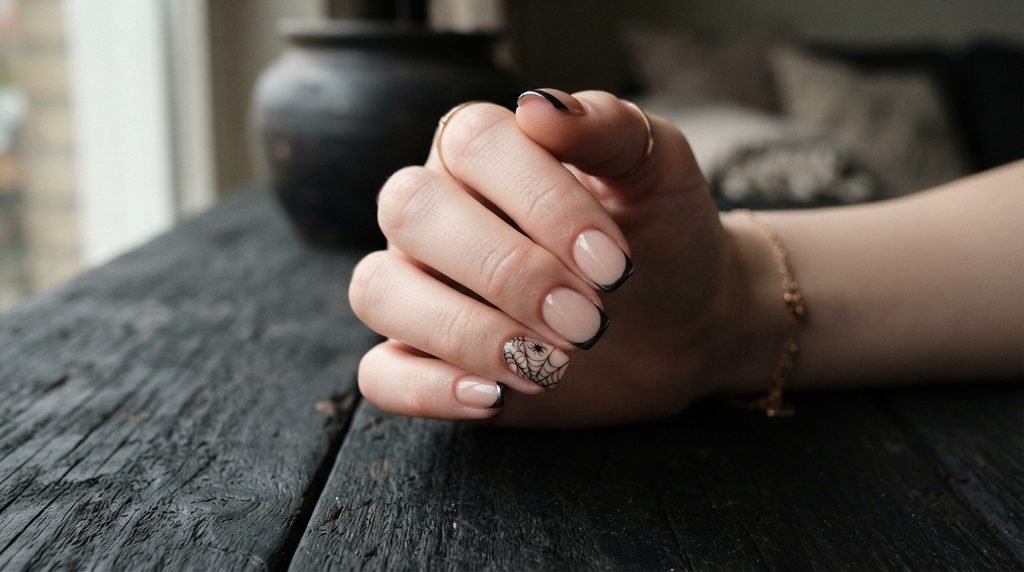
You do not need extra-long acrylics to rock chrome French tips and Halloween art. Short natural nails or short square extensions look remarkably chic with this exact design concept.
For short nails, keep your French tip smile lines thin and slightly deeper at the sides to create the illusion of longer nail beds.
Choose one single accent element per hand rather than trying to fit webs, bats, and pumpkins on short nails all at once.
A thin black chrome French tip paired with one delicate spiderweb corner on your ring finger gives you a sleek, ultra-modern result.
Adapting This Design for Almond and Stiletto Shapes
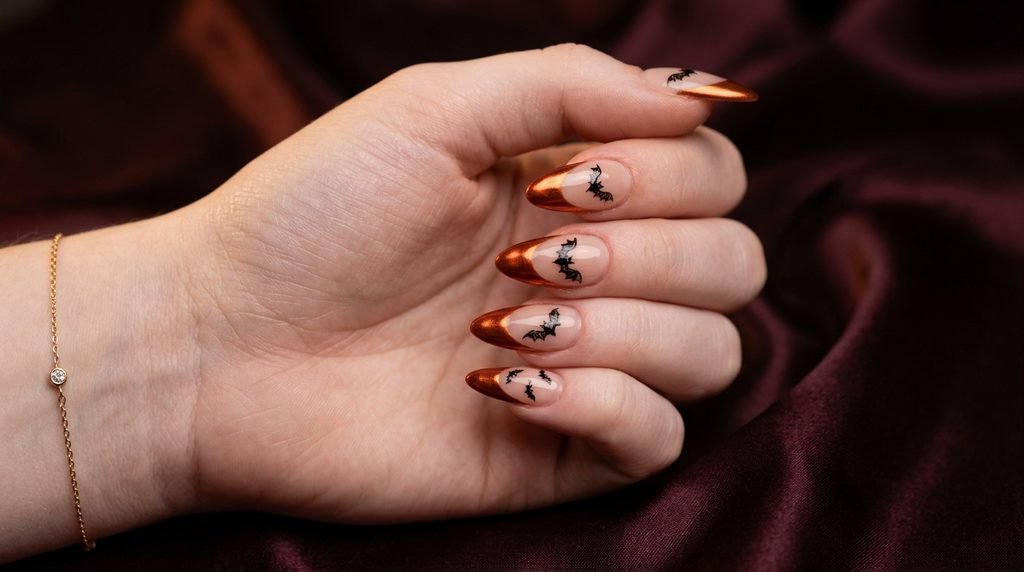
Almond and stiletto shapes naturally exaggerate the length of your fingers, providing an elegant backdrop for dark, moodier Halloween sets.
On almond nails, sweep the chrome French tip down the side walls slightly further to emphasize the soft curve of the tip.
Stiletto nails look incredible with spiderwebs radiating straight down from the sharp point toward the middle of the nail.
Keep bat silhouettes floating near the center of the nude base so they do not compete with the dramatic point at the end of the nail.
Frequently Asked Questions
What is a dark chrome French tip Halloween nail?
It is a festive manicure featuring a natural nude base paired with dark metallic chrome French tips in shades like black or burnt orange. It is typically detailed with delicate Halloween line art like bats, webs, or rhinestones.
How do you keep chrome powder from sticking to the nude base?
Apply a full layer of matte gel top coat over your nude base and cure it completely before drawing your French tips with non-wipe gel. Chrome powder will only adhere to the glossy non-wipe tip gel, leaving your matte nude base completely clean.
What nail shape works best for chrome French tip Halloween art?
Coffin and almond shapes work best because they offer ample surface length for a dramatic chrome tip and clear space for detailed hand-painted accents.
How long do chrome French tip nails usually last?
When properly capped with a hard gel sealer and top coat, a gel or acrylic chrome manicure will easily last 2 to 3 weeks without chipping or dulling.
Conclusion
Chrome French tip Halloween nails give you the ultimate festive manicure without sacrificing elegance or everyday wearability. Combining a soft nude base with metallic black and orange tips creates a striking balance of spooky art and modern luxury.
Save this post to show your nail technician at your next appointment, or grab your liner brushes and try recreating these fine spiderwebs at home!

Mia founded Daily Nail Idea after a decade in beauty editorial, tired of watching great nail art disappear into the scroll. She now leads the team’s editorial direction — deciding what’s worth featuring and what’s just noise — and still paints her own nails every Sunday night, no exceptions.