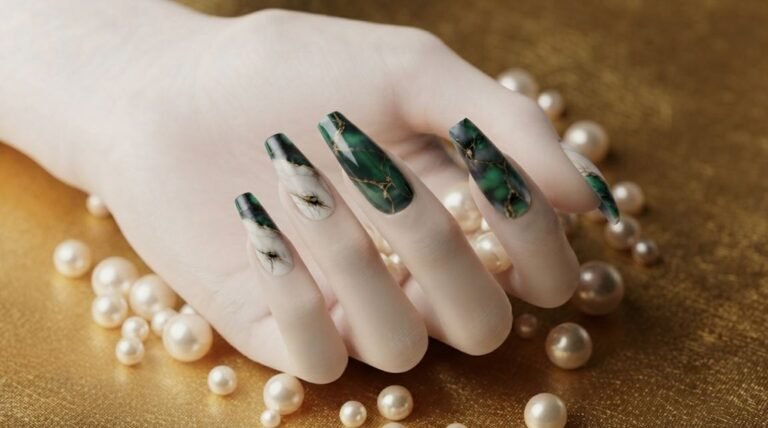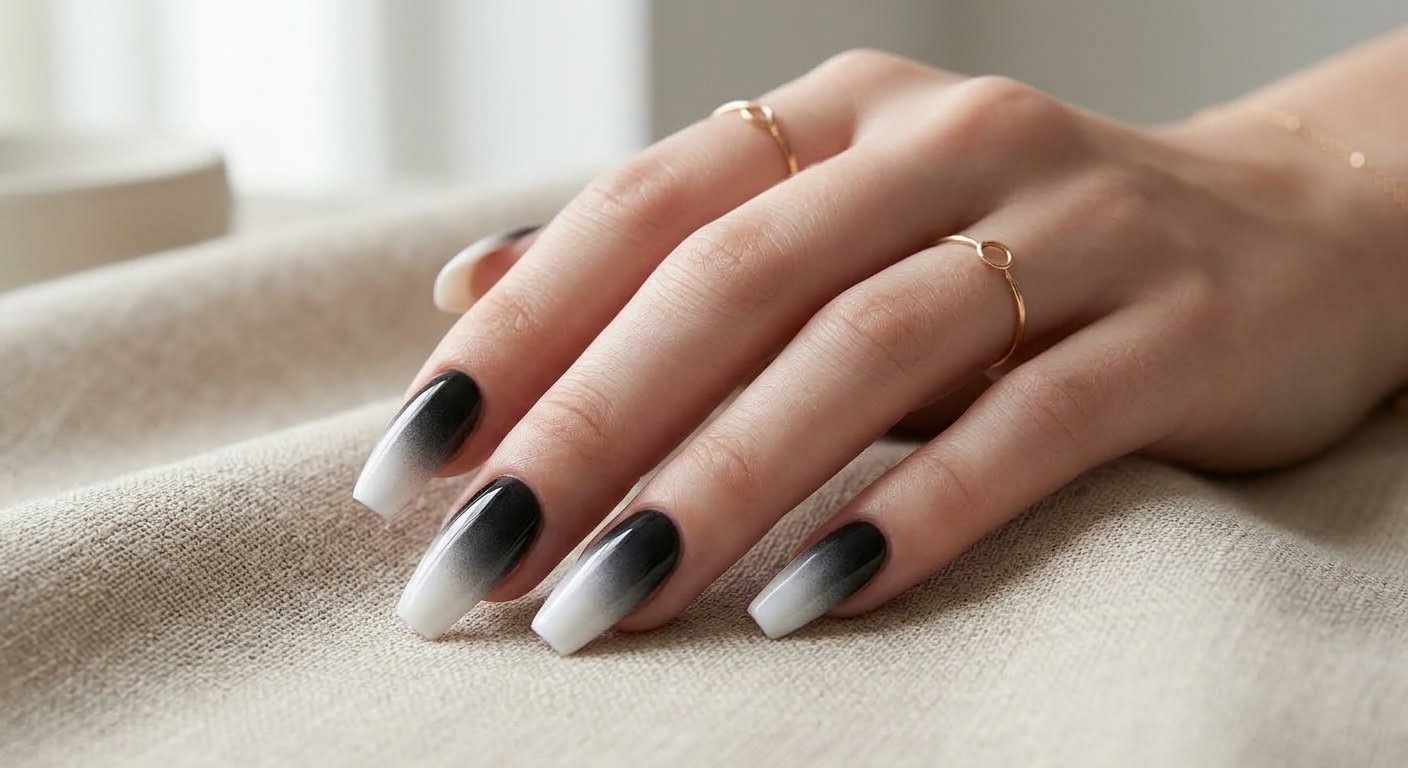
Black and White Ombré Coffin Nails
Sitting in the salon chair (or staring at your at-home desk setup) trying to figure out your next set can feel overwhelming. If you want a manicured look that hits the perfect balance between edgy sophistication and timeless contrast, black and white ombré coffin nails are your answer. This gradient transition blends deep, moody onyx into crisp white, giving you a striking look that works year-round. Whether you are prepping for a formal event or just need a fresh set that matches every outfit in your wardrobe, the coffin nails ombré aesthetic gives you maximum real estate for a seamless color melt. In this informational guide, we will break down exactly how to ask your technician for this design, how to tailor it to your favorite mood, and how to maintain the gradient at home.
At-a-Glance Section
Before diving into the detailed breakdowns, here is a quick overview of what to expect in this guide:
- The Classic Gradient Fade: The core technique for achieving a seamless blend from dark base to light tips on a long canvas.
- Glitter & Shimmer Overlay: Adding a touch of glitter fade coffin nails for extra dimension and soft romanticism.
- Accent Nail Styling: Incorporating negative space, line art, or subtle foil to elevate the basic black and white palette.
- At-the-Salon & DIY Breakdown: Specific salon requests to make to your tech, plus step-by-step notes for at-home gel or press-on applications.
- Frequently Asked Questions: Clear answers on maintenance, longevity, and shape alterations.
Understanding the Black to White Gradient Transition
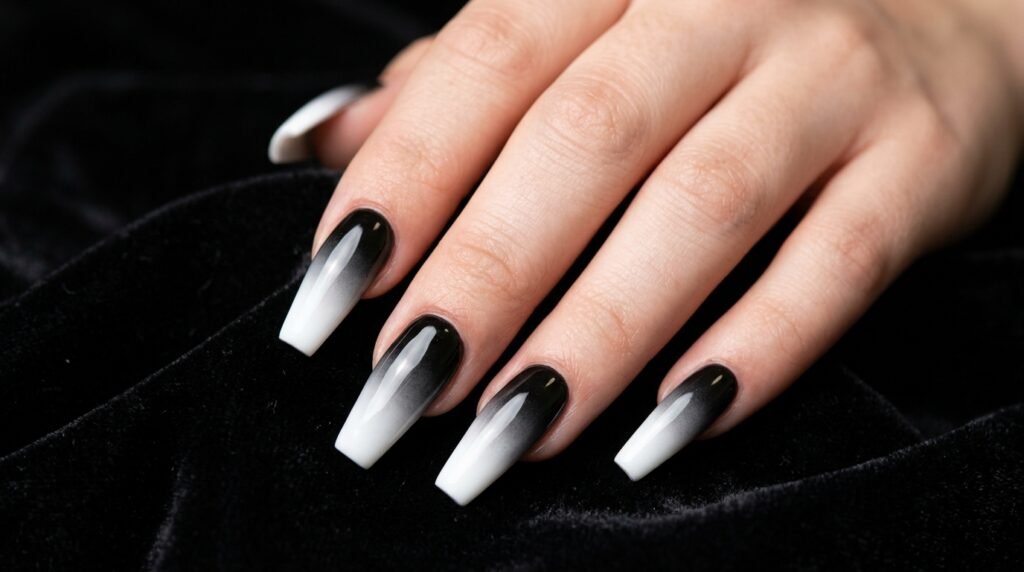
The foundation of a great black to white gradient nails design lies in the execution of the blend. Because black and white sit at opposite ends of the color spectrum, creating a soft transition without an unsightly gray line in the middle requires precise technique.
- Salon Technique: Ask your technician for a sponge-diffused gel ombré or an airbrush application. Airbrushing provides the smoothest, cloud-like transition on long acrylics.
- Nail Shape Fit: Coffin (or ballerina) nails are uniquely suited for this style. The tapered side walls and sharp, square tip provide ample length to let the middle gray transition breathe without looking crowded.
- Budget Tier: High-end salon acrylics ($65–$95) yield the most seamless results, but high-quality full-cover gel press-ons ($15–$25) offer a flawless airbrushed gradient out of the box with zero wait time.
Adding Dimension with Glitter Fades
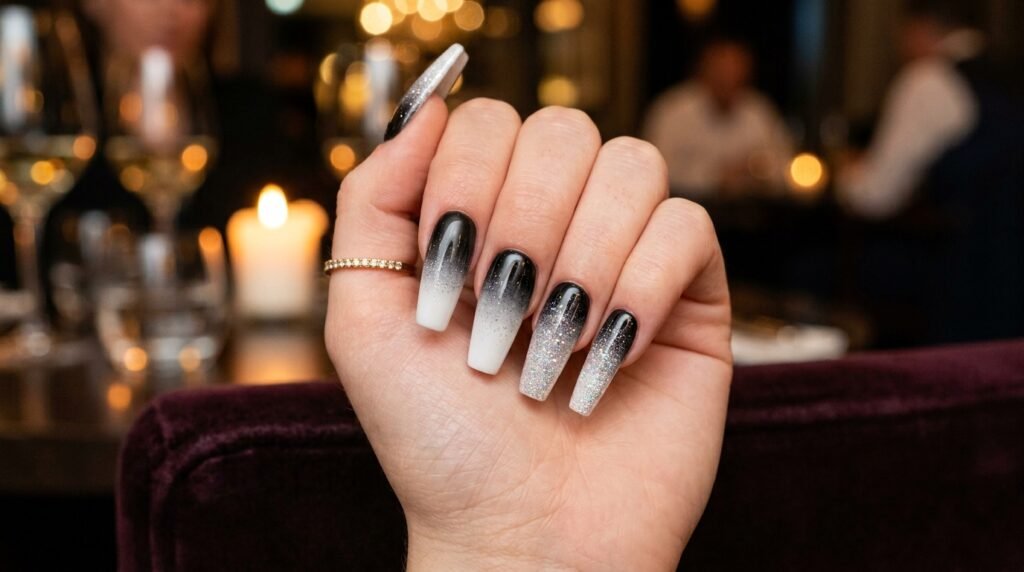
If you want to soften the stark contrast of monochromatic colors, incorporating a glitter fade coffin nails finish introduces a dreamy, dark romantic nails vibe. A fine silver or iridescent glitter applied over the gradient diffuses the color line even further while catching the light.
- Application Method: Request a soft dusting of fine holographic micro-glitter concentrated either at the cuticle (fading down) or at the tip (fading up).
- Best Occasion: Perfect for evening events, holiday parties, or night-out looks where you want a bit of low-lit sparkle.
- At-Home Note: If you are using standard nail polish, apply a clear glitter top coat using a makeup sponge to dab the sparkle precisely where you want it rather than brushing it on directly.
Styling Variations for a Moody Aesthetic
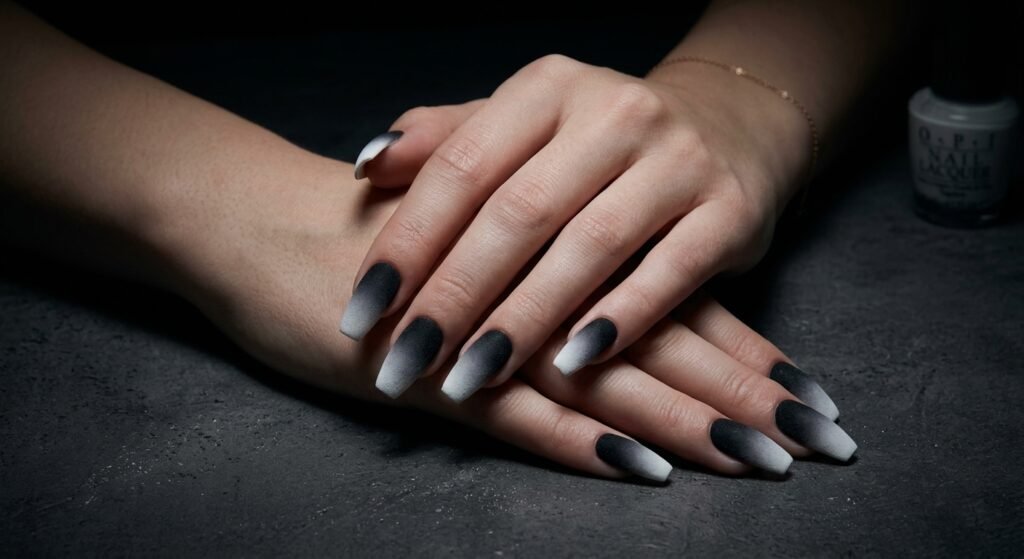
A moody coffin nail design does not have to be limited to a standard top-to-bottom gradient. Playing with matte topcoats, reverse ombrés, or subtle line work allows you to customize the mood to your exact taste.
- The Matte Finish: Swapping a high-gloss top coat for a velvet matte finish instantly shifts the look toward a moody, modern aesthetic. Matte topcoats absorb light, making the black pigment appear richer and the white softer.
- The Reverse Ombré: Start with a crisp white base at the cuticle and transition into a deep black at the coffin tip. This inverted placement keeps the lower half of your hands looking bright while maintaining an edgy tip.
- Minimalist Line Art: Add fine white line work or micro-stars over the black section to lean into a celestial or goth-chic theme.
How to Request This Look at the Salon
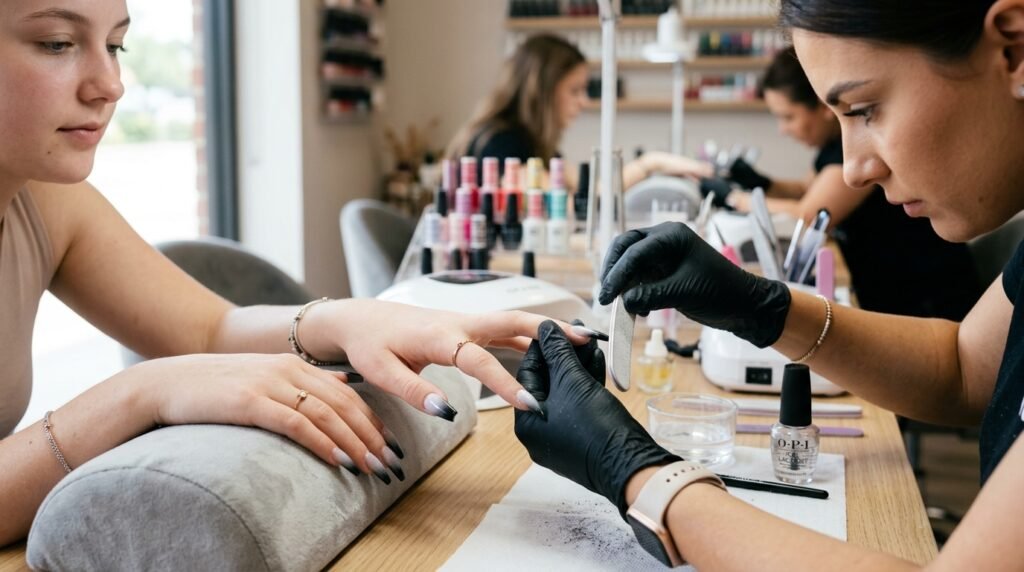
Communicating your exact vision to your nail technician ensures you get the exact blend you envision without any mid-service confusion.
- Specify the Base Material: State whether you want full acrylics, hard gel overlays, or natural nail extensions before starting.
- Describe the Blend: Mention that you want a “soft black-to-white ombré with a diffused mid-tone transition.” Specify whether you prefer the black at the base (cuticle) or at the tip.
- Show Visual Reference: Save clear close-up photos that highlight both the coffin shape edges and the blend quality so your tech understands the exact shade diffusion you desire.
Frequently Asked Questions (PAA)
How long do black and white ombré coffin nails usually last?
A standard set of acrylic or hard gel ombré nails typically lasts between 2 to 3 weeks before requiring a fill. Because black polish near the cuticle shows natural nail growth faster than neutral shades, scheduling a fill at the 2-week mark keeps the apex balanced and the growth unnoticeable.
Can you achieve a black and white gradient on natural nails?
Yes, though short or natural nails offer less surface area for the color transition. To get the best effect on natural nails, use a gel polish system and a dense ombre sponge, ensuring each layer is cured under an LED lamp to keep the black pigment from muddying the white.
How do I keep the white tips of my gradient from staining?
White nail tips can absorb pigment from hair dyes, fresh denim, or dark makeup. Applying a fresh layer of non-wipe top coat every 5 to 7 days shields the porous white pigment from external staining.
Conclusion
Black and white ombré coffin nails offer a versatile, high-contrast look that translates seamlessly across seasons, occasions, and personal styles. Whether you opt for a sleek matte finish, an airbrushed high-gloss polish, or a touch of glitter fade, this design remains a classic staple in modern nail art. Be sure to save your favorite styling variations to your board for easy reference during your next salon appointment!

Mia founded Daily Nail Idea after a decade in beauty editorial, tired of watching great nail art disappear into the scroll. She now leads the team’s editorial direction — deciding what’s worth featuring and what’s just noise — and still paints her own nails every Sunday night, no exceptions.