Halloween Aura Nails: Soft Smoky Gradient Manicure for a Sophisticated Spooky Look
Introduction
Sitting in the salon chair right now? Or maybe you’re sitting on your couch, scrolling through Pinterest with your appointment only an hour away. We have all been there. You want halloween aura nails that feel spooky, but you definitely do not want costumey plastic spiderwebs. You need a chic, moody look that matches your dark academia sweaters and October cocktails.
As an Editorial Director who has spent years testing designs behind the table, I can tell you that aura nail art is the ultimate seasonal upgrade. It gives you an ethereal, glowing halo of color that melts into dark outer edges. In this post, I will share my full salon-tested guide to getting this airbrushed smoky gradient. Let’s make sure you walk out of your appointment with flawless, glowing nails!
At-a-Glance: What’s Ahead
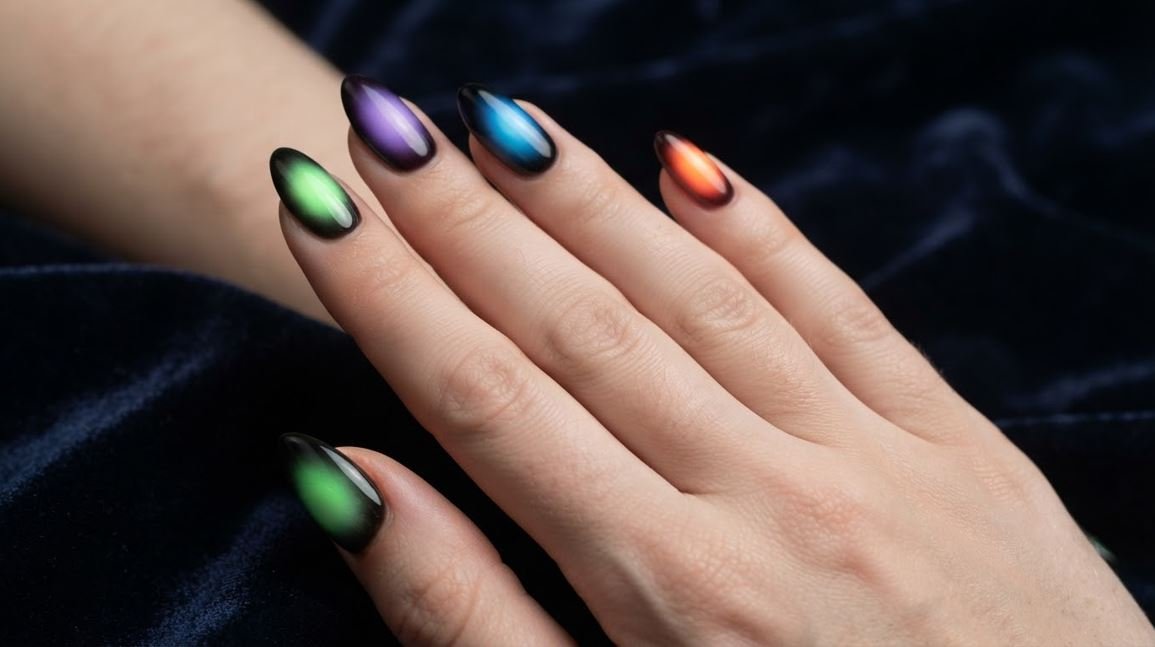
Here is a quick snapshot of what we will cover in this ultimate guide. We are breaking down every technical step, shape tweak, and color palette so you can book your set with total confidence.
- The Trend Defined: Why center-focused color halos outperform traditional edge ombré for spooky season.
- Color Recipes: Poison green into pitch black, violet melting into deep burgundy, and sheer smoky coal jelly base layers.
- Technique Deep Dive: Airbrush gun settings, blooming gel tricks, eyeshadow pigment hacks, and avoiding cuticle flooding.
- Step-by-Step Prep to Seal: Full tutorial for flawless 4-week durability without peeling edges.
- Shape & Length Adapters: Customizing gradients for short square, almond, coffin, and stiletto shapes.
- Salon Communication Notes: Exact phrasing to use with your nail technician to avoid muddy color blends.
What Are Halloween Aura Nails?
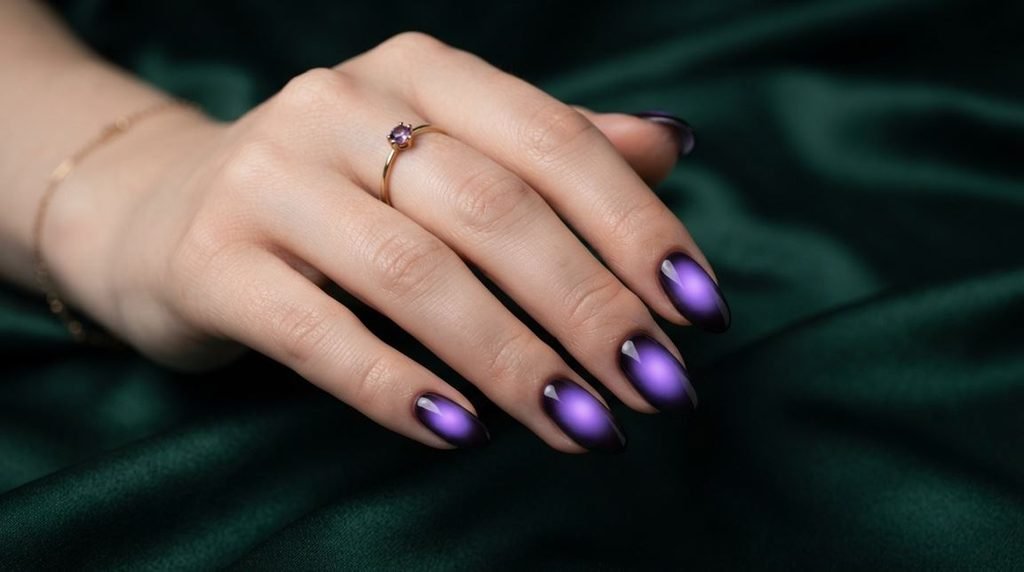
Aura nail art features a soft, circular bloom of color concentrated in the center of the nail plate. Unlike traditional ombré which fades from cuticle to tip, aura nails radiate outward like an ethereal energy field.
For October, we swap pastels for moody tones. We blend bright glowing cores into dark, midnight perimeters. The soft blend creates a smoky, witchy effect that feels deeply elevated.
I love this look because it grows out seamlessly. The diffused edges soften the contrast near your cuticles while keeping all the dramatic contrast right in the center.
Why Aura Beats Traditional Ombré for October
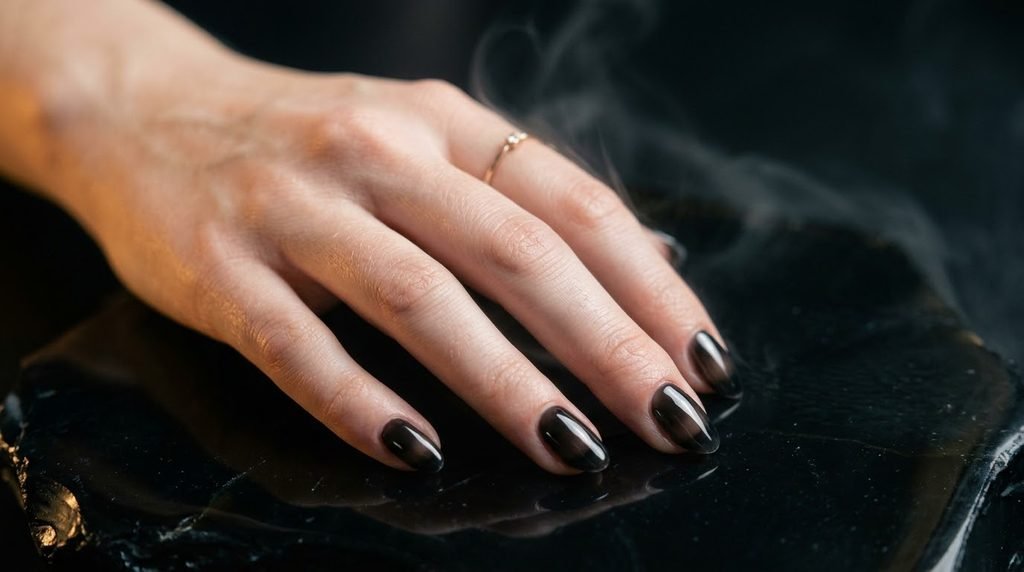
Traditional vertical ombré can sometimes look blocky if the blend isn’t perfectly seamless. Aura designs place the brightest focal point right in the physical center of your nail bed.
This central focal point creates an optical illusion. It makes shorter nails look longer and accentuates the elegant curve of almond and coffin extensions.
When you add dark October shades, the glowing center mimics candlelight, foggy nights, or glowing potion cauldrons. It gives you instant seasonal atmosphere without a single cartoon decal.
Color Combo 1: Poison Green & Pitch Black
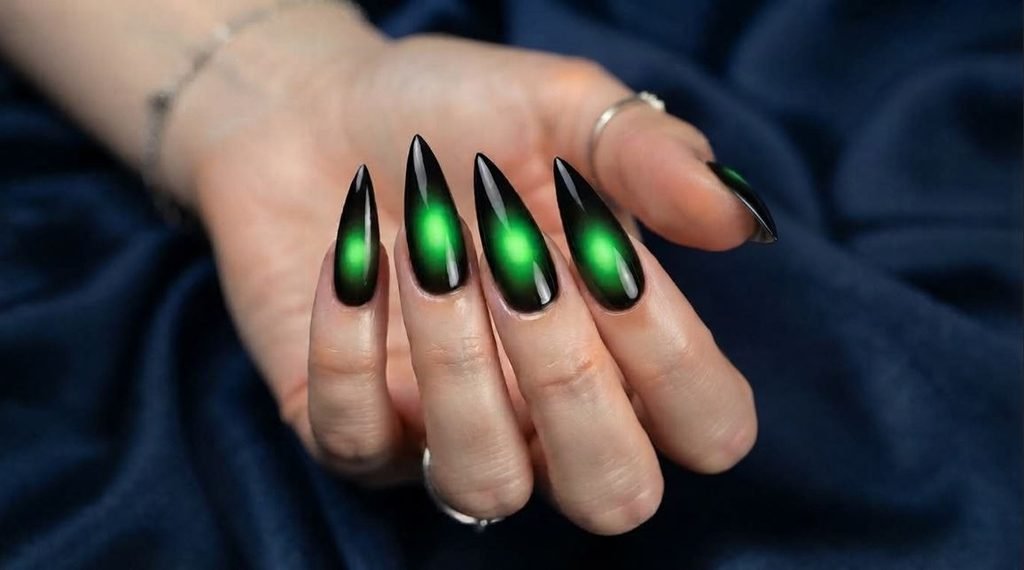
Poison green melting into deep obsidian black is the ultimate villain-era manicure. The glowing lime center pierces right through the moody dark outer border.
For the most striking contrast, ask your tech for a high-pigment neon lime center. If you want a softer version, choose a sage green center surrounded by forest pine.
- Best Nail Shape: Medium Almond or Stiletto.
- Finish: Ultra-glossy glass top coat.
- Occasion: Halloween party nights and concerts.
Color Combo 2: Violet Melting Into Burgundy
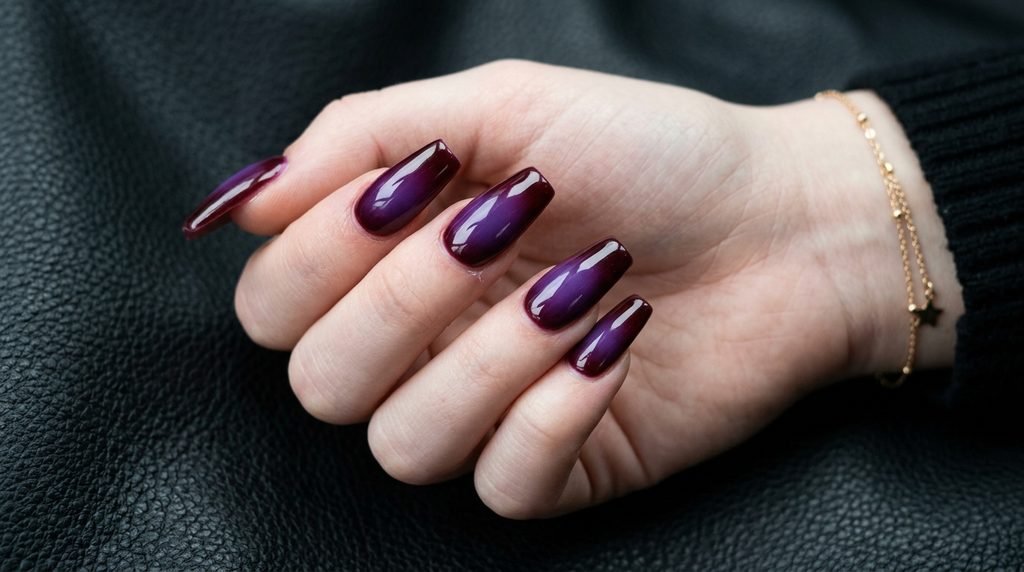
If green feels too bold, rich jewel tones offer an irresistible alternative. Violet melting into burgundy gives you an intoxicating, vampire-chic aesthetic that pairs seamlessly with fall coats.
The cool purple core softens the warm wine-red perimeter. This temperature contrast creates a glowing dimensional effect that looks like lit ruby glass under warm evening lights.
I always recommend this palette for clients who work in corporate settings. It feels refined during daylight hours, yet wonderfully witchy once night falls.
Color Combo 3: Smoky Coal Jelly Baselines
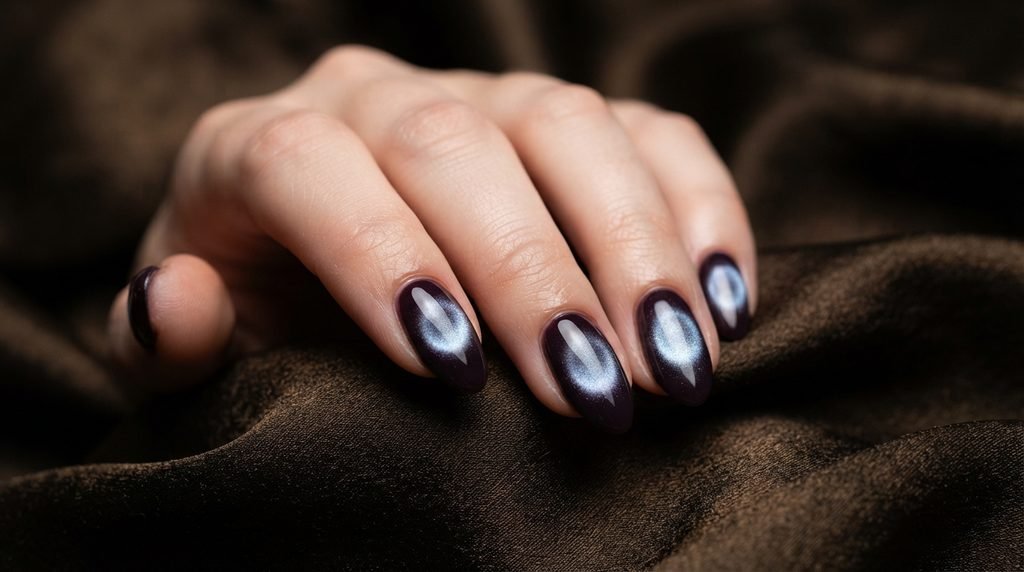
Not ready for vibrant color cores? You can achieve a mysterious look using sheer black jelly polish over a hazy charcoal aura core.
Smoky coal jelly nails layer translucent dark polish over a soft light-grey halo. The finished look resembles trapped fog under glass rather than heavy paint.
- Nail Prep: Flawless natural nail bed prep is essential because jelly polish shows every underlying imperfection.
- Finish: High-shine gel top coat or velvety matte.
- Budget Tier: Highly achievable with affordable builder gels and jelly polishes at home.
Layering Shimmer: Mystic Cat Eye Aura Techniques
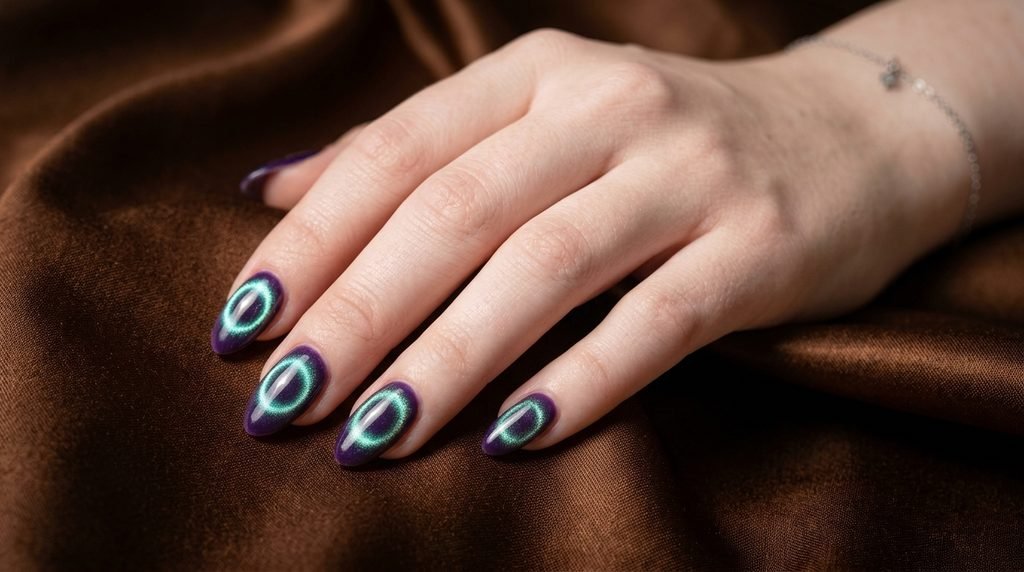
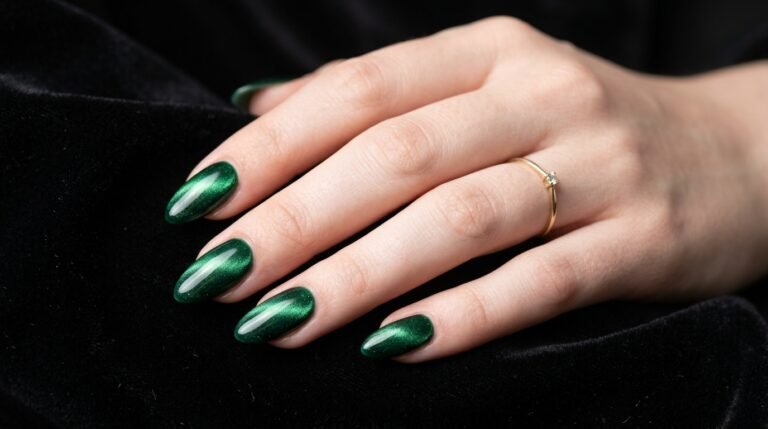
Take your aura design to a hypnotic level by introducing magnetic cat-eye gel polish into the central color bloom.
Instead of spraying flat color, your tech applies magnetic gel in the center circle. Using a cylindrical magnet, they pull the velvet shimmer inward to form a glowing orb.
The shimmer moves dynamically as your hands catch the light. It looks like a floating crystal ball resting on each individual finger.
Professional Airbrush vs. Sponge Techniques
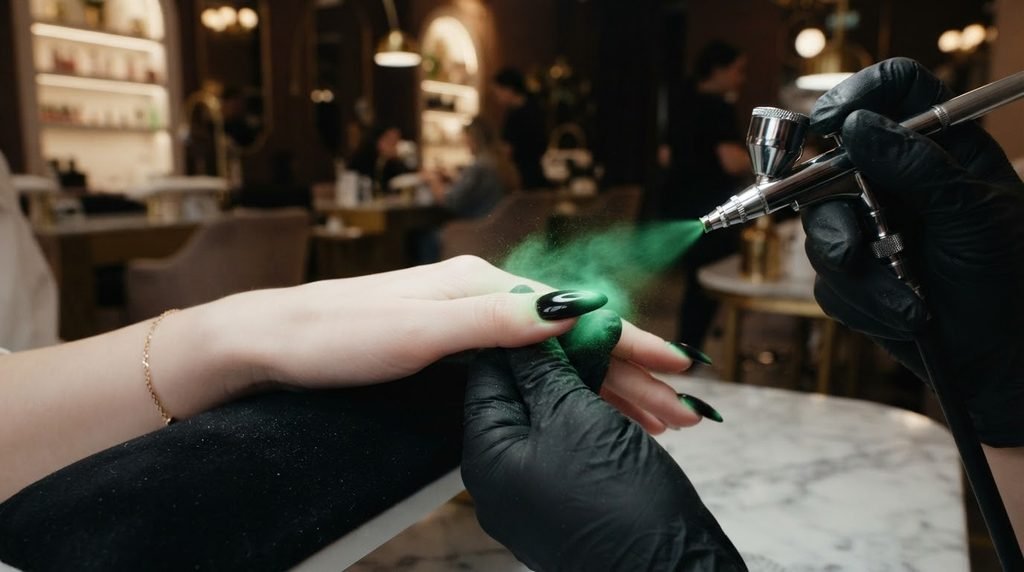
Achieving a seamless gradient requires the right tool. In professional salons, airbrush guns powered by mini compressors deliver the smoothest results.
Airbrush Gun (0.2mm Nozzle) –> Ultra-fine atomized mist –> 100% seamless aura halo
Cosmetic Wedge Sponge –> Textured stippling –> Needs top coat smoothing
Blooming Gel Liquid –> Self-dispersing pigment –> Organic watercolor aura
If your tech uses a sponge, don’t worry. A skilled nail artist can stipple gel polish softly and smooth out texture using buildable base coat layers before final curing.
Salon Communication: Exact Phrasing to Use
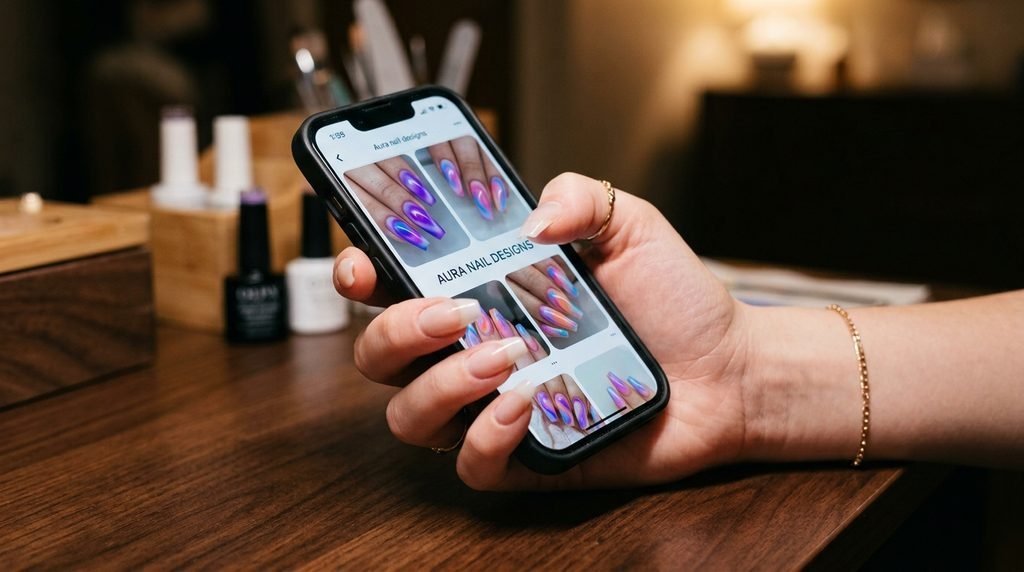
Walking into a salon without clear terms can lead to disappointing results. You might ask for an aura design and end up with a harsh two-tone dot.
Here is your exact client script for your next appointment:
“I would like a dark Halloween aura manicure. I want a glowing central color pool that diffuses softly into a dark perimeter shade with no harsh lines. Can we use an airbrush gun or blooming gel to keep the halo edge completely seamless?”
Showing a reference picture alongside this script ensures you and your technician are on the exact same page before any polish touches your nails.
Comprehensive Color Palette Matrix
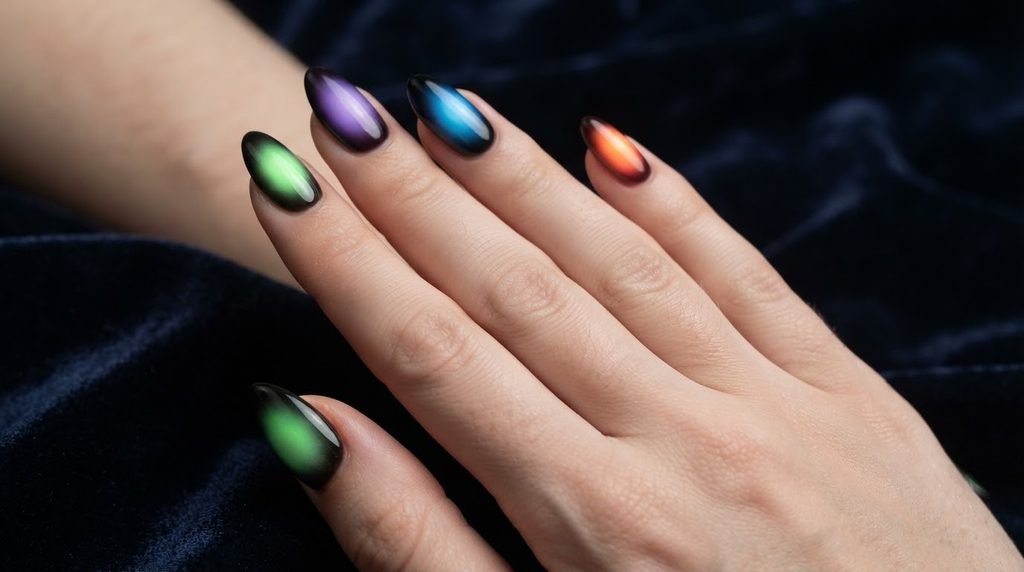
Choosing your color pairing sets the foundation for your entire manicure. Use this guide to match your mood and shape:
| Aura Center Shade | Perimeter Border Shade | Visual Vibe | Ideal Nail Shape |
| Poison Lime Green | Pitch Obsidian Black | Cyber Villain / Slime | Medium Almond |
| Deep Electric Violet | Oxblood Burgundy | Vampire Glamour | Long Coffin |
| Ethereal Fog Grey | Sheer Coal Jelly | Ghostly Fog | Short Square |
| Burnt Pumpkin Orange | Midnight Plum | Autumn Eclipse | Tapered Square |
| Crimson Blood Red | Matte Jet Black | Gothic Drama | Sharp Stiletto |
Step 1 Prep: Cuticle Cleaning & Dehydration
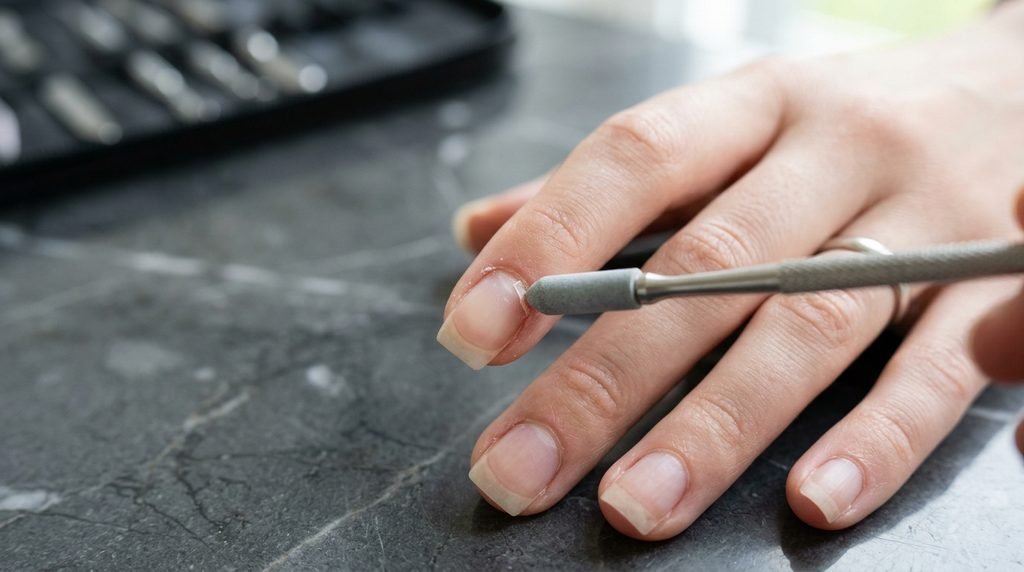
Aura designs require pristine canvas preparation. Any residual oil or cuticle skin clinging to the nail plate causes gel lifting within days.
Start by gently pushing back your cuticles using a sanitized stone pusher. Lightly buff away the surface shine using a fine 240-grit buffer block.
Wipe down each nail plate thoroughly with 99% isopropyl alcohol or pure acetone. Dehydrating the surface ensures your base gel forms a tight chemical bond.
Step 2 Prep: Foundation Base Coat Application
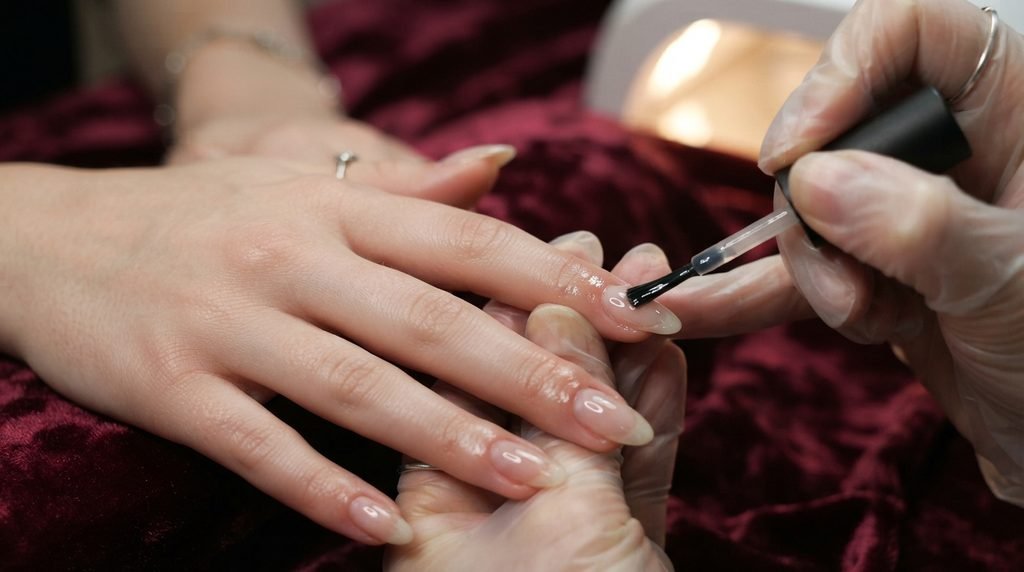
Apply a thin, even layer of rubber base gel or structure gel. Rubber base provides flexible support that prevents dark gel polishes from cracking.
Cap the free edge carefully on every single finger. Capping seals the natural tip and stops water from creeping under your gel enhancement.
Cure under a professional 48W LED lamp for 60 seconds. Ensure your hand lies completely flat to prevent base coat from pooling into sidewalls.
Step 3 Application: Base Color & Perimeter Prep
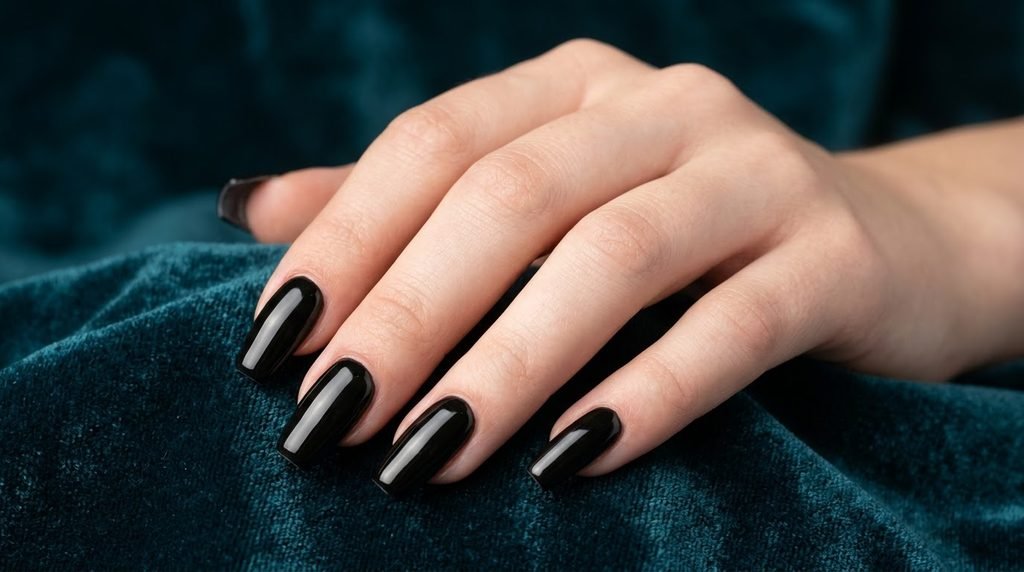
Apply two thin coats of your dark perimeter shade across the entire nail plate, curing for 60 seconds between each layer.
If you are using black or deep burgundy, thin layers are non-negotiable. Highly pigmented dark gels shrink or wrinkle under UV light if applied too thick.
Leave a tacky inhibition layer intact after your second cure. This sticky surface helps your aura center blend out smoothly.
Step 4 Technique: Creating the Seamless Aura Halo
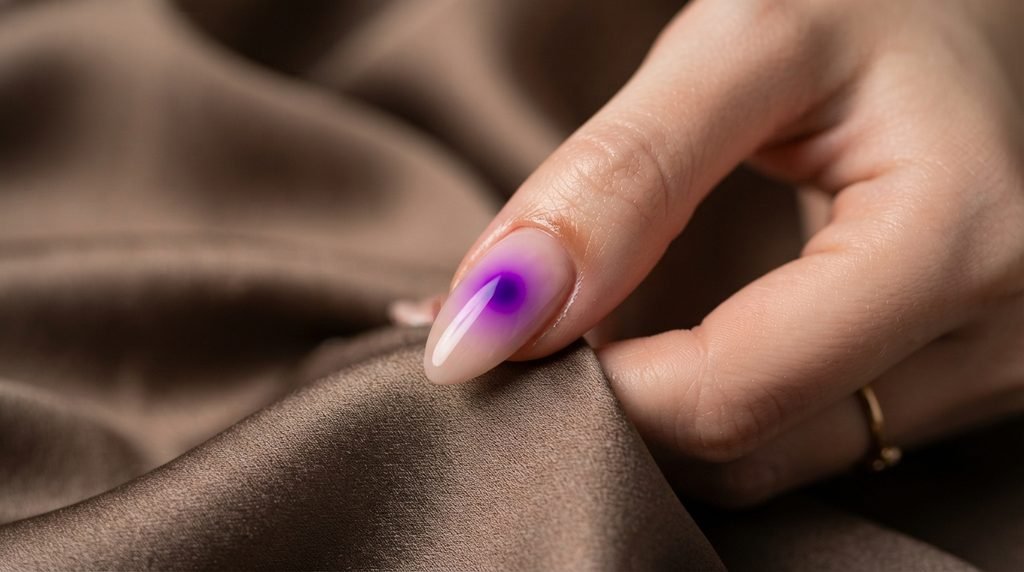
Now comes the magic step. If you are using an airbrush, spray your central color in light, sweeping circular motions over the middle of the nail bed.
If you are working at home, apply a small drop of blooming gel in the center. Touch your core color into the wet blooming gel and watch it disperse automatically.
Keep your finger tilted slightly downward while the color blooms. This prevents liquid gel from running backward toward your rear cuticle line.
Step 5 Technique: Averting Cuticle Flooding
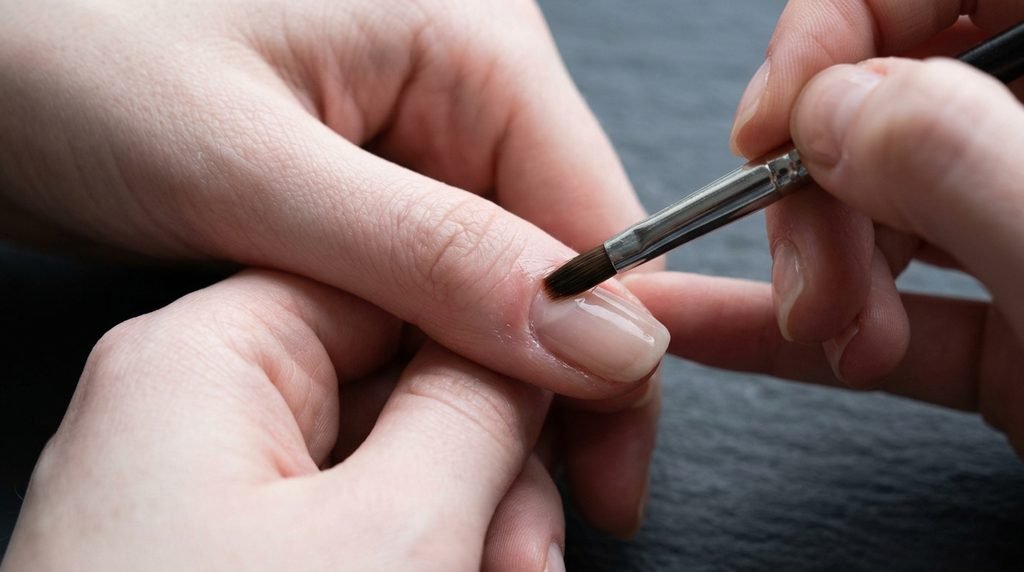
Dark aura polishes look messy if pigment bleeds into your surrounding cuticles. Flooded sidewalls lead to painful gel allergies and instant lifting.
Keep a clean detail brush soaked in pure acetone right beside your workstation. Wipe away any stray pigment from skin before hitting the curing lamp.
Pencil Detail Brush + Pure Acetone –> Clean Sidewall Trace –> Zero Skin Contact –> Safe 60s Cure
If you notice polish touching your skin inside the lamp, pull your hand out immediately. Clean the skin completely, then restart the curing timer.
Step 6 Sealing: High-Gloss Glass Top Coats
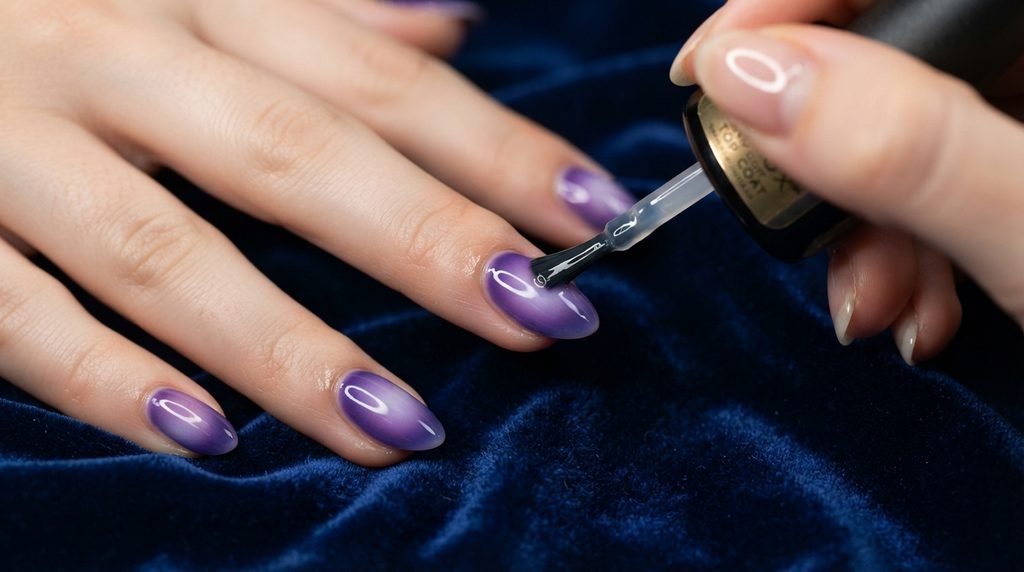
Lock in your diffused design with an ultra-clear, non-wipe top coat. Aura art needs high clarity to give that depth-filled “under glass” look.
Apply a medium-plump layer of top coat, floating the brush gently over the cured aura design without pressing down hard.
Flip your hand upside down for 5 seconds before curing. Gravity pulls the top coat into a flawless self-leveled apex that catches light beautifully.
Step 7 Aftercare: Maintaining Your Aura Glow
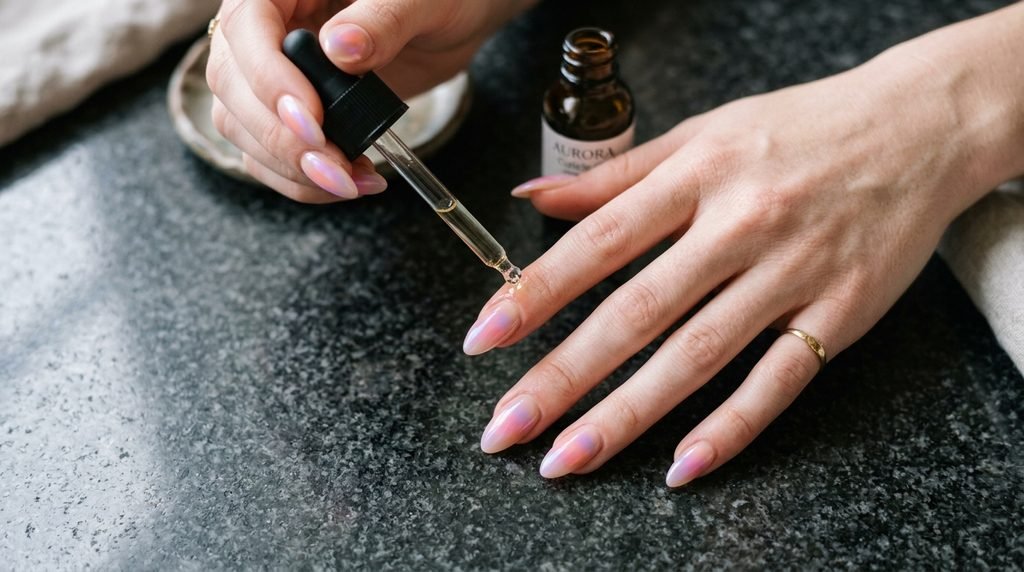
Dark Halloween nails showcase scratches and dullness faster than light pastel shades. Proper home care keeps your aura set looking fresh for four weeks.
Apply a rich jojoba-based cuticle oil to your skin matrix twice daily. Hydrated cuticles prevent edge lifting and keep your sidewalls soft.
Wear protective rubber gloves whenever washing dishes or using household cleaning chemicals. Harsh solvents dull top coats and cause yellowing.
Shape Adaptation: Short Square & Squoval
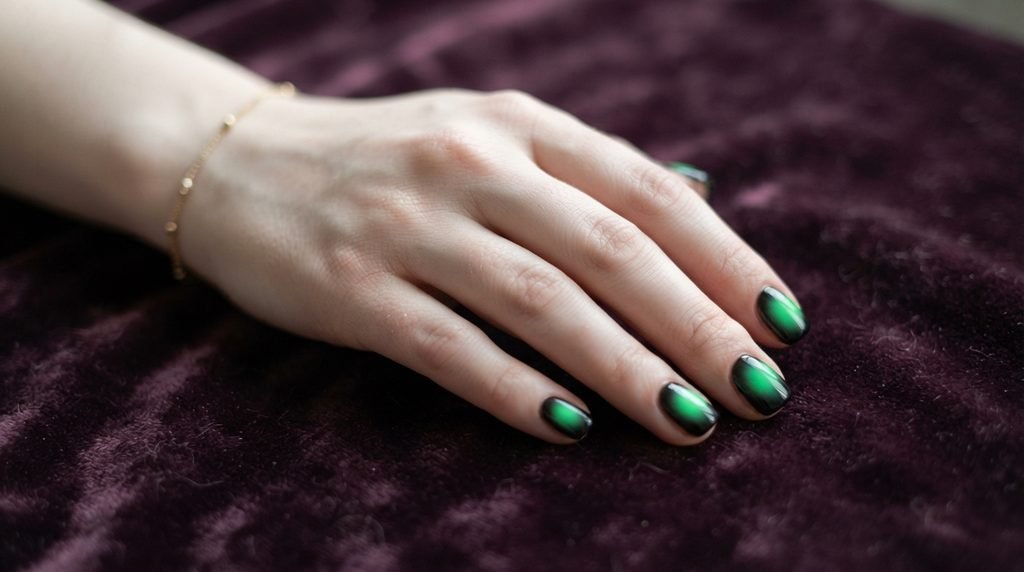
Short nails look stunning with aura designs when you scale the central halo down appropriately. Keep the glowing core compact so it doesn’t overwhelm the nail bed.
For short square shapes, place the aura center slightly above the geometric middle. This draws the eye upward and lengthens short fingers.
Sheer jelly borders work best on short nails. Heavy pitch-black edges can make short nails feel boxy, whereas translucent coal adds breezy dimension.
Shape Adaptation: Almond & Oval
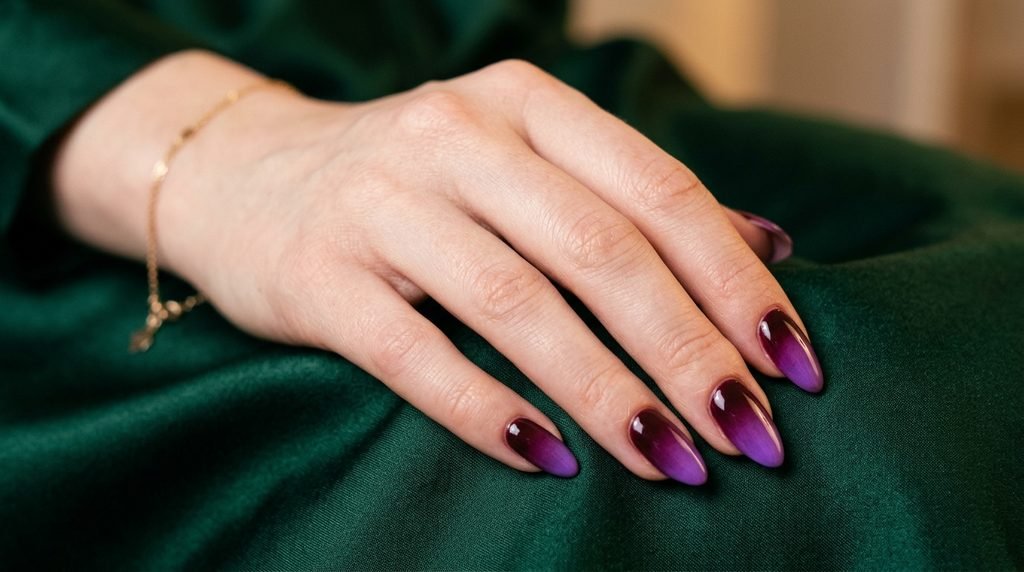
Almond is the classic canvas for aura nail art. The soft, tapered tip mirrors the rounded geometry of the central color halo perfectly.
You can stretch the aura pool into an elongated oval shape following the nail’s natural architecture. This enhances the soft, feline elegance of your hands.
Pair almond shapes with jewel-tone gradients like violet-to-burgundy or emerald-to-black for an instantly polished, high-editorial aesthetic.
Shape Adaptation: Coffin & Ballerina
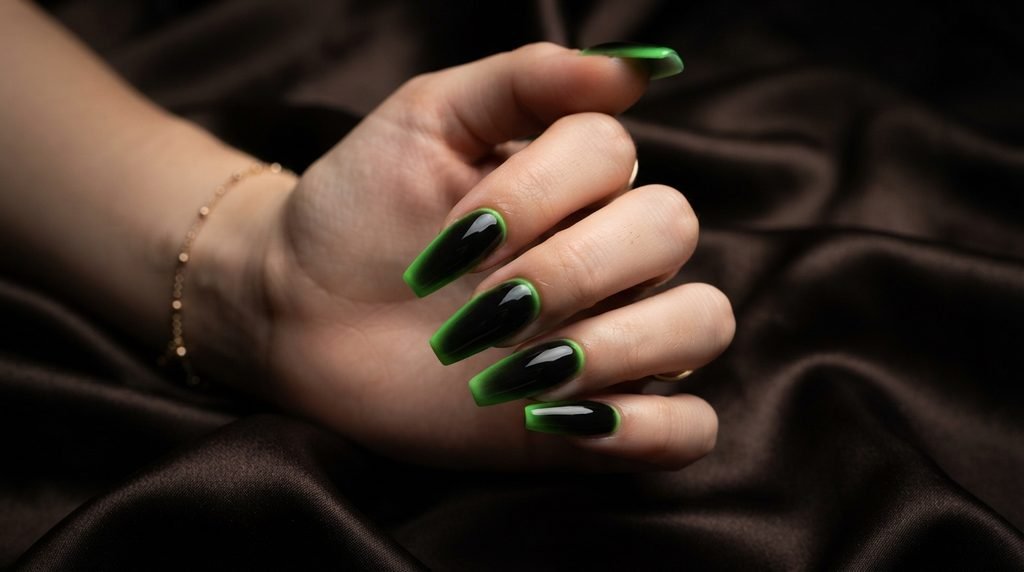
Coffin shapes offer plenty of surface area, allowing you to create dramatic contrast between the center pool and square tip edges.
Exaggerate the central bloom on coffin extensions. Let the color fade out intensely before it hits the sharp straight sidewalls and flat free edge.
Consider adding subtle metallic chrome line-art stars or aura rings over coffin nails to accentuate their bold, architectural silhouette.
Shape Adaptation: Stiletto & Sharp Edges
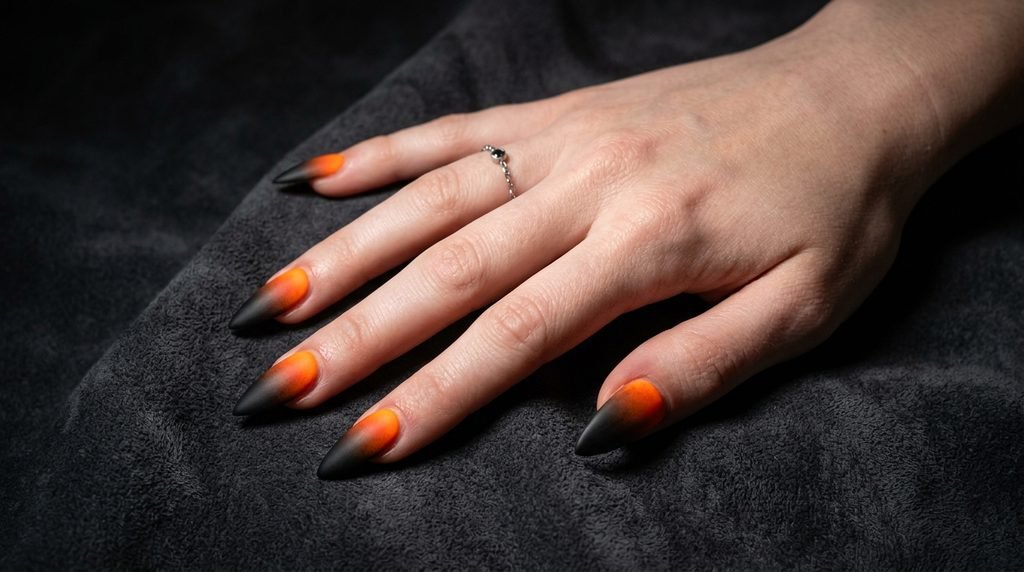
Sharp stiletto nails take Halloween aura art into pure gothic territory. The contrast between soft diffused halos and lethal pointed tips is gorgeous.
Keep your central aura core intensely bright on stiletto shapes. A fiery neon orange core fading into matte black tips looks like flickering flame magic.
For stiletto shapes, finish with a velvety matte top coat. Matte surfaces eliminate reflections, making the central gradient look like soft velvet smoke.
DIY Hacks: Eyeshadow & Powder Pigments
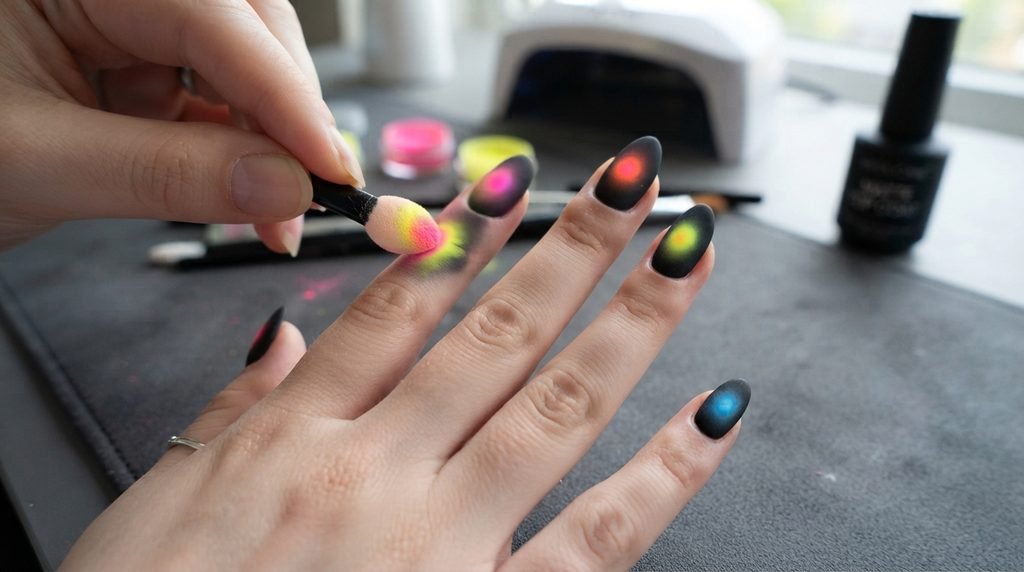
Don’t have an airbrush machine at home? You can create salon-quality aura gradients using affordable matte eyeshadows or nail pigment powders.
Apply your dark base color and top it with a matte gel top coat, then cure. A matte surface provides perfect grip for dry pigment powders.
Pick up loose eyeshadow on a fluffy silicone applicator. Press the color firmly into the nail center, then buff softly outward in circular sweeps.
Wipe away loose dust with a fan brush, then seal with a thick builder gel layer and high-gloss top coat to prevent pigment dragging.
Budget & Time Comparison Guide
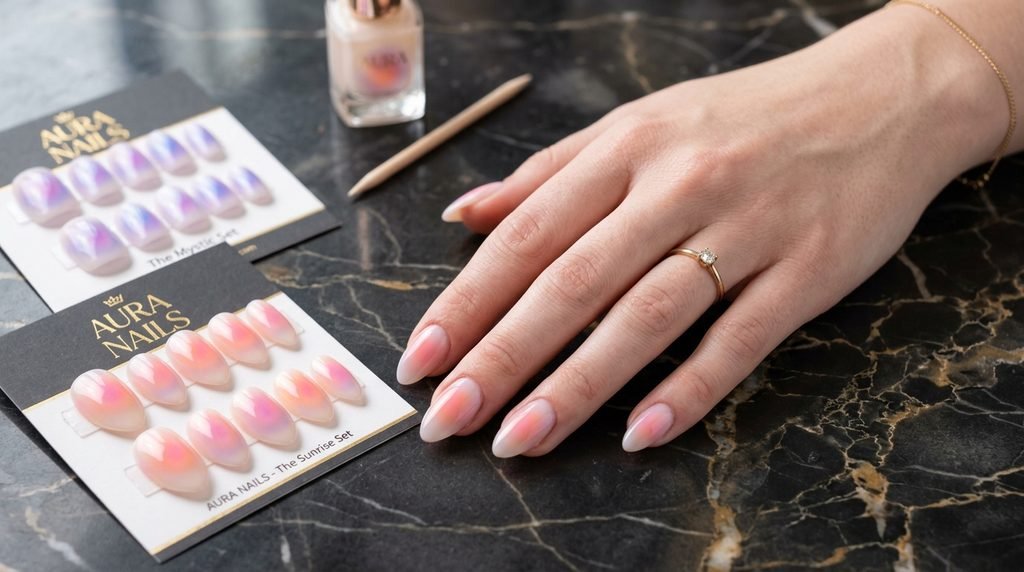
Planning your manicure budget and schedule? Here is how different application methods compare in cost, time, and longevity:
| Method | Estimated Cost | Time Required | Skill Level Needed | Expected Wear Time |
| Professional Salon Airbrush | $75 – $120+ | 75 – 90 Mins | Advanced Tech | 3 to 4 Weeks |
| DIY Blooming Gel at Home | $20 – $35 | 60 – 75 Mins | Intermediate | 2 to 3 Weeks |
| DIY Eyeshadow Buffing | $10 – $20 | 45 – 60 Mins | Beginner Friendly | 1 to 2 Weeks |
| High-End Press-On Nails | $15 – $30 | 15 Mins | Very Easy | 7 to 14 Days |
FAQs: Common Halloween Aura Questions
Is aura nail art hard to do at home?
It takes patience, but it is manageable! Using dry eyeshadow over a matte cured base is the easiest beginner method. Blooming gel is great if you prefer working with liquid polish.
What is the main difference between aura and ombré?
Ombré flows continuously from one end of the nail to the other. Aura nails feature a concentrated circular halo in the center that diffuses outward in 360 degrees.
Do aura nails require gel polish?
Gel polish works best because it allows you to blend colors endlessly before curing under a lamp. Regular polish dries too quickly for smooth airbrush blending.
Can I do aura nails on natural short nails?
Yes! Scale down the central halo size so you retain plenty of perimeter border color. Translucent jelly bases look incredible on natural nail lengths.
Conclusion
Halloween aura nails deliver the perfect balance of moody spooky energy and high-end sophistication. Whether you choose poison green, deep violet, or sheer coal jelly, this airbrushed halo design will elevate your entire October wardrobe.
Save this post right now to show your nail technician at your next appointment! Which color combination are you going to try first?

Mia founded Daily Nail Idea after a decade in beauty editorial, tired of watching great nail art disappear into the scroll. She now leads the team’s editorial direction — deciding what’s worth featuring and what’s just noise — and still paints her own nails every Sunday night, no exceptions.