Black and Gold Tarot Nails: Mystical Magic for Your Halloween Mani
Introduction
So, you’re scrolling through Pinterest, searching for “Halloween nail ideas,” but nothing quite fits than tarot nails. Everything feels either too spooky, like dripping blood, or just too generic, like standard pumpkins. You save a few things, but nothing clicks. Then, you see it: a hint of a celestial, mysterious vibe. It’s perfect. You want something with deeper meaning, something that feels like you, but still incredibly on-theme for October.
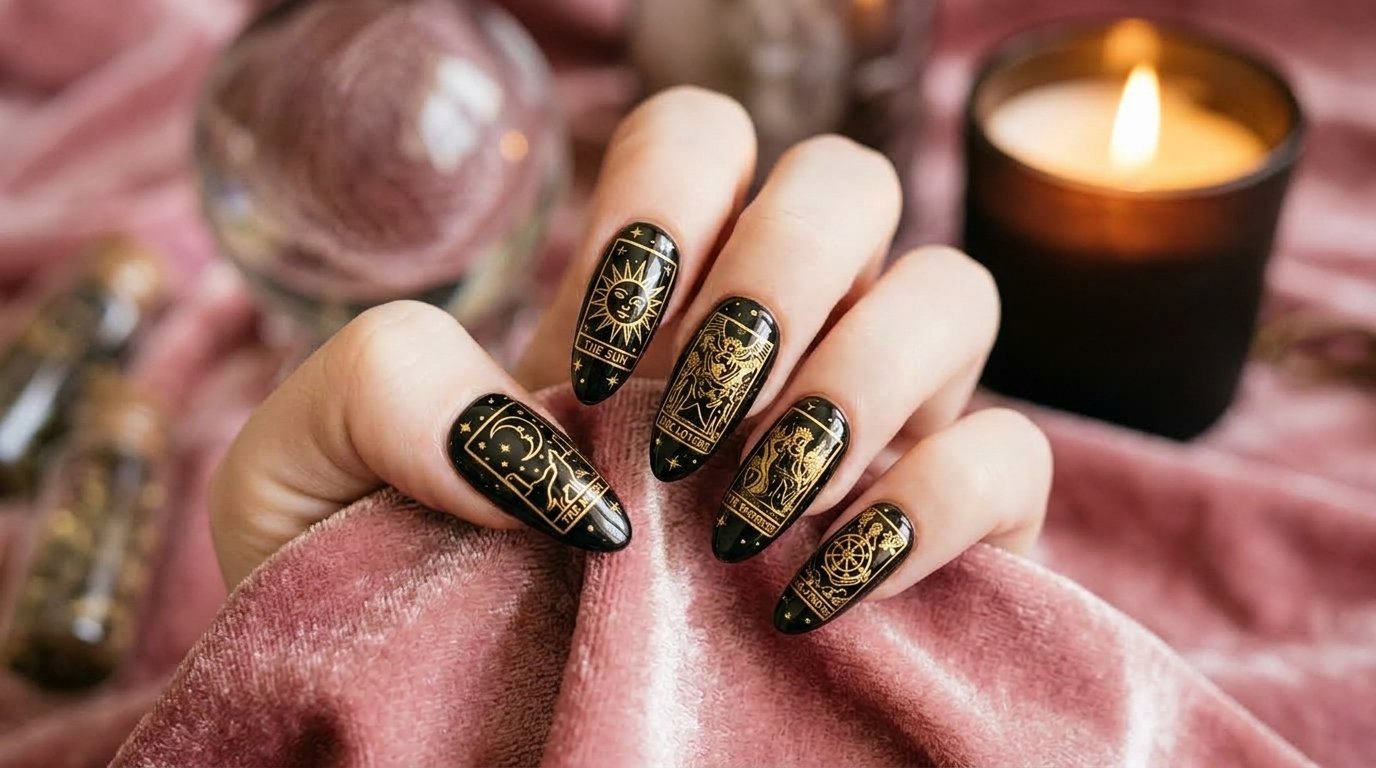
That’s where these tarot card nails come in. We’re not talking cartoon ghosts here. This is fortune-teller chic. It’s chic. It’s mysterious. It’s also surprisingly wearable, depending on how detailed you go. Forget the expected. Forget the plain. This Halloween, embrace your inner mystic with a stunning black and gold tarot nail design. It’s the ultimate “spooky nails” elevated. Let’s find your perfect look.
Table 1: Essential Tarot Nail Art Supplies
| Item | Purpose | Note |
| High-Quality Black Gel/Polish | Deep, Opaque Base | Crucial for high contrast. |
| Gold Fine-Liner Polish | Precise Symbol Painting | Essential for intricate lines. |
| Detail Nail Art Brushes | Painting Complex Symbols | Multiple sizes recommended. |
| Gold Transfer Foil | Textured, Antique Gold Accent | Adds instant dimension. |
| Foil Transfer Gel/Polish | Adheres Foil Properly | Ensures even foil application. |
| Crystal Rhinestones/Studs | Adds Dimensional Mystic Touch | Optional for extra sparkle. |
| High-Gloss Top Coat | Long-Lasting Shine and Seal | Protects all that detailed art. |
| Cuticle Oil | Post-Mani Hydration | Keeps everything looking fresh. |
At-a-Glance: Mystical Manifestation on Your Fingertips
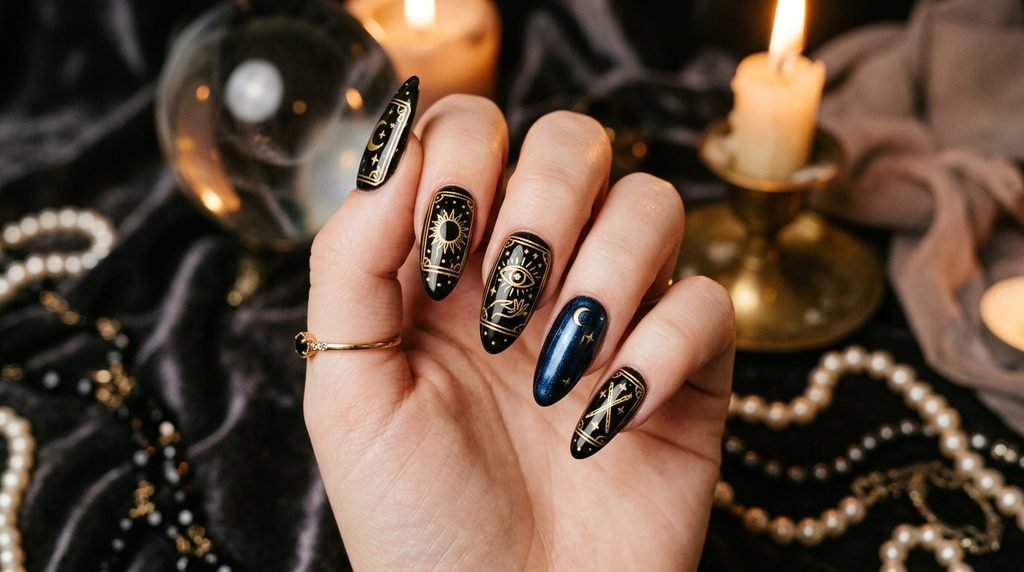
Looking for a quick preview of this enchanting journey? Ahead, I’ll walk you through the entire tarot nails trend, from finding the perfect witchy inspiration to translating those intricate designs. First, we’ll cover the essential prep and that crucial high-gloss black base. Next, get ready for detailed tutorials on common tarot symbols like the High Priestess’s moon and the Sun’s radiant energy. Then, I’ll share technical tips, like managing gold foil application, that I learned from years of salon work. We’ll also explore adaptations for every nail shape and length. Finally, I’ll answer all your frequently asked questions about this mystical manicure style. By the end, you’ll be ready to channel your inner fortune teller, whether you’re planning a DIY night or heading to your next appointment. This isn’t just a list; it’s your definitive guide to celestial witch nails.
Table 2: Top Tarot Symbols and Their Meanings
| Symbol | Meaning | Visual Elements |
| The Sun | Success, Joy, Vitality | Radiant sun with straight/wavy rays. |
| The Moon | Intuition, Dreams, Subconscious | Crescent moon, stars, maybe towers. |
| The High Priestess | Mystery, Wisdom, Femininity | Crescent moon at base, columns, scrolls. |
| The Empress | Abundance, Nature, Luxury | Venus symbol, wheat, waterfall, stars. |
| Third Eye/All-Seeing Eye | Intuition, Insight | Stylized eye with radiating lines. |
| Crystal Ball | Scrying, Prediction, Mystery | Round iridescent ball, swirling patterns. |
| Wands | Action, Inspiration, Creativity | Staffs, flame-like patterns, leaves. |
| Pentacles | Material World, Career, Finance | Star-shaped coin, circular designs. |
Finding Your Tarot Card Nail Inspiration
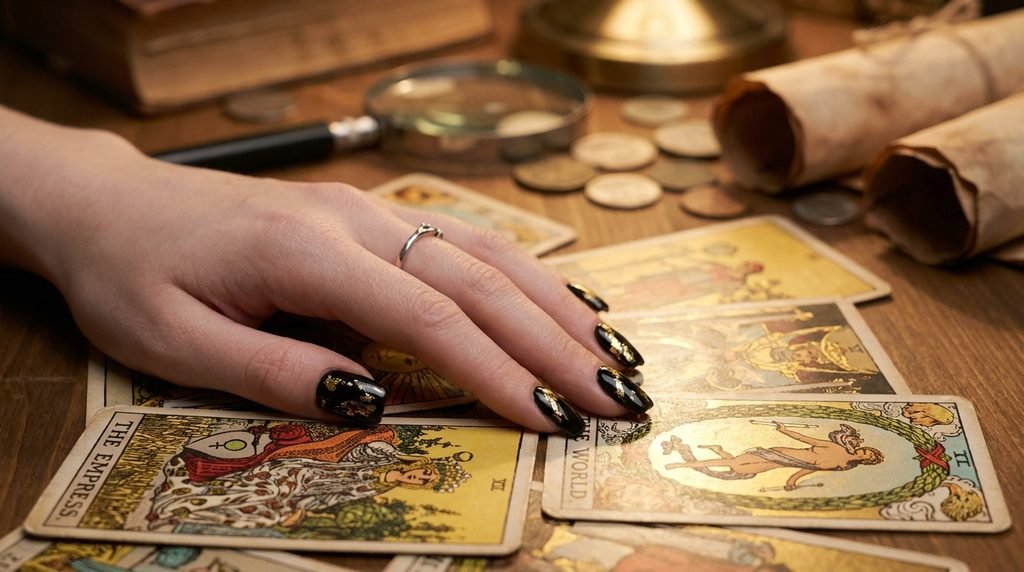
So, you’re ready to dive into tarot card nail art. Where do you even begin? That’s always the first step. For me, it starts by pulling out my favorite tarot deck. I look at the Rider-Waite images. Which cards speak to you? The Empress? The Magician? The Moon? Maybe it’s just the feeling of a specific card. Look online, too. Obviously, you’ll see tons of celestial witch nails on Instagram and Pinterest. Save what captures the mood you want, not just what’s popular. Then, decide what calls to you, not just what looks good. This inspiration stage is crucial for a design that feels authentic.
Choosing Your Specific Fortune Teller Vibe
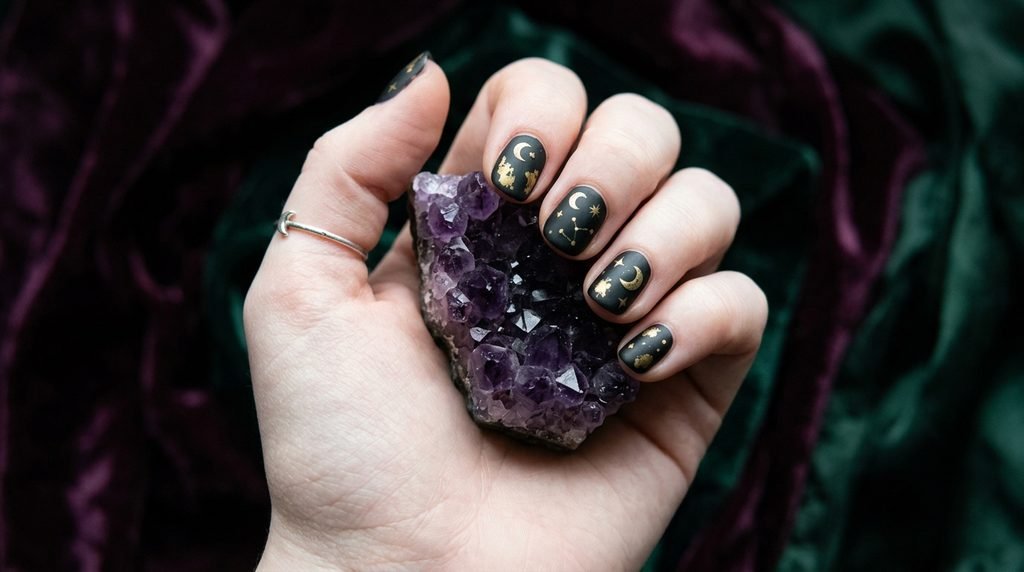
After collecting images, now you refine that mood. What kind of fortune teller are you channeling? Is it a dark, moody aesthetic? Think matte black and distressed gold foil. Or is it something more celestial and bright? Then, consider glossy black with clean, precise gold linework. Maybe you want a true spooky nails feel, focusing on more dramatic symbols like death (symbolizing rebirth, of course) or the devil. On the other hand, you could lean into the crystal ball nails idea with iridescent touches. Every choice shapes the final, unique look. Deciding this upfront helps you communicate clearly at your salon appointment.
Nailing the Perfect Black and Gold Palette
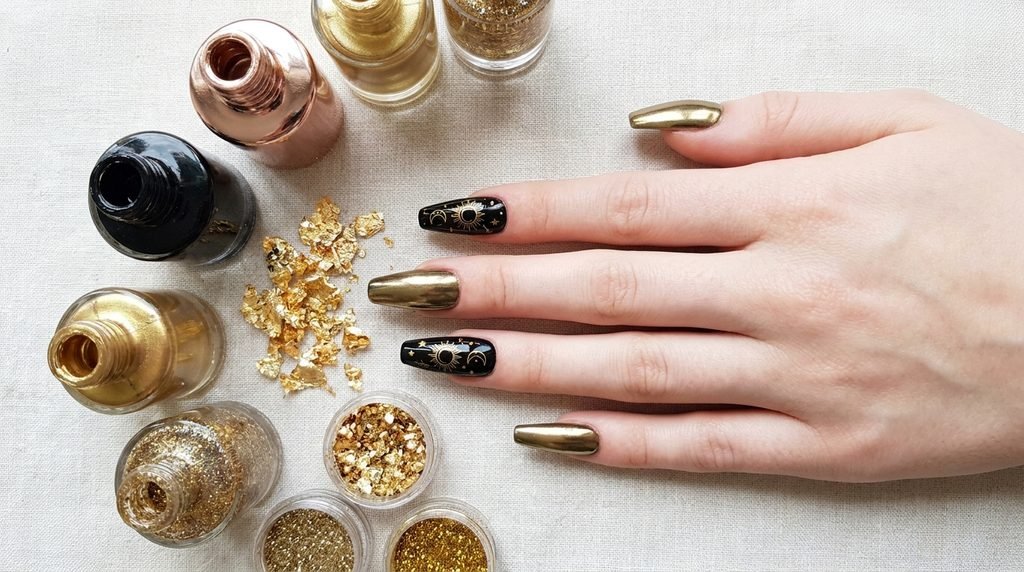
This isn’t just any black and gold manicure. It’s specifically about that rich, mystical contrast. When I worked in the salon, clients often just said “gold,” but there are so many options. Do you want a classic, warm, yellow gold? This gives a regal, ancient feel. Or maybe a cooler, rose gold for a softer touch? And which type of black? A high-gloss finish will catch the light, but matte black provides a velvet-like canvas for the gold to pop. For these tarot card designs, the rich, deep quality of the colors matters as much as the art.
Technical Tips: Mastering Gold Foil for Witchy Nails
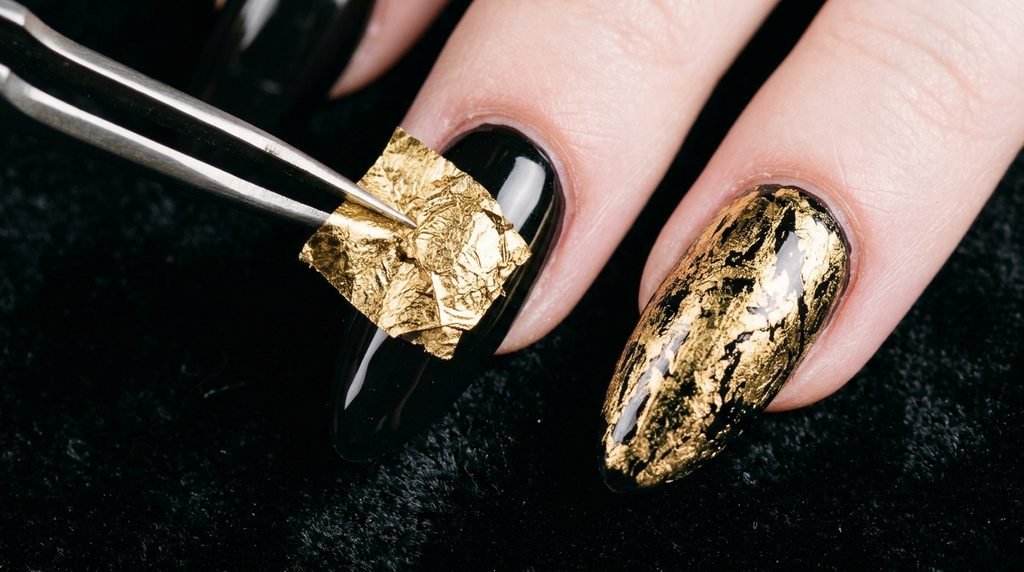
Applying gold foil can be, and often is, frustrating. But the result is so worth it! For this look, that textured, antique gold is essential. First, apply your black polish. If it’s gel, cure it fully. But here’s the key technical tip: you need a sticky layer. Gel often has an inhibition layer, but if yours is tack-free, apply a dedicated foil transfer gel. Press the foil firmly and smooth it out before pulling it off quickly. If you’re doing at-home nails with regular polish, wait until it’s about 90% dry—it should be slightly tacky but not wet. Foil adds instant, complex texture with minimal effort.
Preparing Your Nails for Intricate Art
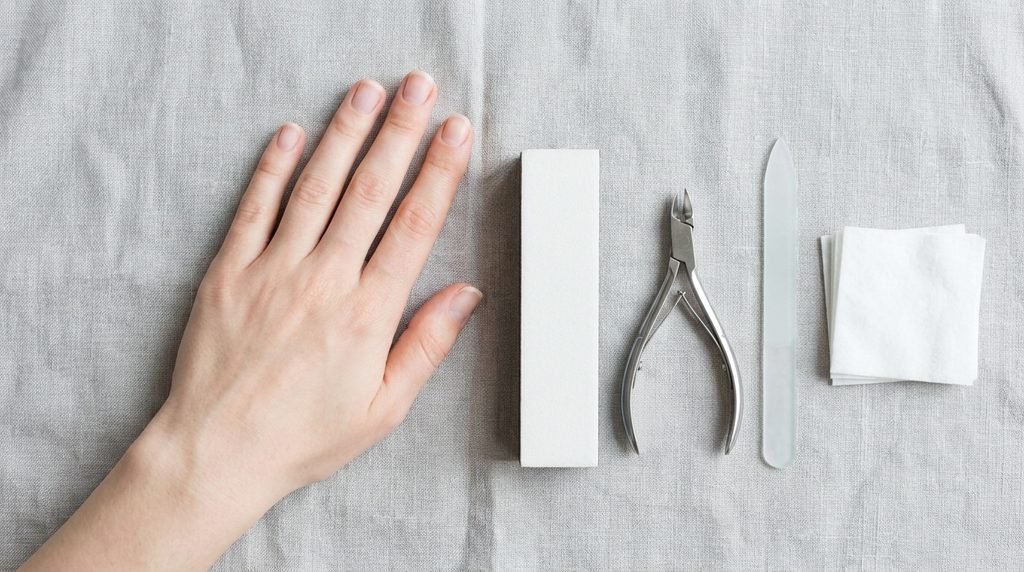
You can’t build a house on a shaky foundation, right? The same goes for detailed nail art. Before any polish touches your nails, impeccable prep is required. This ensures your design lasts throughout October and beyond. Clean your cuticles thoroughly, ensuring no skin is left on the nail plate. For complex art like tarot nails, I always recommend a thorough buffing to create a smooth surface. This prevents any tiny bumps from distorting your intricate gold lines later. This step is not about rushing; it’s about ensuring durability and precision for your fortune teller nails.
Applying the Deep Black Foundation
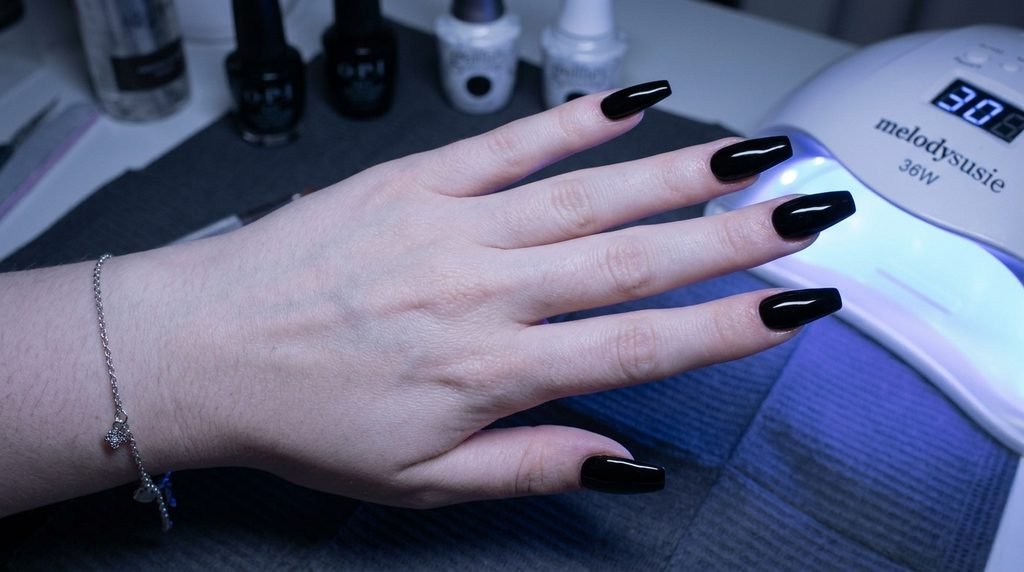
Okay, prep is done. Now, the main event: that mysterious black base. I prefer using a high-quality gel polish for this. It gives that deep, opaque black in just two coats. Apply thin, even layers. Curing between each is crucial. Why thin coats? Thick layers can wrinkle or, worse, not cure completely underneath, leading to peeling later. Be meticulous about capping the free edge, too. A solid black foundation is non-negotiable for making your gold tarot symbols stand out. This isn’t just a base color; it’s the midnight sky for your celestial design.
Simple Celestial Symbols: Perfect for Beginners
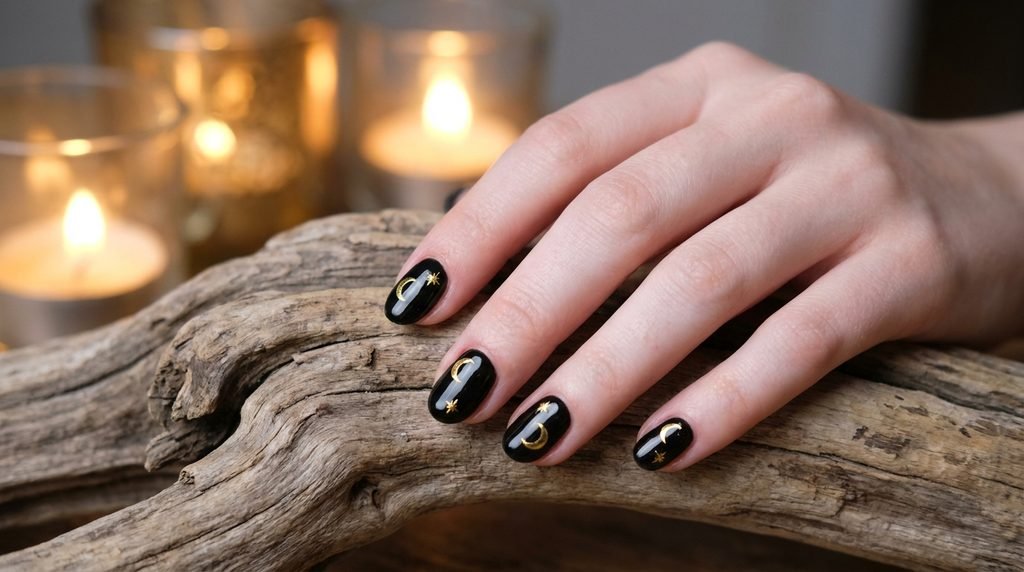
Let’s start simple. Maybe you’re doing this yourself, and complex tarot figures feel intimidating. Don’t worry! You can achieve a stunning mystic look with basic celestial symbols. Try painting a simple crescent moon and stars using a fine-liner brush and gold polish. Another easy idea? A single, stylized eye or a minimal lightning bolt. These elements capture the spirit of witchy nails without requiring expert brushwork. Even something as easy as scattered gold dots can look magical. This is a great starting point before attempting full card recreation.
Adapting Tarot Designs for Short, Natural Nails
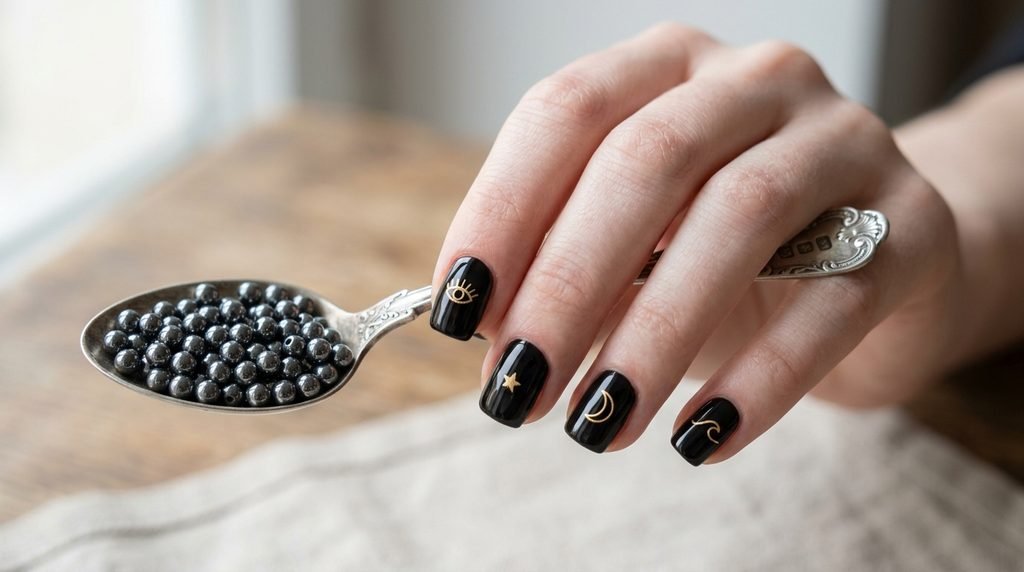
You don’t need long extensions for this trend. In fact, halloween nails short look incredible with tarot art. The key is adaptation. Since you have less surface area, focus on single, powerful symbols rather than whole cards. Paint a detailed moon on your thumb, a simple star on your ring finger, and maybe a small crystal ball on your index. Avoid overcrowding. Negative space is your friend here. By keeping it minimal and deliberate, you ensure the design looks chic and mysterious, not cluttered or messy. This works beautifully for short natural nails or short press-ons.
Bringing the High Priestess to Life
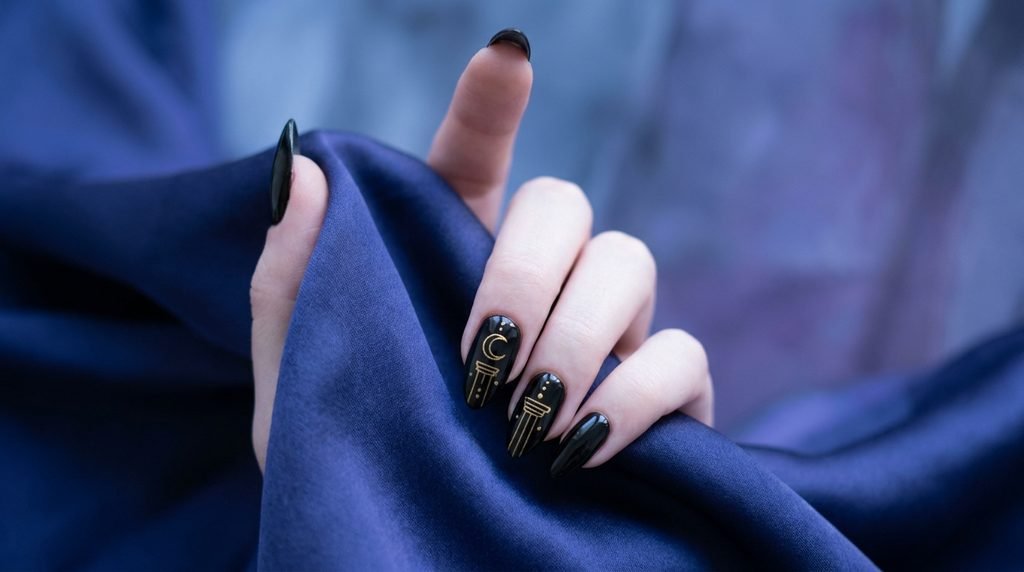
Now, for those wanting a specific card: let’s talk about the High Priestess. She represents intuition and mystery—perfect for October. Her symbols are relatively straightforward to paint. Focus on her crescent moon, which you can place near the cuticle. Then, incorporate elements like pomegranates, columns (even just simplified gold lines), or the solar cross. Use a very thin brush for the fine detail. You don’t need to paint her whole figure; just capturing these key icons will convey her powerful, witchy nails energy.
Capturing The Sun: Radiant Tarot Nails
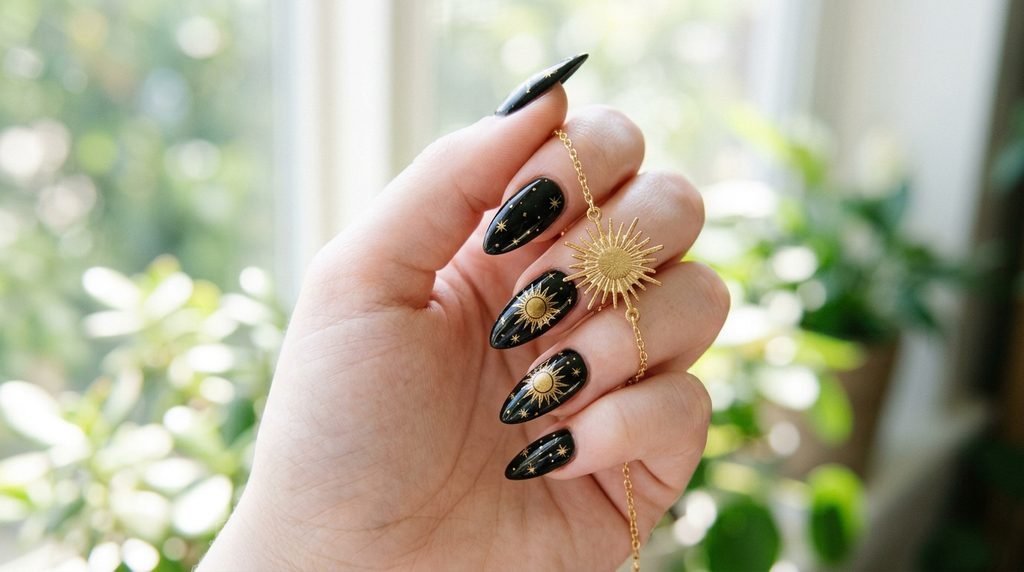
Who doesn’t love The Sun card? It’s all about success, joy, and vitality. This design is inherently uplifting, even within a spooky nails context. To paint it, start with a simple circle. Then, add rays extending outwards. They can be straight lines, wiggly lines, or even dotted lines. You can keep it minimalist or go more detailed, adding tiny stars or even a stylized sunflower face if you’re feeling adventurous. This is a great, versatile symbol that instantly brightens up any dark fortune teller manicure.
The Mystery of The Moon Card on Your Nails
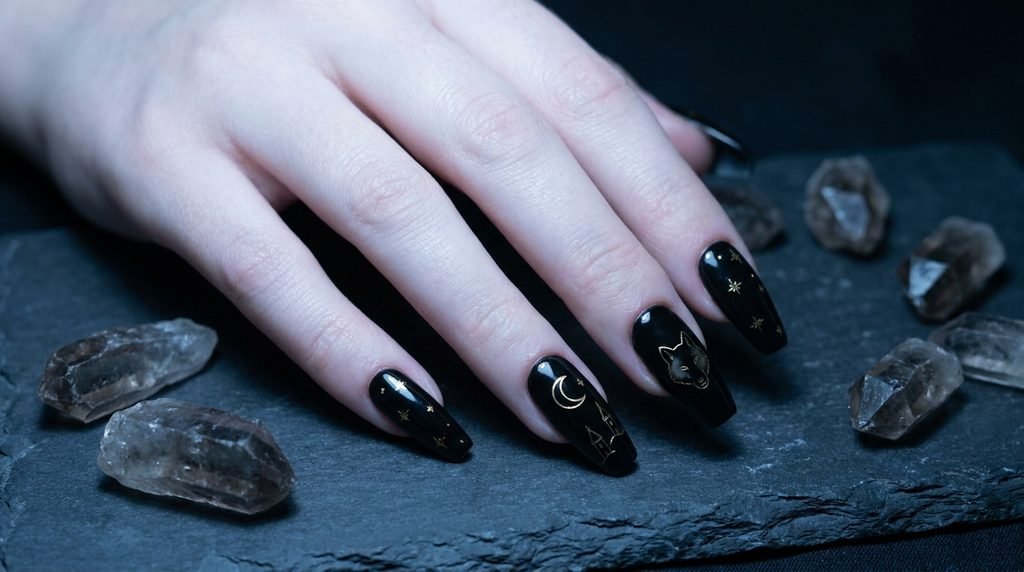
Continuing our celestial journey, the Moon card embodies dreams, subconscious, and, yes, illusions. This imagery is quintessential for celestial witch nails. For this design, focus on the prominent crescent moon itself. But you can also add other layered symbols: two towers, a howling dog and wolf, or a crayfish emerging from the water. Even just simplified interpretations of these, like two parallel gold lines for towers and a detailed moon, work wonders. This design feels particularly mystical and deep.
The Power of The Empress: Earthy & Luxurious
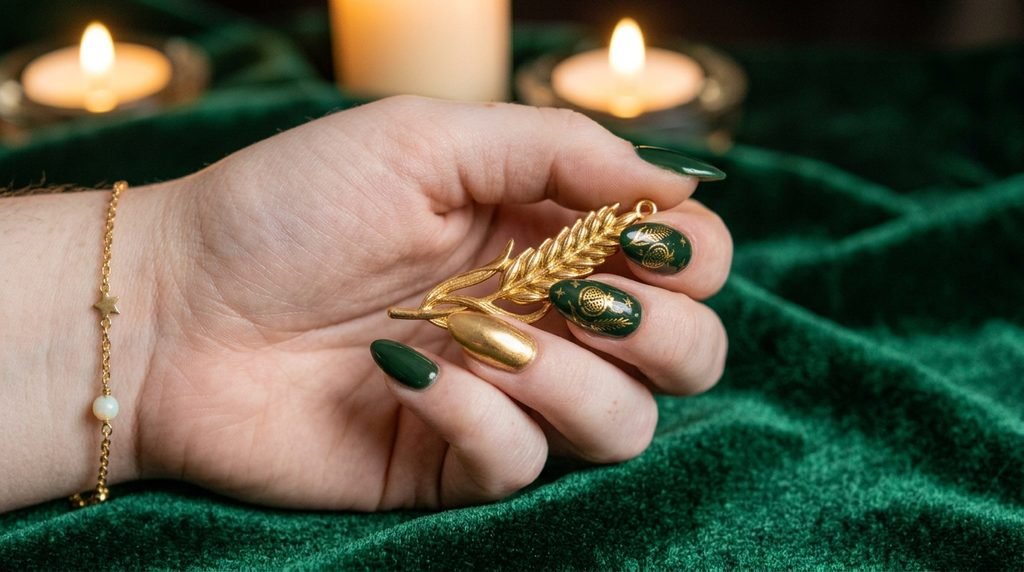
The Empress is all about abundance, nature, and femininity. Her tarot nails look slightly warmer and richer. Instead of just black, consider incorporating some deep emerald or burgundy. For symbols, think of wheat stalks, stars, a waterfall, or the Venus symbol. This is a perfect opportunity to use that gold foil to create a textured, luxurious background, with finer gold lines painting the specific icons. This feels sophisticated and less “costume spooky” than other looks.
Tarot Nails as Short Press-Ons: A DIY Option
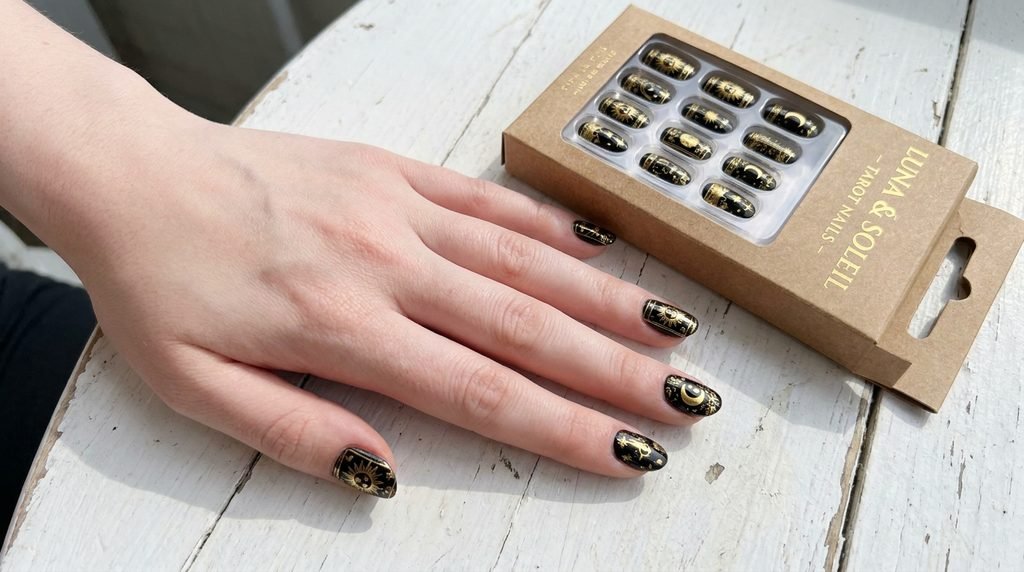
What if you love the look but don’t want the salon commitment or aren’t confident painting small designs? Then, tarot card press on nails are your answer! There are so many incredible, independent artists creating stunning sets, especially around Halloween. This is a great way to try out complex designs. And they’re temporary! You get the exact look you want without hours in a chair. Simply prep your natural nails well, apply the press-ons securely, and you’ve got perfect fortune teller nails in minutes. This is especially good for achieving very intricate, uniform looks.
Designing for Elegant Almond-Shaped Nails
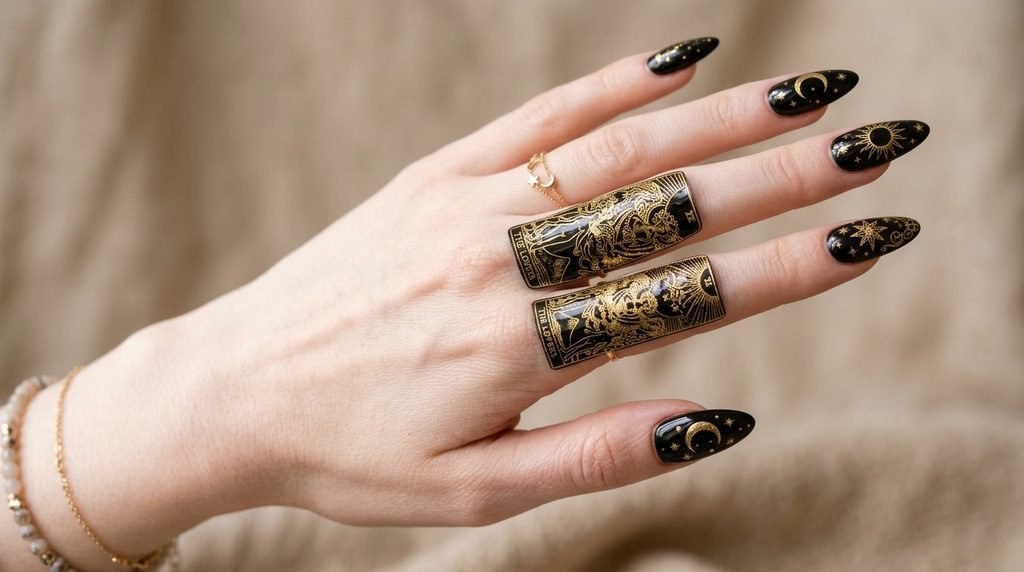
For those who love a specific shape, witchy halloween nails almond are incredibly popular. The elegant, elongated almond shape provides a beautiful canvas. Because it has more length than short nails, you can fit slightly more detail or larger symbols. A single, detailed tarot figure (like a stylized Lovers or Strength card) looks amazing stretched down the nail. Alternatively, you can have a flowing celestial design with multiple elements (moons, stars, eyes) cascading down the elegant curve. This shape feels naturally chic and mystical.
Making Tarot Nails Work for Coffin or Stiletto Shapes
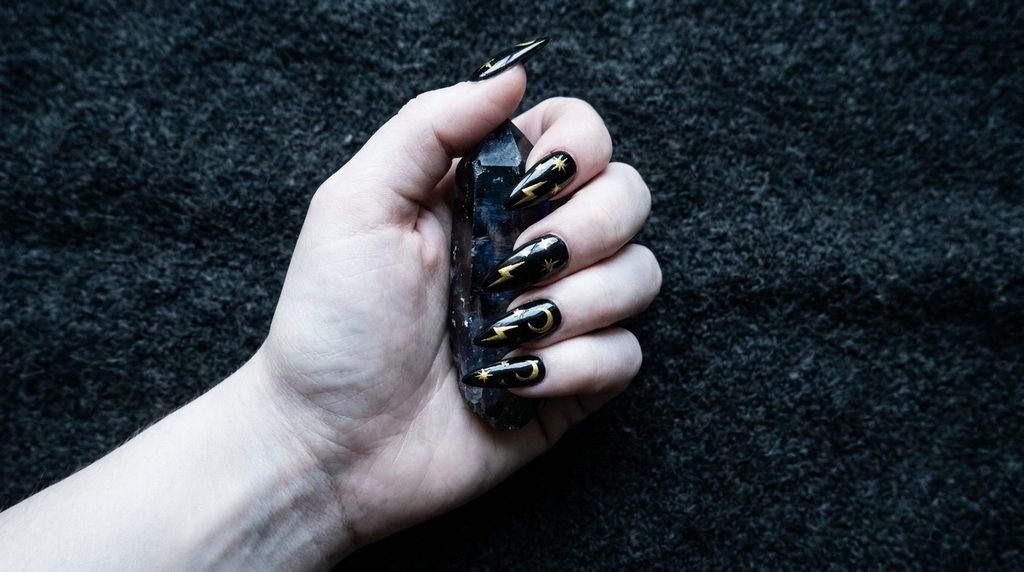
If you rock coffin or stiletto extensions, you have even more surface area! These bold shapes are perfect for dramatic fortune teller nails. For coffin nails, you could actually dedicate each nail to a single, simplified tarot card design. The flat tip provides a great space for fine lines. Stiletto nails lend themselves to sharper, more aggressive celestial designs, maybe with lightning bolts, stars, and crescent moons flowing towards the dramatic point. This is your chance to really commit to the witchy aesthetic.
Salon Communication: Getting Exactly What You Want
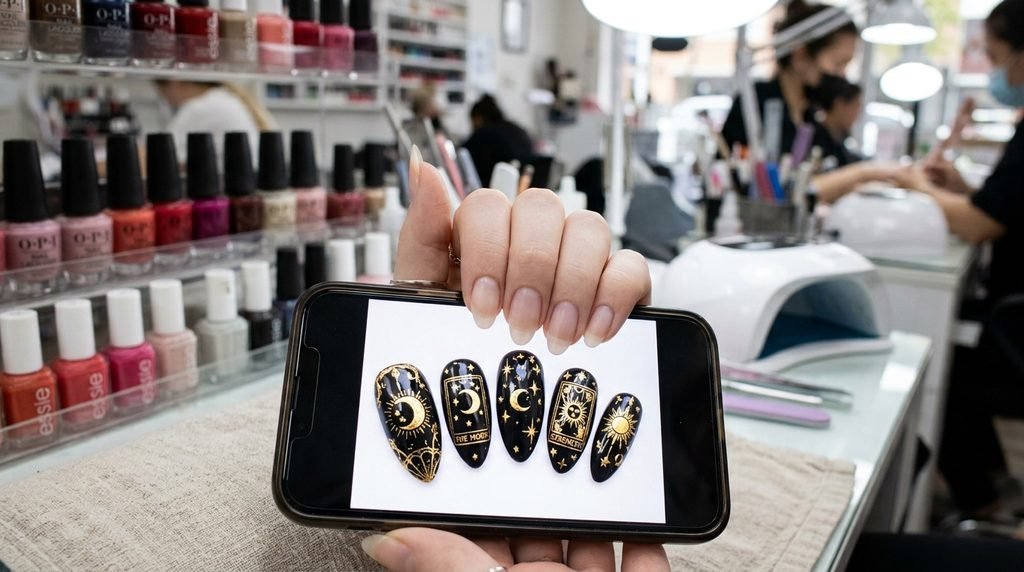
Ready to head to your next appointment? Great! Here’s the salon communication tip that saves everyone time. Don’t just show a generic picture of “tarot nails” and hope for the best. Be specific. Show your tech the exact images you’ve saved. Say, “I want a glossy black base. On my ring finger, I’d like the Sun symbol from this picture in gold foil texture. On my index finger, I’d like a fine-line crescent moon.” Discuss which nails get which design. Clarify if you want painted lines or foil texture. This ensures both you and your tech are on the same page for your dream spooky nails.
Beyond Black and Gold: Color Alternatives
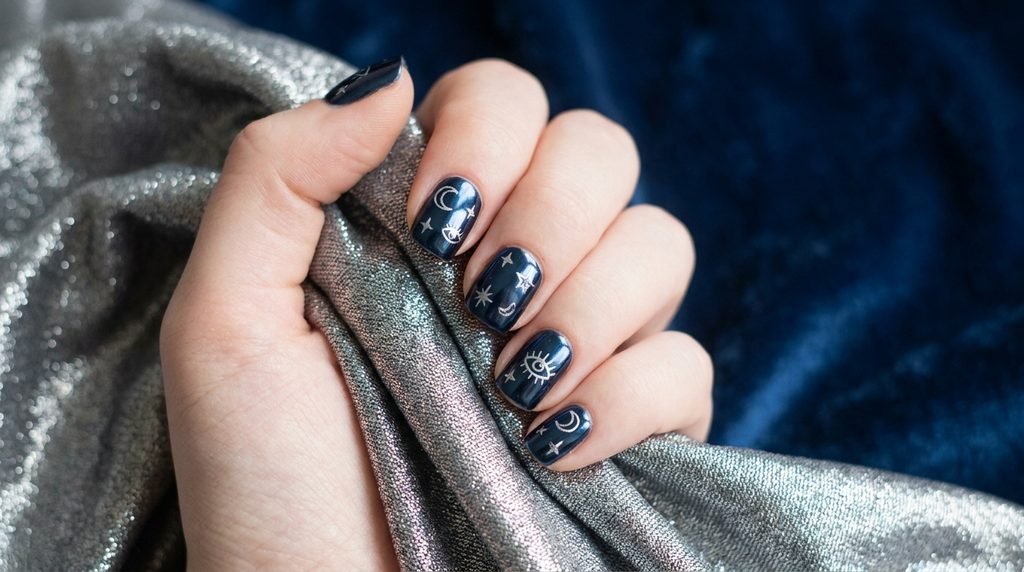
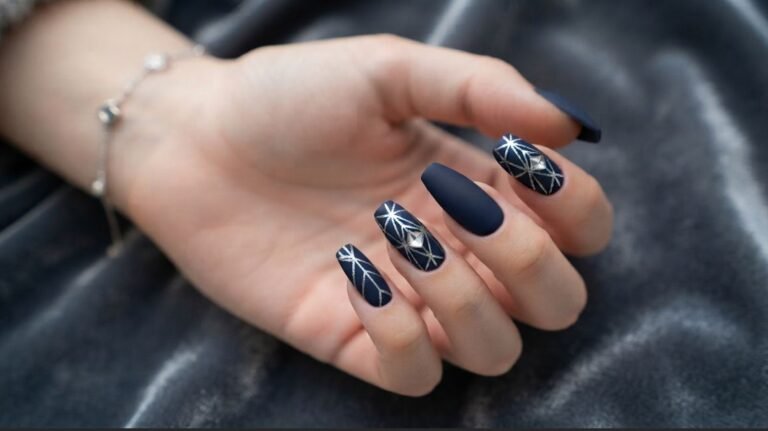
Yes, black and gold tarot nails are iconic. But maybe they’re just not your vibe. You absolutely have options! Swap the black for a very deep midnight blue to lean more into the celestial witch nails theme. Or try a dark, moody purple or a rich forest green for an earthier feel. Even a deep, blood red could work for a bolder look. Instead of gold, perhaps silver or rose gold appeals more? You could even use an iridescent or holographic top coat for extra crystal ball nails mystery. Don’t feel restricted; adapt the color palette to your personal style.
Layering Elements for Complex Fortune Teller Nails
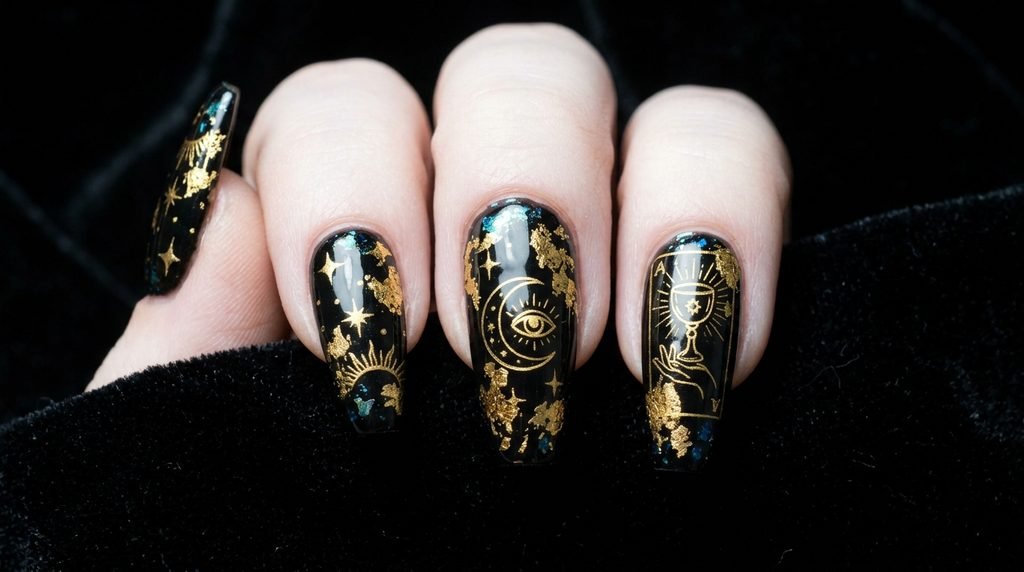
Want a truly magical, layered effect? Combine different textures and techniques! This is how you achieve those high-end, mystical looking nails. Start with your black base. Add some subtle gold foil splotches for an antique feel. Then, paint your precise tarot symbols (moon, star, etc.) over that using fine-liner gold polish. Maybe even add a tiny, flat, gold stud or an iridescent flake for that crystal ball nails touch. Finally, finish with a super glossy top coat to seal it all in. This technique adds depth and makes your nails look like miniature art.
Achieving the Crystal Ball Nails Look
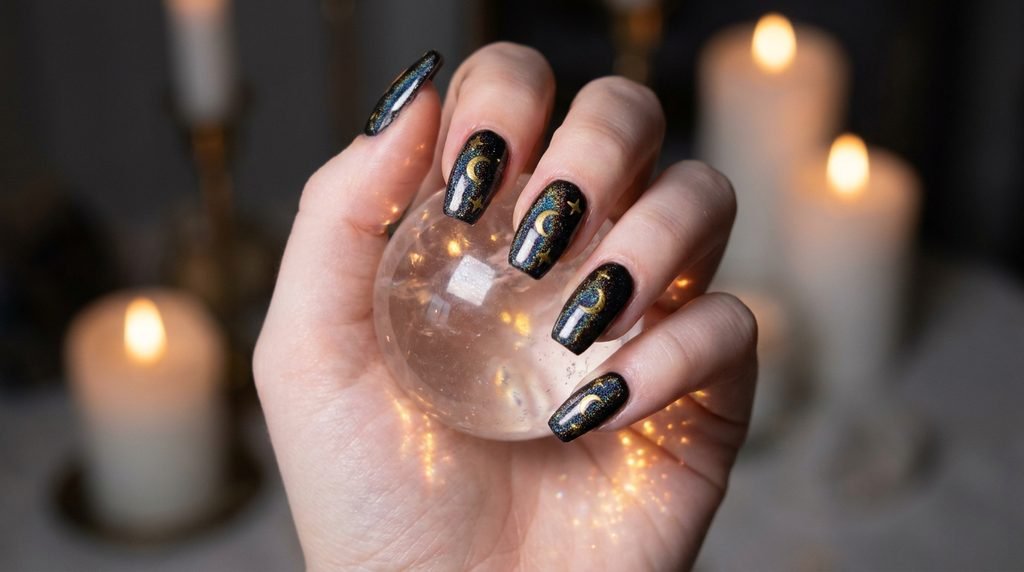
This is a fun and specific variation! To get that iridescent, scrying vibe, think beyond flat color. You can incorporate magnetic “cat eye” gel polish for a swirling, mystical effect before adding your gold symbols. Or, apply an iridescent or holographic powder over your black base before sealing. Another great option? Clear chunky glitter layered over the black, which resembles scattered fortune telling crystals. Finish with a domed top coat for that magnifying, glass-like look. This technique makes your witchy nails feel particularly magical.
Keeping Your Mystic Manicure Fresh All October
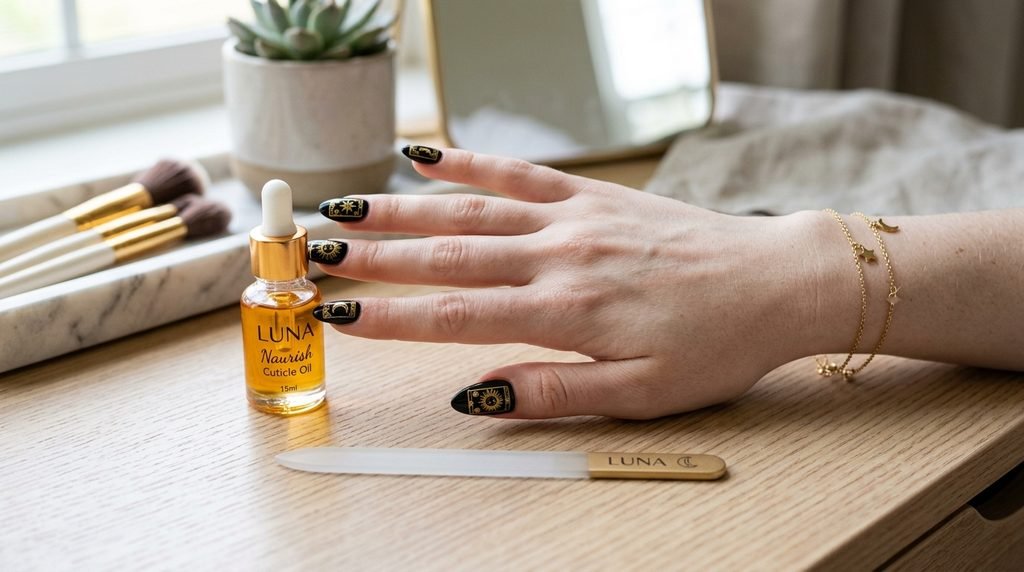
You’ve invested time and effort (or money!) in these amazing tarot card designs. Now, how to make them last? First, cuticle oil is non-negotiable. It keeps the skin around your nails hydrated, preventing peeling. For gel manicures, avoid harsh chemicals and wears gloves for cleaning. If you see lifting, don’t pick it! This salon technical tip is crucial. Instead, gently buff the lifted edge or see your tech. If you did them with regular polish, add a fresh top coat every few days. Proper maintenance ensures your fortune teller nails stay magical.
FAQs: Your Tarot Card Nails Questions Answered
You’ve got questions about this mystical manicure trend. I’ve got answers! Let’s clear up any confusion.
What are tarot card nails?
Tarot card nails are a specific type of witchy or celestial manicure. They incorporate symbols and imagery found in tarot decks. This often includes celestial elements (moons, stars, suns), specific card symbols (cups, swords, pentacles, wands), or simplified interpretations of major arcana cards like The Empress or The Sun. They are typically rendered in dark, mystical color palettes, like black and gold.
How do you paint tarot card designs on nails?
Painting detailed tarot designs requires a very fine-liner brush. For beginners, it’s best to start with simpler celestial symbols like crescent moons or stars. More complex designs involve layering techniques, often combining a textured base (like gold foil) with precise painted lines for the symbols themselves. Achieving uniform results often comes down to practice or opting for high-quality press-on versions.
What symbols are used in witchy nail art?
Witchy nail art, including tarot nails, draws from various occult and celestial traditions. Common symbols include crescent moons, stars, suns, third eyes (or all-seeing eyes), crystals, crystal balls, tarot card motifs (swords, wands, cups, pentacles), cauldrons, potions bottles, herbs, and animals associated with witchcraft (cats, owls, snakes).
Are witchy nails only for Halloween?
Absolutely not! While witchy nails are incredibly popular for spooky nails season, many designs, especially the more minimalist or celestial ones, are worn year-round. It all depends on how dramatic or subtle you make the look. Many people find these symbols meaningful beyond just a costume, making them a personal statement any time of year.
What colors work best for a tarot or celestial manicure?
Black and gold are the classic combination for a reasons – they look incredibly mysterious and chic. However, other deep, rich colors work beautifully as bases, including midnight blue, royal purple, forest green, and burgundy. For the accent details, silver, rose gold, copper, and even iridescent or holographic finishes provide excellent alternatives to traditional gold.
Can you get tarot nails as press-ons?
Yes, and they are a fantastic option! Many independent nail artists and brands create stunning, detailed tarot and witchy-themed press-on sets. This is a great way to try out complex designs without the time commitment of a salon visit or the difficulty of DIY-ing intricate art at home. They offer a uniform and temporary alternative for any occasion.
Conclusion
So, are you ready to bring some magic to your manicures? Hopefully, you now feel inspired and empowered. Whether you go full Major Arcana or simple celestial symbols, black and gold tarot nails are the ultimate mysterious Halloween nail idea. It’s all about finding that perfect combination of shape, detail, and vibe that speaks to your moment.
Think about what caught your eye – was it the foil texture? A specific symbol? Now, what’s your next step? Will you book that appointment? Or will you try a DIY at home? Whatever you choose, I hope your nails feel truly enchanting. Save your favorite look and show it off this spooky season!

Mia founded Daily Nail Idea after a decade in beauty editorial, tired of watching great nail art disappear into the scroll. She now leads the team’s editorial direction — deciding what’s worth featuring and what’s just noise — and still paints her own nails every Sunday night, no exceptions.